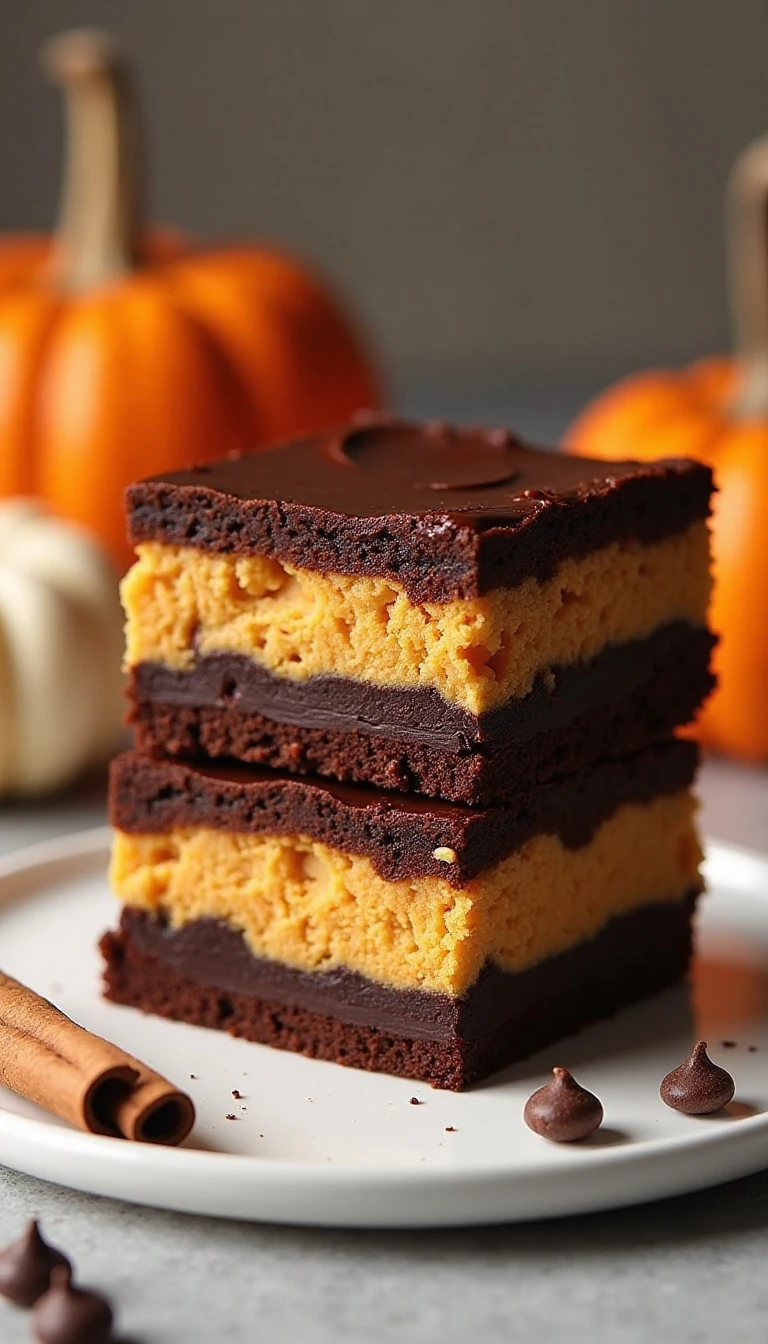
These Double Chocolate Pumpkin Cheesecake Brownies combine a fudgy cocoa brownie base, semisweet chocolate chips, and a smooth pumpkin cheesecake layer in one irresistible 9 x 13-inch dessert. The recipe makes 24 brownies and takes about 25–30 minutes to prepare, 35–45 minutes to bake, and at least 1 hour to cool, with 2–3 hours of chilling recommended for the cleanest slices.
Every bite brings together rich chocolate, creamy pumpkin, cinnamon, nutmeg, and ginger. The brownie batter is swirled across the top of the pumpkin layer, creating a beautiful marbled finish while keeping the centers moist and tender.
Jump to RecipeWhy You’ll Love This Recipe
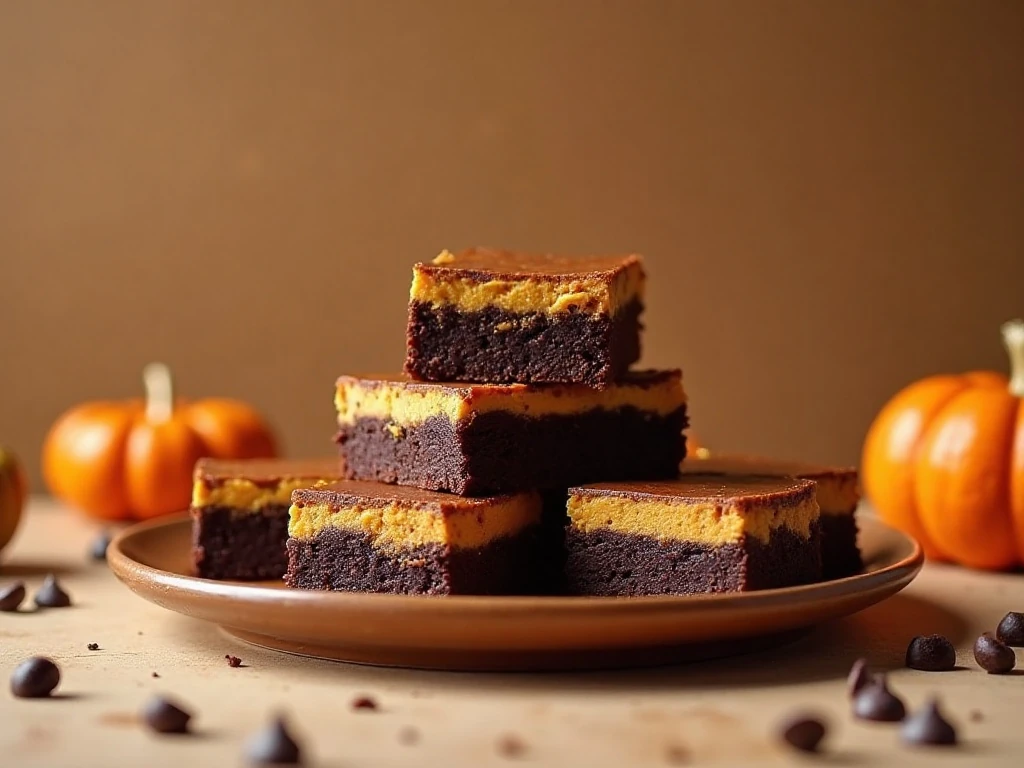
These brownies are made for anyone who cannot choose between a rich chocolate dessert and a creamy pumpkin treat. The cocoa powder gives the batter a deep chocolate flavor, while the chocolate chips create little pockets of melted richness throughout the brownie layer.
The pumpkin cheesecake filling is smooth, gently spiced, and not overly sweet. Cinnamon, nutmeg, and ginger give it the familiar warmth of fall baking without covering up the tangy flavor of the cream cheese.
They also look impressive with very little decorating work. A few passes with a knife create a naturally marbled top, so every square has its own pattern of chocolate and pumpkin.
If you enjoy pumpkin desserts with a creamy texture, you may also like this easy pumpkin cheesecake idea, which offers the same seasonal flavor in a chilled, no-bake format.
Ingredients You’ll Need
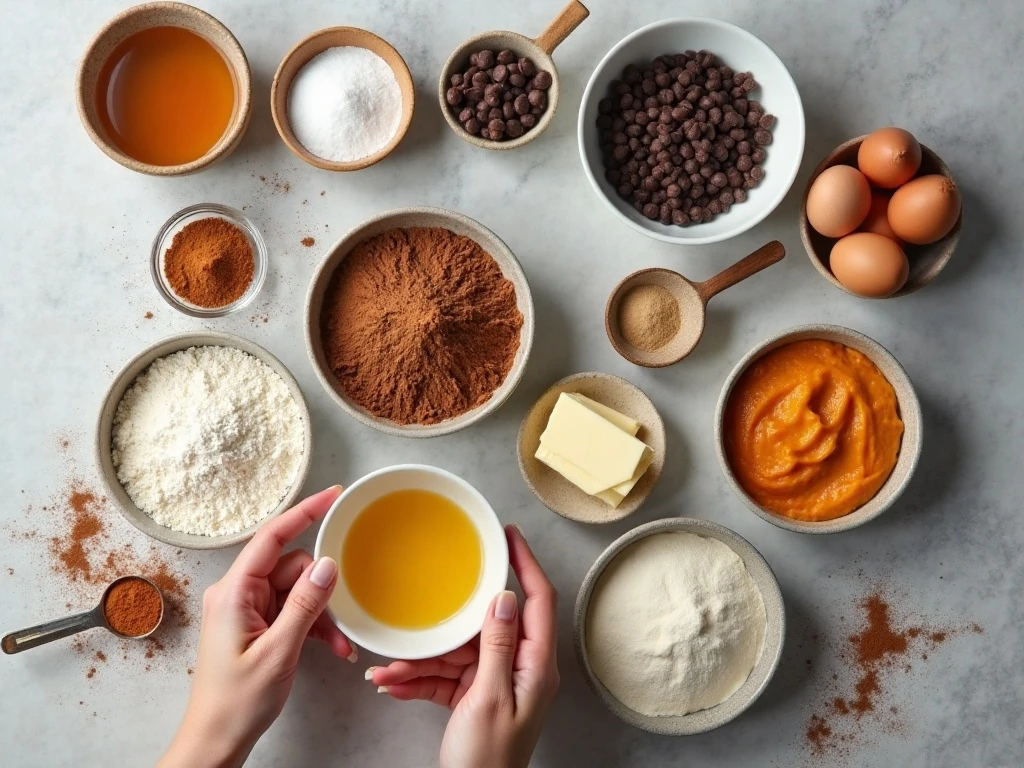
The brownie batter begins with melted unsalted butter, granulated sugar, eggs, and vanilla. Melted butter keeps the process simple and helps produce a dense, fudgy texture rather than a cakey crumb.
All-purpose flour provides structure, while unsweetened cocoa powder supplies the first layer of chocolate flavor. Baking powder gives the brownies a small amount of lift, and fine salt balances the sweetness.
Use semisweet or bittersweet chocolate chips for the second chocolate element. Either choice works well, although bittersweet chips give the finished brownies a slightly more intense contrast against the sweet pumpkin filling.
For the cheesecake layer, choose full-fat brick-style cream cheese and soften it before mixing. Tub-style spread contains more moisture and can leave the filling softer or more watery after baking.
Pure pumpkin purée is essential here. Do not substitute pumpkin pie filling, because it already contains sugar and spices that would change the sweetness, flavor, and consistency of the cheesecake layer.
- Measure the flour and cocoa carefully for a consistent brownie texture.
- Bring the cream cheese to room temperature so it blends smoothly.
- Keep the optional vanilla in the pumpkin layer if you want a rounder, sweeter aroma.
For another chocolate-and-pumpkin combination, take a look at this chocolate chunk pumpkin spice bread. It is a wonderful choice when you want a loaf-style dessert with similar autumn flavors.
How to Make It Step-by-Step
Step 1: Heat the oven to 350°F (175°C), and position a rack in the center. Line a 9 x 13-inch metal baking pan with parchment, leaving an overhang so the chilled brownies can be lifted out easily.
Step 2: Add the melted and slightly cooled butter and granulated sugar to a large mixing bowl. Whisk until combined, then add the four eggs and vanilla and continue whisking until the mixture is smooth.
Step 3: In a separate bowl, combine the flour, cocoa powder, baking powder, and salt. Fold this dry mixture into the butter mixture just until no dry streaks are visible, since extended mixing can make the brownies less tender.
Step 4: Fold the chocolate chips into the brownie batter. Make sure they are distributed throughout, but avoid stirring more than necessary once the chips have been added.
Step 5: Prepare the filling by beating the softened cream cheese and sugar until creamy and smooth. Beat in the egg, then mix in the pumpkin purée, cinnamon, nutmeg, ginger, salt, and optional vanilla.
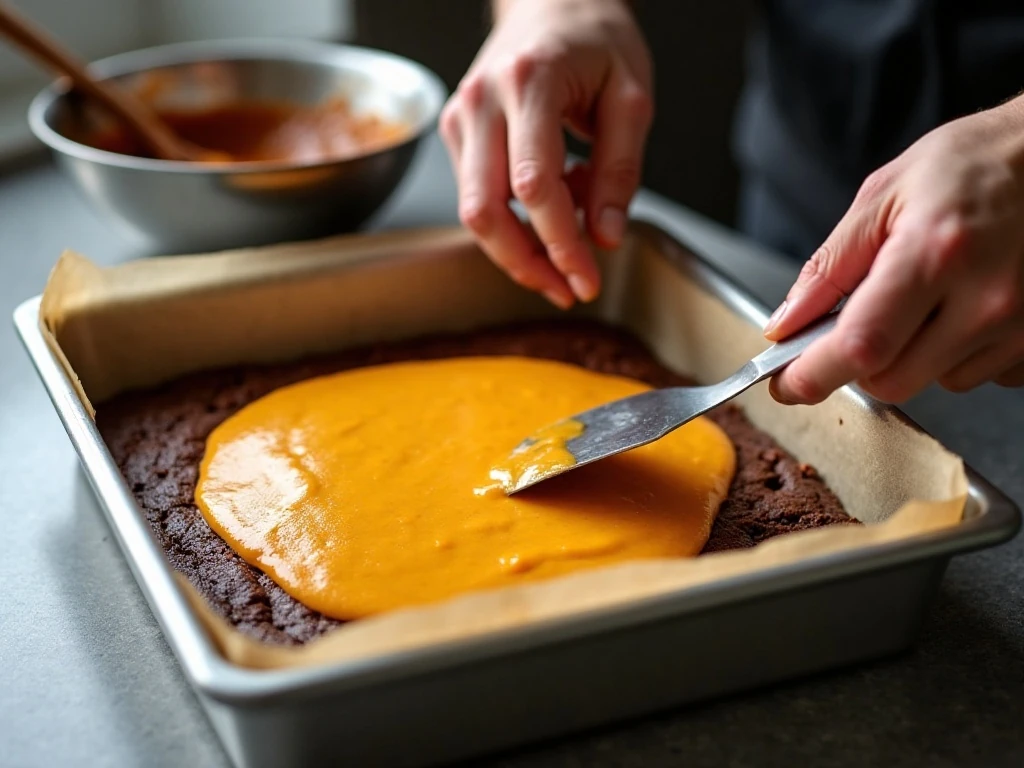
Step 6: Spread approximately half of the brownie batter over the parchment-lined pan. Use a spatula to create an even layer that reaches the corners, then gently spread the pumpkin cheesecake mixture over it.
Step 7: Drop spoonfuls of the remaining brownie batter across the pumpkin layer. For stronger chocolate contrast, reserve a few tablespoons of batter for the top, then drag a knife through the dollops several times to create a light swirl.
Step 8: Bake for 35–45 minutes. Look for set brownie edges, moist crumbs on a toothpick inserted into the chocolate portion, and a pumpkin layer that appears set but may still jiggle slightly in the center.
Step 9: Cool the pan completely on a rack before chilling. Refrigerate for at least 1 hour, with 2–3 hours producing cleaner layers and easier slicing.
Step 10: Use the parchment overhang to lift the brownies from the pan. Cut with a sharp knife, wiping the blade after each slice for neat squares and clearly defined layers.
Pro Tips for Fudgy Brownies
The most important tip is to avoid overbaking. These brownies continue to set as they cool, so the center should not look completely firm when the pan first comes out of the oven.
Start checking at 35 minutes, especially if your oven runs hot or your metal pan is dark. A toothpick inserted into the chocolate portion should show moist crumbs, not wet batter and not a completely dry crumb.
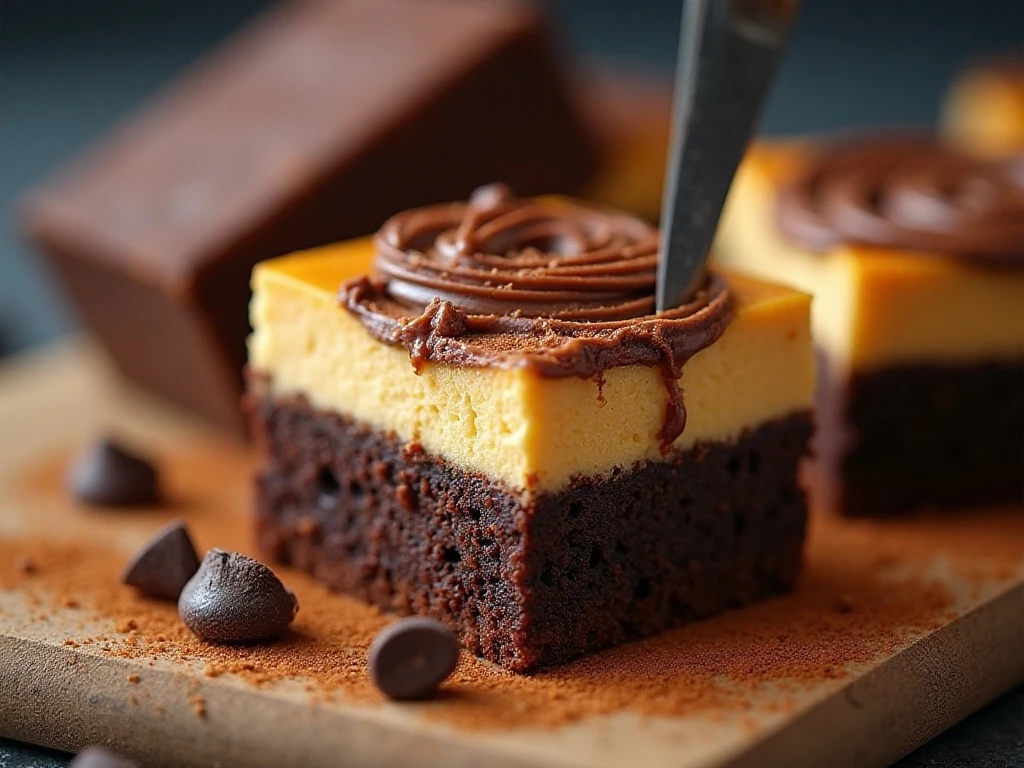
Do not over-swirl the layers. A few gentle knife strokes create a pretty marbled design, while too much swirling can muddy the pumpkin and brownie colors and make the texture less distinct.
Softened cream cheese is easier to blend than cold cream cheese. Let it sit at room temperature before mixing, but do not warm it until it becomes loose or melted.
For a deeply chocolatey variation, use bittersweet chocolate chips. If you prefer a sweeter brownie, semisweet chips are an excellent choice and still provide a clear second chocolate note.
When planning an autumn dessert table, these brownies pair nicely with a traditional classic pumpkin pie. The pie brings a flaky crust and custard-like filling, while the brownies offer a denser chocolate contrast.
Storage and Serving Suggestions
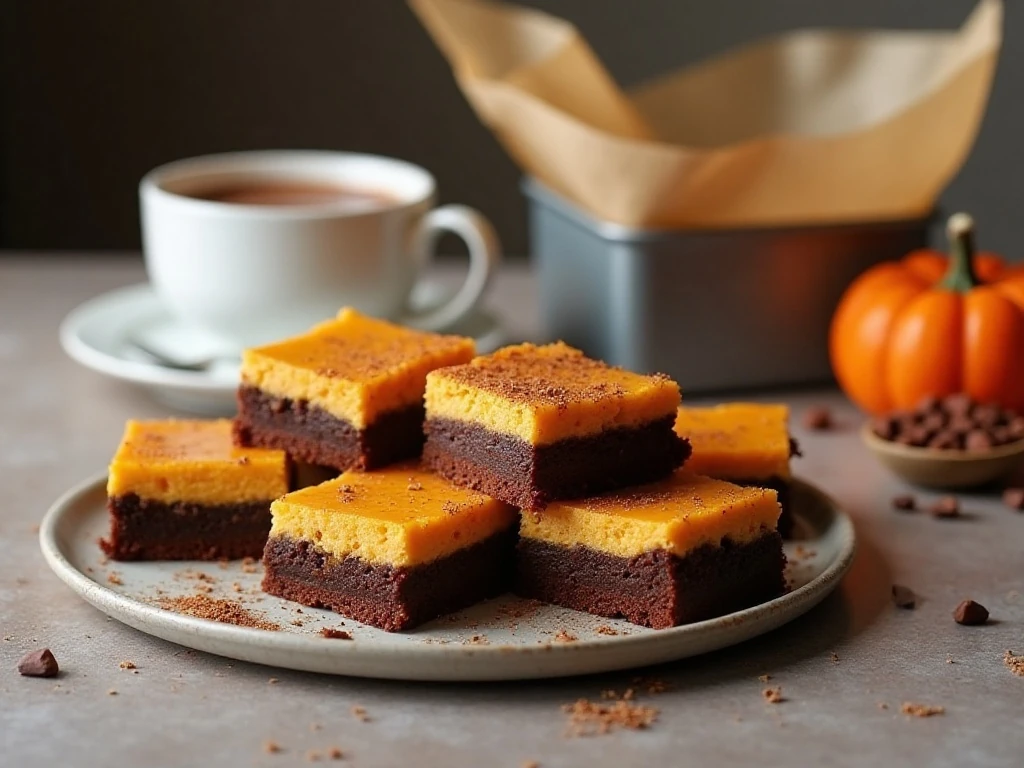
Because the filling contains cream cheese and pumpkin, store the cooled brownies in the refrigerator. Place them in an airtight container, separating layers with parchment if stacking them.
For the sharpest presentation, chill the entire slab before cutting rather than slicing the brownies while they are still warm. A long, sharp knife dipped in warm water and wiped dry between cuts can make the edges especially clean.
Serve the brownies cold for the firmest cheesecake layer, or let individual pieces stand at room temperature for a few minutes before serving. This brief rest softens the brownie texture while keeping the pumpkin layer stable.
They are delicious on their own, but a small spoonful of whipped cream, a dusting of cocoa powder, or a few extra chocolate chips makes a simple finishing touch. Avoid adding heavy toppings before storing, since moisture can soften the marbled surface.
For a cozy drink pairing, serve these brownies with a mug made from this homemade hot chocolate mix. The warm drink echoes the chocolate in the dessert and makes the brownies feel especially inviting on a cool evening.
Make-Ahead and Slicing Guide
This dessert is well suited to make-ahead baking because chilling improves both the texture and the appearance. Bake the brownies the day before serving, cool them completely, cover the pan, and refrigerate until ready to cut.
If you need to transport them, keep the brownies chilled and carry them in the pan or a firm, flat container. Cut them shortly before serving if you want the freshest edges and the strongest visual contrast.
To portion 24 brownies, cut the chilled slab into six rows by four rows. For smaller dessert bites, cut each square in half after slicing the main grid.
These brownies can also be served as part of a chocolate dessert spread alongside cookies. A plate of double chocolate pudding cookies gives guests another soft, chocolate-rich option while keeping the dessert theme consistent.
Double Chocolate Pumpkin Cheesecake Brownies
Ingredients
Method
- Heat the oven to 350°F (175°C). Line a 9 x 13-inch metal baking pan with parchment, leaving enough overhang on the long sides to lift out the cooled brownies.
- Whisk the melted, slightly cooled butter and sugar together in a large bowl. Add the eggs and vanilla, then whisk until the mixture looks smooth and evenly blended.
- In a separate bowl, whisk together the flour, cocoa powder, baking powder, and salt. Fold the dry ingredients into the butter mixture just until no dry streaks remain, then fold in the chocolate chips.
- Beat the softened cream cheese and sugar in another bowl until smooth. Beat in the egg, then mix in the pumpkin purée, cinnamon, nutmeg, ginger, salt, and optional vanilla.
- Spread approximately half of the brownie batter over the parchment in an even layer. Spread the pumpkin cheesecake mixture over the brownie layer, taking care not to disturb the base.
- Drop spoonfuls of the remaining brownie batter over the pumpkin layer. Drag a knife through the batter several times to make a light swirl, but stop before the layers become blended.
- Bake for 35–45 minutes, until the brownie edges are set and a toothpick inserted into the chocolate portion comes out with moist crumbs. The pumpkin layer should look set while still having a slight jiggle in the center.
- Cool the brownies completely in the pan, then refrigerate them for at least 1 hour, preferably 2–3 hours. Lift them out with the parchment and slice with a sharp knife, wiping the blade between cuts.
Notes
Final Thoughts
Double Chocolate Pumpkin Cheesecake Brownies are a satisfying blend of two beloved desserts: fudgy chocolate brownies and warmly spiced pumpkin cheesecake. The cocoa and chocolate chips make the brownie layer rich, while the creamy pumpkin center adds tang, color, and seasonal character.
For the best results, use pure pumpkin purée, full-fat brick-style cream cheese, and a parchment-lined metal pan. Watch the bake closely, allow the brownies to cool fully, and chill them thoroughly before slicing.
Once cut into 24 squares, these brownies are ready for holiday gatherings, weekend baking, or a cozy dessert after dinner. Their marbled tops look special enough for guests, yet the recipe remains straightforward enough for a relaxed afternoon in the kitchen.