This easy 4-ingredient chocolate vegan fudge recipe makes about 16 small squares with just dairy-free dark chocolate, smooth natural peanut butter or almond butter, pure maple syrup, and vanilla extract. The mixture takes about 10 minutes to prepare and 3 to 5 minutes to melt, then it firms in the refrigerator for 1 to 2 hours.
Each square is rich, glossy, creamy, and intensely chocolatey, with a gentle nutty flavor and mellow maple sweetness. No oven is needed, and the simple stovetop or microwave method makes this a dependable homemade candy for holidays, dessert trays, edible gifts, or a quick chocolate craving.
Jump to RecipeWhy You’ll Love This Recipe
This vegan chocolate fudge proves that a short ingredient list can produce a wonderfully luxurious candy. The chocolate supplies deep cocoa flavor, the nut butter creates a soft and creamy bite, maple syrup adds sweetness, and vanilla rounds everything out.
Because the fudge sets without baking, it is especially useful when you want a homemade treat without turning on the oven. The active work is approximately 15 minutes, so most of the recipe time is simply waiting for the squares to become firm.
The finished texture is dense but tender, with a clean chocolate snap when cold and a softer melt as it sits at room temperature. Cut the batch into small pieces because the flavor is concentrated and satisfying.
Ingredients You’ll Need
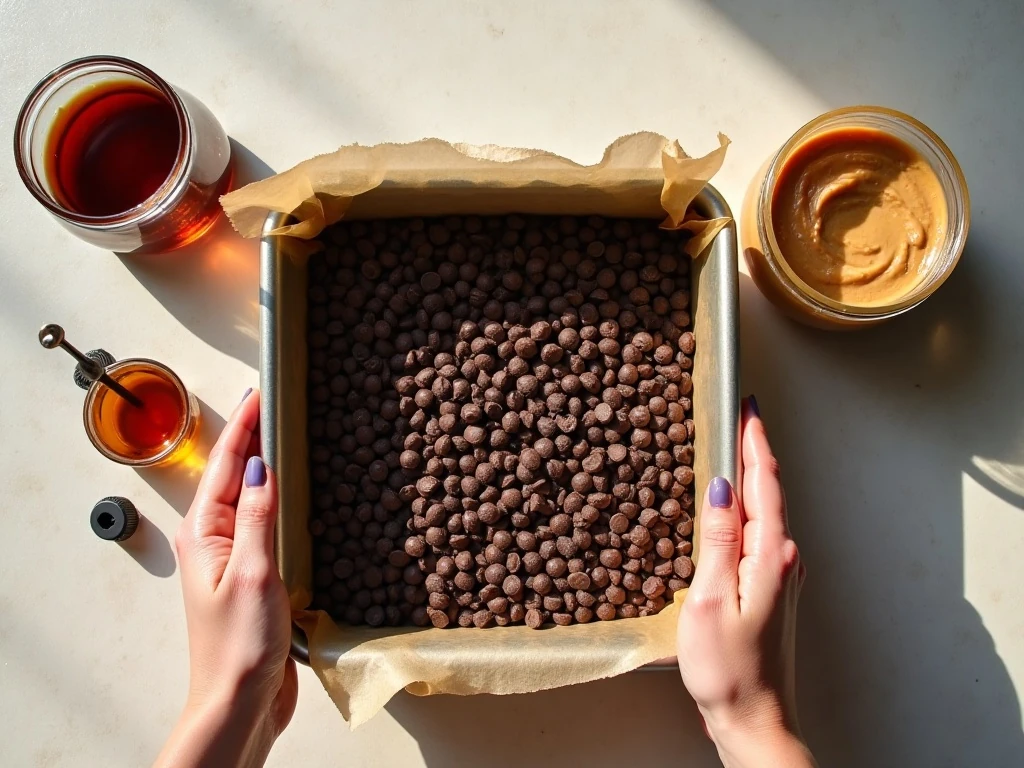
Gather the following four ingredients before you begin. Measuring them in advance keeps the melting process quick and prevents the chocolate from sitting over heat longer than necessary.
- 1 cup (170 g) dairy-free dark chocolate chips or chopped vegan chocolate: Choose a chocolate you enjoy eating because its flavor will lead the finished candy.
- 1/2 cup (120 g) smooth natural peanut butter or almond butter: The nut butter should be well stirred, creamy, and pourable rather than dry or stiff.
- 1/4 cup (60 ml) pure maple syrup: This provides sweetness and contributes to the soft, fudgy texture.
- 1 teaspoon vanilla extract: Vanilla gives the chocolate a rounded aroma and balances the nutty notes.
For the best result, use dairy-free chocolate that melts smoothly. A chopped vegan chocolate bar works just as well as chips, provided the pieces are similar in size so they melt at the same rate.
A pinch of salt or a swap to coconut butter can be used as an optional variation, but neither is required for the four-ingredient formula. Keeping the base recipe simple lets the chocolate and nut butter remain the focus.
How to Make It Step-by-Step
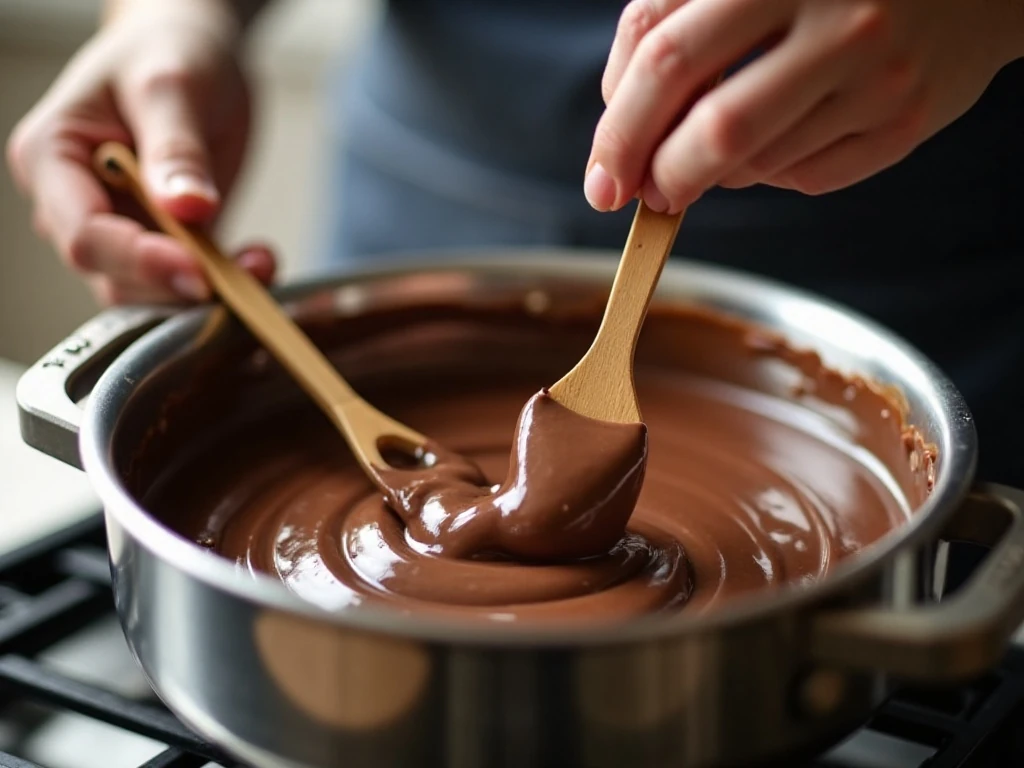
Step 1: Line an 8-inch (20-cm) square pan with parchment paper, allowing some paper to extend over two opposite sides. Press the parchment into the corners as neatly as possible, since the shape of the pan will determine the shape of your fudge squares.
Step 2: Place the dairy-free chocolate and smooth peanut butter or almond butter in a heatproof bowl over a double boiler. Warm them over low heat, stirring often, until the chocolate is almost completely melted and the mixture looks thick but fluid.
Step 3: If using a microwave, heat the chocolate and nut butter in 20- to 30-second intervals. Stir thoroughly after every interval, because the bowl may retain enough heat to finish melting the chocolate between bursts.
Step 4: Remove the bowl from the heat as soon as the mixture is smooth. Stir in the maple syrup and vanilla extract until the mixture becomes glossy and evenly combined, with no visible ribbons of syrup or pale nut butter.
Step 5: Pour the warm fudge mixture into the parchment-lined pan. Use a small spatula or the back of a spoon to spread it into an even layer, paying attention to the corners so every piece has a similar thickness.
Step 6: Refrigerate the pan for 1 to 2 hours, or place it in the freezer for about 30 to 45 minutes when you need a faster set. The fudge should feel firm across the center before you try to remove or slice it.
Step 7: Lift the chilled slab from the pan using the parchment overhang. Set it on a cutting board and slice with a warm, sharp knife, wiping the blade between cuts for tidy edges and attractive little squares.
Pro Tips for Smooth, Creamy Fudge
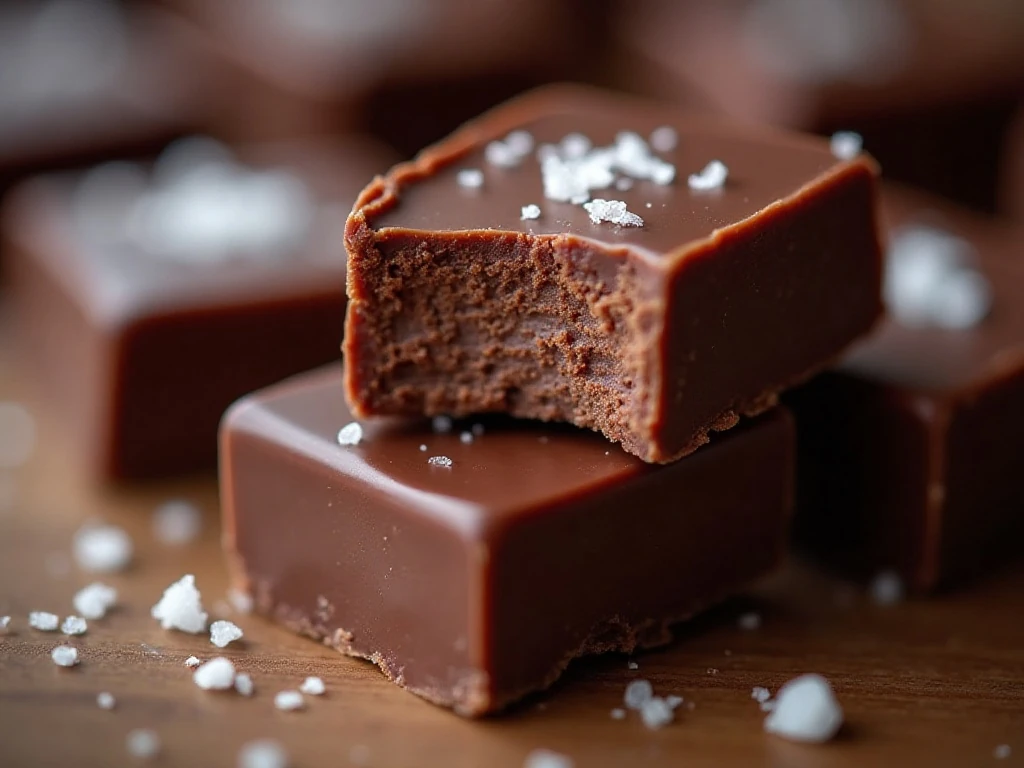
Gentle heat is the most important detail in this recipe. Chocolate can seize or turn grainy when overheated, so use low heat and stop warming as soon as the mixture is nearly melted.
If you use a microwave, short intervals are safer than one long heating period. Stirring well after each interval distributes the heat and helps the chocolate finish melting without becoming too hot.
Natural nut butter varies from jar to jar. Stir it thoroughly before measuring, and choose a smooth, pourable consistency; very dry nut butter can make the candy crumbly, while excess oil can leave it oily.
For the cleanest cuts, chill the fudge thoroughly and warm a sharp knife under hot water. Dry the blade, make one confident cut, and repeat, warming and wiping the knife as needed.
If you are preparing a dessert spread with several textures, these squares pair nicely with a light, fluffy fruit dessert such as our easy ambrosia salad. The contrast between creamy fruit and rich chocolate makes a welcoming party plate.
Serving Ideas and Variations
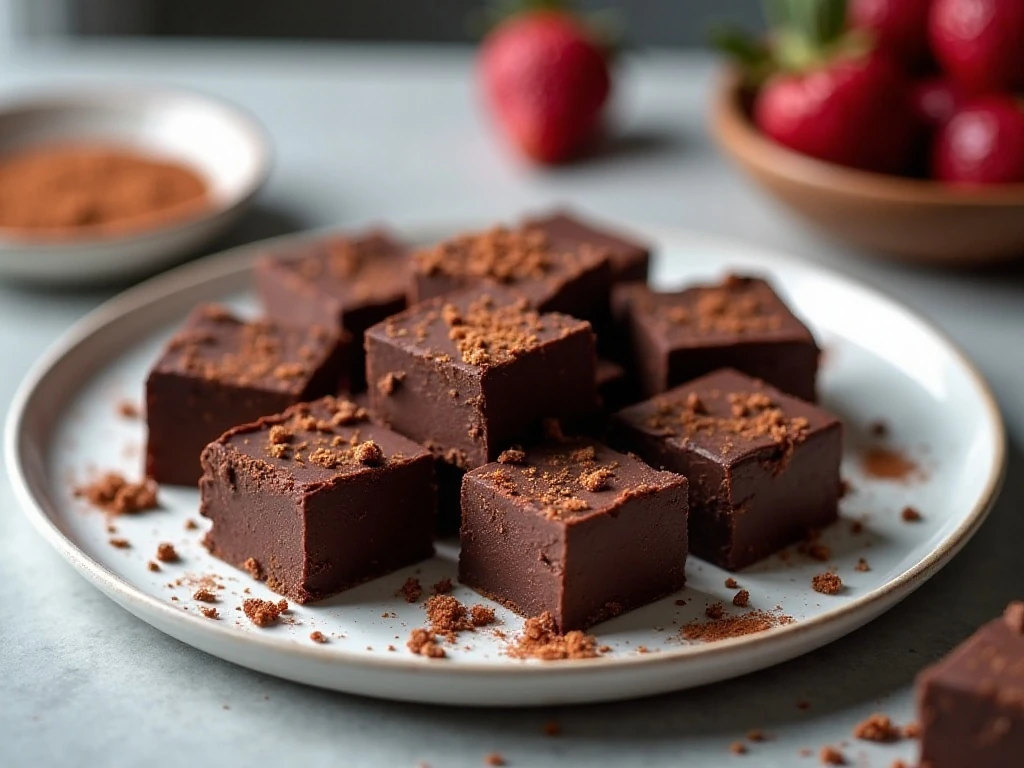
Serve the fudge chilled for the firmest bite, or let it stand at room temperature briefly for a softer, more melt-in-the-mouth texture. Small squares look polished on a candy board alongside fresh berries, toasted nuts, or dairy-free cookies.
For a simple finishing touch, sprinkle the top with a very small pinch of salt before chilling, if desired. You can also use almond butter instead of peanut butter for a milder flavor, or try coconut butter as an optional alternative.
Keep the chocolate dairy-free and check the labels of every packaged ingredient if the fudge is being served to someone with allergies or strict dietary requirements. Peanut butter and almond butter are not interchangeable for allergy purposes, so label the batch clearly.
This candy also makes a thoughtful edible gift. Cut the chilled fudge into uniform pieces, place parchment between layers, and package it in a small airtight box or treat bag.
For a larger dessert table with savory options, balance the sweetness with a warm bowl of cabbage and sausage soup served earlier in the meal. A hearty main course followed by small chocolate squares creates a comforting menu.
Storage and Make-Ahead Advice
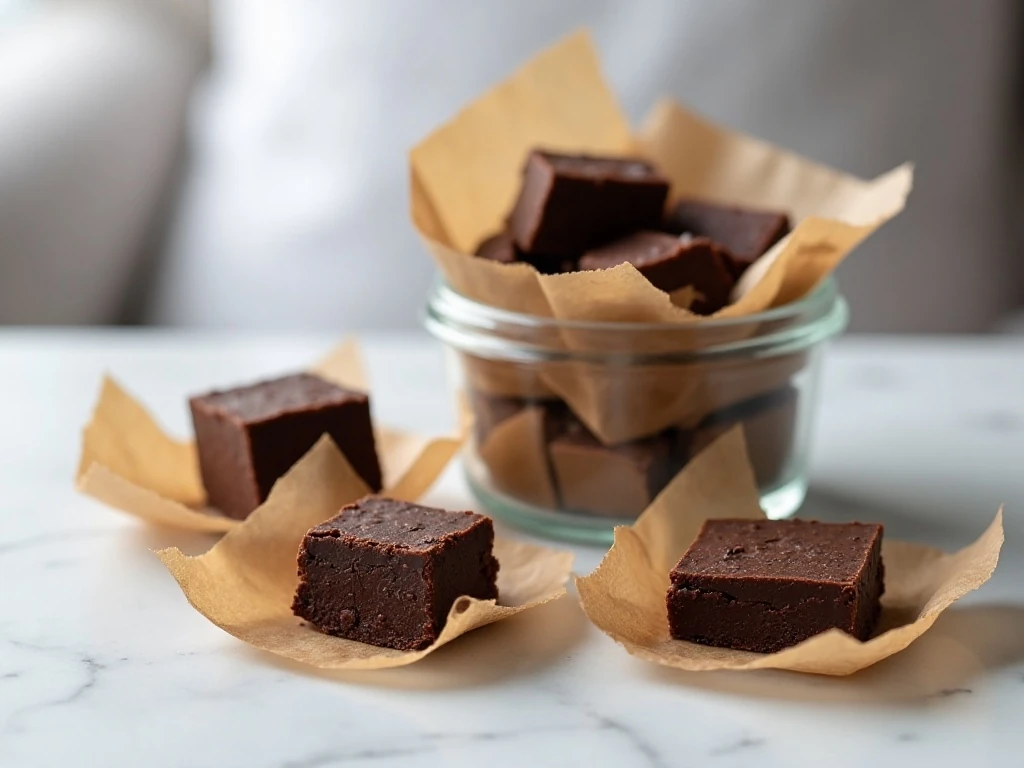
Store the finished fudge in an airtight container in the refrigerator for about 1 to 2 weeks. Separate layers with parchment paper so the pieces do not stick together or lose their neat edges.
The fudge can also be frozen for approximately 2 to 3 months. Wrap the pieces well or place them in a freezer-safe airtight container, then thaw them in the refrigerator before serving.
When making it ahead for a gathering, prepare the fudge the day before. Overnight chilling gives the slab plenty of time to firm and makes cutting easier, especially if the kitchen is warm.
Keep the squares cool until serving because the nut butter and chocolate soften at room temperature. If the pieces become too soft, return them to the refrigerator for a short time.
Troubleshooting Common Problems
If the mixture looks grainy, the chocolate may have been overheated. Remove it from the heat immediately and stir gently; keeping the bowl warm but not hot can sometimes help the mixture become smoother.
If the fudge seems oily, the nut butter may have contained excess separated oil. Next time, stir the jar completely before measuring, and avoid adding liquid oil to the recipe.
If the finished squares crumble, the nut butter may have been unusually dry, or the chocolate mixture may not have been fully blended. Use a creamy nut butter and stir the maple syrup in thoroughly while the mixture is still warm.
If the fudge is too soft to cut, chill it longer. Refrigerator temperatures vary, and a full 2 hours may be needed for a firm center; the freezer method is useful when you need a quicker set.
For another chocolate candy idea, compare the texture and presentation with our chocolate-covered marshmallows. Both are easy additions to a homemade sweets platter, though this fudge has a denser, richer bite.
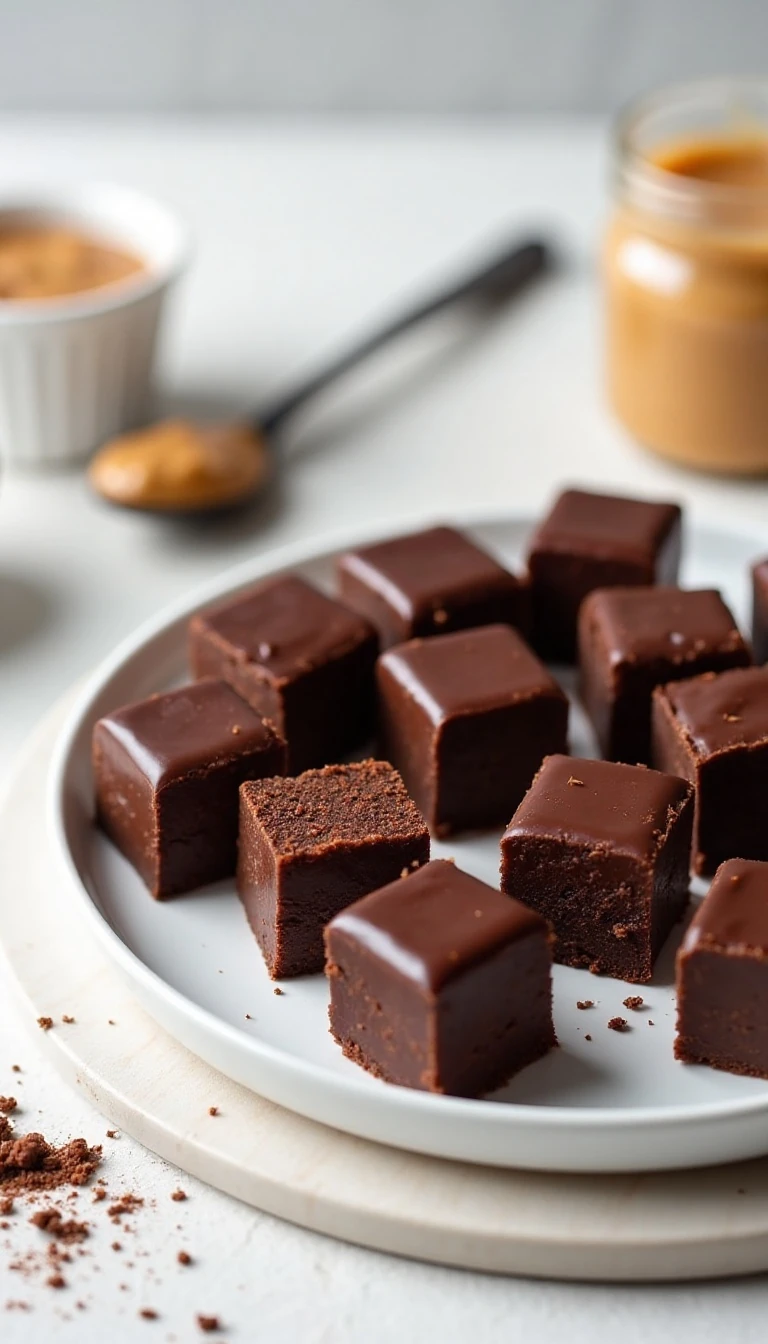
Easy 4-Ingredient Chocolate Vegan Fudge
Ingredients
Method
- Line an 8-inch (20-cm) square pan with parchment paper, leaving paper overhanging on two sides. This sling will let you lift the chilled fudge out easily.
- Melt the dairy-free chocolate and nut butter together gently in a double boiler, or microwave them in 20- to 30-second intervals, stirring after each interval. Continue only until smooth and fluid.
- Remove the chocolate mixture from the heat and stir in the maple syrup and vanilla extract. Mix until the fudge base is glossy, evenly blended, and free of streaks.
- Pour the mixture into the lined pan and spread it into an even layer. Refrigerate for 1 to 2 hours, or freeze for about 30 to 45 minutes, until firm.
- Lift the fudge from the pan using the parchment handles and place it on a cutting board. Use a warm, sharp knife to cut it into approximately 16 small squares.
Notes
Final Thoughts
This easy 4-ingredient chocolate vegan fudge is a reliable candy recipe for beginners and experienced home cooks alike. With one pan, a few minutes of melting, and a little chilling time, you get rich chocolate squares that taste far more elaborate than the method suggests.
Use quality dairy-free chocolate, well-stirred nut butter, and gentle heat for the smoothest result. Once chilled and sliced, the fudge is ready for gifting, sharing, or keeping in the refrigerator for a small sweet treat whenever you want one.