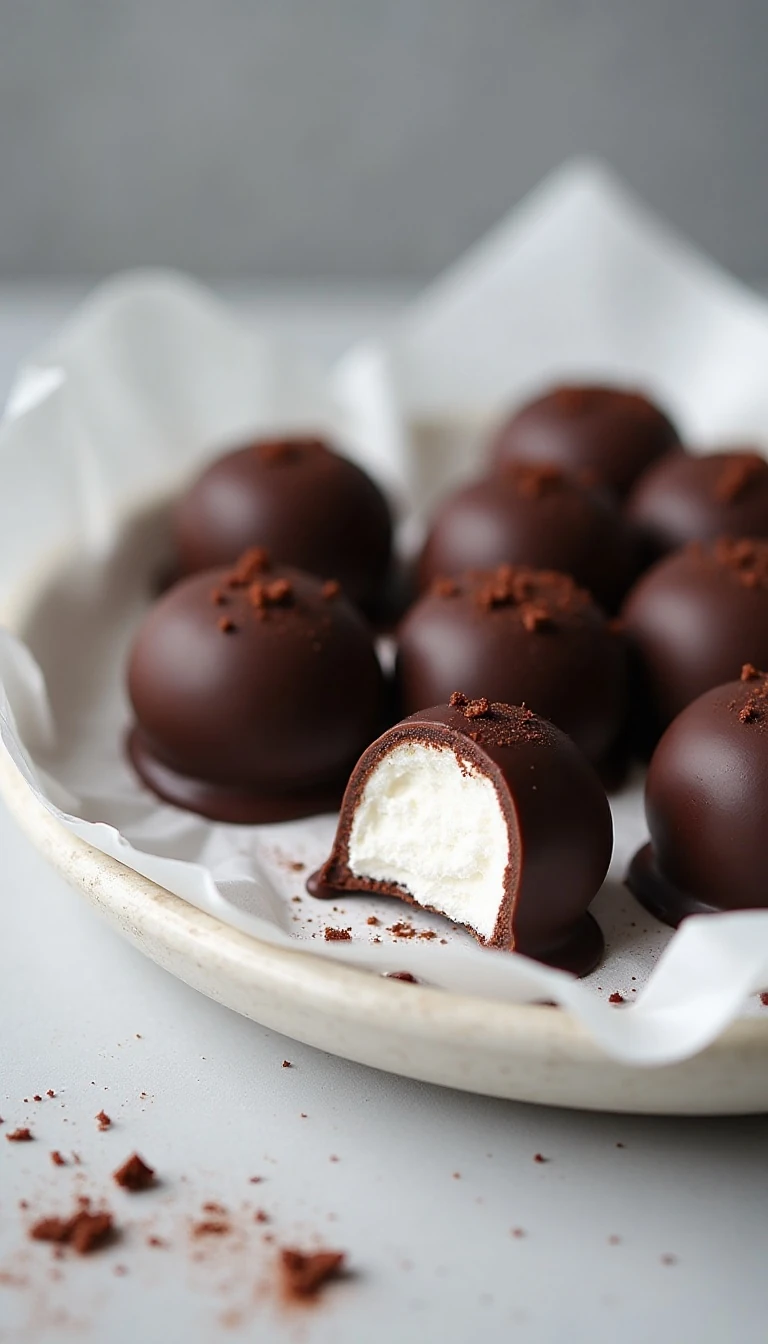
This sugar-free keto chocolate covered marshmallows recipe makes about 24 small, pillowy marshmallows using allulose, unflavored gelatin, and vanilla, then finishes them with a crisp shell of sugar-free dark chocolate. The marshmallows need about 25–35 minutes of active preparation, 2–4 hours to set, and another 15–20 minutes for dipping.
Each bite has a soft, bouncy center and a satisfying chocolate snap. Allulose keeps the marshmallow tender and less gritty than erythritol, while refined coconut oil or cocoa butter helps the chocolate flow smoothly and set into a beautiful coating.
Jump to RecipeWhy You’ll Love This Recipe
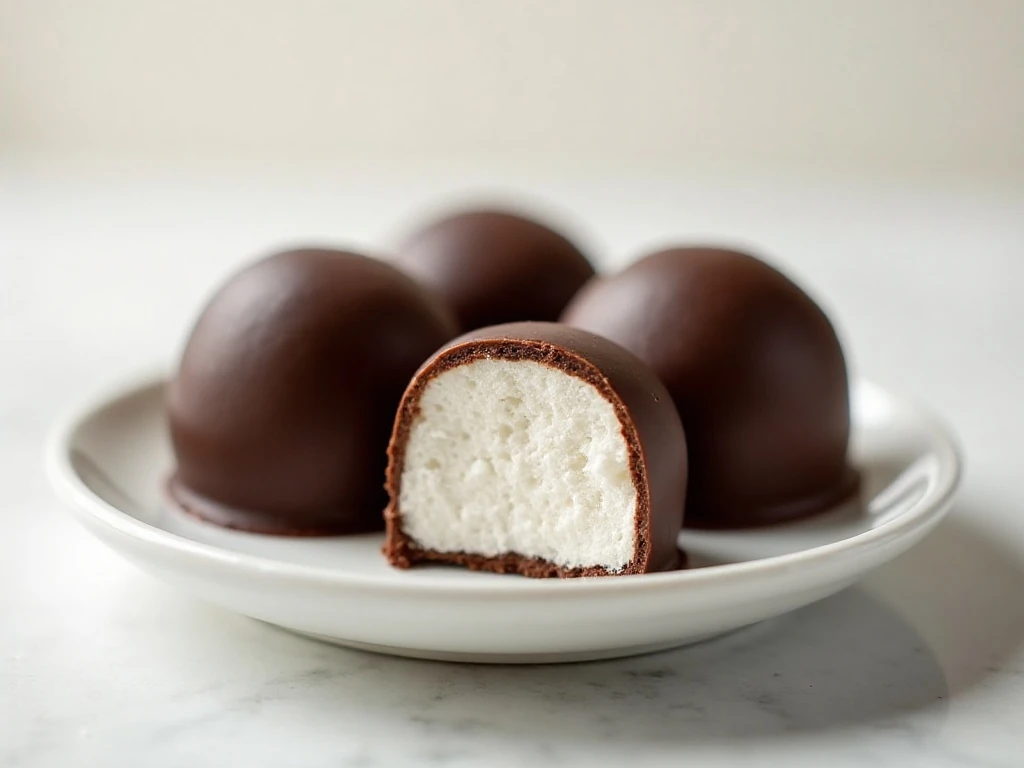
These homemade marshmallows are a fun answer to chocolate cravings when you are following a keto-style, sugar-free eating plan. They are soft enough to feel like a classic marshmallow but rich enough to satisfy after being dipped in dark chocolate.
The contrast is especially tempting: a cool, springy center gives way to a thin chocolate shell that breaks softly between your teeth. The recipe also makes a generous batch, so you can enjoy a few now and keep the rest chilled for later.
If you enjoy making small-batch sweets, you may also like this single-serving chocolate chip cookie for a quick baked treat.
Ingredients You’ll Need
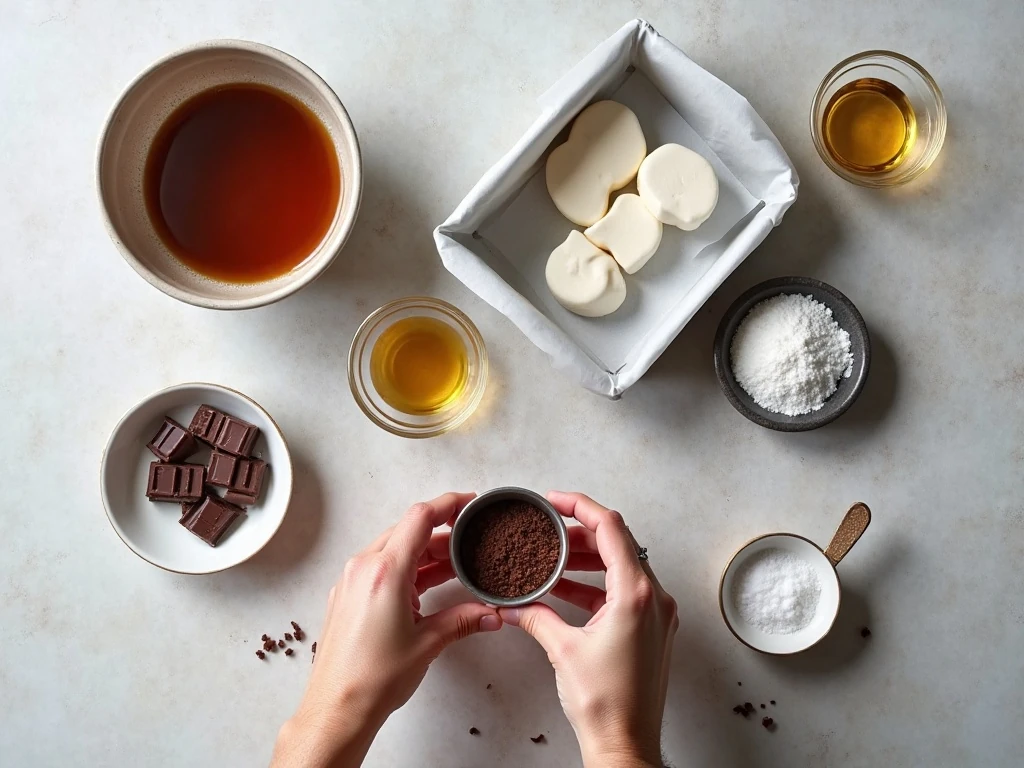
The marshmallow base relies on just a few important ingredients. Powdered gelatin provides structure, while allulose supplies sweetness and helps the finished texture stay soft rather than gritty.
- Gelatin: Use approximately 3 standard packets, or 3 tablespoons of unflavored powdered gelatin. Flavored gelatin dessert mix is not an appropriate substitute.
- Allulose: Granulated allulose is preferred because it is less likely than erythritol to crystallize and make the marshmallows firm or gritty.
- Flavorings: Vanilla and a small amount of salt round out the sweetness. Peppermint extract is optional and gives the chocolate coating a refreshing finish.
- Chocolate: Choose chips or chopped chocolate specifically labeled sugar-free or keto. Many ordinary dark chocolates still contain a substantial amount of sugar.
- Fat: Refined coconut oil keeps the chocolate fluid with little coconut flavor. Cocoa butter is another option and produces a firmer shell.
Check the nutrition label on your chosen chocolate because carbohydrate counts and sweeteners vary from one brand to another.
How to Make It Step-by-Step
Step 1: Prepare an 8-inch square pan by lining it with parchment and leaving an overhang for lifting. Lightly grease the parchment with neutral oil or nonstick spray so the sticky marshmallow slab releases more easily.
Step 2: Bloom the gelatin in 1/4 cup cold water in the bowl of a stand mixer. Sprinkle it over the water instead of dumping it in one pile, then wait 5–10 minutes for every granule to hydrate.
Step 3: Combine the remaining 1/4 cup water with the allulose in a small saucepan. Heat over medium heat until dissolved, bring it to a simmer, and cook to approximately 240°F (115°C), taking care not to boil it for a prolonged time because allulose can brown.
Step 4: Slowly pour the hot syrup into the bloomed gelatin while the mixer runs on low. Once the syrup is incorporated, turn the mixer to high and whip for 8–12 minutes until the mixture becomes thick, glossy, and greatly increased in volume.
Step 5: Add vanilla and salt, plus peppermint extract if desired. Mix only until the flavorings disappear into the fluffy base, since the mixture will begin setting as it cools.
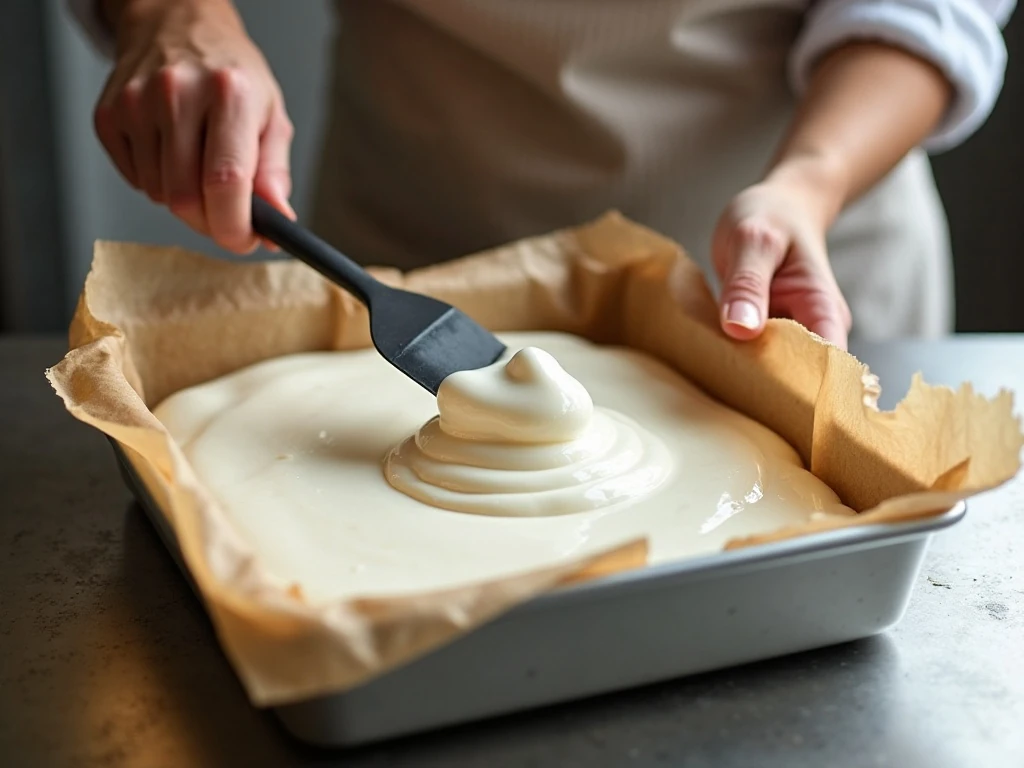
Step 6: Work quickly to transfer the marshmallow into the prepared pan. Smooth the top with a lightly oiled spatula, using gentle strokes to create an even slab.
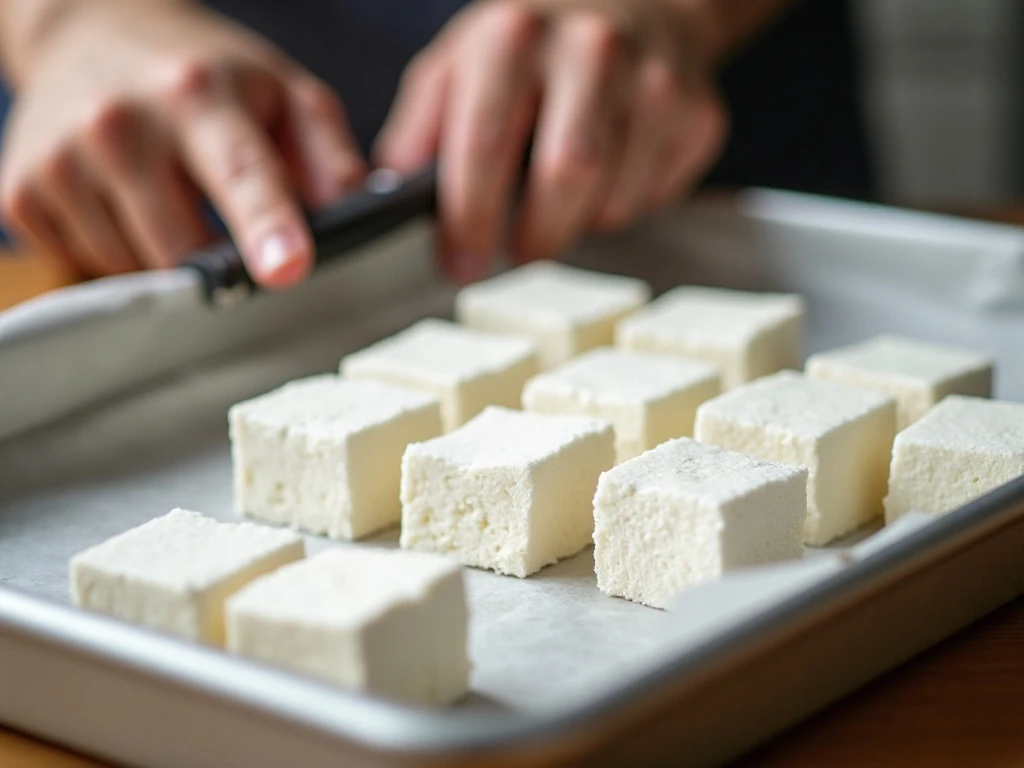
Step 7: Let the marshmallow set for 2–4 hours in the refrigerator or at cool room temperature. Once firm, lift it from the pan and cut it into 24 pieces with a lightly greased knife.
Step 8: Chill the cut pieces for 15–20 minutes before dipping. The short rest makes the centers less delicate and helps you create a cleaner chocolate coating.
Step 9: Melt the sugar-free chocolate with the coconut oil or cocoa butter in short microwave intervals, stirring after each one. You can also use a double boiler, but keep steam and water away from the chocolate.
Step 10: Dip each marshmallow, allow extra chocolate to drip off, and set it on parchment. Refrigerate the finished pieces for 10–15 minutes until the coating is firm.
Chef’s Tips for Soft, Clean Marshmallows
Fully blooming the gelatin is one of the most important details. If the gelatin is poorly hydrated, the mixture may turn lumpy or fail to develop the strong, airy structure needed for neat squares.
Have the pan, spatula, thermometer, and flavorings ready before you begin whipping. The marshmallow mixture sets quickly once it cools, so moving with purpose makes spreading much easier.
Lightly oil tools rather than heavily greasing them. A thin film on the spatula and knife prevents sticking without leaving an oily surface on the finished candy.
For a festive variation, use peppermint extract in the base and sprinkle a tiny amount of crushed sugar-free peppermint candy over the wet chocolate. Always confirm that the garnish fits your dietary needs and the nutrition label of your chosen products.
Chocolate Coating Tips

A smooth coating begins with gentle heat. Microwave the chocolate in short intervals, stirring thoroughly each time, because residual heat will continue melting the chips even after the bowl leaves the microwave.
Cocoa butter gives a slightly firmer shell, while refined coconut oil creates a fluid coating that is easy to dip. Either option works well, and neither should overpower the vanilla marshmallow.
If the chocolate becomes thick while you work, warm it briefly and stir rather than adding a large amount of oil. Dip one marshmallow as a test to check the consistency before coating the entire batch.
For a varied dessert table, these treats can sit beside a richer baked dessert such as this vanilla poke cake with salted caramel. Keep the marshmallows chilled until close to serving time so the shell stays crisp.
Storage and Serving Suggestions
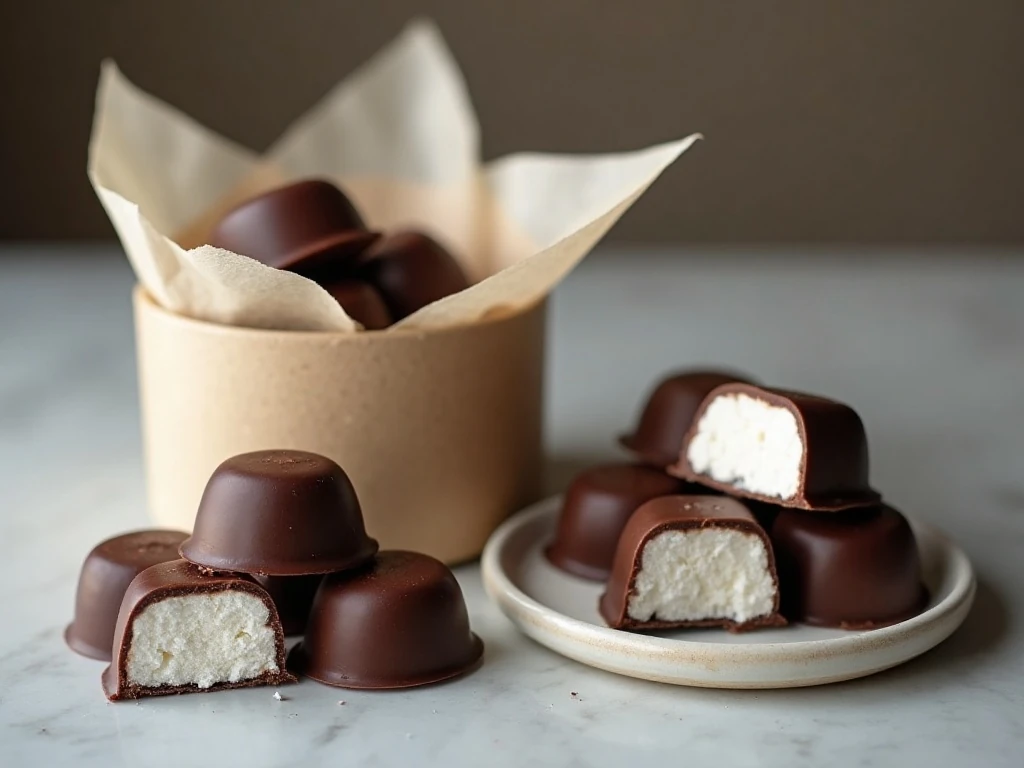
Store the chocolate-covered marshmallows in an airtight container in the refrigerator for up to about 1 week. Place parchment between layers to keep the chocolate coating from sticking to the pieces above it.
Let a few pieces sit at room temperature for several minutes before eating if you prefer a softer chocolate shell. They are also delicious served cold, when the chocolate has its firmest snap.
Serve them with coffee, unsweetened tea, or a warm low-carb drink. They make a charming addition to a holiday tray, movie-night plate, or small dessert spread.
For a savory dinner before dessert, you can browse this vegetarian taco casserole as a hearty meal option.
Sugar-Free Keto Chocolate Covered Marshmallows
Ingredients
Method
- Line an 8-inch square pan with parchment paper, leaving some overhang on two sides for lifting. Lightly grease the parchment and any exposed pan surface with neutral oil or nonstick spray.
- Pour 1/4 cup cold water into the bowl of a stand mixer and sprinkle the gelatin evenly over it. Let it stand for 5–10 minutes so the gelatin fully blooms and hydrates.
- Add the remaining 1/4 cup water and the allulose to a small saucepan. Warm over medium heat, stirring until dissolved, then bring the syrup to a simmer and cook until it reaches approximately 240°F (115°C), avoiding prolonged boiling because allulose can brown.
- Set the mixer to low and slowly pour the hot allulose syrup into the bloomed gelatin. Increase the speed to high and whip for approximately 8–12 minutes, until the mixture is thick, glossy, and substantially larger in volume.
- Beat in the vanilla extract and fine salt, adding the peppermint extract too if you want a mint flavor. Scrape the bowl briefly so the flavorings are evenly distributed without deflating the mixture.
- Immediately spread the marshmallow mixture into the prepared pan. Use a lightly oiled spatula to smooth the top because the mixture begins setting as it cools.
- Refrigerate the pan or leave it at cool room temperature until firm, usually 2–4 hours. Lift the slab using the parchment overhang and cut it into 24 small pieces with a lightly greased knife.
- For cleaner dipping, chill the cut marshmallows for 15–20 minutes before coating. This brief chill helps them hold their shape while the warm chocolate is applied.
- Melt the sugar-free chocolate and coconut oil or cocoa butter together in short microwave intervals, stirring between each interval, or melt them gently over a double boiler. Stop heating as soon as the mixture is smooth to prevent scorching.
- Dip each marshmallow into the melted chocolate, turning it with a fork or dipping tool until coated. Let excess chocolate drip back into the bowl, then place the marshmallow on parchment.
- Refrigerate the coated marshmallows for 10–15 minutes, or until the chocolate shell is set. Store the finished treats in an airtight container in the refrigerator for up to about 1 week, separating layers with parchment.
Notes
Final Thoughts
This sugar-free keto chocolate covered marshmallows recipe turns simple pantry ingredients into a special homemade confection. Allulose keeps the centers tender, gelatin creates their signature bounce, and sugar-free chocolate adds a rich shell with plenty of contrast.
Give the marshmallow slab enough time to set, chill the pieces before dipping, and use gentle heat for the chocolate. With those details in place, you will have about 24 glossy, soft-centered treats ready for sharing or storing throughout the week.