To can water safely for emergencies, begin with 7 quarts of potable water from a safe municipal, filtered, or commercially bottled source. Fill seven clean, hot 1-quart jars, leaving 1 inch of headspace, then process them in a boiling-water canner for 20 minutes after the water returns to a full rolling boil. Cool the jars undisturbed for 12–24 hours, check the seals, label them, and store them in a cool, dark, dry place.
This method gives you a neatly portioned backup water supply with no salt, sugar, or other additives. The finished water should be clear, fresh, and neutral in taste, but remember that canning does not purify contaminated water; home-canned water is an emergency reserve, while commercially bottled water and clean food-grade containers are generally preferred for routine emergency storage.
Jump to RecipeWhy You’ll Love This Recipe
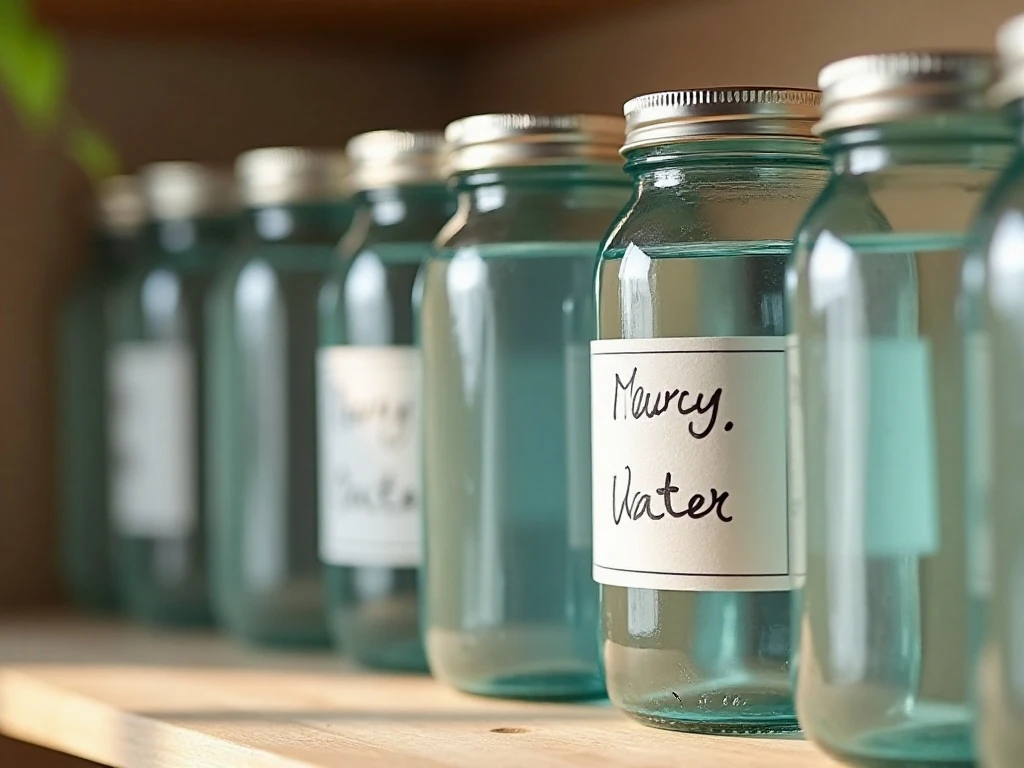
Emergency planning often focuses on food, batteries, and first-aid supplies, while water receives less attention. Preparing water in sealed, labeled jars creates an orderly backup that can be stored alongside other household provisions.
Each quart jar is easy to lift, inspect, and distribute. The jars also let you see the water clearly, which makes it easier to notice cloudiness, particles, leaks, or other changes before use.
There is nothing to season or sweeten here. Plain water is the goal, so the ingredient list stays wonderfully simple and the finished supply can be used for drinking, cooking, mixing beverages, or basic sanitation when needed.
This method uses a boiling-water canner, not a pressure canner. For everyday preparedness, follow local emergency-management recommendations, and consider commercially bottled water or clean food-grade containers as your primary supply.
While you are organizing a home pantry, a practical meal such as our easy steak frites can help you use other stored ingredients before they reach the end of their best quality.
Ingredients You’ll Need
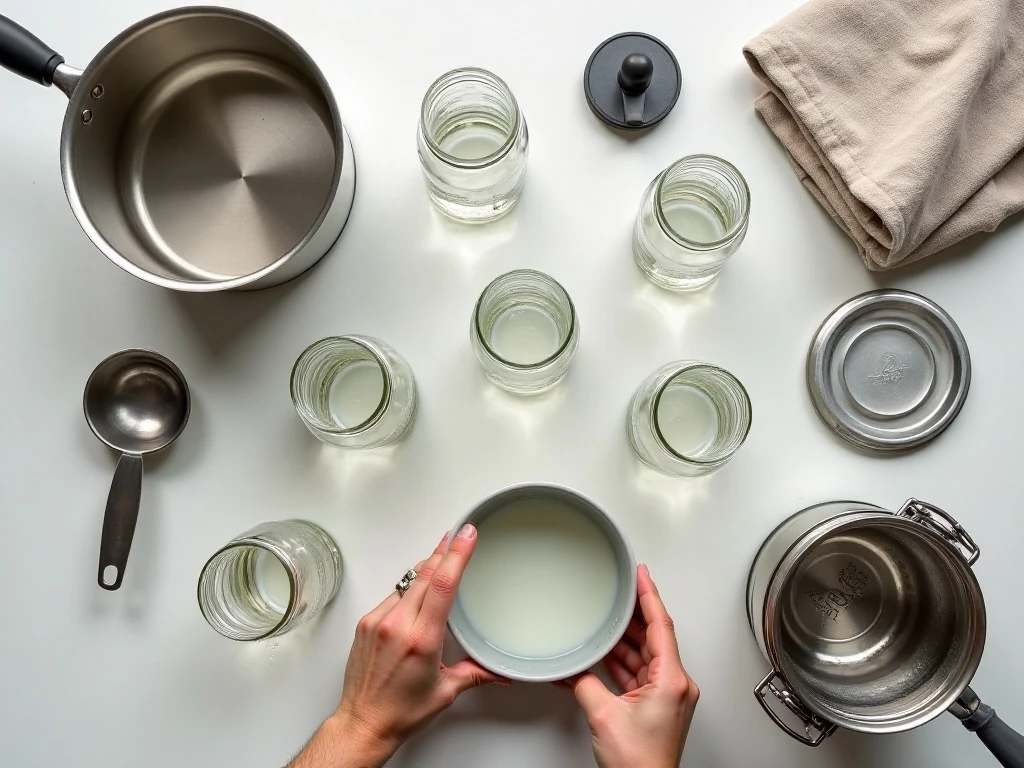
The only ingredient is 7 quarts of potable water, enough to fill one standard 7-quart canner load of 1-quart jars. Choose water from a safe municipal, filtered, or commercially bottled source, and do not begin with water that may already be contaminated.
- 7 quarts potable water
- No salt, sugar, flavoring, or other additives
Using hot water is helpful because it reduces the temperature difference between the water and the jars. Some published methods begin with room-temperature potable water and bring the filled jars up to temperature in the canner, but hot water can reduce the chance of thermal shock when handled carefully.
Gather seven clean, chip-free 1-quart canning jars, seven new two-piece lids, screw bands, a boiling-water canner with rack, a jar lifter, a canning funnel, and a clean cloth. Inspect every jar in bright light; even a small crack or chip can make a jar unsafe for processing.
For a sweet pantry project after your water is organized, see these cranberry walnut shortbread bars for a sturdy baked treat that stores well for short periods.
How to Make It Step-by-Step
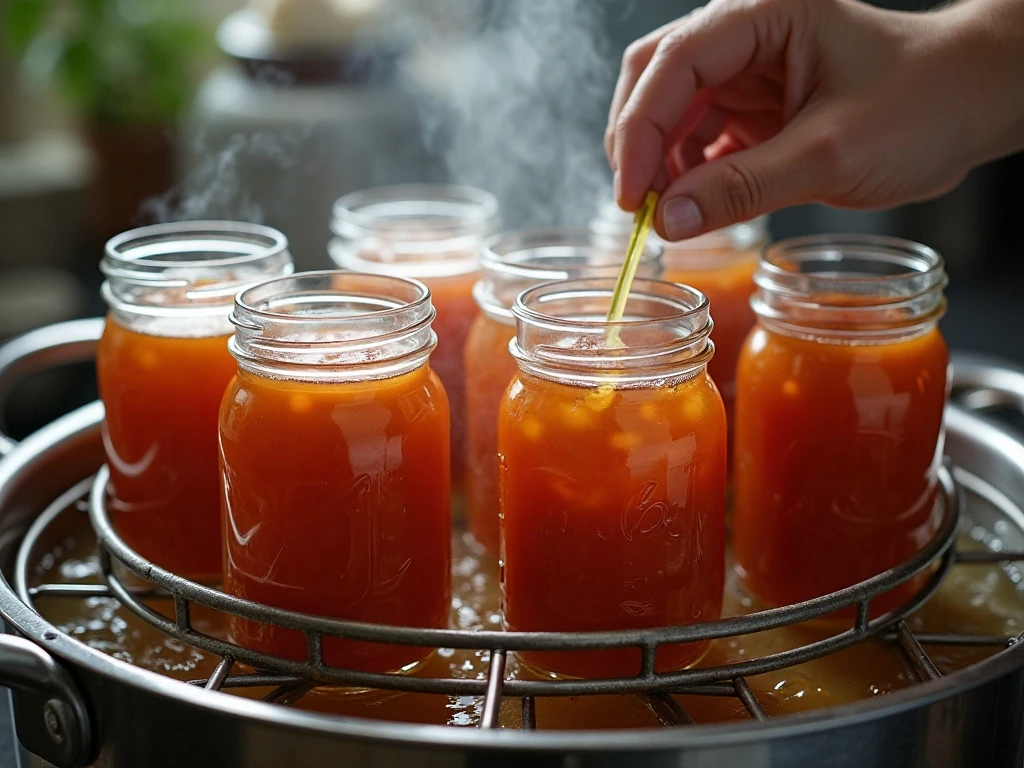
Step 1: Wash the jars thoroughly with hot, soapy water and inspect them for cracks, chips, or rough rims. Keep the clean jars hot until filling by placing them in hot water or a heated dishwasher; avoid filling a cold jar with boiling water.
Step 2: Wash the lids and screw bands, following the lid manufacturer’s instructions. Modern sealing lids generally should not be boiled unless the manufacturer specifically permits it, because excessive heat may affect the sealing compound.
Step 3: Bring 7 quarts of potable water to a boil in a clean pot. Keep the water hot while you arrange the jars, funnel, ladle, jar lifter, and cloth so the filling process is steady and organized.
Step 4: Place the funnel in the first hot jar and fill it with hot water, stopping when 1 inch of headspace remains between the water and the rim. Repeat with the remaining six jars, checking the headspace rather than estimating it.
Step 5: Slide a nonmetallic bubble remover or clean utensil around the inside of each jar to release trapped air. Wipe every rim carefully with a clean, damp cloth, then center a lid on the jar and tighten the screw band fingertip-tight; do not force it.
Step 6: Put the filled jars upright on the canner rack, leaving space between them so boiling water can circulate. Lower the rack into the canner and add water until the jars are covered by at least 1 inch.
Step 7: Cover the canner and bring the water back to a full rolling boil. Once that boil is established, begin timing and process for 20 minutes, keeping the boil steady and replacing a little boiling water if necessary to maintain the required coverage.
Step 8: Turn off the heat when the 20 minutes are complete, remove the canner lid, and wait about 5 minutes. This brief pause helps reduce the temperature shock that can occur when very hot jars are moved into cooler air.
Step 9: Use the jar lifter to remove each jar straight up without tilting it. Set the jars on a folded towel or cooling rack away from drafts, leaving space around them and resisting the temptation to retighten the bands.
Step 10: Allow the jars to cool undisturbed for 12–24 hours. After cooling, press the center of each lid to check that it is firmly sealed, remove the screw bands if desired for storage, wash the jar exteriors, and label each jar with the date.
Step 11: If a lid has not sealed, refrigerate that jar and use the water promptly, or reprocess the water with a new lid. Do not store an unsealed jar as part of your long-term emergency reserve.
For a celebratory pantry-baking idea, our rich chocolate cake is a welcome reminder that emergency preparation can still include comforting foods.
Pro Tips for Safe Water Canning
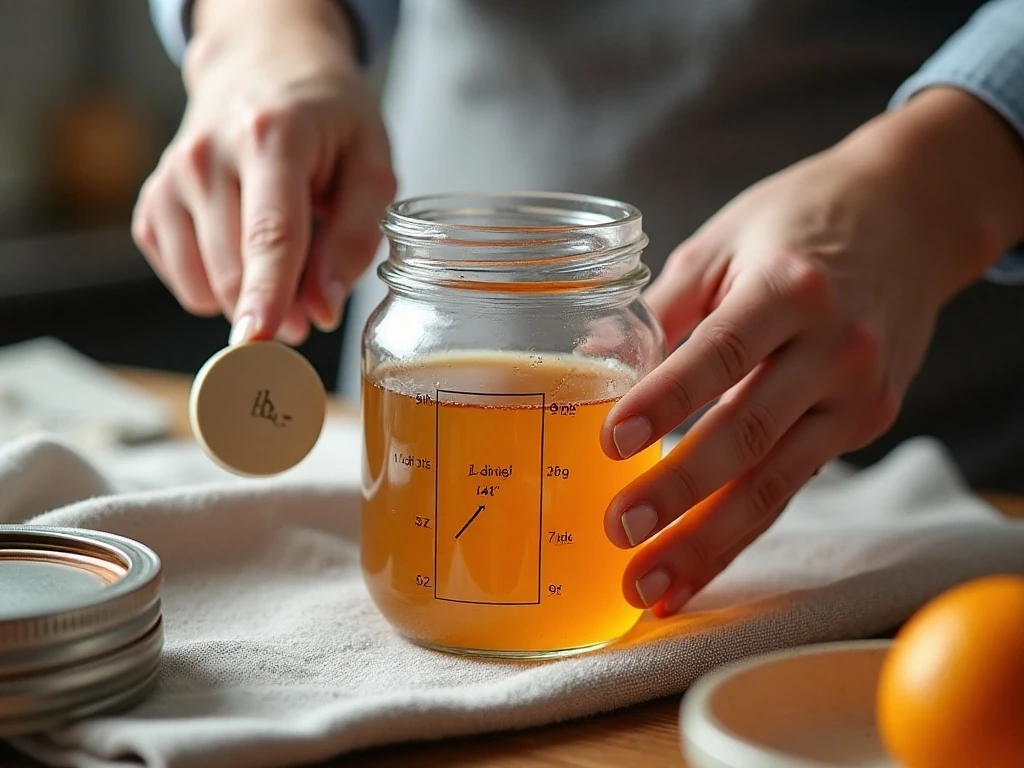
The most important rule is to start with safe water. Canning water does not purify contaminated water, remove chemicals, or make an unreliable source safe to drink.
- Use jars without chips, cracks, or damaged rims.
- Leave the complete 1-inch headspace in every quart jar.
- Use new lids and tighten the bands only fingertip-tight.
- Keep jars covered by at least 1 inch of water during processing.
- Do not place hot jars directly on a cold countertop.
- Never retighten bands while jars are cooling.
Hot jars and hot water work together to reduce thermal shock, but careful handling still matters. Sudden temperature changes, rough jar lifter movements, or placing a hot jar on a cold surface can cause breakage.
Altitude may affect the procedure. At elevations above 1,000 feet, confirm the processing-time adjustment with your state extension service, the National Center for Home Food Preservation, or another current tested canning reference.
Published directions for plain-water canning are not completely uniform; some general references mention 10 minutes, while many home-preserving directions specify 20 minutes for quarts. Do not combine times from different sources, and give current local tested guidance priority.
If you enjoy keeping homemade treats on hand, these cranberry pecan oatmeal cookies make a useful rotation-friendly baking project when your regular pantry is well stocked.
Storage and Safety Checks
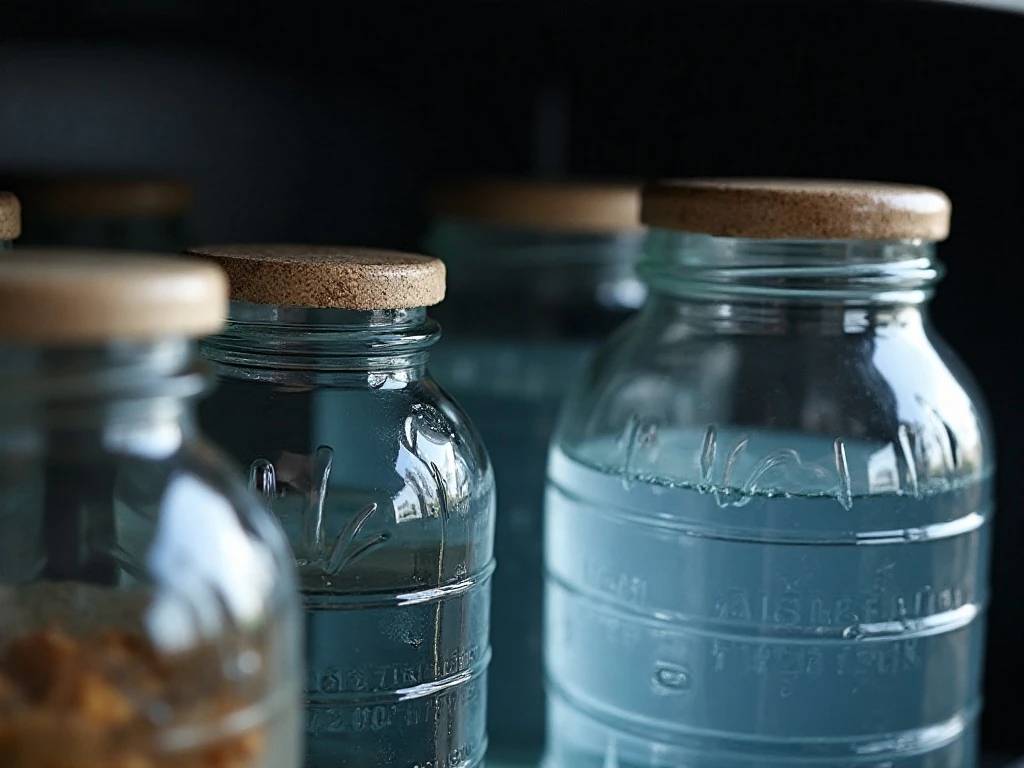
Store sealed jars upright in a cool, dark, dry place away from direct sunlight, freezing temperatures, heat sources, and heavy items that could knock them over. Keep the jars easy to reach, and record the date so you can rotate older water first.
Home-canned water should be treated as emergency reserve stock rather than a replacement for your household’s normal water supply. For long-term planning, follow local health-department or emergency-management recommendations; commercially bottled water generally has clearer storage guidance.
Inspect every jar immediately before use. Discard water from any jar with cracked glass, a leaking or bulging lid, mold, an unusual odor, cloudiness that was not present before, or any other sign of contamination.
A firm seal is useful, but it is not a reason to ignore visible spoilage or damaged glass. When in doubt, discard the contents rather than tasting them.
For another bright, pantry-friendly baking idea, keep our tangy lemon brownies on your dessert list for after the practical prep work is finished.

Safely Canned Emergency Water
Ingredients
Method
- Wash and inspect seven 1-quart canning jars, keeping them hot until filling. Prepare seven new two-piece lids according to the manufacturer's directions, and wash the screw bands.
- Bring 7 quarts of potable water to a boil. Hot water helps reduce thermal shock when filling hot jars.
- Using a canning funnel, fill each hot jar with the hot water, leaving a full 1 inch of headspace. Remove trapped air bubbles, wipe each rim clean, and apply the lids and bands fingertip-tight.
- Set the jars upright on the rack in a boiling-water canner. Add enough water to cover the jar tops by at least 1 inch, then cover the canner.
- Once the water returns to a full rolling boil, begin timing and process the jars for 20 minutes. Maintain a steady boil throughout processing.
- Turn off the heat, remove the canner lid, and wait about 5 minutes. Lift the jars straight up with a jar lifter and place them on a towel or cooling rack.
- Cool the jars undisturbed for 12–24 hours. Check each seal, wash the outside of the jars, label them with the date, and store them in a cool, dark, dry place.
Notes
Final Thoughts
Canning water is a straightforward backup project when you have potable water, sound jars, and a boiling-water canner. The key details are simple but important: use safe source water, leave 1 inch of headspace, process quarts for 20 minutes after a full rolling boil returns, and allow the jars to cool undisturbed for 12–24 hours.
Label every jar, rotate the supply periodically, and inspect it before drinking or cooking. Keep commercially bottled water or clean food-grade containers as part of your wider emergency plan, since home-canned water is best viewed as an additional reserve.
With careful preparation, these jars provide a tidy, visible supply for unexpected interruptions. Store them safely, follow current local guidance for your elevation, and refresh your emergency plan regularly so your household is ready before a crisis begins.