This best-ever oatmeal apple crisp recipe combines tender cinnamon apples with a buttery, brown-sugar oat topping that bakes into a wonderfully crisp finish. Made in a 9 x 13-inch baking dish, it takes just 15–20 minutes to prepare and 45–50 minutes to bake, making it an easy homemade dessert for 8–12 servings.
Every spoonful delivers juicy apples, warm cinnamon, caramel-like brown sugar, and crisp oatmeal crumbs. Serve it warm with vanilla ice cream or whipped cream for a classic comfort dessert that tastes like fall in every bite.
Jump to RecipeWhy You’ll Love This Recipe
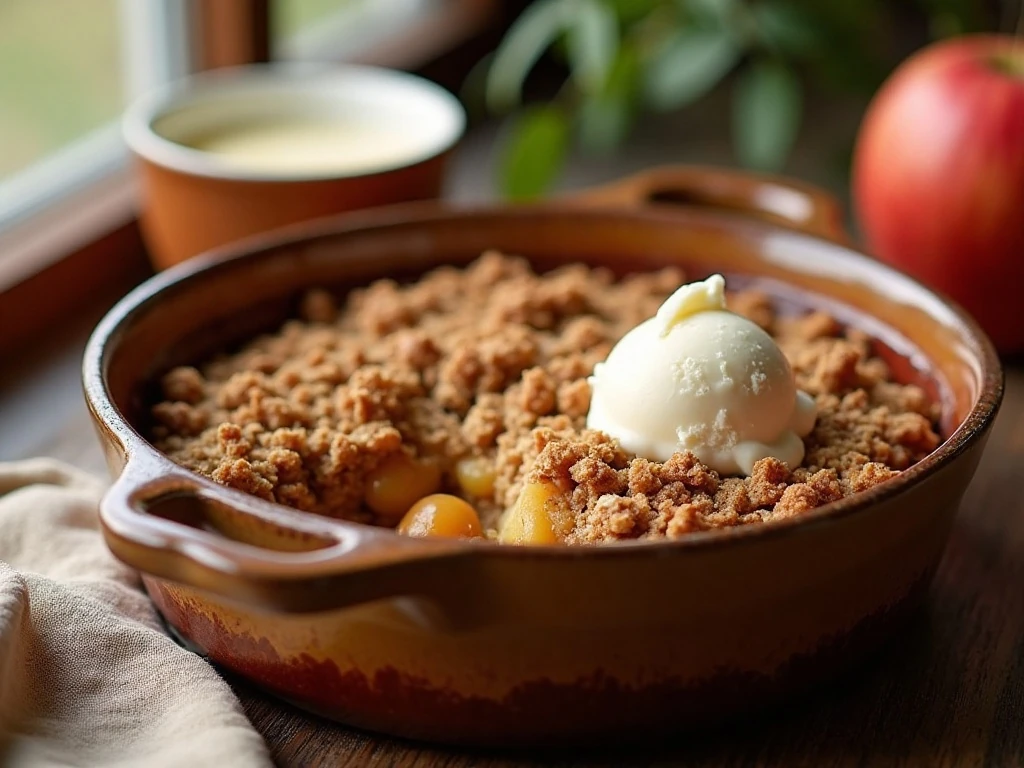
This apple crisp is the kind of dessert that feels special without requiring complicated pastry work. There is no pie crust to roll, no mixer to set up, and no elaborate decoration to manage.
The filling is simple but full of flavor: sliced apples are coated with sugar, flour, and cinnamon, then moistened with water as they bake. The flour helps the sweet apple juices thicken into a glossy, spoonable sauce.
On top, quick-cooking oats, flour, brown sugar, and melted butter form coarse crumbs that bake into a crisp, golden blanket. The contrast between soft fruit and crunchy topping is what makes this dessert so irresistible.
If you enjoy portable apple desserts, you can also try these hand pies for another cozy way to use apples.
Ingredients You’ll Need
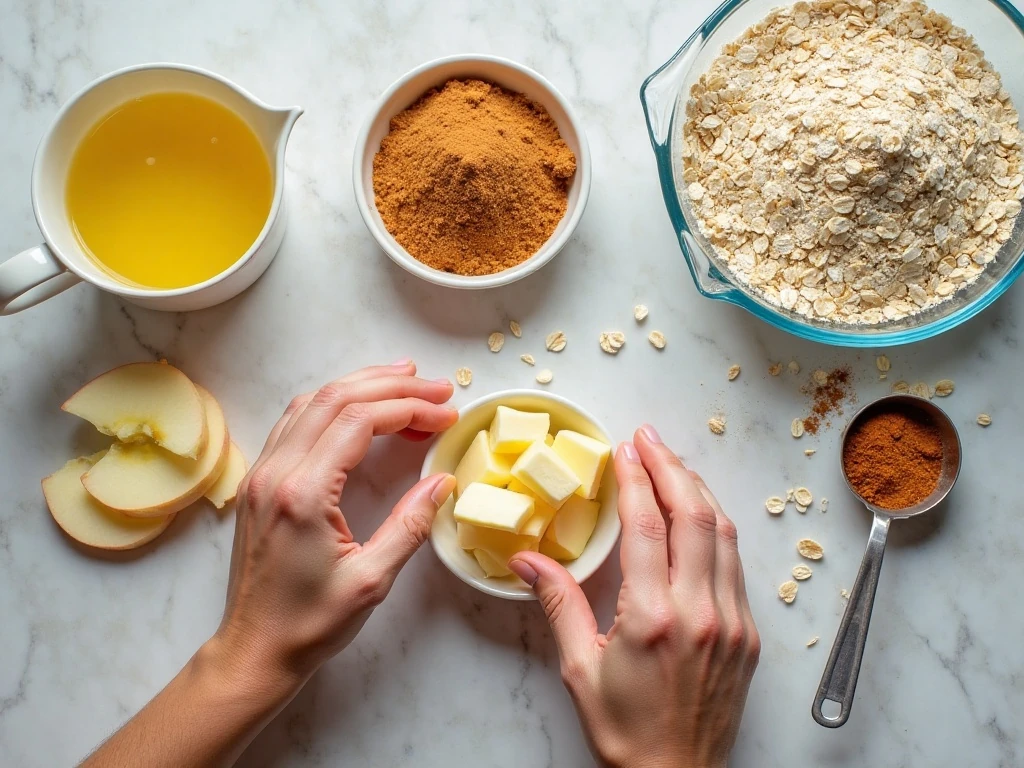
The recipe uses familiar pantry ingredients and about 10 cups of peeled, cored, sliced apples. That amount is usually about 5–6 medium apples, depending on their size and how thickly they are cut.
- Apples: Choose firm, slightly tart varieties such as Granny Smith or Cortland, or combine tart and sweet apples for a balanced filling.
- Granulated sugar: Sweetens the apples and helps draw out their juices.
- All-purpose flour: A tablespoon goes into the filling to help thicken the bubbling fruit juices, while another cup supports the crisp topping.
- Cinnamon: Adds the familiar warm spice that makes the apples taste especially comforting.
- Water: Provides moisture for the filling as it cooks.
- Quick-cooking oats: Create a fine, traditional oatmeal crisp topping.
- Light brown sugar: Brings a soft, caramel-like sweetness and beautiful color to the crumbs.
- Baking powder and baking soda: Add a light, delicate texture to the topping.
- Unsalted butter: Binds the topping ingredients and helps them brown into crisp, buttery crumbs.
For a more textured topping, old-fashioned rolled oats can replace the quick oats. Quick oats remain the traditional choice for a finer topping that spreads easily over the fruit.
For a festive apple dessert with a different format, these apple cider cupcakes are another excellent choice.
Choosing and Preparing the Apples
Firm apples are the best starting point because they hold their shape during the 45–50 minute bake. Granny Smith apples provide a bright, tart flavor, while Cortland apples bring a softer sweetness without becoming excessively mushy.
You can use one variety or mix tart and sweet apples. A combination creates a more layered flavor, especially when the fruit is covered with the buttery brown-sugar topping.
Peel the apples, cut them into quarters, remove the cores, and slice them evenly. Consistent slices help the fruit cook at a similar rate, so you get tender pieces throughout the baking dish.
Place the sliced apples directly into the lightly greased 9 x 13-inch dish. This keeps preparation streamlined and gives you one fewer bowl to wash.
How to Make It Step-by-Step
Step 1: Heat the oven to 350°F (175°C), then lightly grease a 9 x 13-inch baking dish. Greasing the dish helps with serving and makes it easier to scoop out the syrupy fruit around the edges.
Step 2: Peel, core, and slice 10 cups of apples, which is about 5–6 medium apples. Arrange the slices in the prepared dish, spreading them into an even layer so the topping can cover the fruit consistently.
Step 3: In a small bowl, stir together the granulated sugar, 1 tablespoon of all-purpose flour, and ground cinnamon. Sprinkle the mixture evenly over the apples, then pour the 1/2 cup water over the fruit so the filling begins with enough moisture to become saucy.
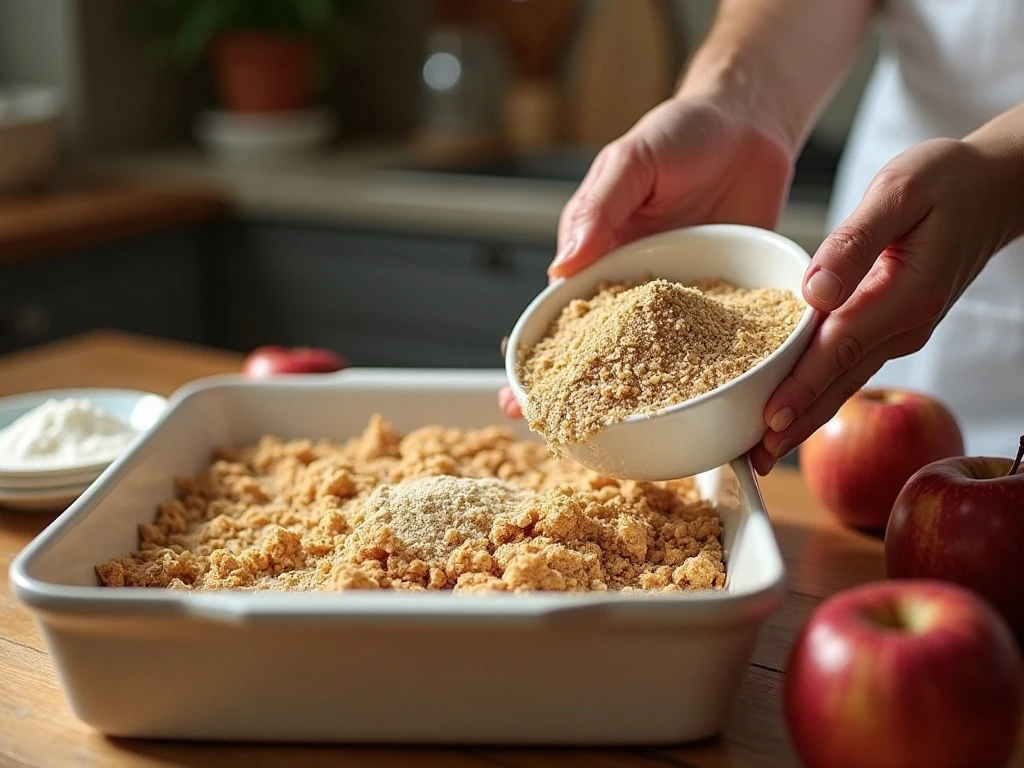
Step 4: Prepare the topping by combining the quick-cooking oats, 1 cup flour, packed light brown sugar, baking powder, and baking soda in a separate bowl. Mix thoroughly so the leavening agents and brown sugar are distributed throughout the oats and flour.
Step 5: Stir the 1/2 cup melted unsalted butter into the dry topping mixture. Continue stirring until the ingredients turn into coarse, moist crumbs rather than a smooth batter.
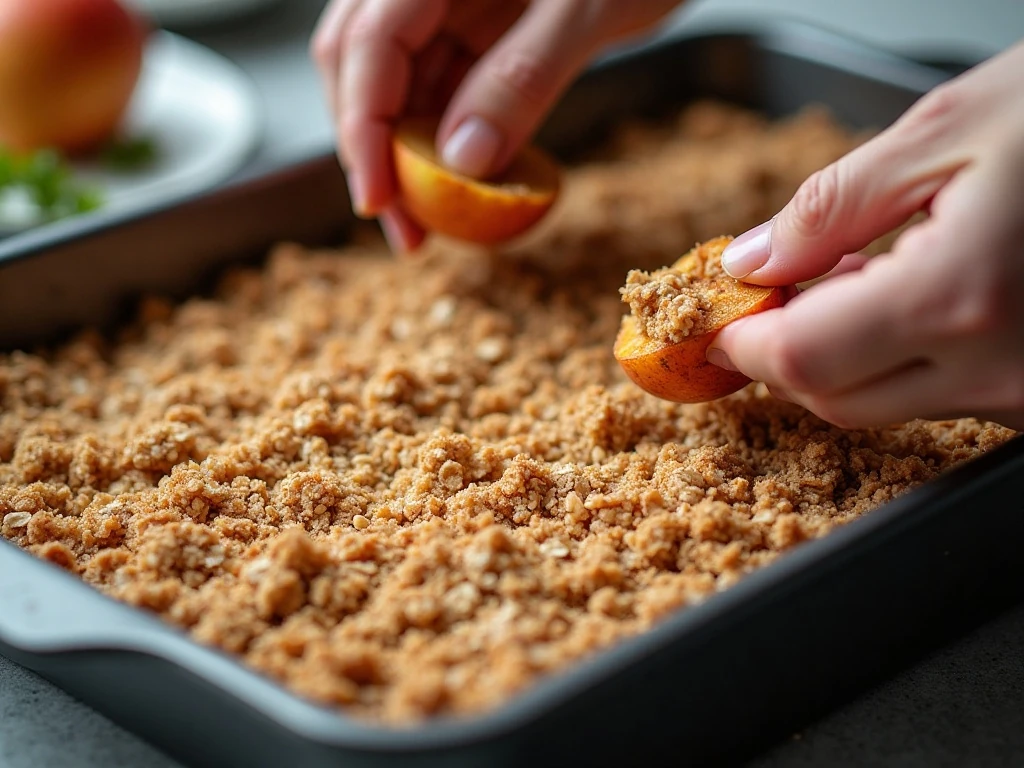
Step 6: Scatter the topping evenly over the apples, taking it all the way toward the corners of the dish. Avoid pressing it down firmly, because loose crumbs create more crisp, crunchy edges and peaks.
Step 7: Bake the crisp for 45–50 minutes, watching for tender apples, bubbling juices around the edges, and a browned topping. The visible bubbling is an important sign that the filling has cooked and the flour has thickened the fruit juices.
Step 8: Let the baked apple crisp rest for 10–15 minutes before serving. This short pause allows the hot juices to settle while the topping stays pleasantly crisp.
Pro Tips for a Crisp, Golden Topping
Measure the brown sugar by packing it firmly into the measuring cup before adding it to the bowl. This ensures the topping has the intended sweetness, moisture, and color.
Melt the butter before mixing it into the topping ingredients, but let it cool slightly if it is extremely hot. The goal is to create moist crumbs, not to turn the oats and flour into a loose, greasy mixture.
Spread the topping evenly rather than leaving large uncovered pockets of fruit. An even layer means every serving gets both tender apples and crunchy oatmeal crumbs.
Do not remove the crisp from the oven just because the topping has begun to brown. Look for bubbling around the edges as well as a crisp, browned surface; the bubbling indicates that the apple filling is fully cooking and thickening.
If you prefer a more textured bite, use old-fashioned rolled oats in place of quick-cooking oats. The result will have larger oat pieces, while quick oats create a finer and more traditional crisp topping.
For another apple treat with a flaky exterior, these glazed apple hand pies make a lovely companion recipe.
How to Serve Apple Crisp
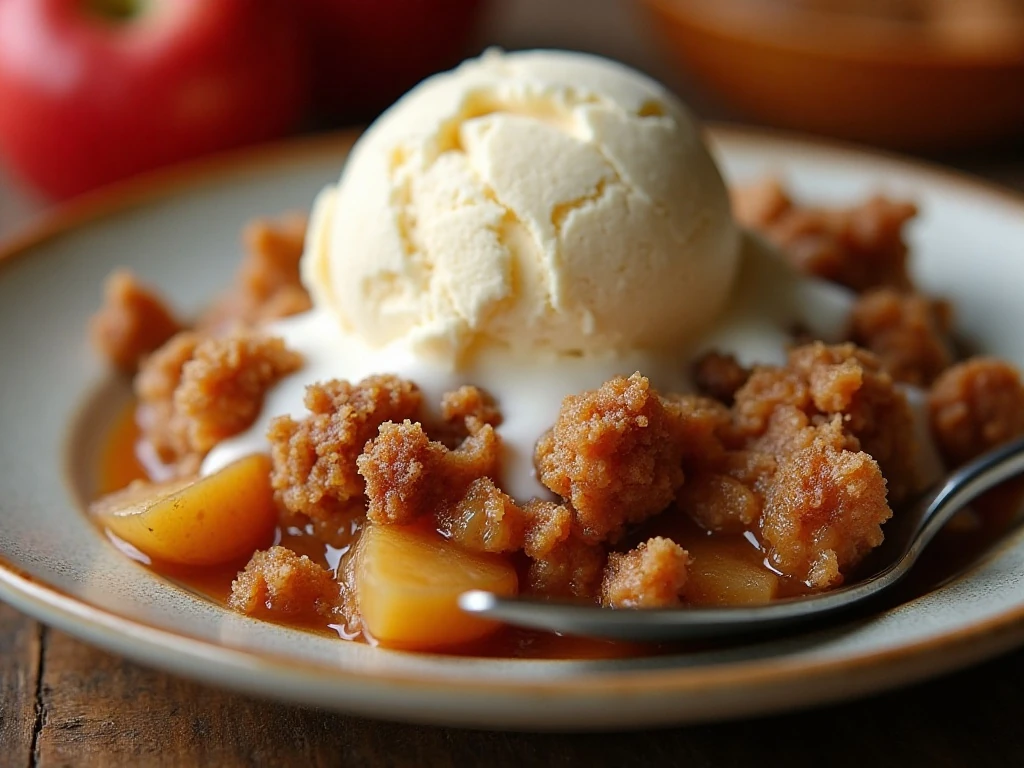
Let the crisp rest for 10–15 minutes, then spoon it into bowls while it is still warm. This timing gives the filling a chance to settle without losing the contrast between soft apples and crisp crumbs.
Vanilla ice cream is the classic topping. The cold, creamy ice cream melts into the warm cinnamon apple juices, creating a simple sauce that makes each bite especially rich.
Whipped cream is another traditional option, particularly if you want a lighter finish. Add it just before serving so it remains fluffy against the warm dessert.
You can also serve smaller portions after a family dinner or offer generous scoops for a casual gathering. With 8–12 servings, this recipe is well suited to both weeknight desserts and holiday tables.
If you are planning a larger apple-themed dessert spread, these homemade apple dumplings bring a warm, saucy style to the menu.
Storage and Reheating
Allow leftover crisp to cool, then cover the baking dish and refrigerate it. Keeping it covered protects the fruit from absorbing refrigerator odors and helps prevent the topping from drying out.
Reheat portions gently until warm. The topping may soften slightly after refrigeration, but warming the crisp restores much of its inviting texture and brings the cinnamon apple aroma back to the table.
For the best serving experience, add vanilla ice cream or whipped cream after reheating rather than before. This keeps the topping fresh and prevents the dairy garnish from melting during storage.
Common Questions
Can I use a mixture of apples? Yes. Combining firm tart apples with firm sweet apples creates balanced flavor while keeping the filling pleasantly tender.
Why is my topping not crisp? Make sure the butter is measured accurately, the crumbs are scattered rather than packed down, and the crisp bakes until the surface is browned and the fruit is visibly bubbling.
Can I use rolled oats? Yes. Old-fashioned rolled oats can replace quick-cooking oats when you want a more textured topping, although quick oats produce the finer traditional version.
Why should the crisp rest before serving? Resting for 10–15 minutes allows the bubbling fruit juices to settle and thicken slightly, making the dessert easier to serve while keeping it warm.
For a richer centerpiece dessert, this salted caramel apple cake is another delicious way to showcase the flavors of the season.
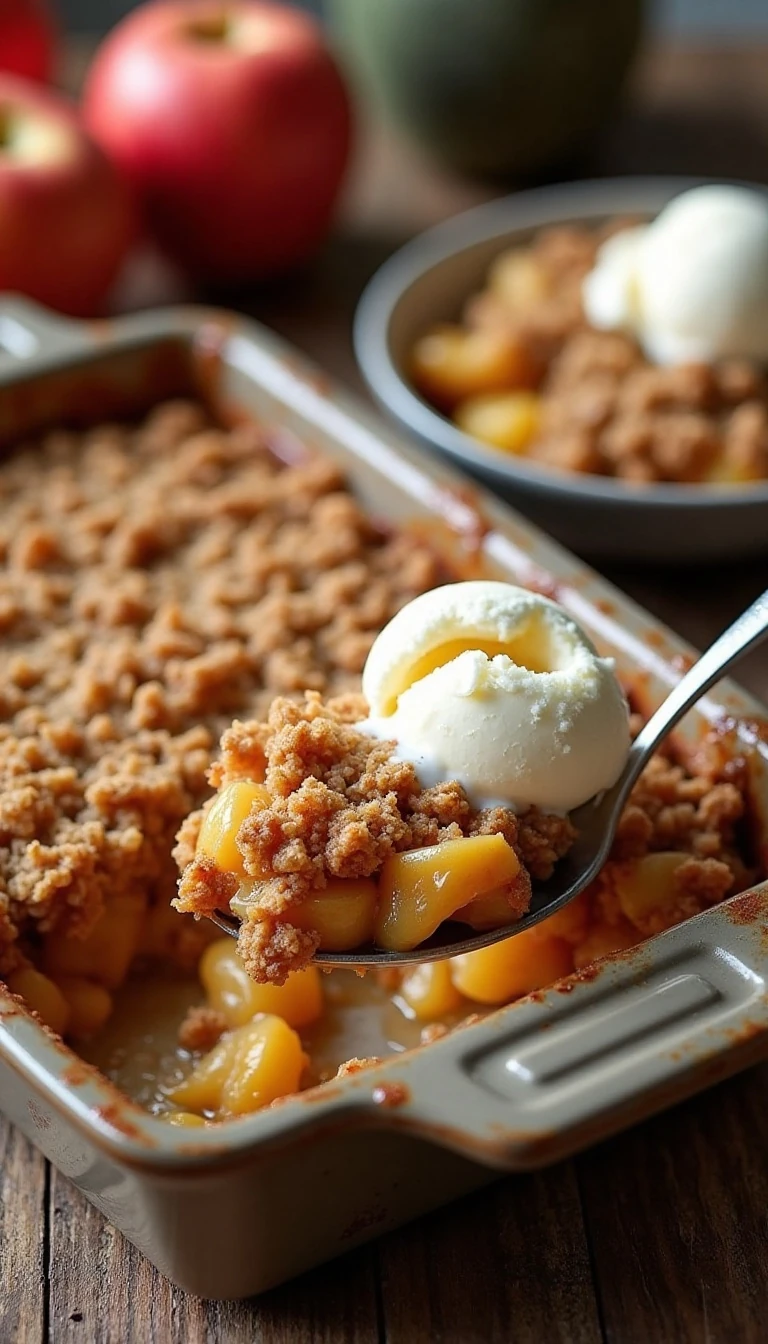
Best-Ever Oatmeal Apple Crisp
Ingredients
Method
- Heat the oven to 350°F (175°C) and lightly grease a 9 x 13-inch baking dish.
- Peel, core, and slice the apples, then arrange them in the prepared baking dish.
- Stir together the granulated sugar, 1 tablespoon flour, and cinnamon. Sprinkle this mixture over the apples, then pour the water evenly over the fruit.
- In a bowl, combine the quick-cooking oats, flour, brown sugar, baking powder, and baking soda. Stir in the melted butter until coarse, moist crumbs form.
- Scatter the topping evenly over the apples, covering the fruit from edge to edge.
- Bake for 45–50 minutes, until the apples are tender and bubbling around the edges and the topping is browned and crisp.
- Rest the crisp for 10–15 minutes before serving. Spoon it into bowls and serve warm with vanilla ice cream or whipped cream.
Notes
Final Thoughts
This best-ever oatmeal apple crisp earns its place in the dessert rotation with a short ingredient list, straightforward preparation, and irresistible contrast. Firm cinnamon apples become tender and saucy beneath a buttery topping made with oats, brown sugar, flour, baking powder, and baking soda.
Remember the key details: use apples that can withstand baking, spread the topping evenly, bake until the juices bubble, and rest the crisp for 10–15 minutes. Serve it warm with vanilla ice cream or whipped cream for a comforting dessert that is simple enough for an ordinary evening and welcoming enough for guests.
Once you taste the crisp, golden topping with the warm apple filling underneath, this classic recipe is likely to become one you return to whenever you have apples ready for baking.