To make easy Amish Friendship Bread starter, dissolve 1 packet of active dry yeast in 1/4 cup warm water, then combine it with 1 cup each of all-purpose flour, granulated sugar, and milk. Keep the mixture at room temperature for 10 days, gently stirring or squeezing it daily and feeding it with equal amounts of flour, sugar, and milk on Days 6 and 10.
The finished starter is pleasantly yeasty, tangy, and lightly fermented, ready to use in a separate Amish Friendship Bread recipe or share with friends. This traditional starter produces about four 1-cup portions, making it a delicious kitchen project with plenty to bake, save, freeze, or give away.
Jump to RecipeWhy You’ll Love This Recipe

Amish Friendship Bread starter is one of the most rewarding bread projects because the active work is quick, while time creates the flavor. The initial mixture takes only about 10 to 15 minutes to prepare, then the starter gradually develops a soft, tangy aroma over its 10-day cycle.
This recipe also gives you plenty to share. Once the Day 10 feeding is complete, you will have about four 1-cup portions: one for baking, one for continuing the next batch, and two to give away or freeze.
The starter is not a finished loaf and it is not cooked by itself. Instead, it becomes a flavorful ingredient for a separate quick-bread recipe with a moist crumb and gentle fermented taste.
If you enjoy comforting homemade bakes, you may also like our easy apple bread, which pairs beautifully with the warm, cinnamon-friendly character of Amish Friendship Bread.
Ingredients You’ll Need
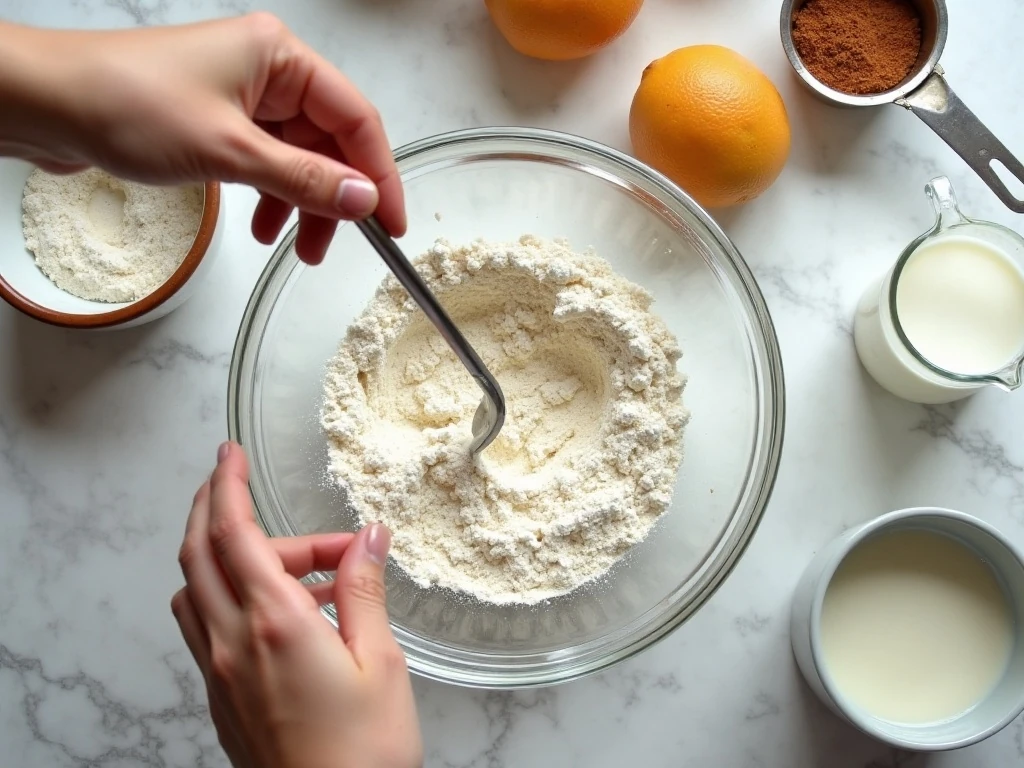
The ingredient list is simple and built around equal portions of flour, sugar, and milk. Whole milk or 2% milk works especially well, and it should be at room temperature or only slightly warm when added.
- Active dry yeast: One packet, equal to 2 1/4 teaspoons or 7 grams, begins the fermentation.
- Warm water: Use 1/4 cup at about 105–110°F (40–43°C). Water that is too hot can damage or kill the yeast.
- All-purpose flour: You will need 1 cup for the initial mixture, plus 1 cup on Day 6 and 1 cup on Day 10.
- Granulated sugar: Add 1 cup at the beginning and another 1 cup during each feeding.
- Milk: Use 1 cup initially, then 1 cup on Day 6 and 1 cup on Day 10.
For equipment, gather a large glass or plastic bowl, a wooden, silicone, or plastic utensil, and a 1-gallon zip-top bag or loosely covered nonmetal container. Stainless-steel utensils are generally safe, although traditional versions often favor glass, plastic, or wood.
How to Make It Step-by-Step

Step 1: Warm the water to approximately 105–110°F (40–43°C), then stir in the active dry yeast. Let it rest for about 10 minutes, until the granules dissolve and the surface becomes lightly foamy, which shows that the yeast has begun activating.
Step 2: In a large nonreactive bowl, whisk together 1 cup flour and 1 cup sugar. Breaking up any flour pockets now will make it easier to create a smooth starter when the milk is added.
Step 3: Gradually stir 1 cup milk into the flour-and-sugar mixture. Add it in a steady stream while stirring, then continue until the mixture looks smooth and evenly combined.
Step 4: Stir the dissolved yeast mixture into the bowl. Mix thoroughly so the yeast is distributed throughout the sweet milk-and-flour mixture rather than remaining in one area.
Step 5: Transfer the starter to a 1-gallon zip-top bag or a loosely covered nonmetal container. Leave generous headspace because fermentation produces gas, and label the container as Day 1 so the schedule is easy to follow.
Step 6: During Days 2 through 5, gently squeeze the bag or stir the starter once each day. This redistributes the mixture and releases some built-up gas, but the bag or container should never be sealed airtight.
Step 7: On Day 6, add 1 cup flour, 1 cup sugar, and 1 cup milk. Mix well until the feeding is incorporated, then return the starter to its room-temperature resting spot with enough space for further expansion.
Step 8: On Days 7 through 9, squeeze or stir the starter once daily. A few bubbles, a slightly risen mixture, and a pleasantly yeasty or tangy smell are normal signs that the starter is active.
Step 9: On Day 10, add 1 cup flour, 1 cup sugar, and 1 cup milk, then mix thoroughly. Measure out about four portions of 1 cup each and decide which portion you will bake with, save, share, or freeze.
Understanding the 10-Day Schedule

The schedule is easy to remember because it has two quiet periods and two feedings. Day 1 is mixing day, Days 2 through 5 are daily stirring days, Day 6 is the first feeding, Days 7 through 9 are daily stirring days, and Day 10 is the final feeding and dividing day.
- Day 1: Mix the starter and leave it at room temperature.
- Days 2–5: Gently squeeze or stir once daily.
- Day 6: Feed with 1 cup each of flour, sugar, and milk.
- Days 7–9: Gently squeeze or stir once daily.
- Day 10: Feed again, mix thoroughly, and divide into portions.
Keeping notes on a calendar or labeling the bag with the starting date can prevent missed feedings. The starter should remain at room temperature during this traditional cycle because refrigeration slows fermentation and changes the usual schedule.
For another sweet make-ahead favorite to serve after your bread, see this strawberry pretzel dessert for a colorful contrast.
Pro Tips for a Healthy Starter
Temperature is the most important detail at the beginning. Warm water activates the yeast, but water much above about 110°F can damage or kill it, so use a thermometer if you are unsure.
Choose a container with plenty of room. Fermentation creates gas, and a crowded bag can swell or leak; keep the top closed enough to protect the starter while allowing gas to escape rather than sealing it airtight.
Do not worry if the starter separates slightly between feedings. Gentle squeezing or stirring brings it back together, and the aroma should remain pleasantly yeasty, tangy, or mildly fermented.
Use clean utensils and containers each time you handle the starter. Avoid tasting the uncooked starter, since it contains raw flour and is intended to be baked into a separate bread recipe.
How to Divide, Share, and Store It
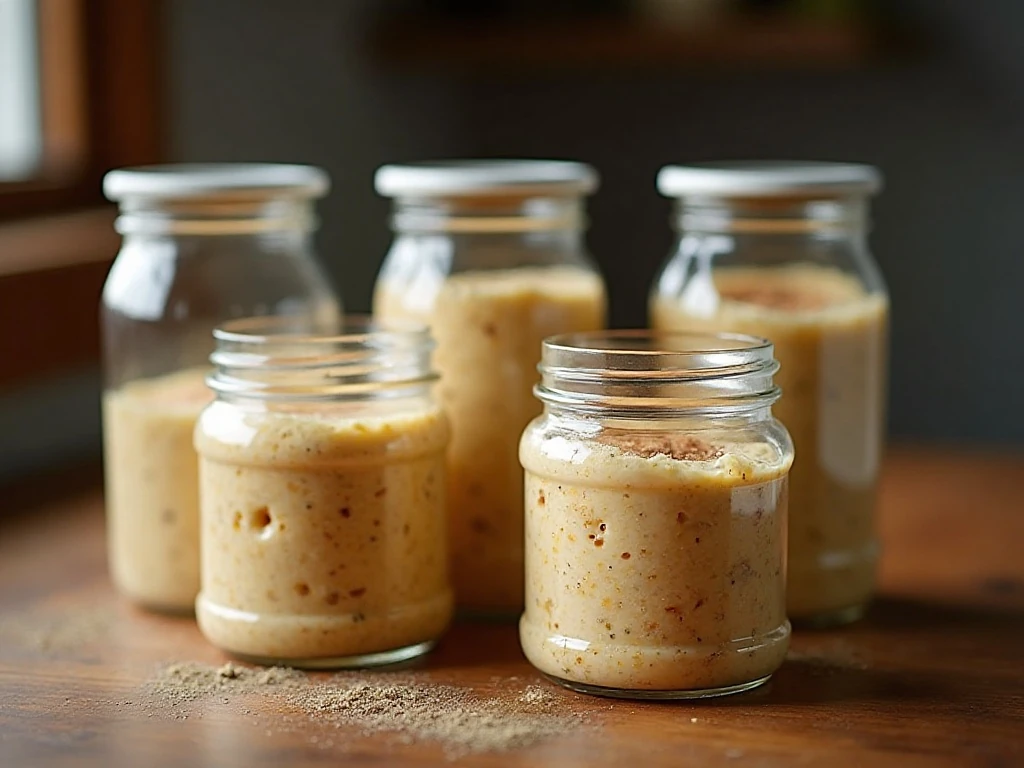
After the Day 10 feeding, mix the starter thoroughly before measuring. Divide it into four portions of about 1 cup each, using clean measuring cups or containers.
- Bake: Use one portion as the Day 1 starter for an Amish Friendship Bread recipe.
- Continue: Keep one portion and treat it as Day 1 of a new 10-day cycle.
- Share: Give the remaining portions to friends with the feeding schedule and storage instructions.
- Freeze: Freeze mature portions for longer storage, then thaw them before using them as a new Day 1 starter.
A mature starter portion is generally used as the Day 1 starter for a new cycle. Refrigeration is not recommended during the traditional 10-day process, but freezing mature portions is a practical way to preserve them for later baking.
For a creamy sweet treat to serve with slices of homemade bread, try our easy cottage cheese dessert.
Troubleshooting and Safety Notes
A normal starter can have bubbles, a mild rise, and a tangy or yeasty smell. Those signs indicate fermentation and are expected as the yeast works through the mixture.
Discard the starter if you see mold, unusual colors, or notice a rotten odor. Do not attempt to remove a questionable spot and save the rest, because the starter should be replaced if it shows clear signs of spoilage.
If the mixture seems quiet, review the temperature and schedule first. Cold rooms can slow activity, while very hot water at the initial stage can damage the yeast; keep the starter at ordinary room temperature and continue the prescribed feedings.

Easy Amish Friendship Bread Starter
Ingredients
Method
- Dissolve the yeast in 1/4 cup warm water, about 105–110°F (40–43°C), and let it stand for about 10 minutes until dissolved and lightly foamy.
- In a large nonreactive bowl, whisk together 1 cup all-purpose flour and 1 cup granulated sugar. Gradually stir in 1 cup room-temperature or slightly warm milk until smooth, then stir in the dissolved yeast mixture.
- Transfer the mixture to a 1-gallon zip-top bag or a loosely covered nonmetal container, leaving room for gas as the starter ferments. This is Day 1.
- On Days 2 through 5, gently squeeze the bag or stir the starter once each day to redistribute it. Keep it at room temperature and never seal a container airtight.
- On Day 6, add 1 cup flour, 1 cup sugar, and 1 cup milk. Mix well, leaving extra room in the bag or container.
- On Days 7 through 9, gently squeeze or stir the starter once daily. Watch for mild bubbling and a pleasantly yeasty or tangy aroma.
- On Day 10, add another 1 cup flour, 1 cup sugar, and 1 cup milk, then mix thoroughly. Divide the mature starter into four portions of about 1 cup each.
Notes
Final Thoughts
Making Amish Friendship Bread starter is a simple 10-day tradition built from everyday ingredients. With one packet of yeast, flour, sugar, milk, and a little patience, you can create about four portions of lively starter for baking and sharing.
Remember to keep it at room temperature, leave room for gas, stir or squeeze it gently on the scheduled days, and complete the Day 6 and Day 10 feedings. Once divided, use one portion for bread, save one for the next cycle, and freeze or share the rest.
The starter itself needs no cooking; it is the flavorful foundation for a separate quick bread. Follow the smell and appearance guidelines carefully, and you will have a dependable homemade starter ready for a warm, tender loaf whenever the craving strikes.