This easy Swirled Grinch Fudge recipe is the perfect Christmas candy when you want a festive homemade treat without a complicated stovetop process. Made with white chocolate chips, sweetened condensed milk, vanilla, green gel food coloring, and red heart sprinkles, it comes together in about 10 minutes of prep and 2–3 minutes of microwave melting, then chills for 2–4 hours.
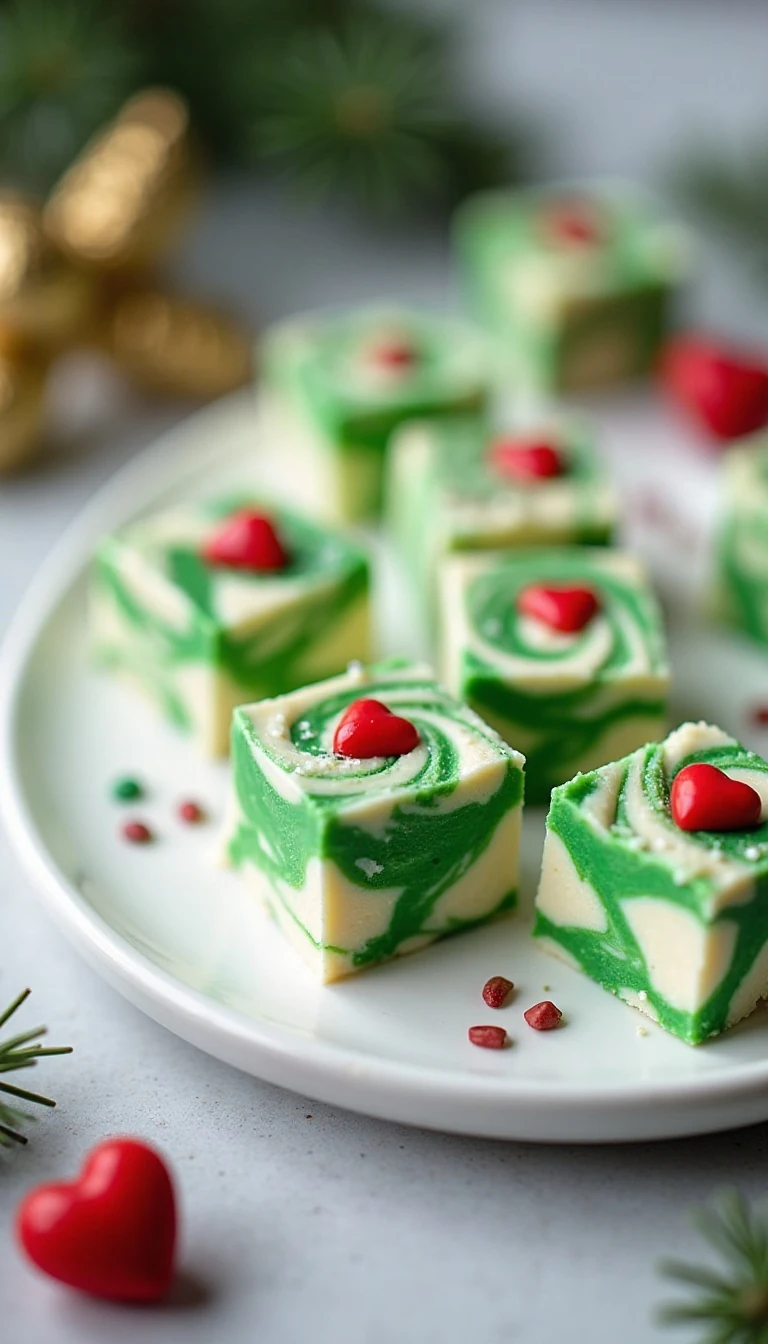
Every small square is creamy, sweet, and wonderfully soft, with bright Grinch-green and snowy white ribbons running through the fudge. The red hearts add a cheerful finishing touch, making this candy ideal for cookie trays, holiday parties, edible gifts, or a cozy Christmas movie night.
Jump to RecipeWhy You’ll Love This Recipe
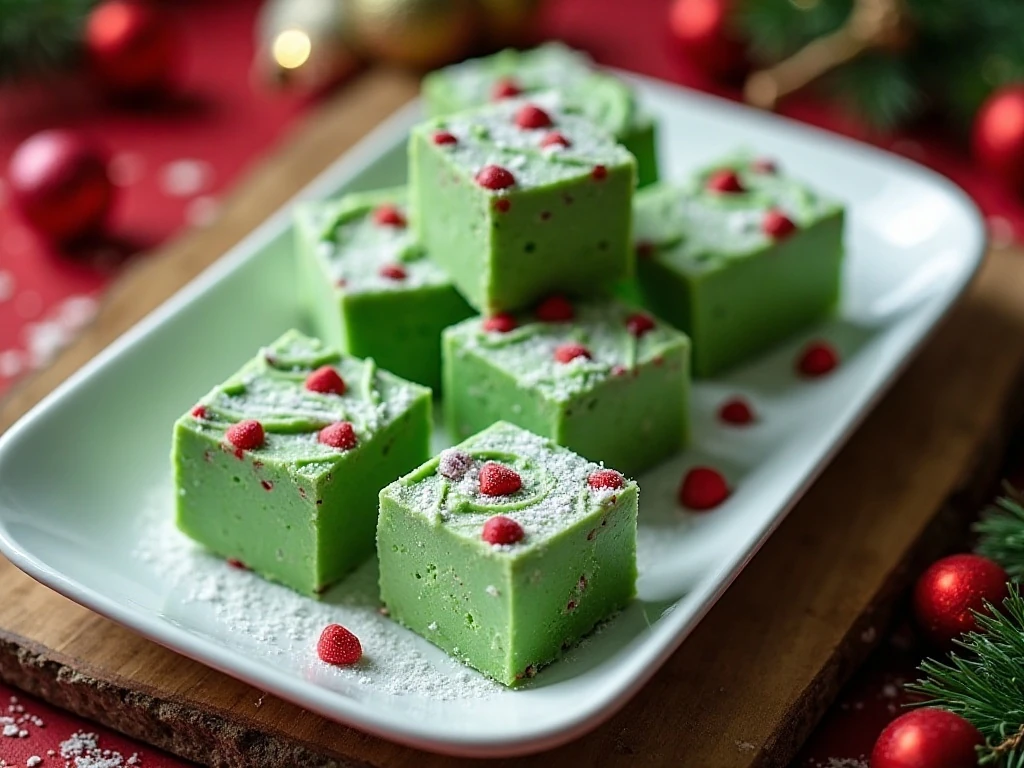
Christmas candy should look special, but it does not need to require an entire afternoon in the kitchen. This fudge uses a short ingredient list and a microwave method, so it is accessible to beginners and convenient for experienced holiday bakers.
The color combination does all the decorating work. White and bright green swirls look playful against the red heart candies, while the creamy white chocolate base gives every bite a rich, smooth texture.
It is also an excellent make-ahead recipe. Since the fudge needs 2–4 hours to firm in the refrigerator, you can prepare it earlier in the day or the night before serving.
For another festive treat to serve beside your candy tray, take a look at these charming snowman cupcakes. Their snowy decoration pairs beautifully with the Grinch-inspired colors.
Ingredients You’ll Need
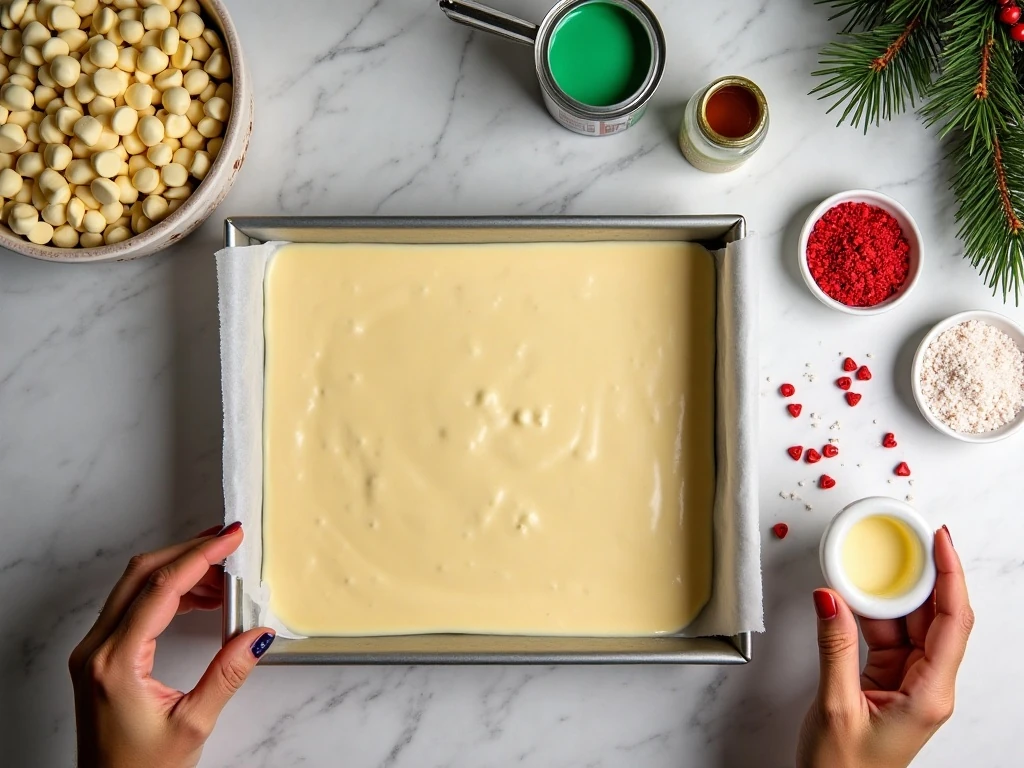
You need only a handful of ingredients to make one 8-inch square pan of fudge, or about 36 small squares. Measure the chocolate and condensed milk accurately because the correct ratio is what gives the candy its soft but sliceable consistency.
- White chocolate chips: Use 3 cups, about 18 ounces, as the creamy foundation of the fudge.
- Sweetened condensed milk: One 14-ounce can provides sweetness and helps create a smooth, rich texture.
- Pure vanilla extract: One teaspoon adds a gentle bakery-style flavor that balances the sweetness.
- Green gel food coloring: Start with approximately 5 drops and add more as needed for a vivid Grinch-green shade.
- Red heart sprinkles or candy hearts: Use 1/4 cup to create the signature Christmas decoration.
- Optional Christmas sprinkles: Add 1–2 tablespoons of green or red sprinkles for extra color.
Gel coloring is important here because it delivers a strong color without introducing much liquid. Liquid food coloring can make the fudge mixture softer or may require more product to achieve the same bright green result.
How to Make It Step-by-Step
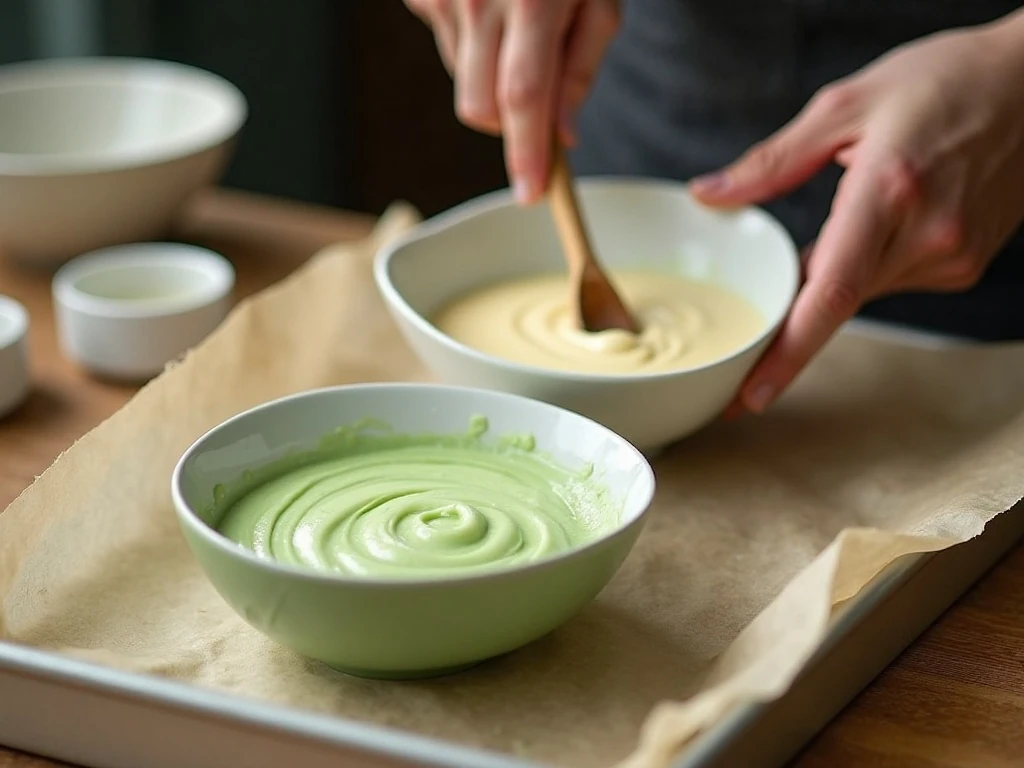
Step 1: Prepare the pan by lining an 8-inch square baking pan with parchment paper. Leave enough paper hanging over the sides to form handles, and smooth the paper into the corners as neatly as possible.
Step 2: Add the white chocolate chips and sweetened condensed milk to a microwave-safe bowl. Microwave for 30 seconds, stir thoroughly, and continue in 30-second intervals until the mixture is smooth; the total microwave time is usually 1 1/2–2 1/2 minutes.
Step 3: Stir in the vanilla extract as soon as the chocolate mixture is smooth. Work promptly because fudge thickens as it cools, and a warm mixture is easier to spoon and swirl.
Step 4: Divide the fudge evenly between two bowls. Leave one bowl white, then tint the other with approximately 5–10 drops of green gel food coloring, stirring until the color is even and festive.
Step 5: Spoon alternating amounts of white and green fudge into the lined pan. You can make small dollops, stripes, or loose patches; the arrangement does not need to be perfect because the swirling will bring the colors together.
Step 6: Drag a knife or skewer through the fudge several times to form a marbled pattern. Stop as soon as you see attractive ribbons, because too much swirling can blend the white and green into one muddy color.
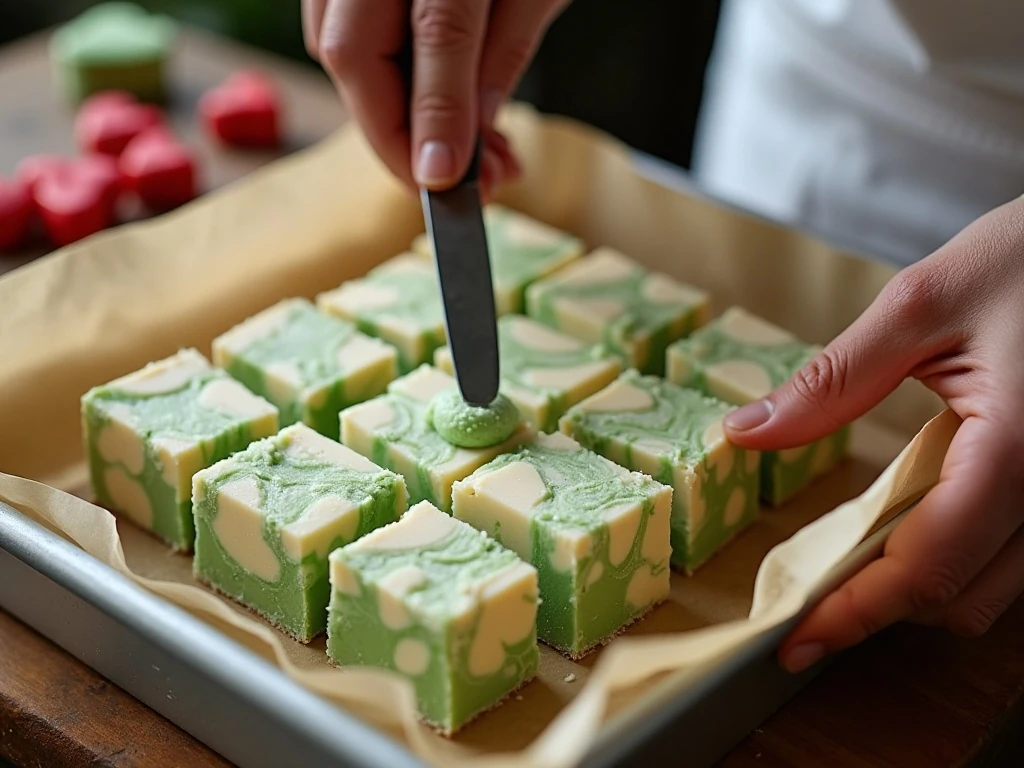
Step 7: Press the red heart-shaped sprinkles or candy hearts into the surface while it is still soft. Scatter optional green or red Christmas sprinkles around the hearts, pressing lightly so the decorations stay in place.
Step 8: Refrigerate the pan for 2–4 hours, or until the fudge is completely firm. Use the parchment overhang to lift the slab from the pan, then cut it into small squares for serving.
Pro Tips for Smooth, Pretty Fudge
White chocolate needs gentle treatment. Microwave it in short 30-second intervals and stir after every interval, even if the chips do not appear fully melted, because the residual heat will continue softening them.
Do not add the food coloring before dividing the mixture. Keeping one bowl white is what creates the snowy contrast that makes this recipe look like a swirled Christmas candy rather than a single-color fudge.
For a stronger green, add gel coloring one drop at a time. Stir completely before deciding whether the mixture needs more, since the color can look slightly different as the fudge cools.
When decorating, press the hearts gently into the surface rather than burying them. The red shapes should remain visible after chilling and cutting.
If you enjoy having a variety of homemade sweets on the table, consider pairing this candy with an easy butterscotch pie. The warm caramel flavor offers a lovely contrast to the cool, creamy white chocolate fudge.
How to Cut Clean Fudge Squares
Chilling completely is the first step toward neat pieces. If the center still feels soft, return the pan to the refrigerator rather than trying to cut it early, since premature slicing can pull the swirls and decorations out of place.
Use a large, sharp knife for the cleanest edges. Warm the blade under hot water, dry it completely, make one cut, and repeat the warming and drying process between cuts.
For a classic candy-box appearance, trim a very thin edge from the slab before cutting the remaining fudge into a grid. Small squares are best because the candy is rich, and approximately 36 pieces make an attractive party-sized batch.
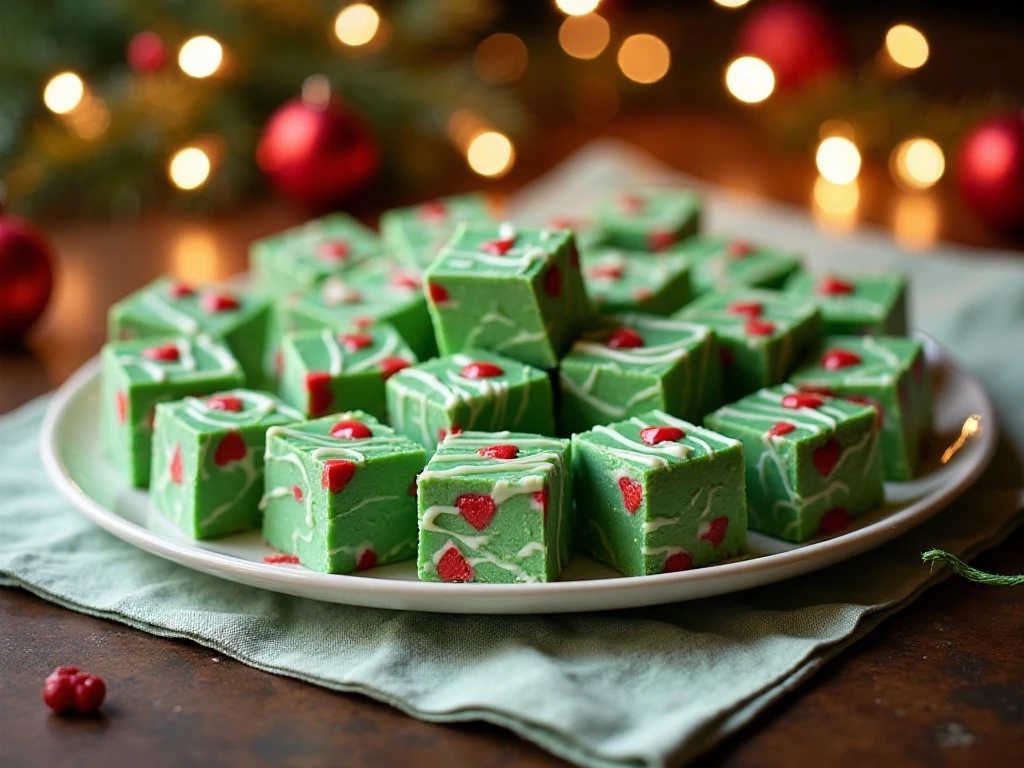
Serve the squares on a white platter so the green, white, and red colors stand out. A few evergreen sprigs, ribbon, or gold napkins can frame the platter, but keep decorations away from the edible pieces unless they are food-safe.
Storage and Serving Suggestions
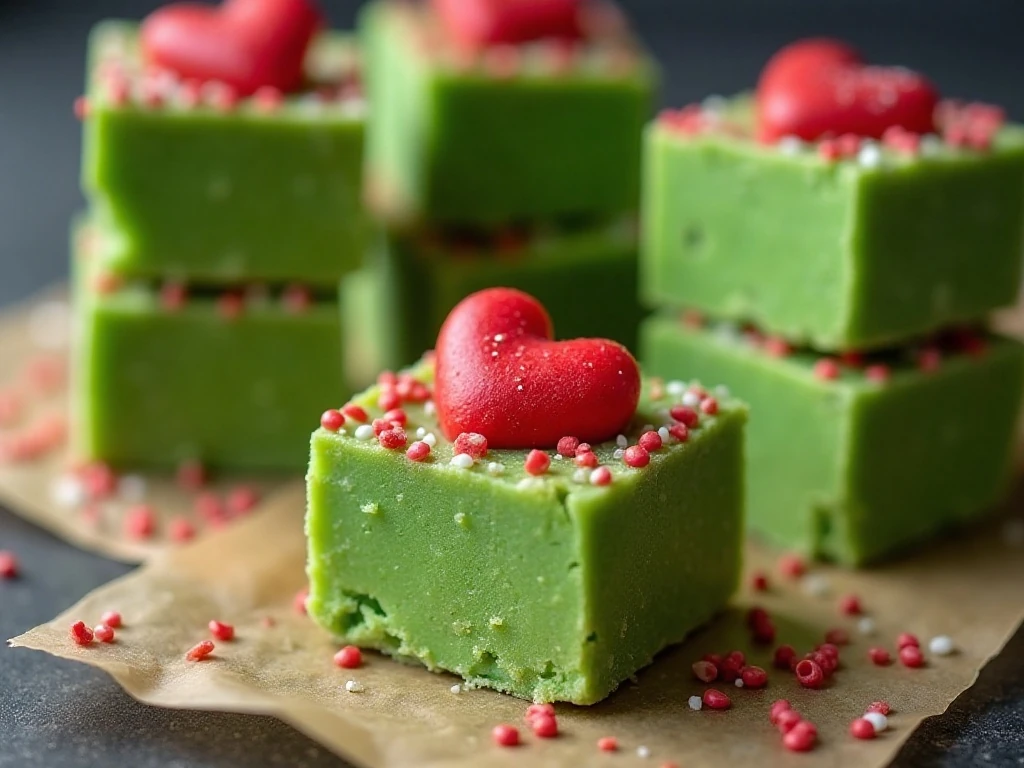
Store the firm fudge in an airtight container in the refrigerator. Place parchment between layers if you stack the pieces, especially when the heart candies have raised edges that could mark the fudge beneath them.
For the best texture, let pieces sit at room temperature briefly before serving. This allows the white chocolate base to soften slightly while keeping the squares sturdy enough to pick up.
The fudge is especially welcome on a holiday dessert board alongside cookies, cupcakes, and fruit. For a fun drink pairing, serve it with a festive coffee bar featuring this whipped coffee recipe; the creamy coffee flavor complements the vanilla notes in the candy.
This recipe also makes a thoughtful edible gift. Arrange several squares in a small food-safe box or cellophane bag, add a ribbon, and include a note explaining that the candy should be kept chilled until serving.
Easy Variations for the Holiday Tray
The white-and-green marbling is the star of this version, but you can adjust the look without changing the base formula. Use larger red candy hearts for a bold design, or choose tiny heart sprinkles for a more delicate finish.
For extra sparkle, add the optional 1–2 tablespoons of green or red Christmas sprinkles while the surface is soft. Keep the amount moderate so the sprinkles decorate the top without distracting from the swirled pattern.
Some easy fudge recipes use vanilla almond bark or white candy melts instead of white chocolate chips. This recipe specifically uses 3 cups of white chocolate chips, so substitutions may change the sweetness, texture, or melting behavior.
For a full holiday dessert spread, you can also add slices of blueberry cake with lemon frosting. The jewel-like berries and pale frosting bring another pretty color combination to the table.
If you are planning a savory Christmas buffet too, an easy taco pie gives guests a hearty option before they reach for dessert. The fudge is small enough to serve after a substantial meal without requiring a plate and fork.
Easy Swirled Grinch Fudge Recipe for Christmas
Ingredients
Method
- Line an 8-inch square baking pan with parchment paper, leaving paper overhanging on two sides. The overhang will act as a sling so the chilled fudge can be lifted out easily.
- Place the white chocolate chips and sweetened condensed milk in a microwave-safe bowl. Microwave in 30-second intervals, stirring very well after each interval, until smooth; the melting process usually takes 1 1/2–2 1/2 minutes depending on the microwave.
- Stir the vanilla extract into the warm fudge mixture. Divide the mixture between two bowls, leaving one portion white and tinting the other portion green with approximately 5–10 drops of gel food coloring.
- Spoon alternating portions of white and green fudge into the parchment-lined pan. Run a knife or skewer through the mixture several times to create pretty ribbons, taking care not to over-swirl.
- Press the red heart sprinkles or candy hearts over the top while the fudge is still soft. Add optional green or red Christmas sprinkles if desired.
- Refrigerate the pan until the fudge is firm, usually 2–4 hours. Lift it out using the parchment paper, then cut it into approximately 36 small squares with a sharp knife.
Notes
Final Thoughts
This Easy Swirled Grinch Fudge is a cheerful Christmas candy that looks homemade, festive, and wonderfully inviting while requiring very little hands-on work. The combination of creamy white chocolate, sweet condensed milk, vanilla, Grinch-green coloring, and red heart decorations delivers everything you want in a holiday treat.
Remember the key details: melt slowly, stir after every 30-second microwave interval, use gel coloring, swirl lightly, and chill the fudge fully before cutting. Those simple steps will help you achieve distinct ribbons, a smooth texture, and tidy squares.
Make a batch for a Christmas party, package it as a gift, or place it on your family dessert table with hot cocoa and cookies. Once you see how quickly this colorful candy comes together, it is likely to become one of your favorite repeat recipes each holiday season.