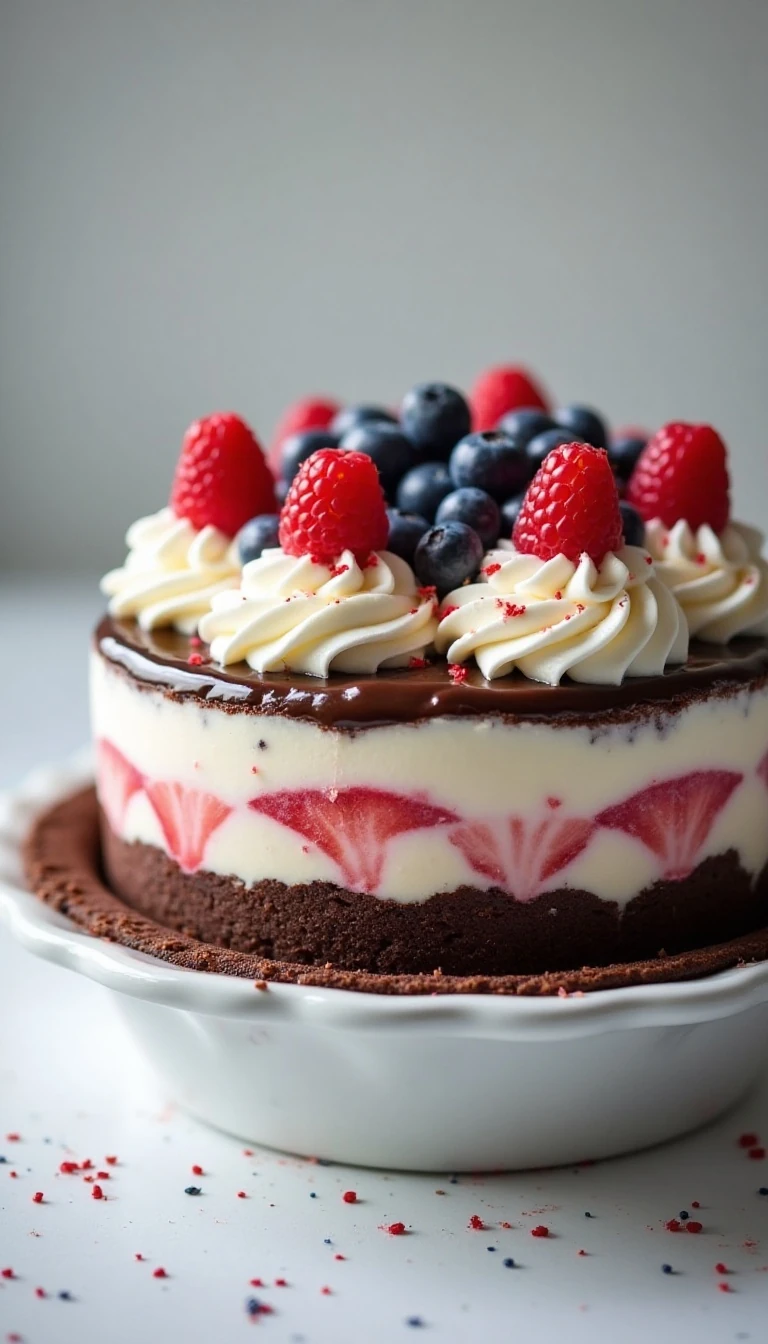
This 4th of July Ice Cream Pie is an easy no-bake dessert made with a chocolate wafer crust, creamy vanilla ice cream, hot fudge, strawberry ice cream, whipped topping, blueberries, and raspberries. It serves 8, takes about 20–25 minutes to assemble, requires no cooking, and needs approximately 2 hours of freezing time in several stages.
Every slice delivers a cool, creamy combination of chocolate, vanilla, strawberry, and rich fudge, finished with juicy red and blue berries. The colorful layers make it perfect for Independence Day gatherings, backyard barbecues, picnics, and any summer celebration where a make-ahead dessert is welcome.
Why You’ll Love This Recipe
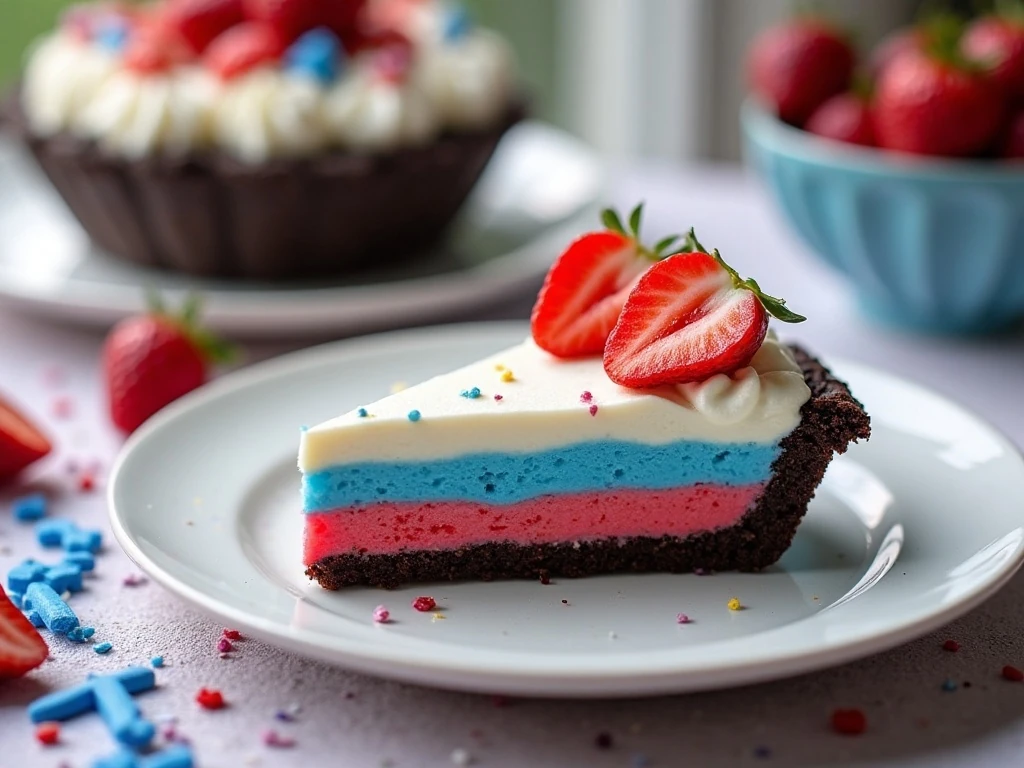
This festive ice cream pie looks like a special-occasion dessert, but the preparation is wonderfully simple. There is no oven to heat up, no stovetop cooking, and no complicated pastry work, making it especially useful during a warm July celebration.
The chocolate cookie crust gives every bite a crisp, bittersweet foundation. Vanilla ice cream adds a smooth white layer, hot fudge brings a rich chocolate center, and strawberry ice cream supplies a cheerful red-pink contrast beneath the fluffy topping.
Fresh blueberries and raspberries provide the final patriotic colors while adding bright fruit flavor. If you enjoy cool, creamy desserts, you may also like this refreshing lemonade pie for another summer gathering.
- Easy preparation: Assemble the pie in straightforward layers.
- Make-ahead friendly: Freeze it before guests arrive.
- Party-ready presentation: Red and blue berries create an instant 4th of July theme.
- Family appeal: Chocolate, vanilla, strawberry, and fudge are familiar favorite flavors.
Ingredients You’ll Need
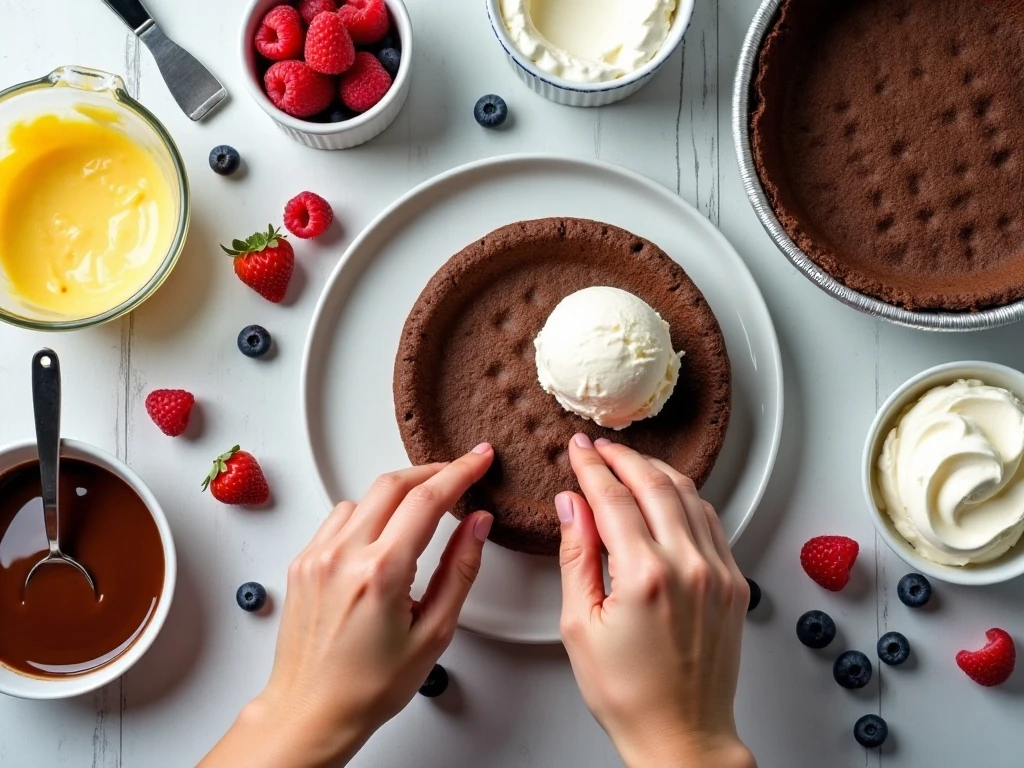
The crust begins with 9 ounces of finely crushed chocolate wafer cookies and 1/4 cup of melted butter. Pressing this mixture firmly into a 9-inch pie plate creates a sturdy base that holds the frozen layers.
For the filling, use 1 quart of vanilla ice cream, one 12-ounce jar of hot fudge ice cream topping, and 1 quart of strawberry ice cream. Both ice creams should be softened just enough to spread, while the fudge should be lukewarm if it needs slight warming.
The topping is one 8-ounce container of thawed frozen whipped topping, plus 1/2 cup of fresh blueberries and 1/2 cup of fresh raspberries. Pat the berries dry after rinsing so excess water does not collect on the topping.
For another berry-inspired idea to serve beside the pie, try this creamy blueberry dessert dip. It offers a different texture while keeping the same welcoming summer flavor.
How to Make It Step-by-Step
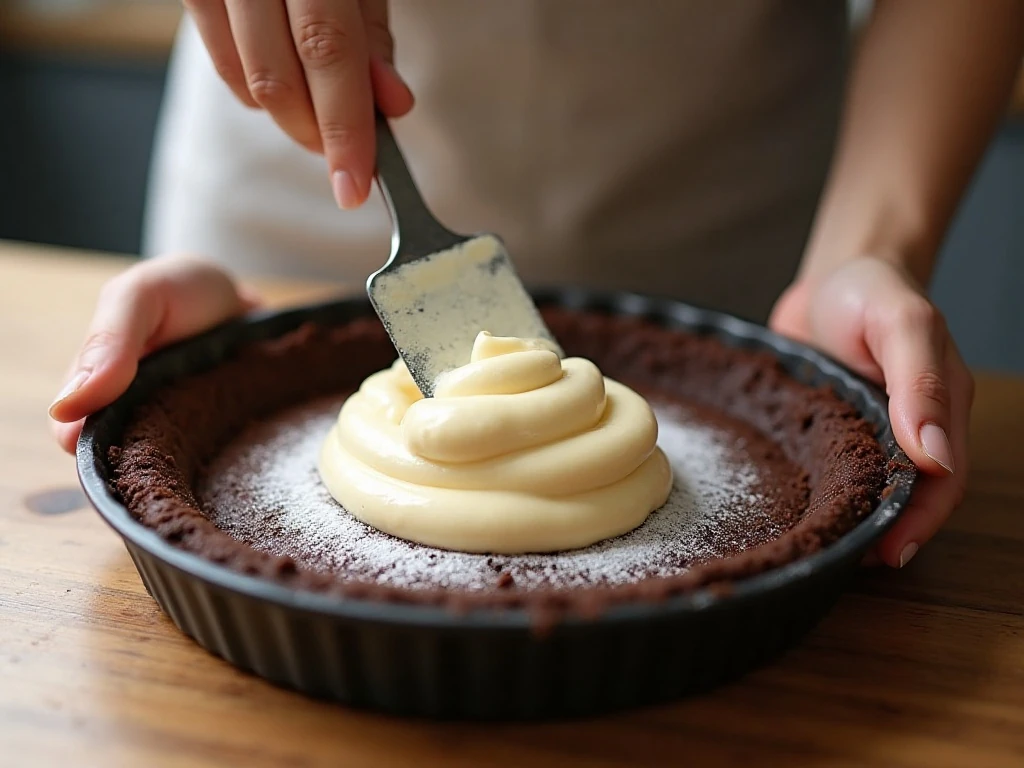
Step 1: Prepare the chocolate crust by combining the finely crushed chocolate wafer cookies and melted butter in a bowl. Stir until the crumbs are evenly moistened, then press the mixture firmly across the bottom and up the sides of a 9-inch pie plate.
Step 2: Place the crust in the freezer for about 15 minutes. This short chilling period helps the butter set and gives the crust enough firmness to support the first ice cream layer.
Step 3: Spoon the softened vanilla ice cream over the chilled crust. Spread it evenly with the back of a spoon or an offset spatula, working gently so the crust remains intact.
Step 4: Freeze the vanilla layer for about 30 minutes, or until firm. Do not rush this stage, because a solid first layer helps prevent the hot fudge and strawberry ice cream from mixing into it.
Step 5: Check the hot fudge topping before adding it. If it is very thick, warm it slightly according to the topping’s package directions, then allow it to cool until lukewarm rather than hot.
Step 6: Spread the lukewarm hot fudge gently over the firm vanilla ice cream. Work from the center toward the edges, using light pressure so the fudge forms an even chocolate layer without disturbing the ice cream beneath.
Step 7: Add the softened strawberry ice cream over the fudge layer. Smooth the top carefully, aiming for an even surface that will make spreading the whipped topping and arranging the berries easier later.
Step 8: Freeze the assembled pie for at least 1 hour, or until solid. For the neatest results, make sure the center is firm before removing the pie for its final decoration.
Step 9: Shortly before serving, spread the thawed whipped topping over the frozen pie. Arrange the blueberries and raspberries across the top, then let the pie stand at room temperature for about 5–10 minutes before slicing.
Pro Tips for Clean, Creamy Layers
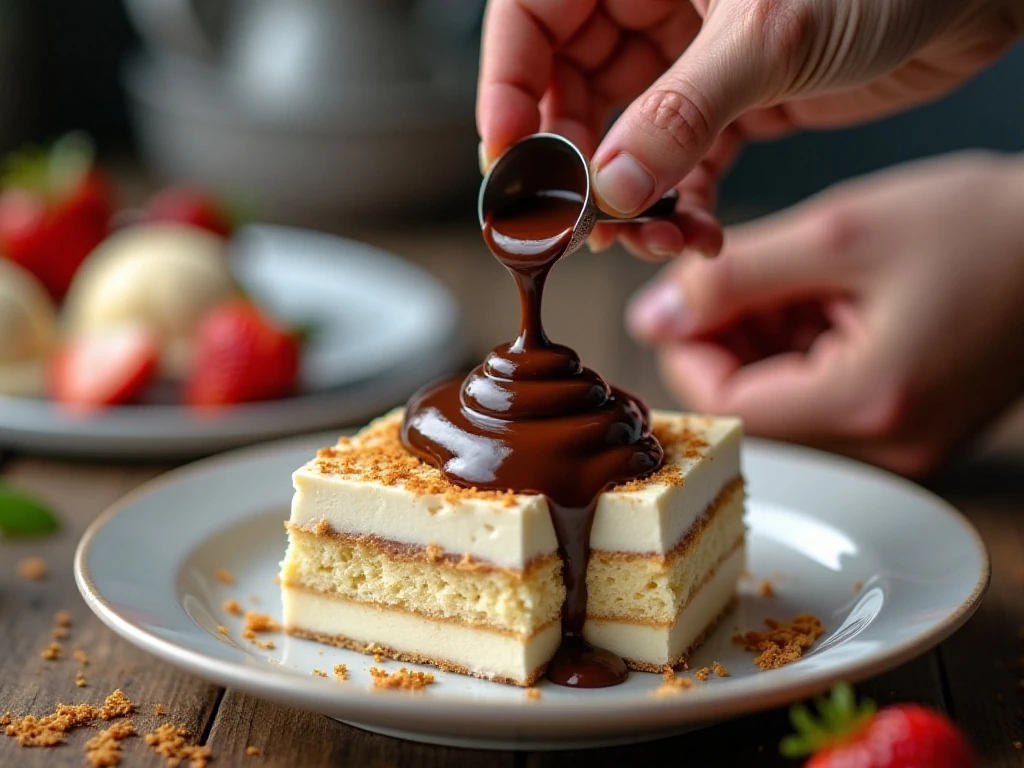
The most important detail is the texture of the ice cream. Soften each flavor only until it is spreadable; melted ice cream can cause the layers to run together and may create a hard, icy texture when refrozen.
Freeze every stage until firm before continuing. A well-chilled crust and solid layers make the finished pie easier to decorate and help each slice show off its distinct chocolate, vanilla, fudge, and strawberry stripes.
- Set the ice cream on the counter briefly, checking it often rather than allowing it to melt.
- Use the back of a spoon or an offset spatula to smooth each layer.
- Let warmed fudge cool to lukewarm before it touches the ice cream.
- Keep the pie in the freezer while preparing the berries and whipped topping.
- Dip the slicing knife in hot water and wipe it dry between cuts.
If you enjoy making frozen desserts from scratch, our no-churn peach ice cream is another excellent warm-weather treat to keep in your recipe collection.
Decorating and Serving Suggestions
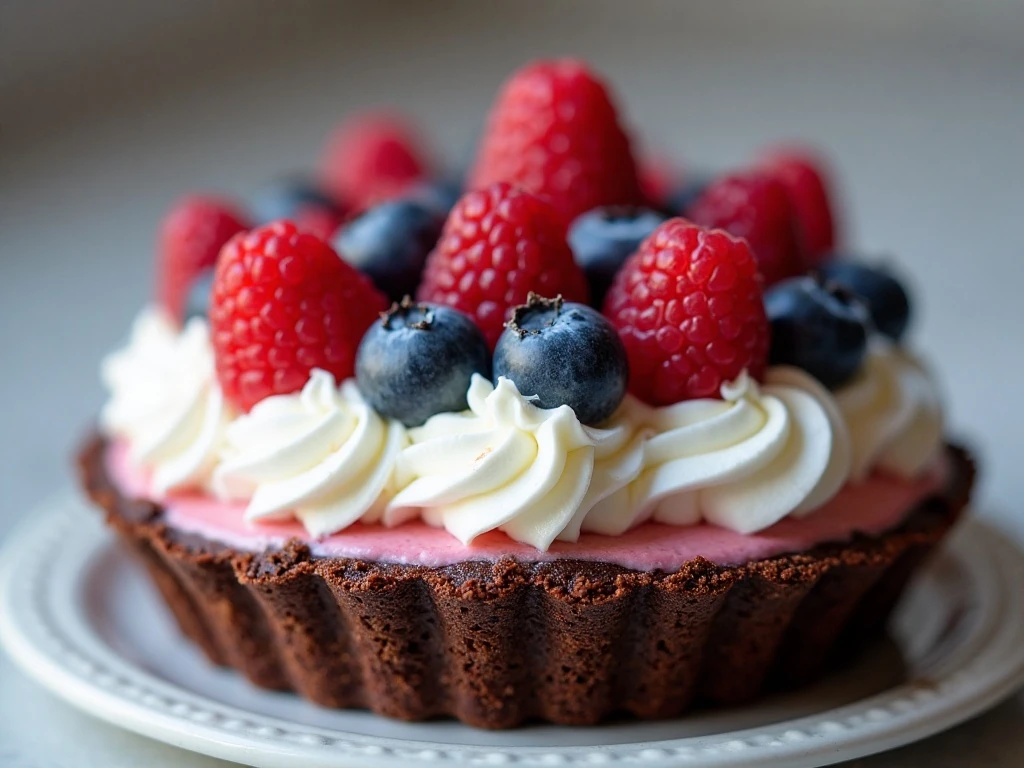
For the clearest patriotic look, spread the whipped topping in a smooth white layer before adding the fruit. Arrange blueberries in one corner or along one side, then place raspberries in stripes, clusters, or a simple border.
Do not decorate too far in advance if the berries are especially juicy. Add the topping and fruit shortly before serving, as directed, so the whipped topping remains fluffy and the fruit stays fresh-looking.
Allowing the pie to stand for 5–10 minutes before cutting makes the texture easier to slice without letting it become soft. Cut into 8 portions, wiping the warm knife between cuts for attractive layers and tidy edges.
For another fruit-forward frozen dessert, compare it with this easy blender peach ice cream. It is a lovely option when you want a peach dessert rather than a layered pie.
Storage and Make-Ahead Advice
This pie is designed to be prepared ahead and kept frozen until shortly before serving. Keep it covered in the freezer once the whipped topping and berries are added, and avoid allowing it to sit at room temperature longer than needed for slicing and serving.
If you are planning a holiday meal, prepare the crust and ice cream layers in advance, then add the whipped topping and fruit shortly before dessert is served. The total process takes approximately 2 1/2 hours because the pie needs several freezing stages, but most of that time is hands-off.
Store any remaining pie covered in the freezer. For the best texture, serve leftover portions after a brief 5–10 minute rest at room temperature, using the same warm, dry knife technique for clean cuts.
When planning a larger dessert table, a cake such as this almond cream cake can complement the cold, fruity pie with a tender baked option.
🍳 4th of July Ice Cream Pie
A festive no-bake ice cream pie with a chocolate cookie crust, vanilla and strawberry ice cream layers, hot fudge, whipped topping, blueberries, and raspberries. Freeze it ahead for an easy red, white, and blue dessert.
20–25 mins
None
Approximately 2 1/2 hours
8 servings
Not calculated
📋 Ingredients
Chocolate Cookie Crust
- 9 ounces Chocolate wafer cookies, finely crushed
- 1/4 cup Butter, melted
Ice Cream Layers
- 1 quart Vanilla ice cream, softened
- 1 12-ounce jar Hot fudge ice cream topping
- 1 quart Strawberry ice cream, softened
Topping
- 1 8-ounce container Frozen whipped topping, thawed
- 1/2 cup Fresh blueberries
- 1/2 cup Fresh raspberries
👩🍳 Instructions
- Combine the finely crushed chocolate wafer cookies with the melted butter. Press the mixture firmly over the bottom and up the sides of a 9-inch pie plate, then freeze the crust for about 15 minutes.
- Spread the softened vanilla ice cream evenly over the chilled crust. Freeze for about 30 minutes, or until the first ice cream layer is firm.
- Spread the hot fudge topping over the vanilla ice cream. If the topping is very thick, warm it slightly, then let it cool until lukewarm before spreading it over the frozen layer.
- Add the softened strawberry ice cream and smooth the surface. Freeze the pie for at least 1 hour, or until completely solid.
- Shortly before serving, spread the thawed whipped topping over the frozen pie. Decorate with the blueberries and raspberries, then let the pie stand at room temperature for about 5–10 minutes before slicing.
💡 Recipe Notes & Tips:
Soften the ice cream only until spreadable, not melted. Freeze each layer until firm before adding the next, and dip a knife in hot water and wipe it dry between cuts for cleaner slices.
Final Thoughts
This 4th of July Ice Cream Pie brings together everything guests want in a summer dessert: creamy frozen layers, a crunchy chocolate crust, rich hot fudge, fluffy topping, and fresh berries. Its red, white, and blue colors make it a natural centerpiece for Independence Day, while its familiar flavors ensure that both children and adults will be eager for a slice.
Remember to soften the ice cream gently, freeze the layers until firm, and wait until shortly before serving to add the whipped topping and fruit. With those simple steps, you will have an impressive no-bake dessert that serves 8 and keeps the celebration cool and delicious.