Jolly Holiday Dirt Cups are an easy no-bake Christmas dessert made with instant chocolate pudding, cold milk, thawed whipped topping, crushed chocolate sandwich cookies, and gummy worms. The mixture takes about 15 to 20 minutes to assemble, then chills for at least 1 hour before serving, making it a practical treat for holiday parties and family gatherings.
Each spoonful combines fluffy chocolate pudding, cool whipped topping, and crunchy cookie “dirt” with a playful chewy gummy worm surprise. Served in clear cups and finished with red and green decorations, these festive desserts look charming, taste wonderfully chocolatey, and require no oven at all.
Jump to RecipeWhy You’ll Love This Recipe
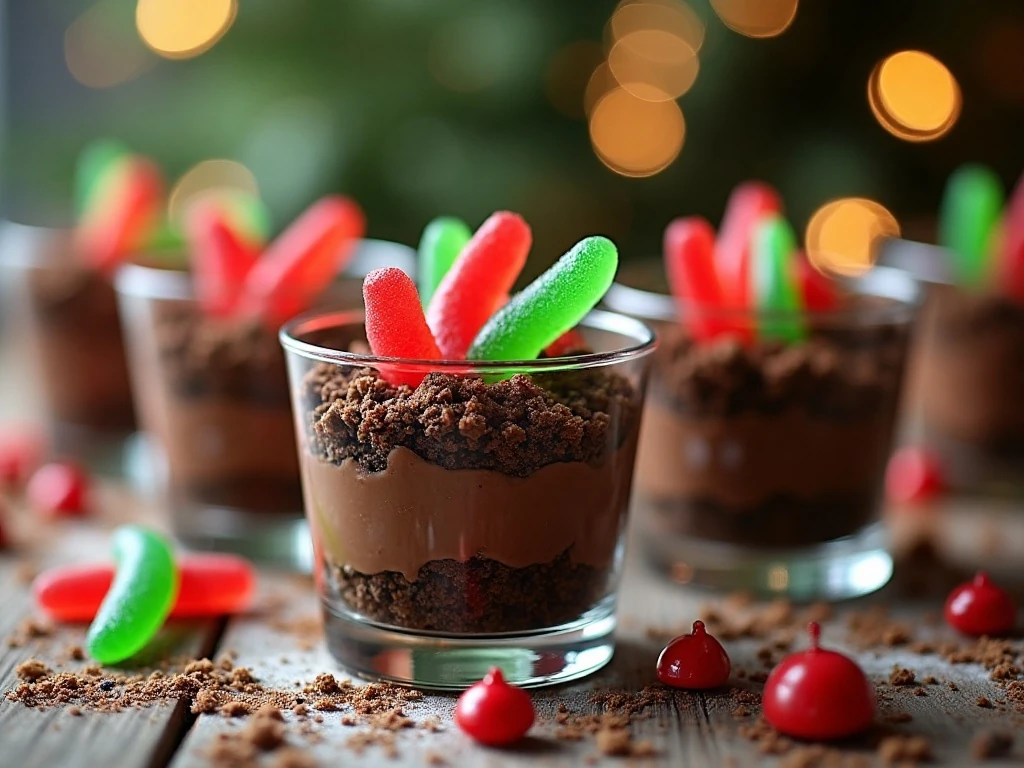
Holiday desserts do not need to be complicated to feel special. These Jolly Holiday Dirt Cups use a short ingredient list, need no baking, and can be assembled in individual portions so guests can simply grab a cup and enjoy.
The creamy filling is light rather than heavy because the prepared pudding is folded with whipped topping. Crushed chocolate sandwich cookies add a pleasant contrast, while gummy worms and Christmas candies turn a familiar dirt-cup dessert into a playful seasonal centerpiece.
They are also wonderfully flexible for entertaining. Make them for a cookie exchange, children’s Christmas party, classroom celebration, or casual dessert table alongside peppermint bark cookies for another easy holiday sweet.
Ingredients You’ll Need
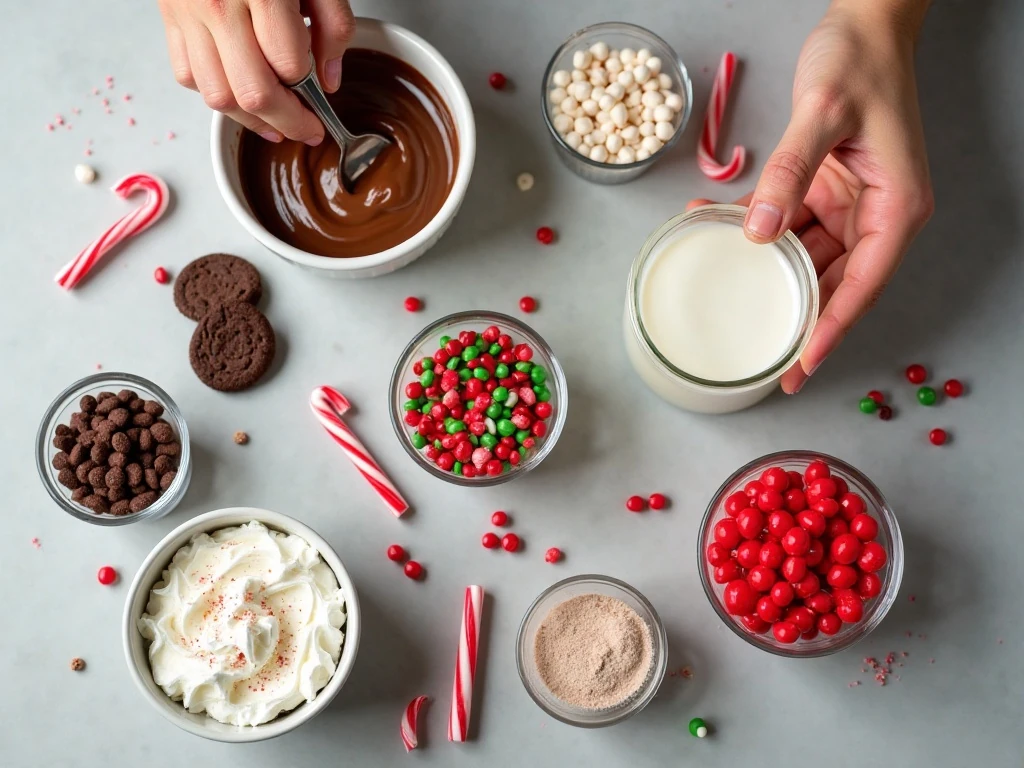
The foundation is one 3.9-ounce package of instant chocolate pudding mix combined with 2 cups of cold whole or 2% milk. Whisking these ingredients for about 2 minutes gives the pudding enough time to thicken before the whipped topping is added.
Use 8 ounces of frozen whipped topping that has been fully thawed. Folding it in gently keeps the finished mixture soft and airy, with a spoonable texture that layers easily into small cups.
For the cookie crumb topping, crush 15 to 20 chocolate sandwich cookies. A food processor is quick, but a sealed bag and rolling pin work just as well; stop crushing while a few small chunks remain so the crumbs resemble loose soil instead of a perfectly smooth powder.
Plan on 8 to 10 gummy worms, or about one for each cup. For the holiday finish, set out red and green sprinkles, mini candy canes, red and green candies, Christmas tree or snowflake sprinkles, and small edible-cookie tombstones or other candy toppers.
- Best cups: Clear 6- to 8-ounce plastic dessert cups show every layer.
- Best milk: Cold whole or 2% milk works with the pudding mix.
- Best cookie texture: Combine fine crumbs with a few coarse pieces.
- Best presentation: Use a restrained mix of red, green, and white decorations.
If you enjoy chilled desserts with a creamy texture, you may also like this bright no-bake lemon cheesecake for a contrasting citrus option.
How to Make It Step-by-Step
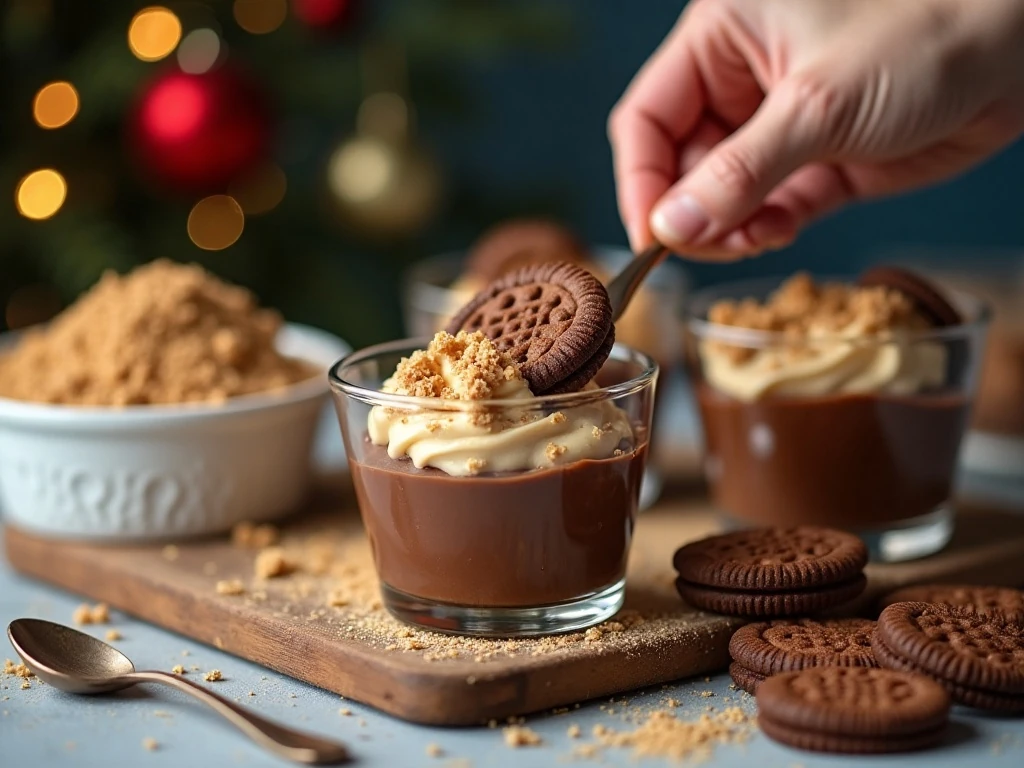
Step 1: Add the instant chocolate pudding mix and cold milk to a medium bowl. Whisk continuously for about 2 minutes, or until the liquid becomes thick and smooth with no visible dry pudding mix.
Step 2: Add the thawed whipped topping to the thickened pudding. Fold with a spatula until the color is even and no large streaks of whipped topping remain, taking care not to stir so vigorously that the mixture loses its light texture.
Step 3: Crush the chocolate sandwich cookies in a food processor or place them in a sturdy sealed bag and crush them with a rolling pin. Leave a few small chunks mixed with the finer crumbs, since that combination gives the dessert a more natural dirt-like appearance.
Step 4: Spoon a layer of the pudding mixture into each clear cup. Aim for an even layer, but do not worry about making it perfectly flat because the crumb layers will cover any small imperfections.
Step 5: Sprinkle crushed cookies over the pudding layer and, if desired, tuck a gummy worm partly into the side of the cup. Positioning one near the clear wall makes the playful surprise visible before the first bite.
Step 6: Repeat the pudding and cookie layers until the cups are nearly full. Finish with cookie crumbs on top so every serving has the classic dirt-cup appearance.
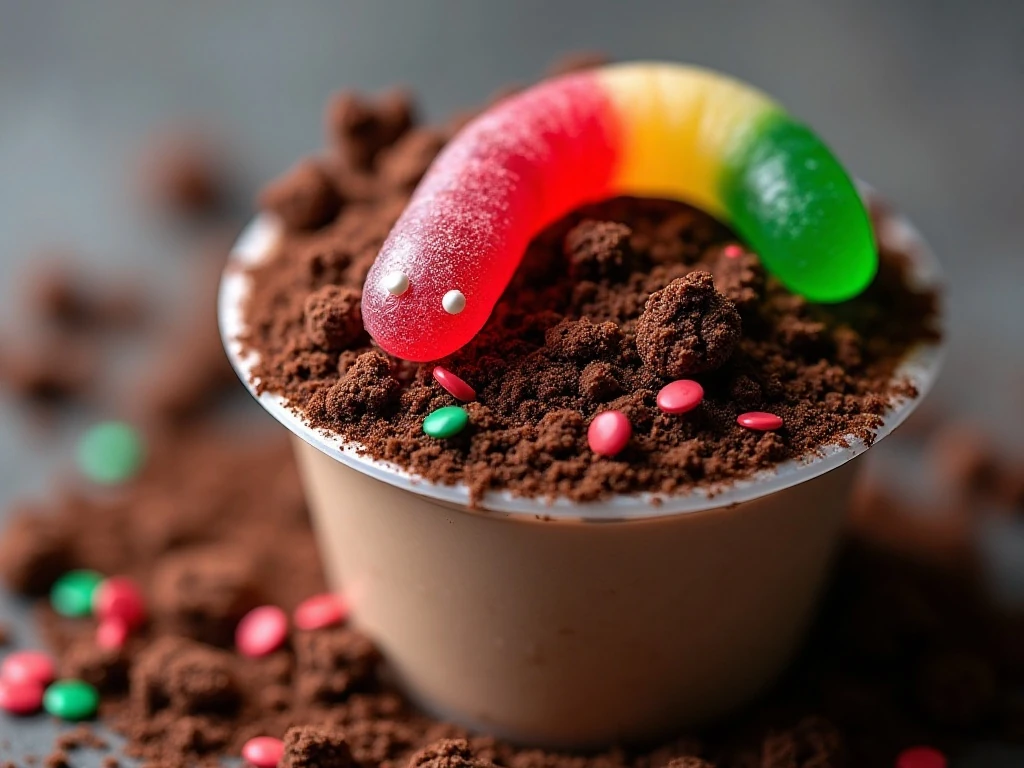
Step 7: Add the holiday decorations. Place gummy worms on the cookie surface, then add red and green sprinkles, candies, Christmas shapes, mini candy canes, or edible-cookie toppers in a cheerful but balanced arrangement.
Step 8: Refrigerate the cups for at least 1 hour before serving. This chilling time allows the layers to settle and the pudding mixture to become pleasantly cold; for a firmer, more cake-like texture, assemble them several hours ahead and chill overnight.
Pro Tips for Perfect Dirt Cups
Thaw the whipped topping in the refrigerator rather than at room temperature when possible. It should be soft enough to fold but still cool, which helps the finished pudding mixture stay thick.
Do not crush every cookie into an ultra-fine powder. The most convincing topping includes a mixture of sandy crumbs and small pieces, and the texture also makes each bite more interesting.
For clean layers, use a small spoon or piping bag to add the pudding mixture. A piping bag is especially useful when preparing many cups because it reduces drips along the inside walls.
Choose decorations according to your guests. Gummy worms are fun for children, while mini candy canes, snowflake sprinkles, or elegant red and green candies create a more grown-up holiday presentation.
For another rich chilled dessert to place beside these cups, try this easy German chocolate pie. Its chocolate and coconut flavors make a delicious companion to the cookie-and-pudding layers.
Make-Ahead, Storage, and Serving
These cups are ideal for preparing ahead because they need at least 1 hour in the refrigerator before serving. Assemble the pudding and cookie layers several hours in advance, cover the cups, and refrigerate them until the dessert table is ready.
For the chewiest gummy worms, add them shortly before serving. If they are placed into the cups several hours early, they may soften from contact with the chilled pudding and cookie crumbs, although many guests enjoy that texture too.
Keep the cups refrigerated until serving and do not leave them at room temperature longer than necessary. Since the recipe contains milk and whipped topping, cold storage is important for both texture and food quality.
Serve the cups with small dessert spoons so guests can scoop through the pudding and cookie layers together. A tray lined with a festive napkin makes transporting the individual servings easy and helps prevent the cups from sliding.
Festive Variations and Decorating Ideas

The classic chocolate base is already colorful against clear cups, so a few carefully chosen decorations are enough. Try green sprinkles with red candies for a traditional Christmas palette, or use white snowflake sprinkles and silver-colored candy accents for a winter theme.
Create a miniature Christmas scene by placing a small candy cane along the rim and adding a few tree-shaped sprinkles to the cookie “ground.” Edible-cookie tombstones are traditionally associated with dirt cups, but holiday candy toppers can give the same layered dessert a more cheerful seasonal personality.
For a chocolate-focused dessert table, pair these cups with Nutella no-bake pie. If you are building a tray of colorful Christmas sweets, add holiday pinwheel cookies for a bright spiral design and a crisp cookie contrast.
Keep the recipe’s structure the same when changing the decorations: creamy pudding first, cookie crumbs between layers, and a final cookie topping. That dependable combination is what gives every variation its recognizable dirt-cup texture.
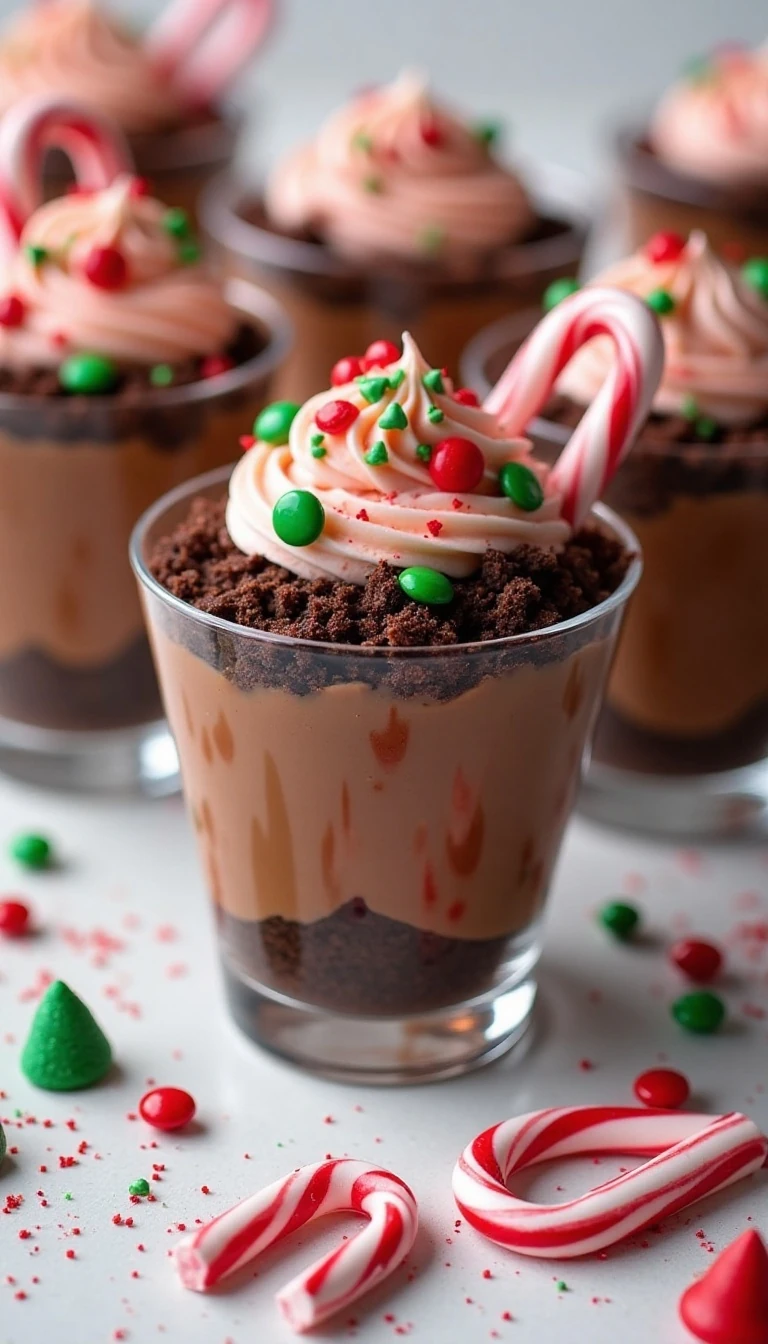
Jolly Holiday Dirt Cups
Ingredients
Method
- Whisk the instant chocolate pudding mix and cold milk in a bowl for about 2 minutes, until the mixture thickens. Fold in the thawed whipped topping until evenly combined and smooth.
- Crush the chocolate sandwich cookies in a food processor or in a sealed bag. Keep a few small coarse pieces among the crumbs for a realistic dirt-like texture.
- Spoon a layer of the chocolate pudding mixture into clear 6- to 8-ounce cups. Add a layer of crushed cookies and tuck in one gummy worm if using.
- Repeat the pudding and cookie layers until the cups are filled, finishing with a generous layer of cookie crumbs on top. Decorate with gummy worms, sprinkles, candies, miniature candy canes, or other holiday toppers.
- Refrigerate the assembled cups for at least 1 hour before serving. Add gummy worms just before serving if you want them to stay especially chewy.
Notes
Final Thoughts
Jolly Holiday Dirt Cups bring together everything a successful Christmas dessert needs: easy preparation, familiar ingredients, individual servings, and plenty of festive personality. The creamy chocolate pudding, fluffy whipped topping, and crunchy cookie crumbs make every bite satisfying, while the gummy worms and colorful decorations invite plenty of smiles.
Prepare the cups at least an hour before serving, keep them chilled, and save the most delicate gummy worms or candy accents for the final decorating step. Whether you make eight cups for a small family gathering or ten for a holiday party, this no-bake treat is a simple way to add fun to the dessert table.