No-Bake Christmas Dirt Cake is an easy holiday dessert made with crushed Oreo cookies, chocolate pudding, cream cheese, whipped topping, and festive red-and-green decorations. It takes only 20–30 minutes to assemble, requires no cooking, and serves about 12–16 people after chilling for at least 4 hours.
Every spoonful combines soft, fudgy Oreo crumbs with a cool, silky chocolate filling and a lightly tangy cream-cheese finish. The make-ahead texture is especially delicious because the cookies soften while the filling sets, creating a spoonable dessert that looks cheerful on a Christmas buffet.
Jump to RecipeWhy You’ll Love This Recipe

This Christmas dirt cake has the spirit of a classic holiday trifle but with a simpler preparation. There is no oven to preheat, no cake layers to bake, and no complicated frosting technique, making it a practical choice when the kitchen is already busy with holiday cooking.
The dessert is also wonderfully family-friendly. Children can help crush the cookies, sprinkle on the decorations, and arrange the red and green candies, while adults handle the creamy filling and final assembly.
Its generous yield makes it a smart option for Christmas parties, cookie exchanges, potlucks, and family dinners. The 9 x 13-inch dish provides plenty of servings, while a large trifle bowl creates a pretty layered presentation for a more formal table.
If you are planning a full dessert table, pair this chocolate treat with our festive Christmas Love Cake for a second holiday favorite with a different flavor profile.
Ingredients You’ll Need
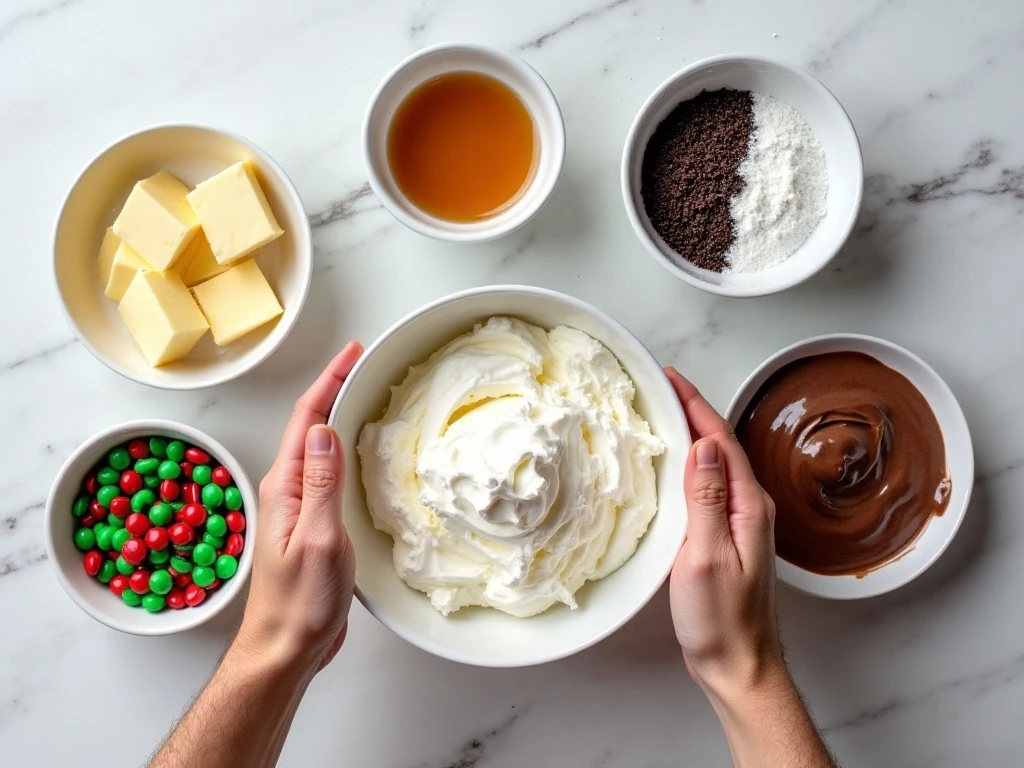
The ingredient list is short, but each component contributes an important part of the finished texture. Oreo cookies provide the dark, chocolatey “dirt,” while the pudding, cream cheese, butter, and whipped topping create a smooth filling that is rich without being difficult to spoon.
- Oreo cookies: Use 36 cookies, or about one 14–15-ounce package. Crush them finely for a cohesive layer, while a few slightly larger crumbs can add texture.
- Butter and cream cheese: Both must be softened before mixing. This helps the powdered sugar blend in smoothly instead of leaving small lumps.
- Powdered sugar and vanilla: These sweeten and round out the cream-cheese layer without requiring any stovetop work.
- Instant chocolate pudding: Use two 3.9-ounce packages with 3 cups of cold milk. Whisking for about 2 minutes gives the pudding enough time to thicken.
- Whipped topping: Thaw the 8-ounce container in the refrigerator before using, then fold it gently into the filling.
- Holiday decorations: Red and green candies, Christmas sprinkles, crushed peppermint, or candy pieces all work well for the finishing touch.
For another no-bake holiday idea with a peppermint twist, take a look at these peppermint bark cookies. They make a lovely companion to this chocolate dessert on a cookie tray.
How to Make It Step-by-Step
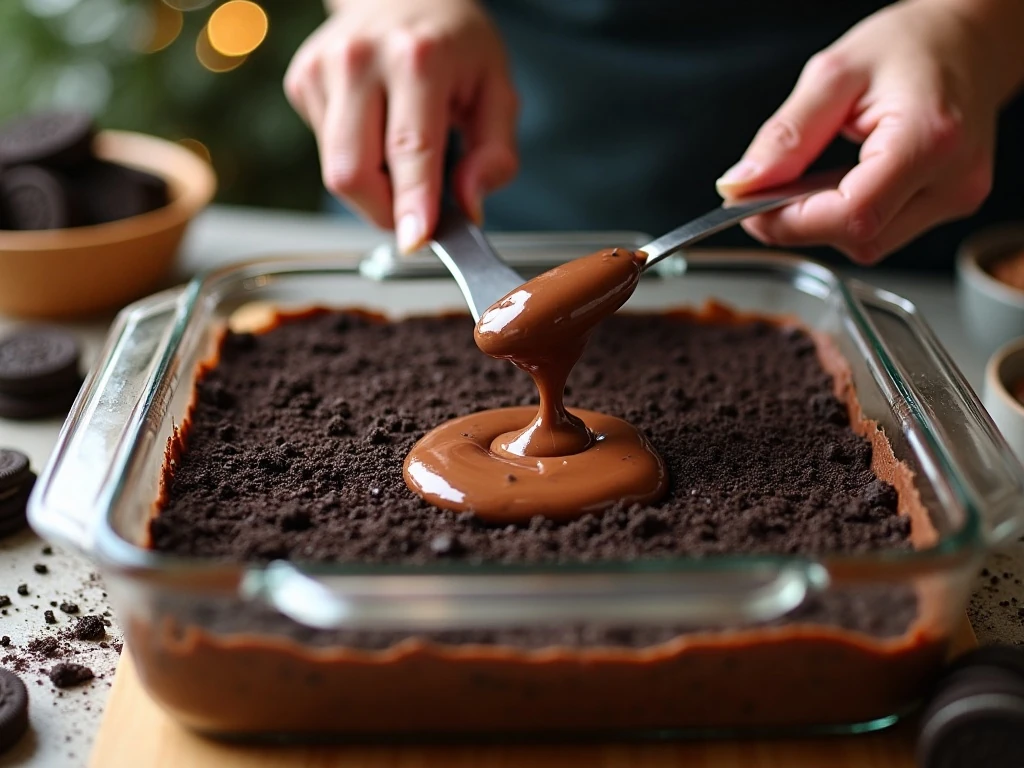
Step 1: Crush the Oreo cookies until they resemble fine, dark crumbs. A food processor is the fastest method, but a sealed plastic bag and rolling pin work just as well; reserve about 1/2 cup for the topping and keep the rest divided for the layers.
Step 2: Press approximately half of the remaining crumbs into the bottom of a 9 x 13-inch baking dish or large trifle bowl. Press firmly enough to create an even base, but do not pack the crumbs so tightly that they become difficult to scoop later.
Step 3: Beat the softened butter, cream cheese, powdered sugar, and vanilla until the mixture is smooth and creamy. Scrape the sides and bottom of the bowl as needed so every ingredient is fully incorporated and the filling has an even texture.
Step 4: In another bowl, whisk both packages of instant chocolate pudding mix with the cold milk for about 2 minutes. The mixture should visibly thicken, which gives the finished dirt cake enough structure to hold its layers.
Step 5: Fold the thickened pudding into the cream-cheese mixture. Use a spatula and gentle strokes rather than vigorous stirring, then fold in the thawed whipped topping to keep the mixture airy.
Step 6: Spread half of the filling over the first Oreo layer. Smooth the surface carefully, then add another layer of cookie crumbs before spreading the remaining filling on top.
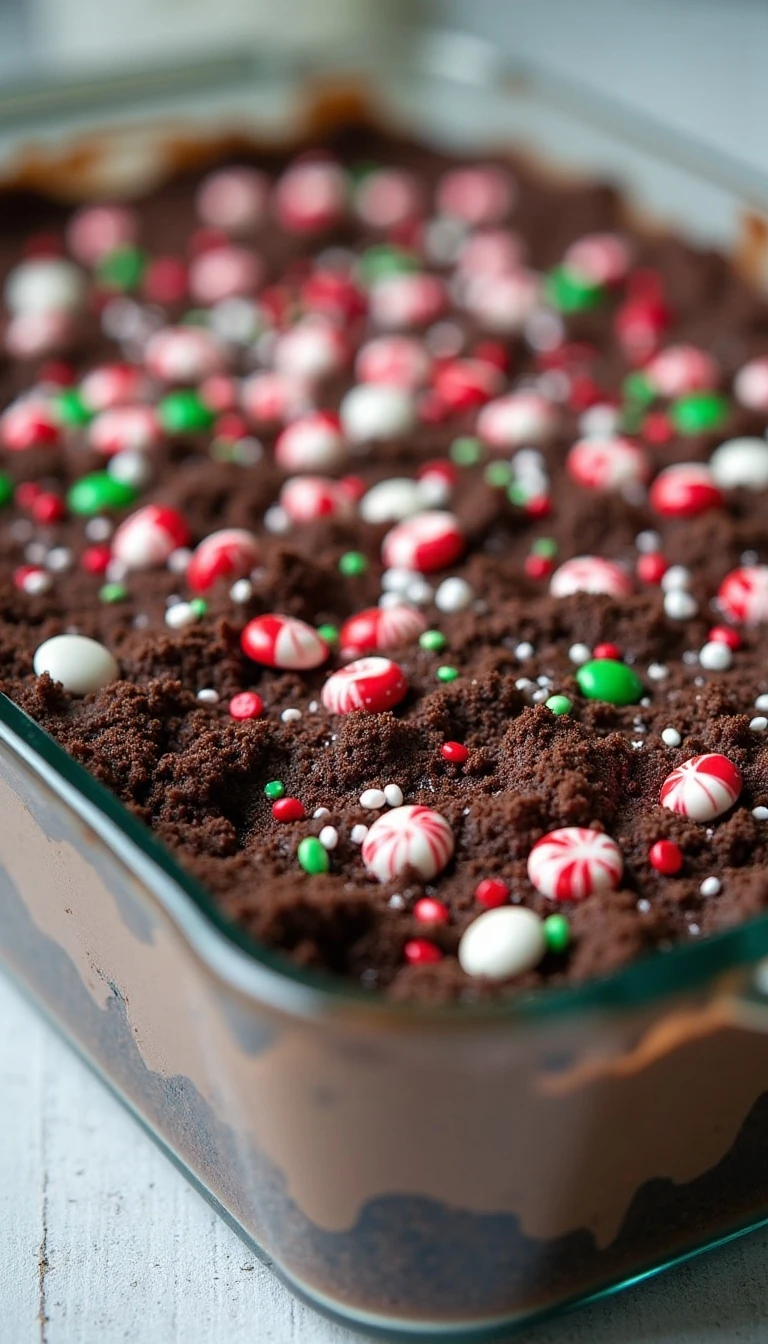
Step 7: Sprinkle the reserved Oreo crumbs over the final filling layer. Add red and green candies, Christmas sprinkles, crushed peppermint, or another festive decoration while the top is still easy to decorate.
Step 8: Cover the dish and refrigerate it for at least 4 hours, although overnight chilling produces the best texture. The resting time allows the cookies to soften and the filling to set firmly for serving.
Chef’s Tips for the Best Dirt Cake
Start with fully softened butter and cream cheese. Cold ingredients do not blend as readily, and trying to force them together can leave a lumpy filling that will not smooth out completely.
Use cold milk for the instant pudding. Warm or room-temperature milk can affect how quickly the pudding thickens, while properly chilled milk helps create the rich, spoonable consistency this dessert needs.
When folding, keep the motion gentle and stop as soon as the mixture looks uniform. Overmixing after adding the whipped topping can make the filling heavier and less fluffy.
For a tidy appearance, wipe the inside rim of the serving dish before chilling. If you are using a clear trifle bowl, build each layer carefully around the edges so the chocolate and cream stripes remain visible.
Make the dessert the day before serving whenever possible. Overnight refrigeration gives the Oreo crumbs time to soften into a cake-like layer while allowing the chocolate filling to become pleasantly firm.
For more cheesecake-style inspiration, our no-bake lemon cheesecake offers a bright contrast to this rich chocolate recipe and is another dependable make-ahead dessert.
Festive Decorating Ideas

The decoration is where this dessert becomes unmistakably Christmas-ready. A simple scattering of red and green sprinkles is enough, but a few thoughtful details can make the top look like a holiday display.
- Arrange red and green candy-coated chocolates in small clusters to resemble ornaments.
- Add crushed peppermint in a narrow stripe down the center for a cool, seasonal accent.
- Use white sprinkles alongside red and green candies to create a classic snowy color palette.
- Place small candy canes or chocolate Christmas shapes around the edge just before serving.
- Reserve a few larger Oreo pieces for a rustic finish instead of using only fine crumbs.
Add decorations shortly before serving if they are likely to soften in the refrigerator. Sprinkles can usually be added before chilling, but peppermint pieces and crisp candies often look freshest when placed near serving time.
For a brighter dessert table, consider serving this dark chocolate cake beside our colorful Christmas cake. The two desserts create a cheerful contrast in both color and texture.
Serving, Storage, and Slicing

Serve the dirt cake cold, directly from the refrigerator. A large spoon is ideal for a trifle bowl, while a sharp knife and pie server work best when the dessert has been assembled in a 9 x 13-inch baking dish.
For cleaner slices, refrigerate the cake overnight and briefly freeze it for 20–30 minutes before cutting. This short time in the freezer firms the layers without turning the dessert solid, making it easier to create neat portions.
Keep the dish covered in the refrigerator until you are ready to serve it. Because the recipe contains dairy and whipped topping, it should remain chilled during a party rather than sitting at room temperature for an extended period.
The Oreo layers become softer as the dessert rests, which is part of its appeal. If you prefer a little more cookie texture, make it the same day and chill it for the required minimum of 4 hours instead of preparing it several days ahead.
Leftovers are best enjoyed within a few days while the cream remains fresh and the decorations still look attractive. If the top needs refreshing, add a small pinch of Oreo crumbs or new sprinkles just before serving.
For another rich, chilled chocolate option, try this easy German chocolate pie after the holidays. It follows the same convenient no-bake spirit while offering a different nutty, chocolate-coconut flavor.
No-Bake Christmas Dirt Cake
Ingredients
Method
- Crush 36 Oreo cookies into fine crumbs in a food processor, or place them in a sealed plastic bag and roll over the bag with a rolling pin. Reserve about 1/2 cup of the crumbs for the topping, then press approximately half of the remaining crumbs into the bottom of a 9 x 13-inch baking dish or large trifle bowl.
- Beat the softened butter, softened cream cheese, powdered sugar, and vanilla extract until smooth and creamy. In a separate bowl, whisk the two pudding mixes with the cold milk for about 2 minutes, or until thickened.
- Fold the thickened pudding into the cream-cheese mixture until evenly combined. Gently fold in the thawed whipped topping so the filling stays light and fluffy.
- Spread half of the filling over the first Oreo layer, smoothing it into an even layer with a spatula. Add another layer of Oreo crumbs, followed by the remaining filling.
- Finish the dessert with the reserved Oreo crumbs, then decorate with Christmas sprinkles, red and green candies, crushed peppermint, or other holiday decorations. Cover the dish and refrigerate for at least 4 hours; chilling overnight is best.
Notes
Final Thoughts
No-Bake Christmas Dirt Cake brings together everything a holiday host wants in a dessert: easy preparation, familiar ingredients, generous servings, and a festive appearance. The chocolate Oreo crumbs soften into tender layers while the cream-cheese pudding filling stays cool, creamy, and wonderfully rich.
Prepare it at least 4 hours ahead, or make it the night before your celebration for the firmest texture and easiest serving. Finish it with your favorite Christmas colors, place it in the center of the dessert table, and watch guests return for one more spoonful.
Whether served in a baking dish for casual family portions or layered in a trifle bowl for a party centerpiece, this dirt cake is a reliable Christmas dessert everyone can enjoy. It is playful enough for children, indulgent enough for adults, and simple enough to make during the busiest season of the year.