Mom’s skillet corn is a quick, comforting dinner side made with 4 cups of corn, butter, a little flour, and whole milk or half-and-half. In about 25 to 30 minutes, the kernels become tender, lightly browned, and coated in a gently creamy pan sauce that serves 4 to 6 people.
This simple skillet corn recipe tastes like the kind of dish that belongs at a family supper table. Butter brings out the sweetness of the corn, a small amount of sugar rounds out the flavor, and fresh parsley or chives add a bright finish to every warm, savory bite.
Jump to RecipeWhy You’ll Love This Recipe
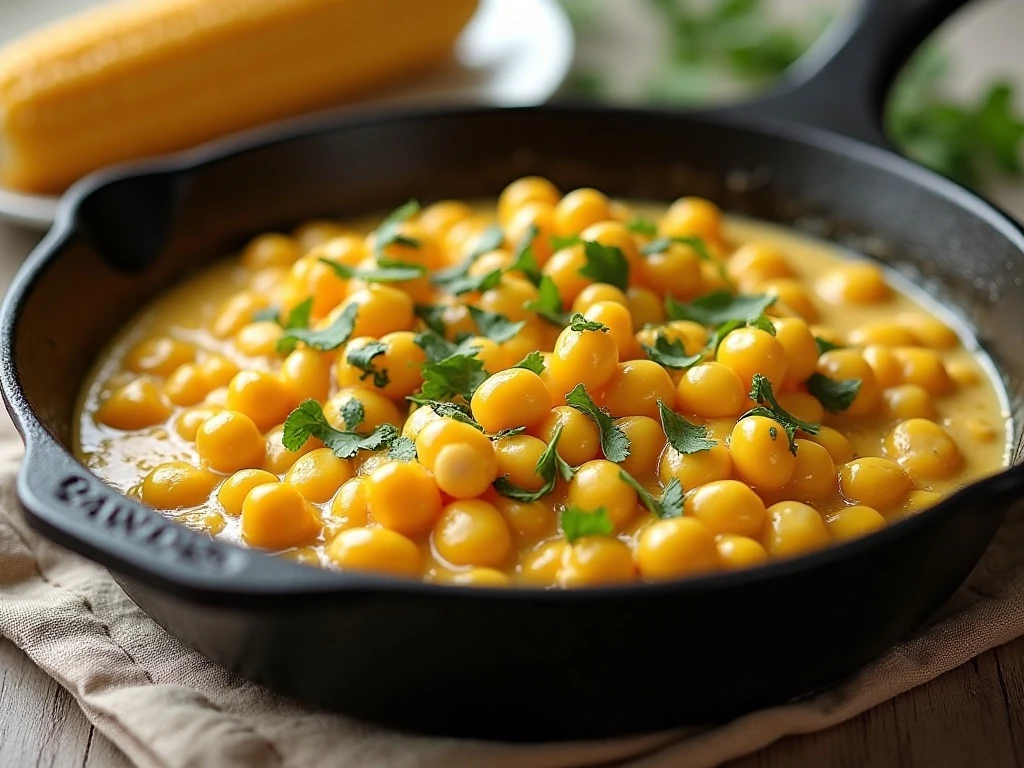
There is something wonderfully dependable about a skillet of buttery corn. It requires familiar ingredients, comes together in one pan, and brings a golden, sweet-savory flavor to the dinner table without demanding much preparation.
The texture is what makes this version special. The kernels are first cooked until they begin to brown, then finished with a light milk-based sauce that clings to the corn without turning it into a heavy casserole.
This recipe works with fresh or frozen corn, so it can be made throughout the year. Fresh summer corn gives the sweetest flavor, while good-quality frozen kernels make this comforting side practical for a weeknight dinner.
For a complete family meal, serve it alongside roast chicken, baked ham, meatloaf, or grilled pork chops. Warm skillet dinner rolls are also a wonderful match for spooning up every bit of the buttery sauce.
Ingredients You’ll Need
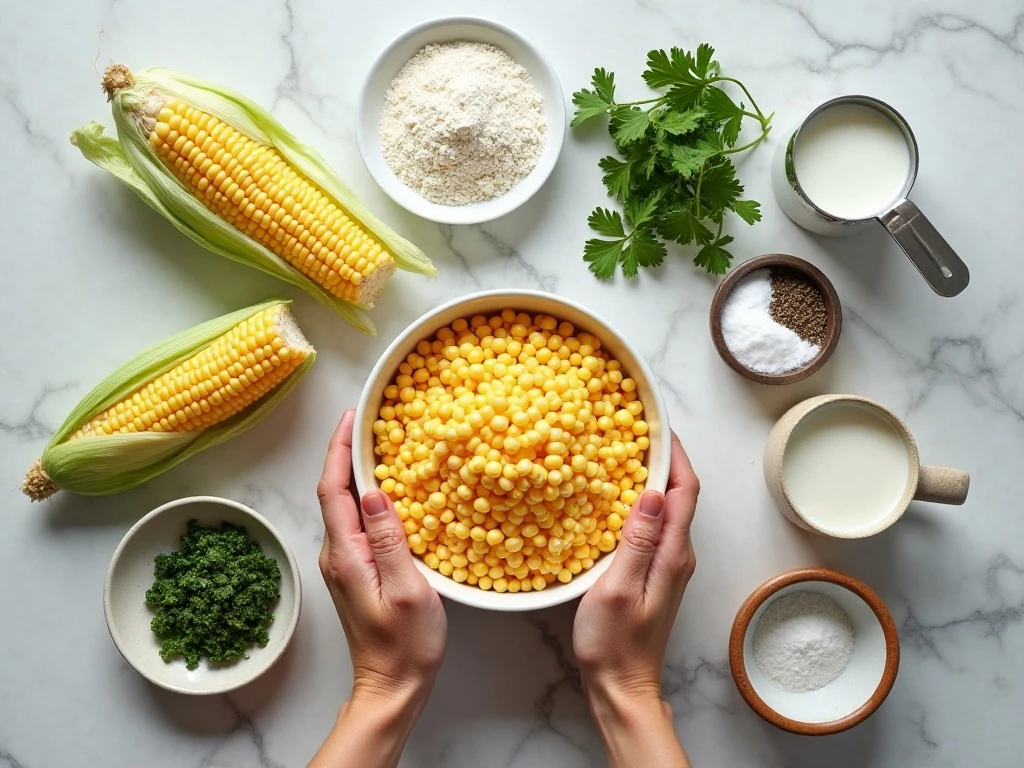
The ingredient list is short, but each item has a clear purpose. Corn provides the tender, naturally sweet base, while butter helps the kernels brown and gives the dish its classic home-cooked richness.
- Corn: Use 4 cups of fresh or frozen kernels. About 6 medium ears will yield 4 cups once shucked and cut.
- Butter: Three tablespoons of unsalted butter create a rich cooking base and allow you to control the salt.
- Flour: One tablespoon lightly thickens the pan juices after the corn has started to brown.
- Milk or half-and-half: A half cup adds gentle creaminess. Half-and-half creates a slightly richer sauce, while whole milk keeps it lighter.
- Seasonings: Kosher salt, black pepper, and a teaspoon of sugar make the corn taste balanced and full.
- Optional onion and herbs: Two tablespoons of finely chopped onion add savory flavor, while parsley or chives provide a fresh finish.
If you are using fresh corn, do not discard the cobs immediately after cutting off the kernels. Scrape each cob with the back of your knife to collect the milky liquid; it can be added to the skillet and helps create a naturally creamy texture.
For another corn side with a different flavor profile, try our garlic herb butter corn. The skillet version here is softer and lightly creamy, while roasted corn brings more concentrated browning and herb flavor.
How to Make It Step-by-Step
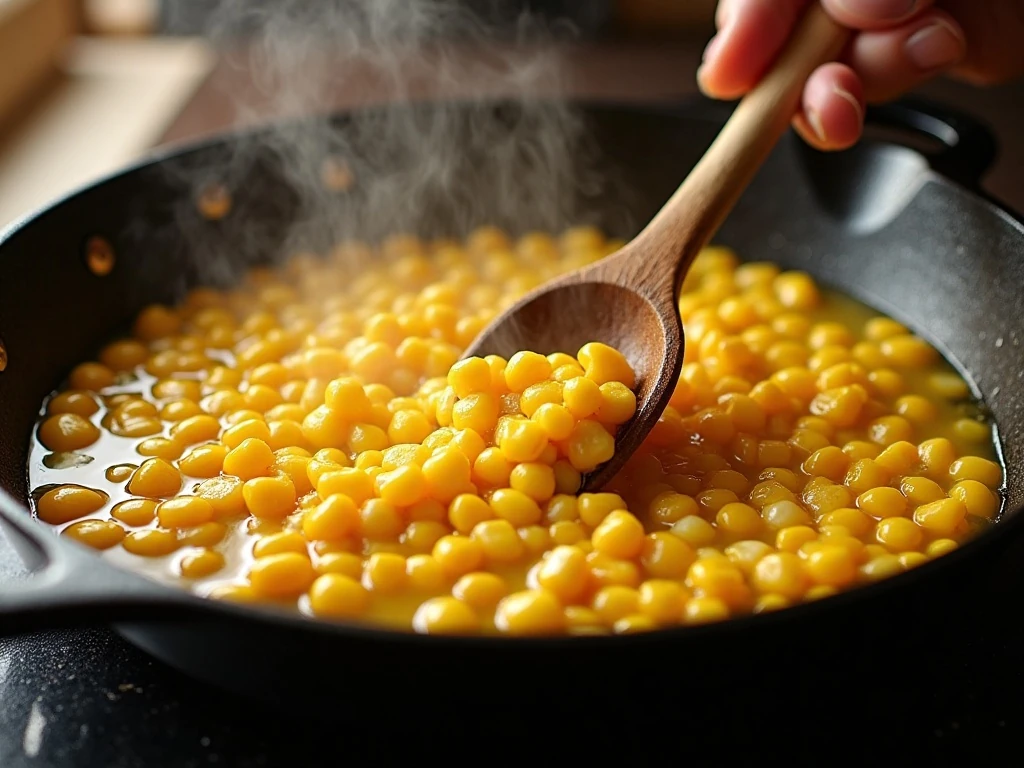
Step 1: Prepare the corn before heating the skillet. Shuck fresh ears and cut the kernels from the cob, or thaw frozen corn completely and drain it well; removing extra moisture is important because wet corn tends to steam instead of brown.
Step 2: Melt the butter in a large skillet over medium heat. If you are adding onion, stir it into the butter and cook for 2 to 3 minutes, just until softened and fragrant without allowing it to darken.
Step 3: Add the corn, kosher salt, black pepper, and sugar to the skillet. Stir to coat the kernels, then cook for 5 to 8 minutes, stirring occasionally and leaving the corn undisturbed for short periods so it can develop lightly browned edges.
Step 4: Sprinkle the flour evenly over the hot corn and stir for about 1 minute. This brief cooking time removes the raw flour taste and allows the flour to coat the buttered kernels before the milk is added.
Step 5: Gradually pour in the whole milk or half-and-half while stirring constantly. Bring the mixture to a gentle simmer and cook for 3 to 5 minutes, stirring often, until the sauce is lightly creamy and the corn is tender.
Step 6: Taste the skillet corn before serving and adjust the salt or black pepper as needed. Scatter chopped parsley or chives over the top, then bring the dish to the table while it is hot and glossy.
Pro Tips for Sweet, Golden Skillet Corn
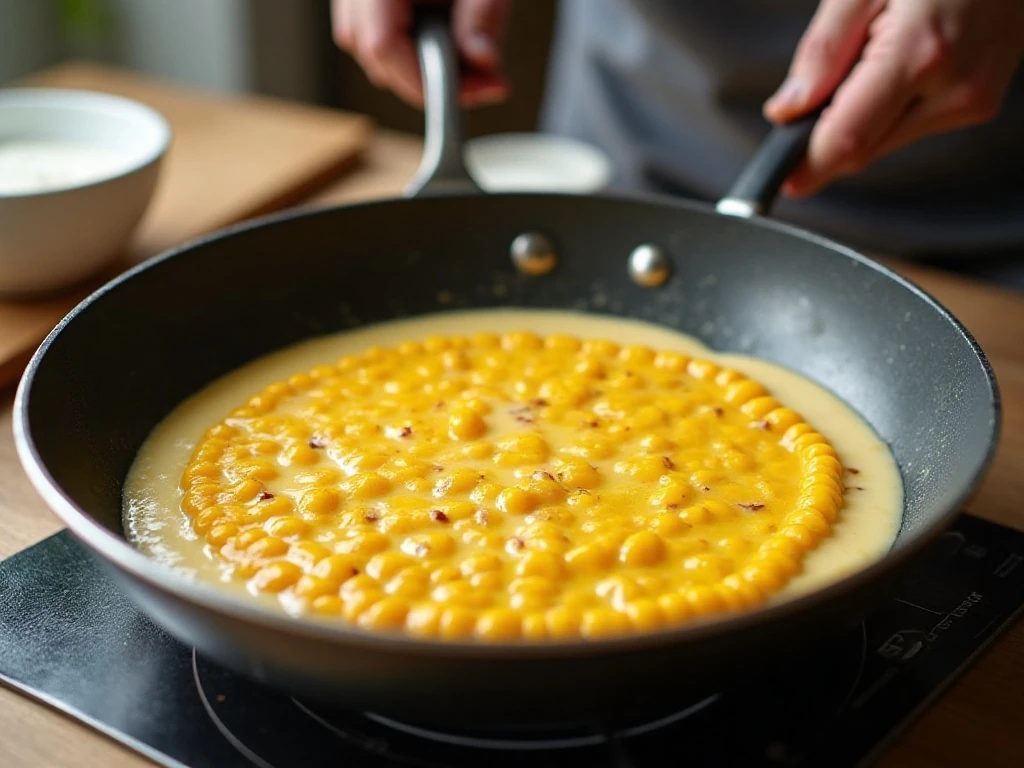
Use the largest skillet you have available so the corn spreads into a fairly even layer. When the kernels are crowded, moisture collects in the pan and the corn is more likely to steam than caramelize.
Let the corn sit undisturbed for short intervals during the first cooking stage. Stirring constantly prevents contact with the hot skillet, while a little patience gives the kernels their appealing golden spots.
Frozen corn should be thawed and drained before it reaches the butter. You can even pat it dry with a clean kitchen towel if it seems especially wet.
Keep the heat at medium rather than high. Butter can brown quickly, and the milk may scorch if the skillet is too hot once the sauce begins to simmer.
The sugar is optional, especially when using very sweet summer corn. A small amount is helpful with some frozen corn because it rounds out the flavor without making the dish taste like dessert.
Do not add the flour before the corn has had a chance to cook and brown. Adding it after the initial sauté keeps the kernels flavorful and allows the flour to thicken the milk without creating a dull, pasty coating.
What to Serve with Skillet Corn
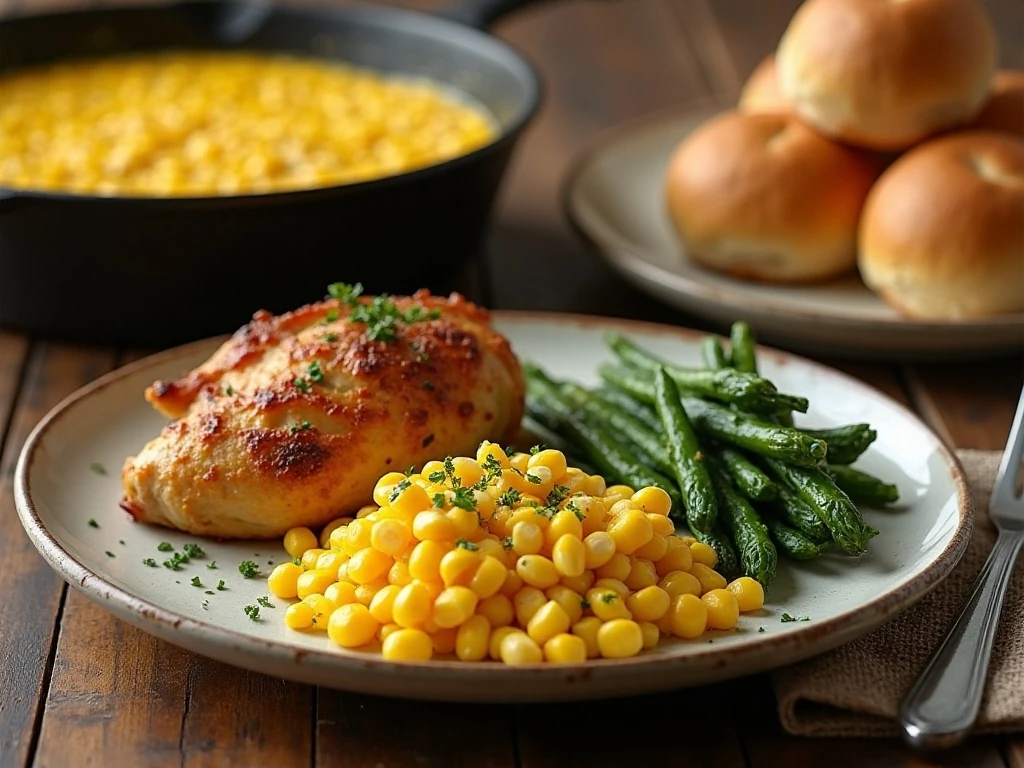
This corn is at home beside nearly any classic dinner entrée. Its buttery sweetness balances savory meats, while the creamy sauce makes a simple plate feel warm and complete.
- Roast chicken or turkey
- Glazed ham or pork chops
- Meatloaf or Salisbury steak
- Grilled burgers or barbecue chicken
- Beans, greens, and other Southern-inspired sides
For a fun menu with a takeout-inspired main course, pair the corn with homemade chow mein. The tender noodles and crisp vegetables make a satisfying contrast to the soft, buttery kernels.
When dinner turns into a special gathering, finish with a cool slice of New York-style cheesecake with raspberry sauce. For a more playful dessert table, an Oreo dessert wreath adds a festive chocolate finish.
Storage and Reheating
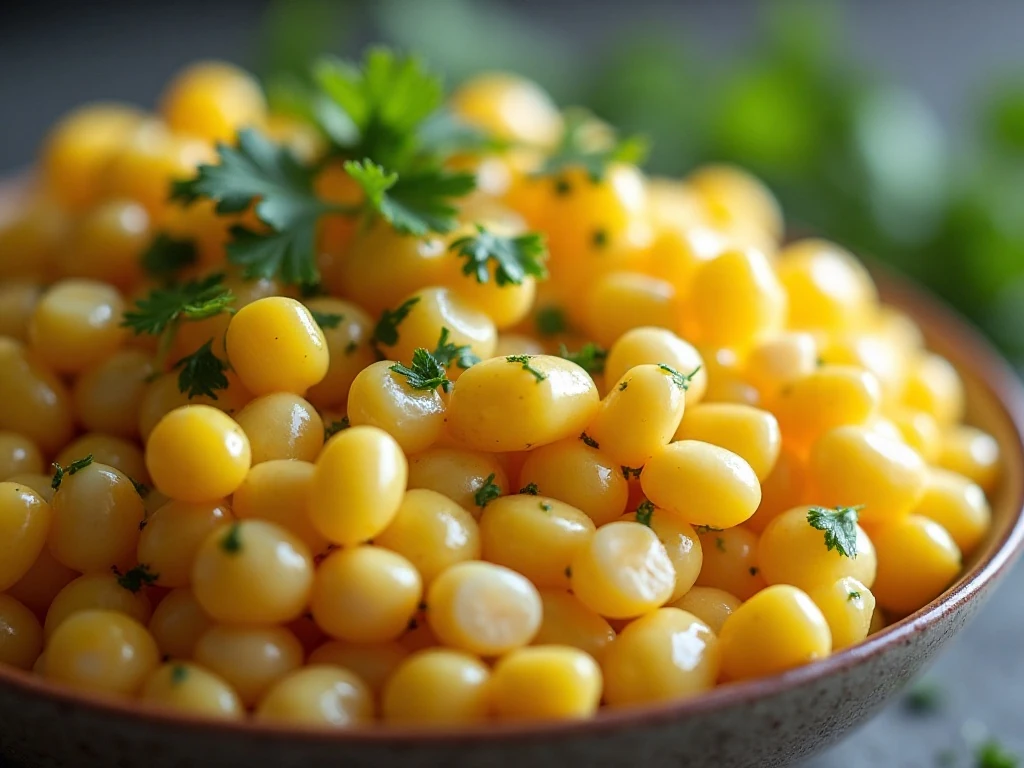
Let leftover corn cool briefly, then transfer it to a covered refrigerator-safe container. It will keep in the refrigerator for up to 3 days when properly chilled.
Reheat it gently in a skillet over low to medium heat, stirring occasionally until warmed through. If the sauce has thickened in the refrigerator, add a small splash of milk while reheating to loosen it.
You can also reheat individual portions in the microwave. Use short intervals and stir between each one so the creamy mixture warms evenly without becoming overheated.
Because the recipe is quick and tastes best warm, it is ideal for making close to mealtime. If preparing it for a larger dinner, keep it covered briefly after cooking and stir before serving.
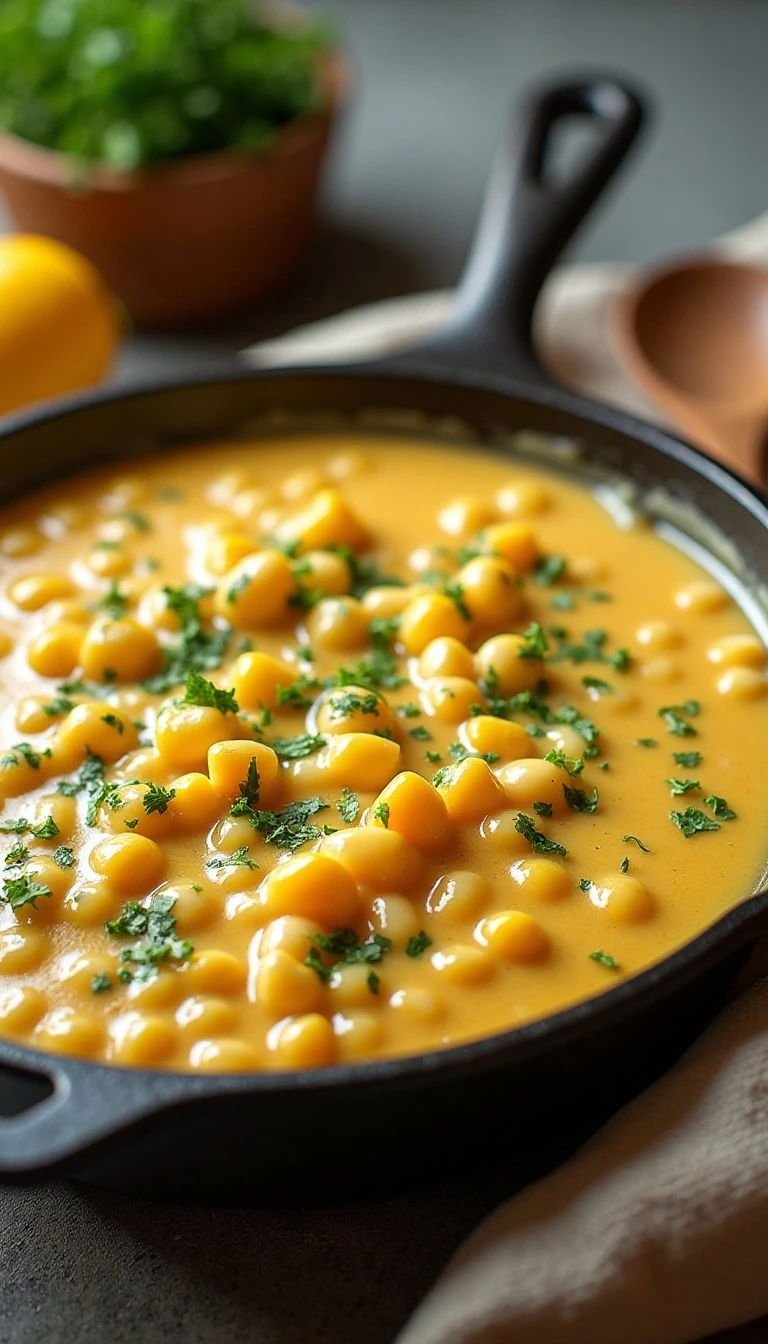
Mom’s Skillet Corn Recipe
Ingredients
Method
- If using fresh corn, shuck the ears and cut off the kernels. If using frozen corn, thaw it completely and drain away excess water.
- Melt the butter in a large skillet over medium heat. If using onion, add it and cook for 2 to 3 minutes, until softened.
- Add the corn, kosher salt, black pepper, and sugar. Cook for 5 to 8 minutes, stirring occasionally, until hot and beginning to brown.
- Sprinkle the flour over the corn and stir continuously for about 1 minute so it coats the kernels and cooks briefly.
- Gradually stir in the milk or half-and-half. Simmer for 3 to 5 minutes, stirring often, until the sauce is lightly creamy and the corn is tender.
- Taste and adjust the salt and pepper. Finish with chopped fresh parsley or chives, if desired, and serve warm.
Notes
Final Thoughts
Mom’s skillet corn proves that a memorable side dish does not need a long ingredient list or complicated technique. With butter, a little seasoning, and a splash of milk, everyday corn becomes tender, golden, and comforting enough for a holiday table or an ordinary Tuesday night.
Remember to drain frozen corn well, give fresh kernels room to brown, and add the milk gradually after the flour has cooked. Those small details create the lightly creamy texture and sweet, toasted flavor that make this classic so satisfying.
Serve it hot with your favorite main dish, finish it with parsley or chives, and expect the skillet to come back to the kitchen nearly scraped clean. This is the kind of reliable recipe that earns a permanent place in a family dinner rotation.