The best no-bake desserts are simple, creamy, and wonderfully low-effort, and this easy no-bake cheesecake checks every box. With a buttery graham-cracker crust, smooth full-fat cream cheese, and fluffy whipped topping, it takes about 15 minutes to prepare, requires no cooking, and needs at least 3 hours in the refrigerator to set.
This eight-serving cheesecake tastes rich without feeling heavy, with a cool, cloud-like filling and a crisp, lightly sweet crust. Finish each slice with berries, fruit, pie filling, or chocolate shavings for a fuss-free dessert that is ideal for holidays, potlucks, birthdays, and relaxed weeknight treats.
Jump to RecipeWhy You’ll Love This Recipe
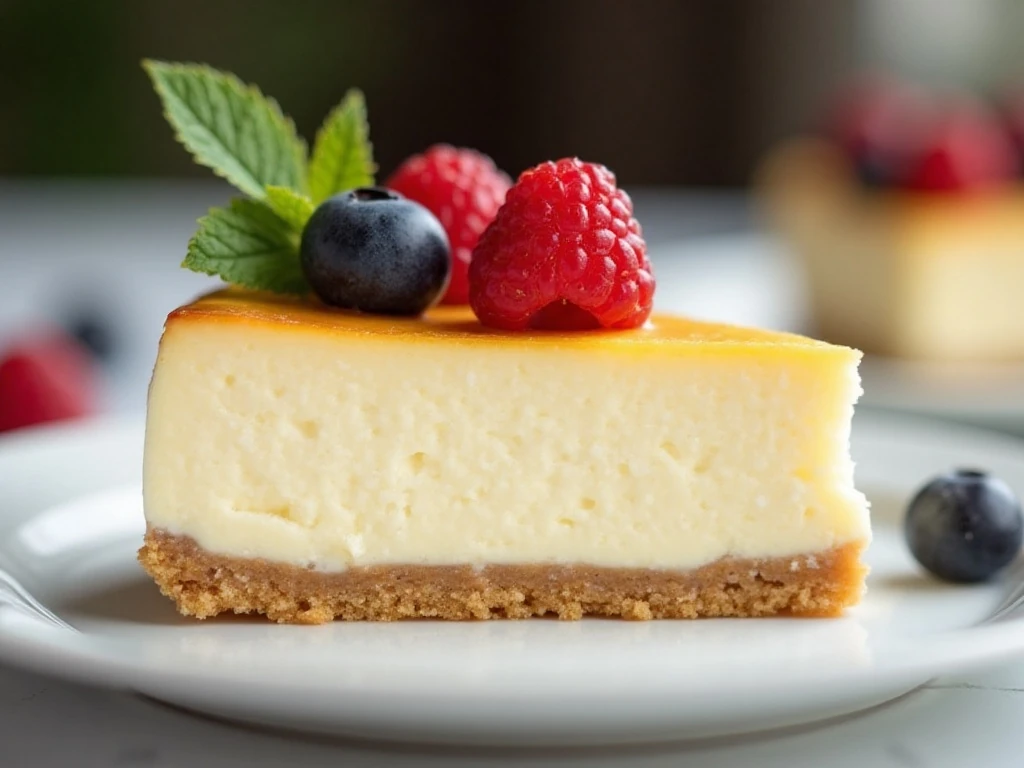
This no-bake cheesecake is the kind of dessert that looks special while asking very little from the cook. There is no oven to preheat, no water bath to prepare, and no complicated baking technique to master.
The filling has a soft, airy texture because the cream cheese is combined with whipped topping rather than baked. Its gentle tang balances the sweetness, while the graham-cracker crust adds a buttery crunch to every bite.
It is also wonderfully adaptable. Serve it plain for a clean, classic finish, or add seasonal toppings to match the occasion and make the same dependable dessert feel new each time.
- Fast assembly: The active preparation takes about 15 minutes.
- No cooking: This recipe uses no stovetop or oven time.
- Make-ahead friendly: The cheesecake needs at least 3 hours to chill and set.
- Easy to customize: Fruit, pie filling, berries, and chocolate shavings all work beautifully.
If you enjoy freezer-friendly sweets as much as refrigerator desserts, our marshmallow roll cookies are another fun treat to keep in your recipe collection.
Ingredients You’ll Need
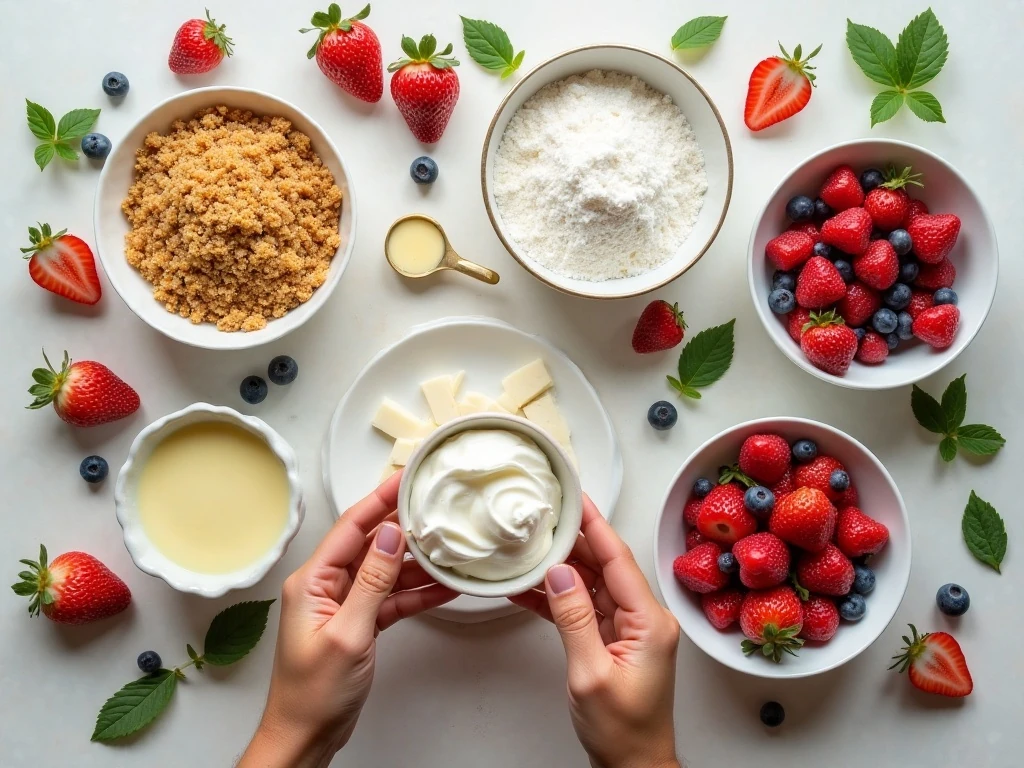
The crust starts with 1 1/2 cups of graham-cracker crumbs, about 125 to 130 grams, mixed with 3 tablespoons of granulated sugar and 6 tablespoons of melted unsalted butter, about 85 grams. The butter binds the crumbs and gives the base a rich, crisp texture once chilled.
For the filling, use two 8-ounce packages of full-fat cream cheese, about 226 grams each, plus the remaining 3 tablespoons of sugar. Full-fat cream cheese gives the cheesecake its best body and creamy mouthfeel.
You will also need one thawed 8-ounce container, about 226 grams, of whipped topping. For finishing, choose fruit, berries, pie filling, or chocolate shavings according to your preference.
- Measure the graham-cracker crumbs carefully so the crust is firm but not dry.
- Use unsalted butter so the sweetness and tang remain balanced.
- Set the cream cheese out for 30 to 60 minutes before mixing.
- Thaw the whipped topping completely before folding it into the filling.
For another bright, portion-sized dessert, take a look at these mini no-bake key lime pies. They bring a refreshing citrus flavor to the same easy dessert category.
How to Make It Step-by-Step

Step 1: Combine the graham-cracker crumbs, 3 tablespoons of the sugar, and melted butter in a bowl. Stir until every crumb is lightly coated and the mixture resembles damp sand.
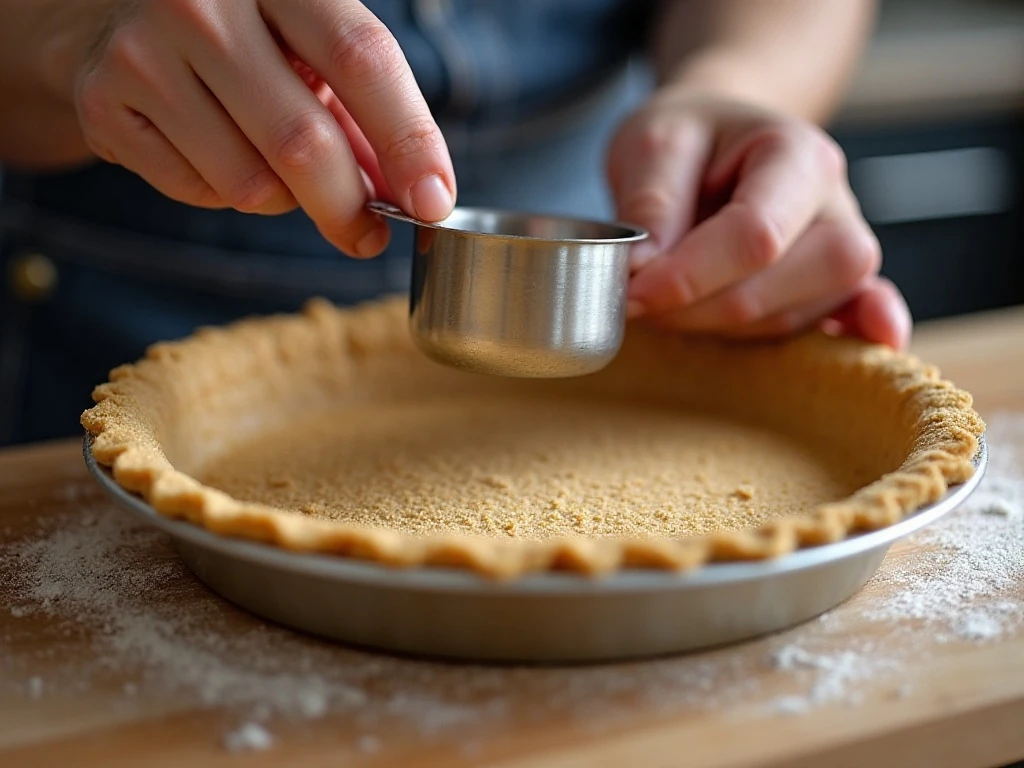
Step 2: Press the crumb mixture firmly into the bottom of a 9-inch pie plate. Use the bottom of a measuring cup or a flat glass to create an even layer, then chill the crust briefly while you prepare the filling.
Step 3: Beat the softened cream cheese and the remaining sugar until smooth. Scrape the sides and bottom of the bowl as needed so the mixture is creamy throughout and free of lumps.
Step 4: Fold in the thawed whipped topping until it is evenly combined. Use a gentle motion and stop as soon as the filling looks uniform, since overmixing can reduce its light texture.
Step 5: Spoon the filling into the chilled graham-cracker crust. Smooth the top with a spatula, or create soft decorative swirls with the back of a spoon.
Step 6: Refrigerate the cheesecake for at least 3 hours, or until fully set. Do not rush this stage, because the filling needs the complete chilling period to firm into clean, satisfying slices.
Step 7: Add your chosen topping immediately before serving. Scatter over fresh berries, spoon on fruit or pie filling, or finish with a delicate layer of chocolate shavings.
Pro Tips for a Creamy Cheesecake
Softened cream cheese is the most important detail for a smooth filling. Let it stand at room temperature for about 30 to 60 minutes, but do not leave it out longer than necessary.
Beat the cream cheese and sugar until smooth before adding the whipped topping. If you add everything at once, small cream-cheese lumps can remain hidden in the finished mixture.
Fold rather than vigorously stir when incorporating the whipped topping. Gentle mixing protects the fluffy texture that makes this cheesecake feel light and creamy.
Use a 9-inch pie plate and press the crust firmly into place. A compact crust is less likely to crumble when slices are lifted, especially after the cheesecake has been fully chilled.
Plan ahead for the refrigerator time. The cheesecake may look ready before three hours, but refrigerating it for the full setting period produces a firmer, more enjoyable slice.
For a chocolate-focused dessert with a rich, playful finish, you can also try our almost no-bake mud pie. It is a great choice when chocolate is calling your name.
Topping Ideas and Serving Suggestions

Fresh berries are one of the easiest ways to finish this cheesecake. Arrange strawberries, blueberries, raspberries, or a colorful mixture over the top just before serving for a juicy contrast to the creamy filling.
Fruit or pie filling works especially well when you want a glossy, spoonable topping. Cherry, blueberry, strawberry, or peach flavors can each give the dessert a different personality without changing the base recipe.
Chocolate shavings add a pretty finish and a little bittersweet flavor. Use a vegetable peeler to make curls from a chocolate bar, then scatter them over the chilled cheesecake immediately before slicing.
For gatherings, keep the cheesecake cold until dessert time and cut it into eight portions. Wipe the knife between cuts for cleaner slices, and add toppings after portioning if guests prefer different flavors.
Want another quick sweet treat for a cookie tray? These no-bake cornflake cookies offer crisp texture and easy preparation without turning on the oven.
Storage and Make-Ahead Advice
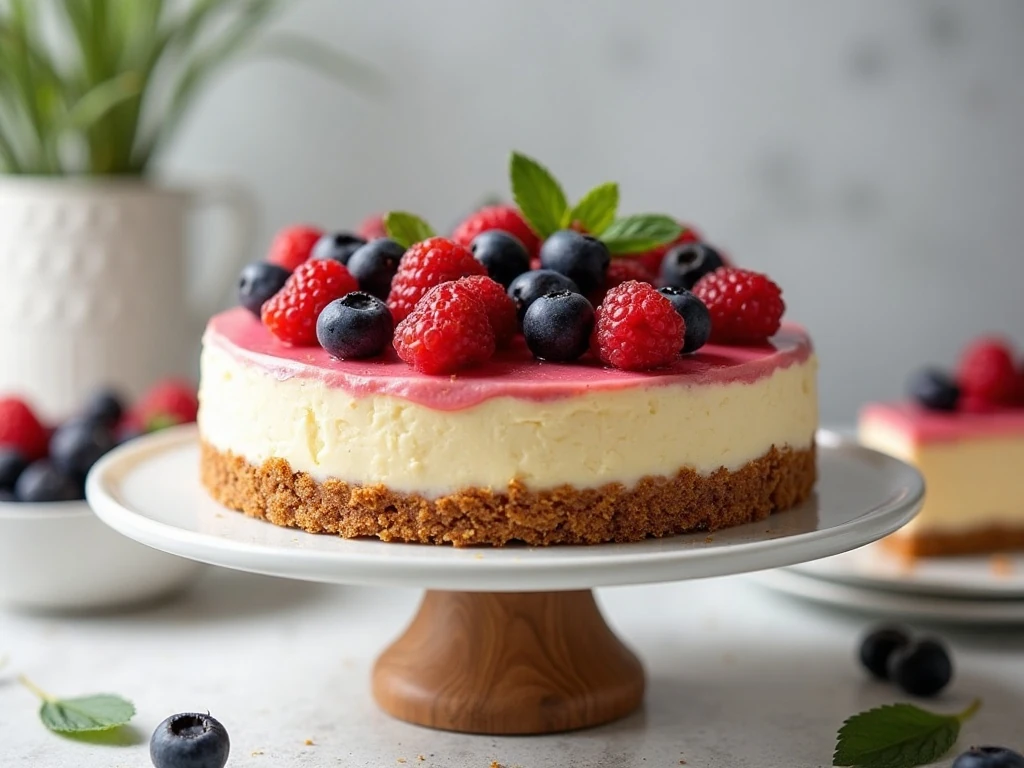
Keep the completed cheesecake refrigerated until it is ready to serve. Chilling is essential not only for food quality but also for giving the filling time to set properly.
For the freshest appearance, add fruit, berries, pie filling, or chocolate shavings immediately before serving. This helps prevent juicy toppings from softening the surface or making the crust damp.
If you are preparing dessert for a dinner or celebration, assemble the cheesecake earlier in the day and allow the full 3-hour chill. The recipe has about 3 hours and 15 minutes of total elapsed time, including preparation and chilling.
Do not use whipped topping while it is still frozen or icy. An unthawed topping can leave the filling uneven, so allow it to thaw fully before folding it into the cream-cheese mixture.
For a seasonal bite that pairs nicely with coffee and tea, our pumpkin truffles are another convenient no-bake-inspired dessert idea.

No-Bake Cheesecake
Ingredients
Method
- Combine the graham-cracker crumbs, 3 tablespoons of the sugar, and melted butter until the crumbs are evenly moistened. Press the mixture firmly into the bottom of a 9-inch pie plate, then chill briefly while preparing the filling.
- Beat the softened cream cheese with the remaining sugar until smooth and creamy. Make sure no lumps remain before adding the whipped topping.
- Fold in the thawed whipped topping until evenly combined. Avoid overmixing so the filling keeps its light, airy texture.
- Spoon the filling into the chilled crust and smooth the surface with a spatula or the back of a spoon. Refrigerate for at least 3 hours, or until fully set.
- Add fruit, berries, pie filling, or chocolate shavings immediately before serving. Slice into eight portions and serve cold.
Notes
Final Thoughts
This no-bake cheesecake proves that an impressive dessert does not need a long ingredient list or a hot oven. A buttery graham-cracker crust, smooth sweet-tangy filling, and three hours of refrigerator time are all it takes to create a creamy centerpiece for any gathering.
Keep the cream cheese fully softened, thaw the whipped topping completely, fold gently, and wait until the cheesecake is fully set before serving. Once you have mastered the basic version, change the topping with the seasons and enjoy an easy sweet treat whenever the craving strikes.