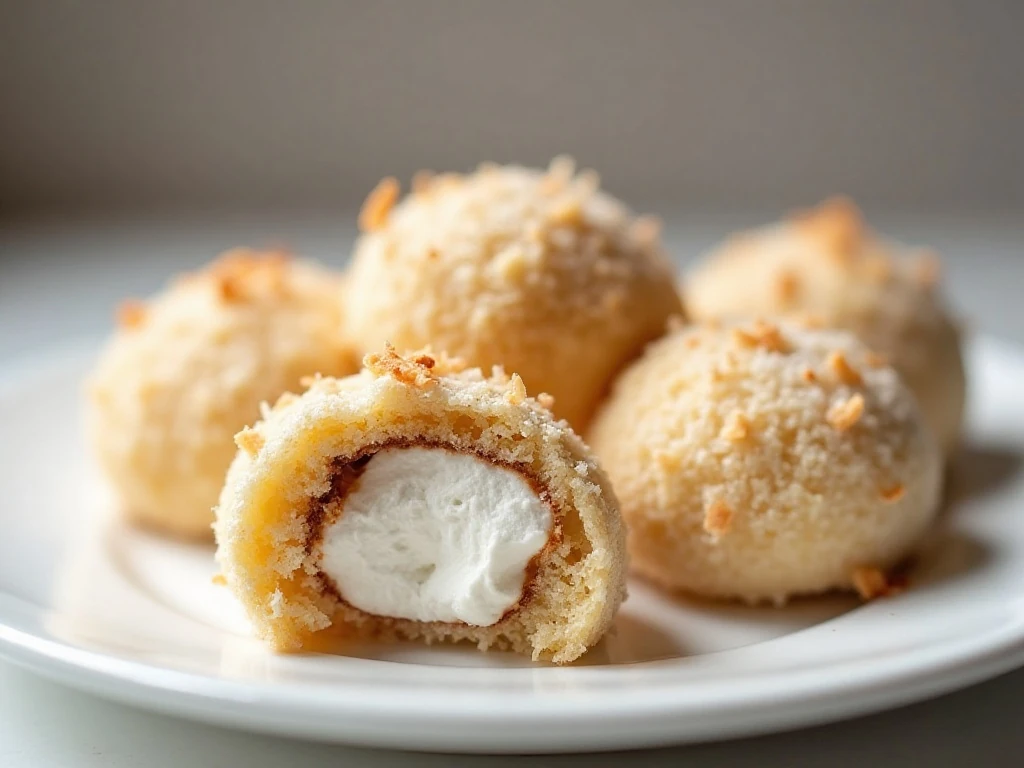
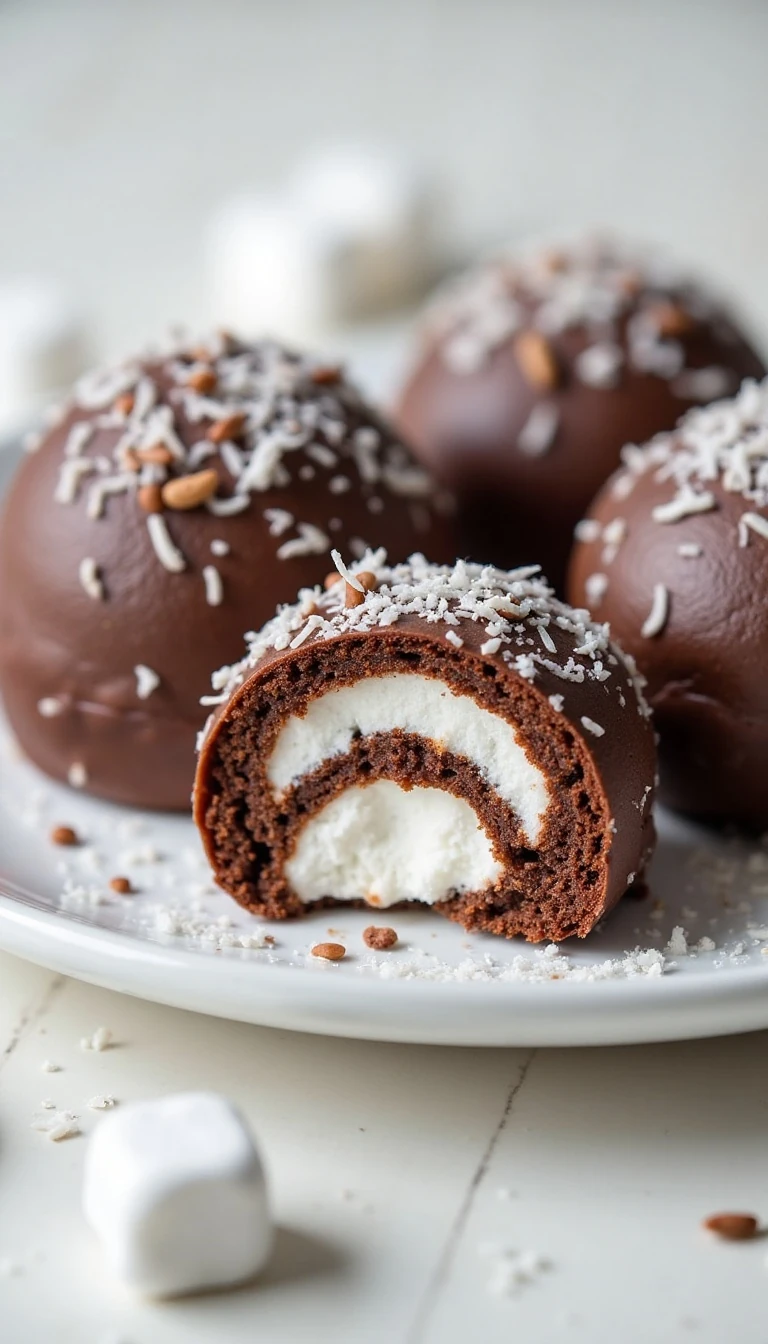
Easy No-Bake Marshmallow Roll Cookies are chewy, chocolatey treats made by wrapping a soft cocoa-and-coconut mixture around marshmallows, then chilling them until firm. The recipe makes about 30–36 cookies, requires no oven, and takes about 20–30 minutes of preparation, 5 minutes on the stovetop, and 1–2 hours to freeze or chill.
Each cookie has a fudgy chocolate-coconut shell and a pillowy marshmallow center. They are especially handy for holidays, cookie trays, lunchbox treats, and make-ahead dessert planning because you can store them frozen and let them soften slightly before serving.
Jump to RecipeWhy You’ll Love This Recipe
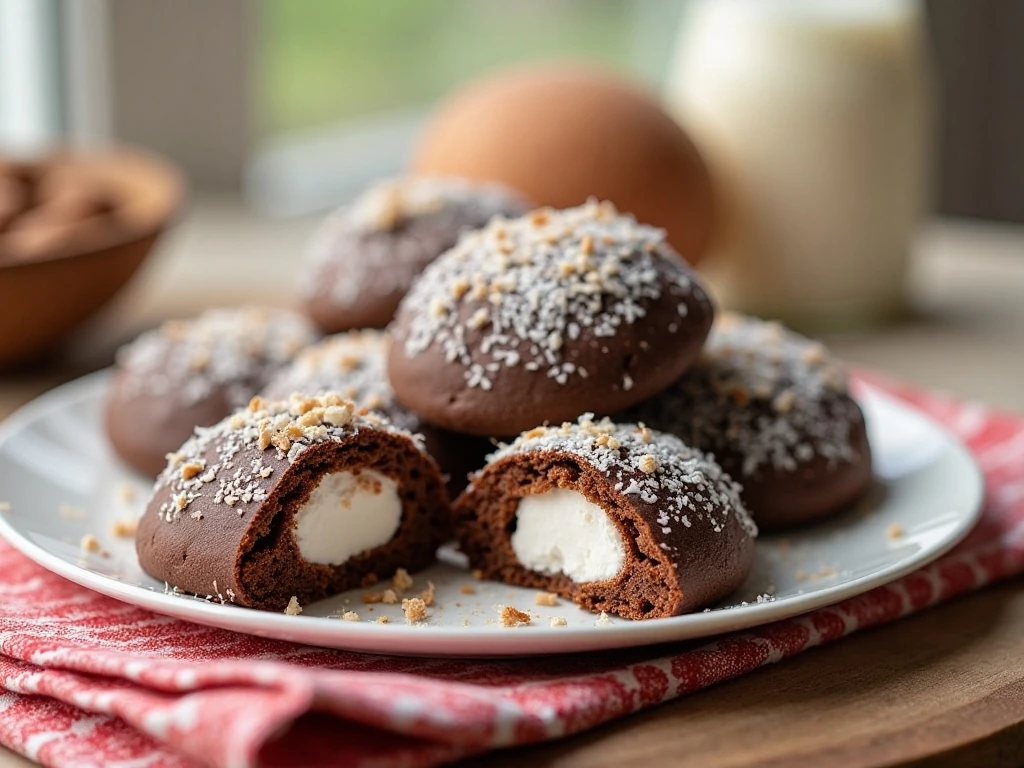
These marshmallow roll cookies deliver the satisfying contrast of a rich chocolate exterior and a soft, airy center without turning on the oven. The mixture is cooked briefly on the stovetop, folded with coconut, cooled, and shaped around marshmallows by hand.
They are wonderfully practical for busy bakers. You can prepare a batch well ahead of a party, keep the cookies frozen, and arrange them on a dessert platter shortly before serving.
The texture is part truffle, part coconut macaroon, and part old-fashioned no-bake cookie. Sweetened coconut adds chewiness and a delicate tropical flavor, while cocoa gives the coating a deep chocolate taste that balances the marshmallow.
If you enjoy simple treats that set in the refrigerator instead of baking in the oven, you may also like these crunchy no-bake cereal cookies for another quick dessert option.
Ingredients You’ll Need
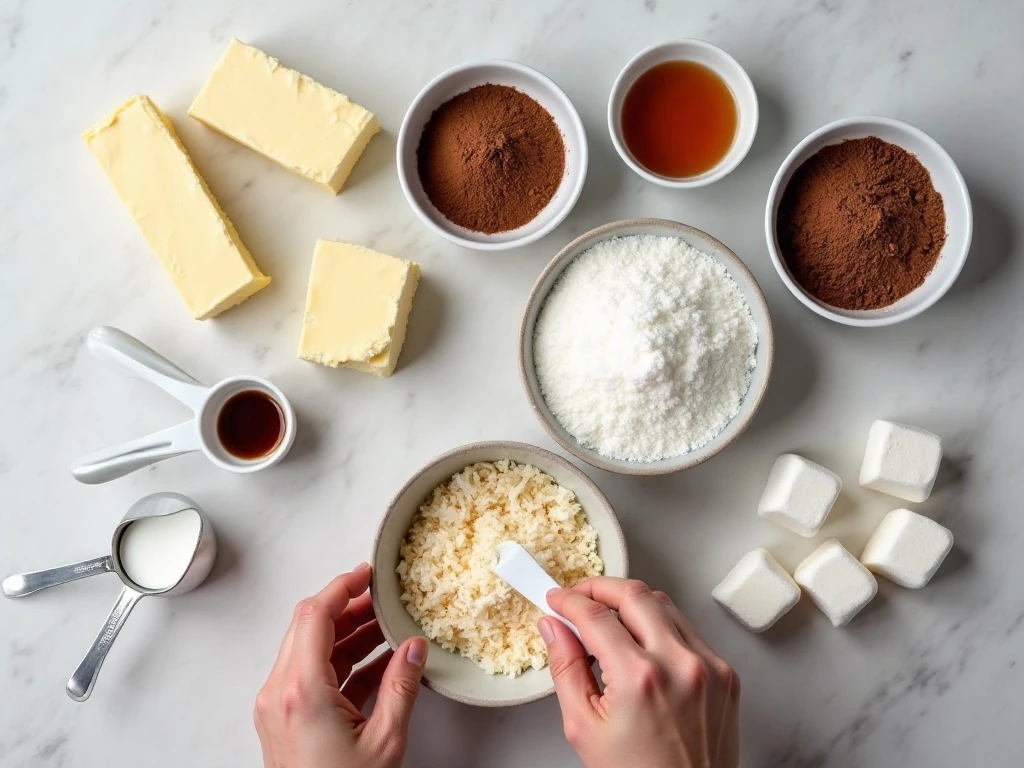
The ingredient list is short, but each component has an important job. Unsalted butter creates richness, sugar sweetens the mixture and helps it set, and evaporated milk gives the chocolate coating a smooth, creamy consistency.
- Butter: Use unsalted butter so the sweetness and chocolate flavor stay balanced.
- Granulated sugar: Measure carefully for a coating that sets properly after chilling.
- Evaporated milk: The specified half-cup amount keeps the mixture thick enough to wrap around the marshmallows.
- Unsweetened cocoa powder: This supplies the main chocolate flavor without adding extra sugar.
- Vanilla extract: A teaspoon rounds out the cocoa and coconut.
- Sweetened shredded coconut: Three cups provide the body and chew of the cookie shell.
- Marshmallows: Large marshmallows create traditional generously filled cookies, while 3–4 cups of miniature marshmallows create smaller portions.
Have extra coconut ready if you want a snowy coating on the outside. Parchment or waxed paper is also useful because the chilled cookies can be lifted from the tray without sticking.
How to Make It Step-by-Step

Step 1: Prepare the trays by lining one or two baking sheets with parchment or waxed paper. Set them nearby so the shaped cookies can be transferred quickly once the mixture reaches the right consistency.
Step 2: Keep the marshmallows cold while you cook the coating. Large marshmallows can be placed in the refrigerator or briefly in the freezer, which makes them easier to cover and reduces the chance of melting when they meet the warm mixture.
Step 3: Place the butter in a saucepan over medium heat and let it melt. Add the granulated sugar, evaporated milk, and cocoa powder, stirring until the ingredients form a smooth chocolate mixture.
Step 4: Bring the mixture to a steady boil, stirring constantly from the bottom and around the edges of the pan. Continue boiling for about 5 minutes, and do not walk away because the sugary mixture can scorch if left unstirred.
Step 5: Remove the saucepan from the heat and immediately stir in the vanilla extract. Add the shredded coconut and continue mixing until every strand is coated in the glossy cocoa mixture.
Step 6: Allow the mixture to cool for about 20–30 minutes. It should feel firm enough to portion but remain flexible; a mixture that is too hot can soften or melt the marshmallow, while one that is too cold may crack during shaping.
Step 7: Flatten a portion of the chocolate-coconut mixture in your hand and place a marshmallow in the center. Fold the coating around the marshmallow, pinching the seams closed so no filling is exposed and no openings remain for leaks.
Step 8: Roll the sealed cookie in extra shredded coconut if you want a more finished appearance and additional coconut texture. Place it on the prepared tray and repeat until all of the mixture and marshmallows have been used.
Step 9: Freeze or chill the cookies for 1–2 hours, or until firm. Once set, transfer them to an airtight container and let each cookie soften slightly at room temperature before eating.
Pro Tips for Perfect Marshmallow Rolls
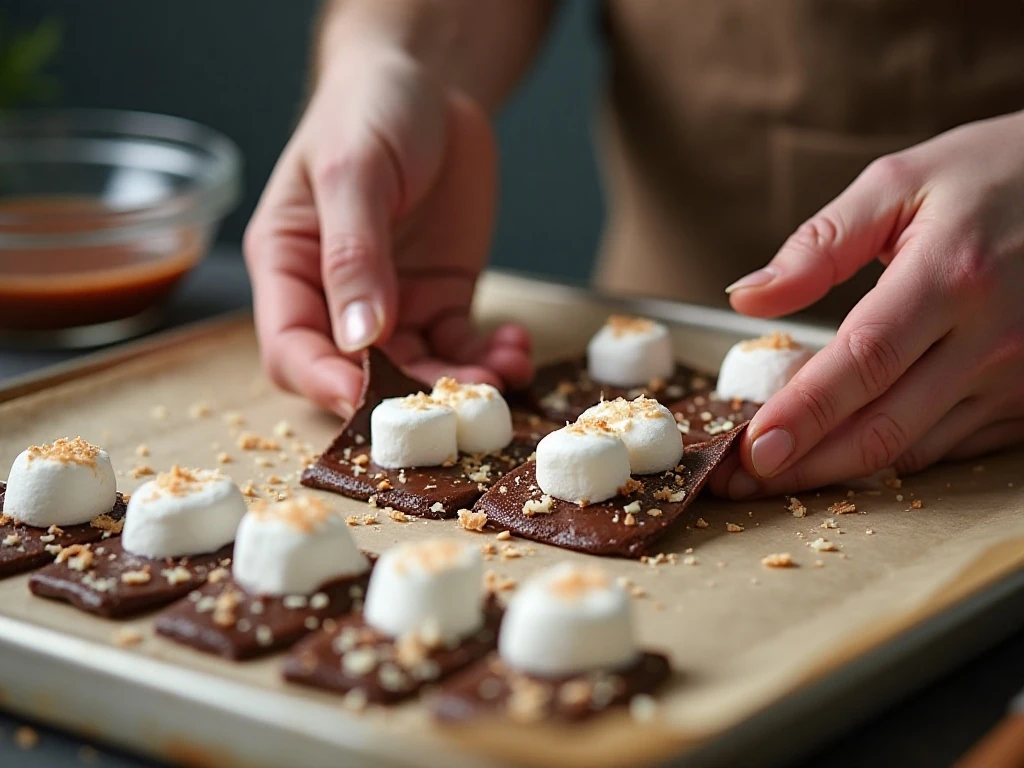
The cooling stage is the most important part of the recipe. If you begin shaping while the chocolate mixture is hot, it may soften the marshmallow and make the coating slide away instead of sealing around it.
On the other hand, do not let the mixture become completely rigid. If it is too firm to flatten, warm it very briefly, stirring carefully, or mix in 1 teaspoon of evaporated milk to restore a little pliability.
Use slightly damp or lightly buttered hands if the mixture sticks excessively, but avoid adding too much moisture. Work with one portion at a time and press the seams together firmly around the marshmallow.
Cold marshmallows are easier to enclose than room-temperature ones. This small step helps the cookies hold their shape and lowers the chance that the center will create a weak spot during freezing.
For a festive dessert table, make large cookies for a classic look or miniature-marshmallow cookies for easy snacking. The smaller version is also convenient when you want several bite-size treats from one batch.
For another chilled dessert idea with a creamy, fruity profile, try these no-bake strawberry cheesecake squares alongside the chocolate cookies.
Storage and Serving
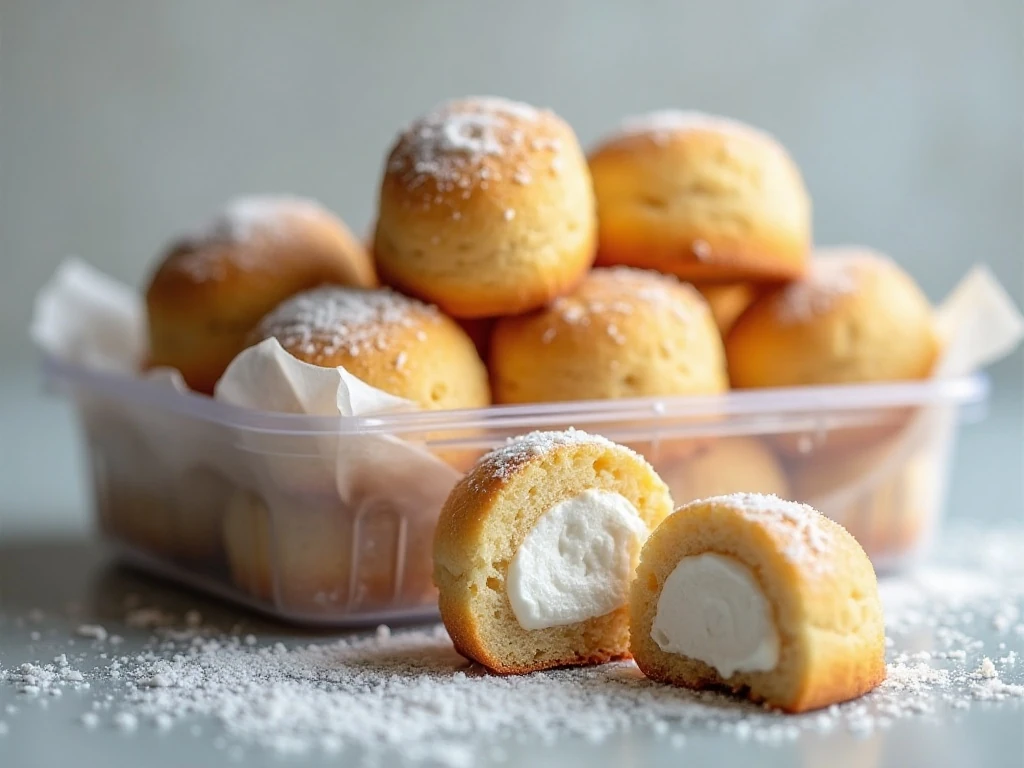
Place the firm cookies in an airtight freezer container, separating layers with parchment if needed. They can be stored frozen or refrigerated, making them useful for advance preparation before holidays, showers, birthdays, or casual weekend gatherings.
When ready to serve, remove only the number you need and let them soften slightly. They are best enjoyed cool but not rock-hard, since a short rest makes the chocolate-coconut coating more tender and the marshmallow center pleasantly soft.
Keep the container tightly closed to protect the cookies from freezer odors and excess moisture. If the outer coconut becomes damp after refrigeration, a short chill on a lined tray can help the surface firm again.
Because these cookies are rich and sweet, arrange them in small portions with coffee, tea, or a glass of cold milk. They also look attractive on a mixed cookie tray beside crisp, buttery, or fruit-filled treats.
Easy Variations
Large marshmallows are traditional, but miniature marshmallows offer a simple way to create smaller cookies. Use approximately 3–4 cups of miniature marshmallows, grouping them as needed so each portion has a generous soft center.
You can also change the finish without changing the base recipe. Roll the sealed cookies in extra sweetened coconut, leave them with a smooth chocolate-coconut exterior, or offer both styles on the same platter.
Some published versions use 1 cup of evaporated milk, which produces a softer coating. The recipe here uses 1/2 cup because that amount creates a mixture sturdy enough to wrap around the marshmallows.
For a larger no-bake dessert spread, pair these cookies with an easy chocolate pudding cake. A fruity option such as this no-bake pineapple pie adds a refreshing contrast to the rich cocoa flavor.
Common Questions
Can I use sweetened cocoa powder? Unsweetened cocoa powder is recommended because the recipe already contains granulated sugar and sweetened coconut. Using unsweetened cocoa keeps the flavor from becoming overly sugary.
Why did my cookies leak? The coating may have been too warm, the marshmallow may not have been fully enclosed, or the seams may not have been pressed together firmly. Chill the marshmallows first and inspect each cookie for complete coverage before freezing.
Can I prepare them ahead? Yes. Freeze the cookies until firm, then store them in an airtight container and soften them slightly before serving.
What should I serve with them? Coffee and tea are natural pairings, but a cold glass of milk works especially well with the fudgy coating and sweet marshmallow middle. They also pair nicely with a slice of no-bake Butterfinger cream pie when you are planning a full dessert table.
Easy No-Bake Marshmallow Roll Cookies
Ingredients
Method
- Line one or two baking sheets with waxed paper or parchment. Keep the marshmallows cold, or place them in the freezer briefly while preparing the chocolate-coconut mixture.
- Melt the butter in a saucepan over medium heat. Stir in the sugar, evaporated milk, and cocoa powder until the mixture is smooth and evenly combined.
- Bring the mixture to a steady boil while stirring constantly. Boil for about 5 minutes, watching carefully so the chocolate mixture does not scorch.
- Remove the saucepan from the heat and stir in the vanilla extract and 3 cups of shredded coconut. Mix until the coconut is thoroughly coated.
- Let the mixture cool for about 20–30 minutes, or until it is firm enough to handle but still pliable. If it becomes too firm, warm it very briefly or mix in 1 teaspoon of evaporated milk.
- For each cookie, flatten a portion of the chocolate-coconut mixture in your palm. Place one large marshmallow in the center, or use miniature marshmallows for smaller cookies, then wrap and seal the mixture completely around the filling.
- Roll each wrapped cookie in extra shredded coconut if desired. Arrange the cookies on the lined baking sheets with a little space between them.
- Freeze or chill the cookies for 1–2 hours, or until firm. Store them frozen or refrigerated, and allow them to soften slightly before serving.
Notes
Final Thoughts
Easy No-Bake Marshmallow Roll Cookies are the kind of nostalgic treat that feels special without requiring complicated equipment or oven space. A quick stovetop chocolate mixture, plenty of coconut, and a marshmallow center come together in a cookie that is soft, chewy, creamy, and wonderfully fun to shape.
For the best results, give the cooked mixture time to cool, keep the marshmallows cold, and seal every cookie completely before chilling. Once firm, store the finished cookies in the freezer or refrigerator so a homemade dessert is always ready to share.
Make the traditional large version for a classic cookie platter, or choose miniature marshmallows for bite-size treats. Either way, these freezer-friendly cookies are an easy addition to holiday baking, family celebrations, and any occasion that calls for chocolate.
1 thought on “Easy No-Bake Marshmallow Roll Cookies (Freezer-Friendly)”