Sweet and crispy pickles are the perfect crunchy snack when you want a bright combination of tangy vinegar, mellow sweetness, fragrant spices, and a firm cucumber bite. This tested bread-and-butter pickle formula makes approximately 7–9 pint jars from 6 pounds of small pickling cucumbers and is suitable for boiling-water canning when you follow the listed vinegar, ingredient, and processing directions.
The secret to their satisfying crunch is simple: fresh cucumbers and onions are salted, covered with ice, and chilled for about 3 hours before they are briefly heated in a sweet-tangy brine. The finished pickles are crisp, sunny yellow from turmeric, and delicious beside sandwiches, burgers, grilled meats, or straight from the jar.
Jump to RecipeWhy You’ll Love This Recipe
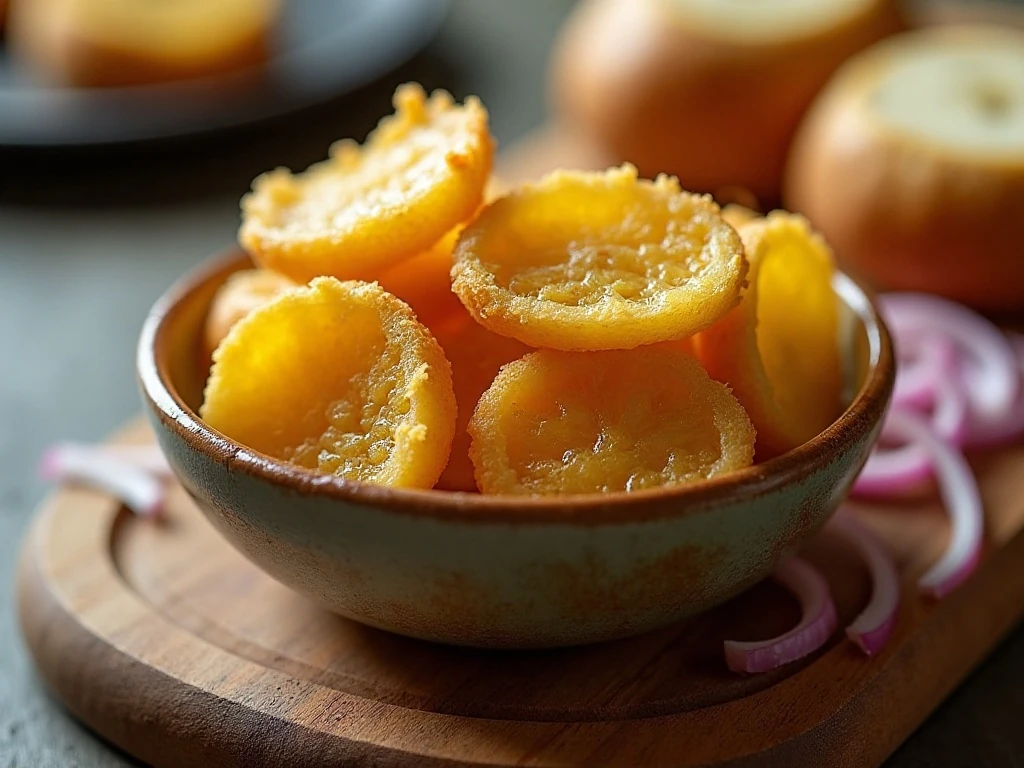
These sweet and crispy pickles deliver the classic bread-and-butter flavor people love: a gentle sweetness balanced by sharp vinegar and warm spices. Mustard seeds add tiny pops of flavor, celery seeds bring a savory herbal note, and turmeric gives the brine its familiar golden color.
Texture is the star. Salting and chilling the cucumbers with ice draws out excess water before the quick cooking stage, helping the slices stay pleasantly firm instead of limp.
The recipe also makes a generous batch of approximately 7–9 pint jars, making it useful for stocking the pantry, sharing with friends, or serving throughout the year. If you enjoy crunchy pickle snacks, you may also like our air-fried pickles with bacon and ranch for a warm, savory variation.
Ingredients You’ll Need
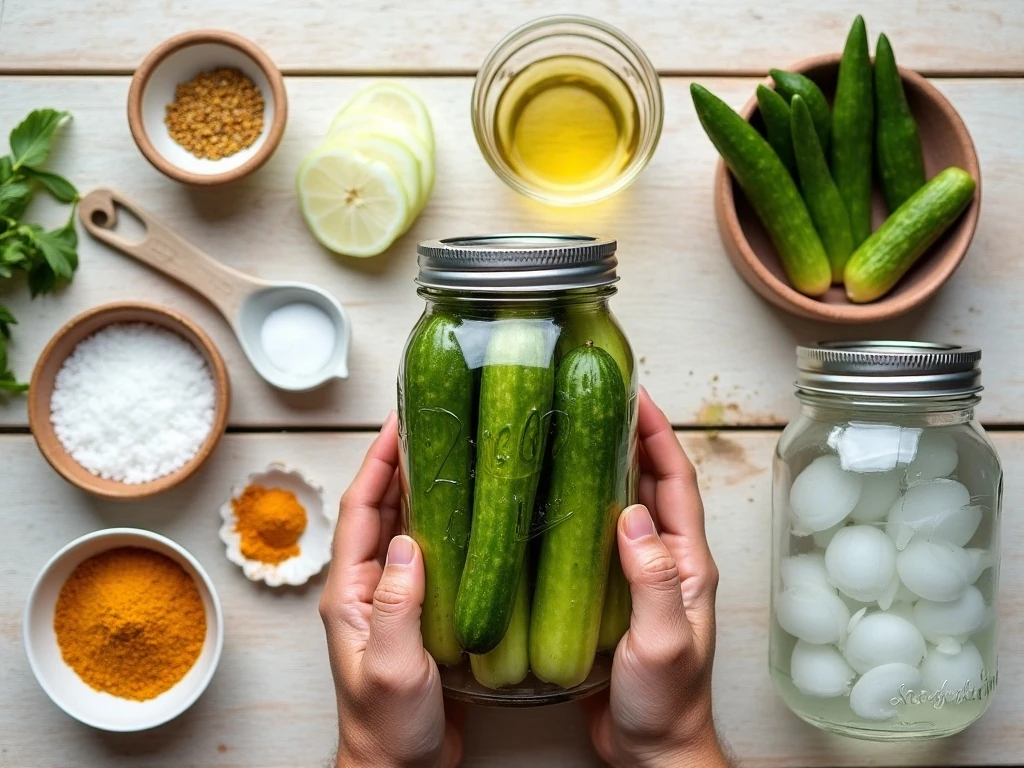
Choose small, very fresh pickling cucumbers with firm skins and no soft spots. Larger salad cucumbers contain more water and generally do not provide the same crisp result.
- 6 pounds small pickling cucumbers, sliced about 1/4 inch thick
- 8 cups thinly sliced onions
- 1/2 cup canning or pickling salt
- Ice, as needed
- 4 cups white vinegar with 5% acidity
- 4 1/2 cups granulated sugar
- 2 tablespoons mustard seeds
- 1 1/2 teaspoons celery seeds
- 1 tablespoon ground turmeric
Use a large nonreactive container for the salted vegetables and a large pot for the brine. Before beginning, prepare sterilized hot pint jars, lids, bands, and your boiling-water canner so the packing process can move quickly once the vegetables are heated.
Do not substitute low-acidity vinegar or reduce the vinegar in this shelf-stable formula. The 5% acidity and tested proportions are important for safe canning and the intended sweet-tangy flavor.
For another idea about preserving seasonal produce at home, take a look at our guide to freezing summer’s sweet corn.
How to Make It Step-by-Step
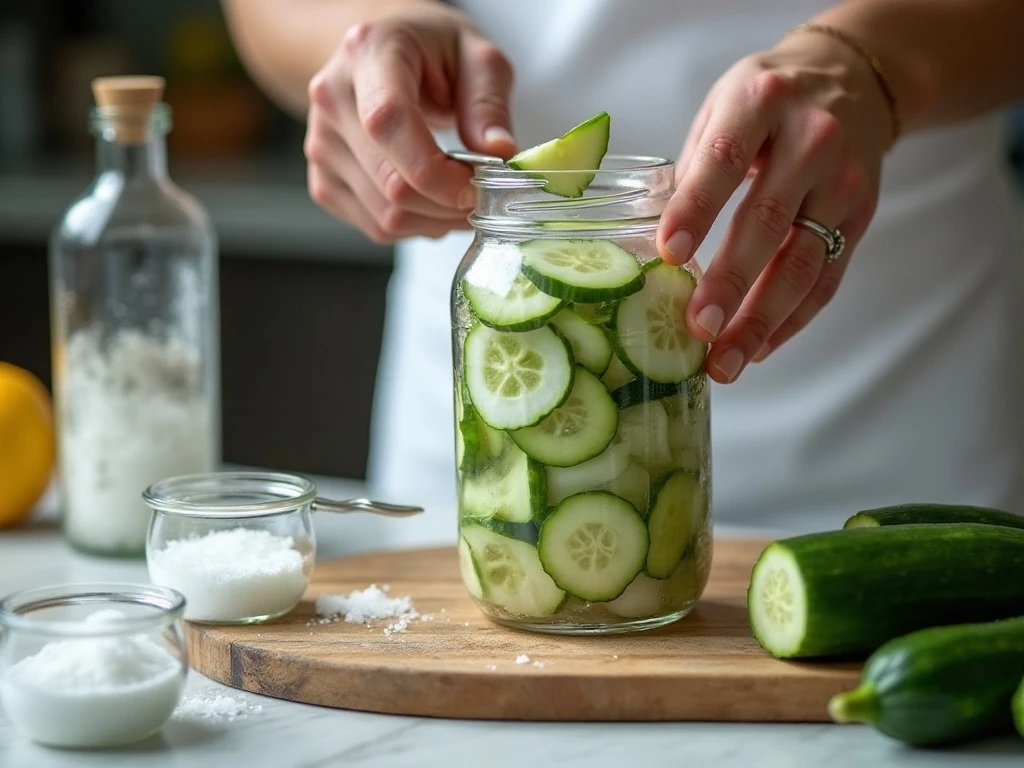
Step 1: Wash the cucumbers carefully and trim away the blossom ends, which can contain enzymes that contribute to softening. Slice the cucumbers evenly into rounds about 1/4 inch thick, then thinly slice the onions so every piece cooks consistently.
Step 2: Layer the cucumbers and onions in a large nonreactive container. Sprinkle the pickling salt between the layers rather than dumping it all in one place, which helps distribute the seasoning throughout the vegetables.
Step 3: Cover the salted vegetables with ice and let them stand for about 3 hours. This chilling period draws out excess water and helps the cucumbers keep a firm, crunchy texture during the later heating and canning steps.
Step 4: Drain the cucumbers and onions thoroughly in a colander. Do not rinse unless the mixture seems excessively salty, because a thorough rinse can remove flavor as well as salt.
Step 5: Add the vinegar, sugar, mustard seeds, celery seeds, and turmeric to a large pot. Bring the mixture to a boil, stirring until the sugar dissolves and the turmeric is evenly dispersed through the golden liquid.
Step 6: Add the drained vegetables to the hot brine and heat until the mixture returns to a boil. Simmer briefly, usually about 5 minutes, and avoid prolonged cooking so the cucumber slices do not lose their crisp bite.
Step 7: Pack the hot cucumbers and onions into sterilized hot pint jars, leaving about 1/2 inch headspace. Ladle the hot pickling liquid over the vegetables, making sure they are covered while maintaining the required headspace.
Step 8: Remove trapped air bubbles with a nonmetallic bubble remover or suitable utensil. Wipe each jar rim clean, then apply the lids and bands according to the manufacturer’s directions.
Step 9: Process the jars in a boiling-water canner for 10 minutes at 0–1,000 feet elevation. Processing time increases at higher elevations, so follow the applicable altitude guidance for your location.
Step 10: Carefully transfer the jars to a towel-lined counter and leave them undisturbed for 12–24 hours. Check the seals once fully cooled, then label the jars with the date and store sealed jars in a cool, dark place.
Pro Tips for Maximum Crunch
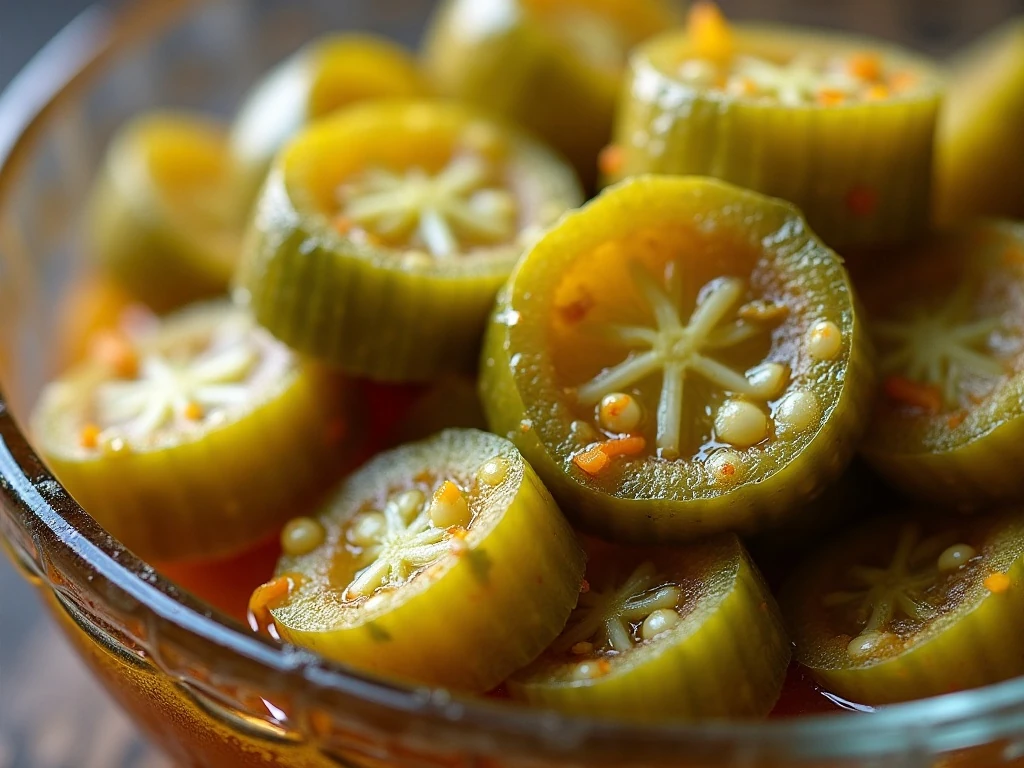
Start with cucumbers as fresh as possible. If they were harvested earlier in the day, refrigerate them until you are ready to prepare the recipe, and avoid cucumbers that feel soft or have wrinkled skins.
- Slice with a sharp knife or mandoline for consistent 1/4-inch rounds.
- Keep the ice-chilling period close to 3 hours for the intended texture.
- Drain thoroughly so excess water does not dilute the brine.
- Return the vegetables only briefly to a boil before packing.
- Do not reduce the vinegar, sugar, or processing directions.
It is also helpful to organize the jars, lids, canner, ladle, and jar lifter before cooking. The vegetables should be packed while hot, and working in an orderly way makes it easier to maintain the correct headspace and clean jar rims.
For a dinner pairing with similar sweet-tangy appeal, serve a small dish of these pickles beside sweet and sour pork chops with vegetables.
Storage, Serving, and Canning Safety
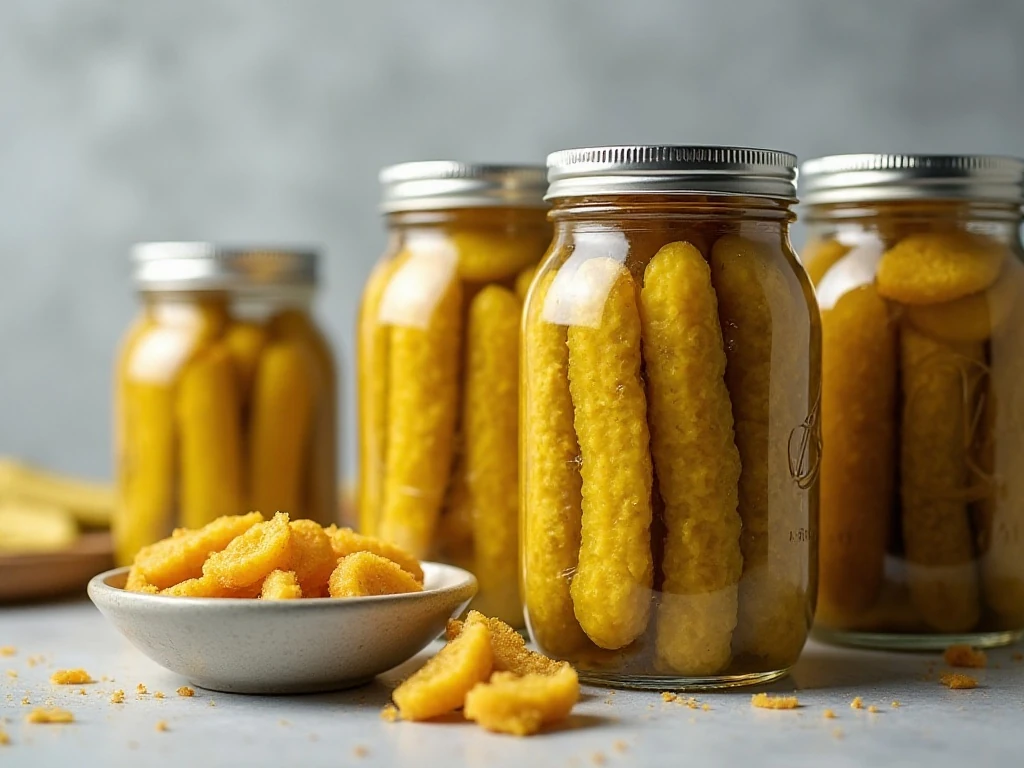
Let processed jars cool undisturbed for 12–24 hours before checking the seals. Any jar that fails to seal should be refrigerated and treated as a refrigerator pickle rather than stored on the shelf.
Once opened, refrigerate the jar and keep the pickles covered by brine. They are wonderful alongside deli sandwiches, fried chicken, grilled sausages, burgers, cheese boards, and roasted meats.
These pickles also make a colorful topping for potato salad or chopped salads. Dice a few slices into tuna salad, egg salad, or a creamy sandwich spread for a sweet, tangy crunch.
For shelf-stable canning, use vinegar labeled as having 5% acidity and follow the boiling-water processing time for your elevation. Never reduce the vinegar or alter the tested proportions when preparing jars intended for pantry storage.
If you prefer a smaller refrigerator-only batch, you can make the same flavor profile without treating it as shelf-stable food. Keep that version refrigerated from the beginning and do not store it at room temperature.
For another sweet-and-tangy meal idea, pair a pickle garnish with sweet and sour meatballs. If you are planning several preservation projects, this second resource on freezing summer sweet corn can help round out your seasonal food prep.
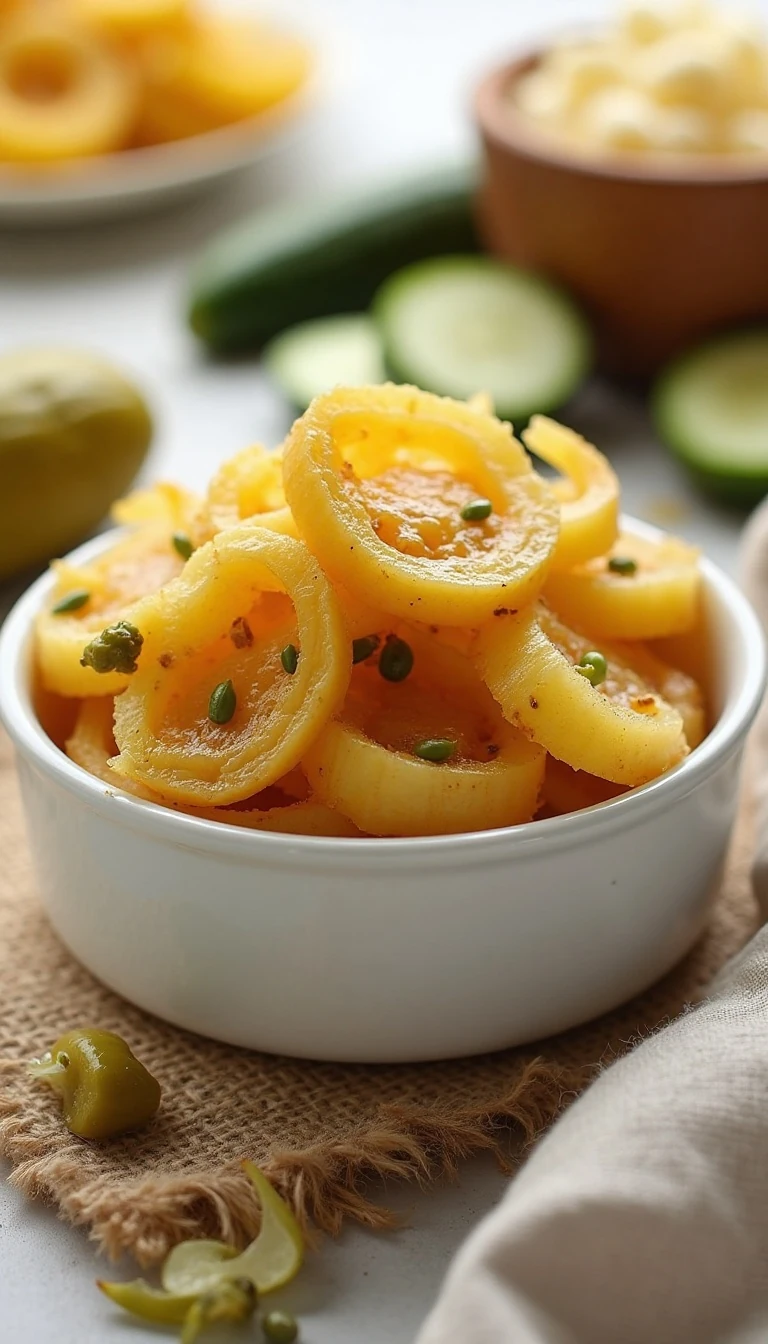
Sweet and Crispy Pickles
Ingredients
Method
- Wash the cucumbers thoroughly, trim the ends, and slice them evenly into rounds about 1/4 inch thick. Thinly slice the onions so they soften at the same rate as the cucumbers.
- Layer the cucumber slices and onions in a large nonreactive container, sprinkling the canning or pickling salt between the layers. Cover the vegetables with ice and let them stand for about 3 hours to draw out excess moisture and support a firm texture.
- Drain the cucumber and onion mixture thoroughly after chilling. Do not rinse unless the vegetables seem excessively salty, since rinsing can remove needed flavor and may leave the pickles less seasoned.
- Combine the 5% acidity vinegar, sugar, mustard seeds, celery seeds, and ground turmeric in a large pot. Bring the seasoned liquid to a boil, stirring as needed until the sugar dissolves.
- Add the drained cucumbers and onions to the boiling pickling liquid. Heat until the mixture returns to a boil, then simmer briefly for about 5 minutes; avoid prolonged cooking because excessive heat can soften the vegetables.
- Pack the hot vegetables into sterilized hot pint jars, leaving about 1/2 inch headspace in each jar. Cover the vegetables with the hot pickling liquid, then remove air bubbles with a nonmetallic utensil.
- Wipe the jar rims clean and apply the lids and bands according to the lid manufacturer’s instructions. Process the filled jars in a boiling-water canner for 10 minutes at 0–1,000 feet elevation, increasing the processing time as required at higher elevations.
- Move the jars to a towel-lined surface and let them cool undisturbed for 12–24 hours. Check each seal before labeling and storing, and refrigerate any jar that does not seal properly.
Notes
Final Thoughts
Sweet and crispy pickles are a rewarding homemade staple because they combine an old-fashioned flavor with an unmistakably fresh crunch. The ice-chilling step, brief cooking time, and properly balanced 5% acidity brine all work together to create slices that are bright, crisp, and richly seasoned.
Give the jars time to cool and seal, then enjoy them as a snack or bring them to every picnic, potluck, and family meal. Once you taste the mustard seed, celery seed, turmeric, and sweet vinegar brine together, this golden pickle recipe is likely to become a favorite part of your preserving season.