To freeze sweet corn for winter, husk and trim 12 fresh ears, blanch the whole ears in boiling water for 7 to 11 minutes according to size, cool them in ice water for the same amount of time, cut off the kernels, package them in airtight freezer bags or containers, and freeze flat. For a faster kernel-only method, cut the raw kernels from the cob first, blanch them for 4 minutes, cool them in ice water for 4 minutes, then drain, pack, and freeze.
This easy method gives you about 6 cups of sweet, tender corn from 12 medium ears. Proper blanching helps preserve the corn’s sunny color, fresh flavor, and pleasant bite, so you can enjoy summer-quality kernels in soups, casseroles, chowders, skillet meals, and side dishes all winter.
Jump to RecipeWhy You’ll Love This Recipe
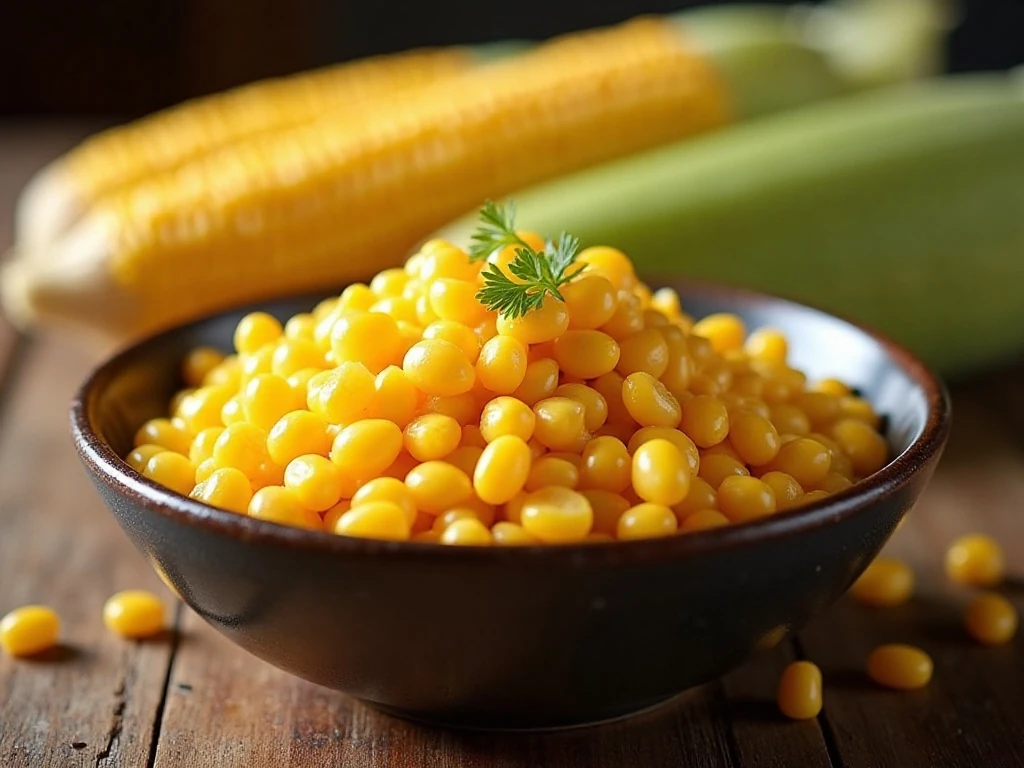
Freezing sweet corn is one of the simplest ways to preserve the best flavor of the summer harvest. Instead of relying on canned corn or out-of-season produce, you can keep naturally sweet kernels ready for quick family dinners throughout the colder months.
The method is practical, affordable, and flexible. Freeze the corn in meal-size portions, then take out only what you need for chili, cornbread dressing, vegetable soup, tacos, pasta, or a buttery side dish.
Blanching is an important part of the process because it slows enzyme activity that can cause flavor, color, and texture to decline during freezer storage. A short ice-water bath stops the cooking immediately, helping the kernels stay pleasantly crisp-tender rather than soft and overcooked.
If you are preparing a full seasonal spread, frozen corn also pairs well with sweet treats from the kitchen, including this pineapple banana dessert for a sunny finish.
Ingredients You’ll Need

You need only fresh corn, water, ice, and suitable freezer packaging. The amounts below are based on 12 medium ears and produce approximately 6 cups of prepared kernels, although the final amount can vary with ear size.
- 12 fresh sweet-corn ears: Choose tender ears with plump kernels and use them as soon as possible after buying or picking.
- 1 gallon boiling water: Use a large pot so the water can surround the corn and return to a boil efficiently.
- 1 gallon ice water: Keep the corn fully submerged during cooling.
- Freezer bags or airtight containers: Choose packaging that can be sealed tightly and portioned for future meals.
- Optional 1 teaspoon salt: Salt is not necessary and may slightly toughen the corn, so many cooks prefer to leave it out.
For smaller batches, plan on about 2 cups of kernels from 4 ears, 4 cups from 8 ears, or 6 cups from 12 ears. These estimates are useful when you want to prepare only enough corn for a few meals.
Have a sharp knife, a large bowl, a colander, measuring cups, and clean kitchen towels ready before you begin. Good organization keeps the process quick and prevents the corn from sitting at room temperature longer than necessary.
When planning a menu around preserved produce, you can also browse this pumpkin pecan dip for another seasonal recipe idea.
How to Make It Step-by-Step
Step 1: Choose the freshest corn you can find and begin processing it promptly. Freshness matters because the natural sugars in sweet corn slowly turn into starch after picking, which can reduce its delicate flavor.
Step 2: Pull away the husks and remove every strand of silk. Rinse the ears under cool water, inspect them, and trim away damaged ends so only clean, usable corn goes into the pot.
Step 3: Fill a large pot with 1 gallon of water and bring it to a full, active boil. You may add 1 teaspoon of salt, but it is optional and can slightly toughen the kernels, so plain water works well.
Step 4: Add the whole ears to the boiling water and blanch according to their size. Small ears need 7 minutes, medium ears need 9 minutes, and large ears need 11 minutes; start timing as soon as the corn is in the pot.
Step 5: Transfer the hot ears immediately to a large bowl containing 1 gallon of ice water. Cool small ears for 7 minutes, medium ears for 9 minutes, and large ears for 11 minutes, matching the blanching time to stop residual cooking.
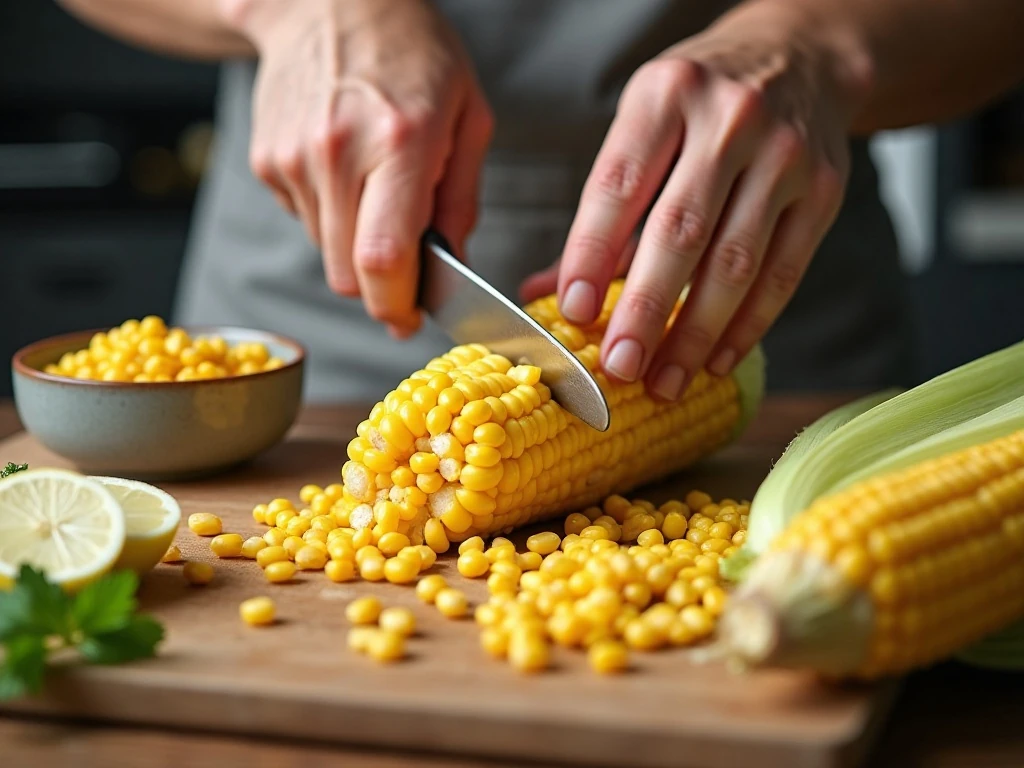
Step 6: Drain the ears well and pat away excess moisture with clean kitchen towels. Hold each cob upright on a cutting board and use a sharp knife to slice downward, letting the kernels fall away in strips.
Step 7: Avoid scraping the cob after the kernels have been cut off. Scraping can remove the milky cob material and make the frozen corn starchy or mushy, while clean downward cuts preserve a better texture.
Step 8: Measure the kernels into packages holding about 2 to 4 cups each. Meal-size portions thaw more quickly and make it easier to use the corn in one recipe without repeatedly opening and closing a large bag.
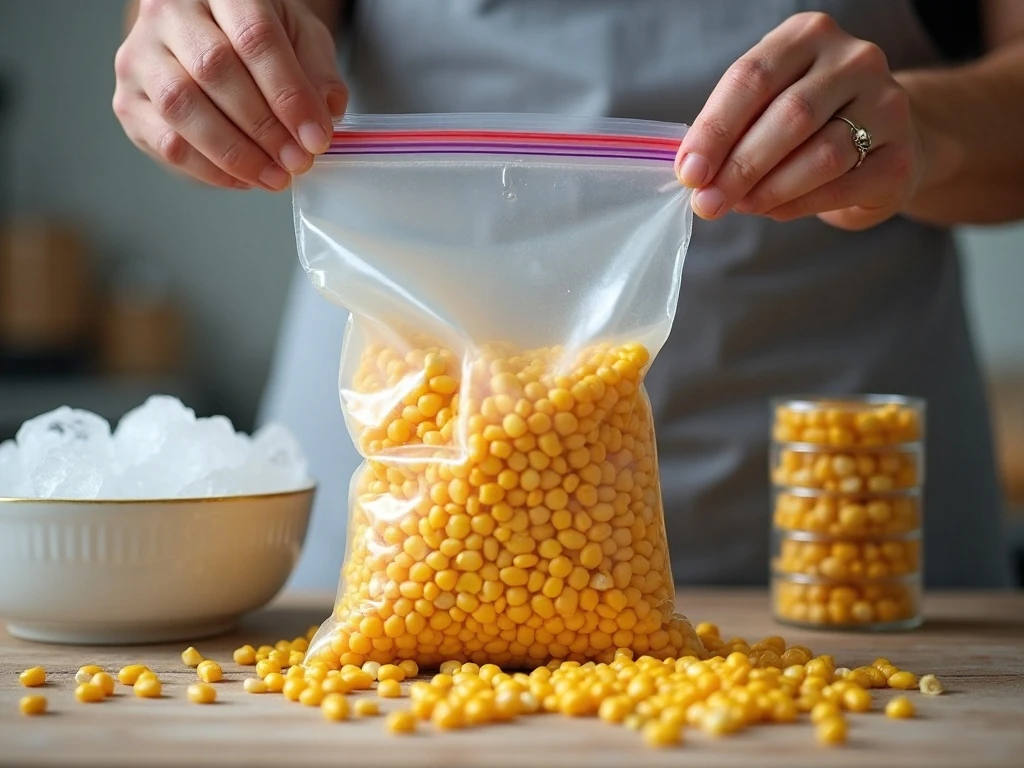
Step 9: Press out as much air as possible before sealing freezer bags. If using rigid freezer containers, leave a little headspace to allow the contents to expand, then close the lids firmly.
Step 10: Label every package with the contents and date. Lay the bags flat on a freezer shelf until solid; after freezing, they can be stacked neatly to make better use of freezer space.
For a quicker kernel-only approach, cut the raw kernels from the cob before blanching. Place the loose kernels in boiling water for 4 minutes, cool them in ice water for 4 minutes, drain thoroughly, and then pack and freeze them.
Pro Tips for the Best Frozen Corn
Use a large pot and enough water to fully surround the corn. Roughly equal amounts of boiling water and ice water work well, and the cooling water should contain enough ice to remain very cold while the corn is submerged.
Do not crowd the pot with more corn than it can handle. Overloading can lower the water temperature and interfere with the timing, so work in batches if necessary.
Drain carefully before packaging. Excess water becomes ice crystals, which can soften the kernels and increase freezer burn, while removing air from the package helps protect quality during storage.
Freeze the corn flat in a single layer at first. Flat packages freeze faster, stack easily, and can be broken into smaller portions when you need just a cup or two for dinner.
For another easy homemade pantry project, try this quick no-sugar microwave jam while your corn is cooling.
Storage, Thawing, and Reheating

Keep the packaged corn continuously frozen at 0°F (-18°C). For the best flavor, color, and texture, use it within about 8 to 12 months, although properly frozen corn remains safe longer when stored at that temperature.
Frozen corn does not always need to be fully thawed before cooking. Add it directly to soups, stews, casseroles, sauces, and skillet dishes, allowing a little extra time for the food to return to temperature.
For a side dish, thaw the amount you need in the refrigerator or place the sealed bag in cold water. Drain any excess liquid, then warm the kernels gently in a skillet with butter, a splash of water, salt, and pepper.
Keep reheating brief because the corn was already blanched before freezing. Overcooking can make it soft, so heat only until hot and tender.
Frozen corn is also excellent in comfort-food baking. Serve it alongside this easy chocolate chip monkey bread when you are preparing a relaxed family brunch with both savory and sweet dishes.
Ways to Use Your Frozen Sweet Corn
A bag of frozen corn can become much more than a basic side dish. Stir it into a creamy chowder, fold it into a cheesy casserole, scatter it over a taco bowl, or add it to fried rice for color and sweetness.
- Make a skillet side dish with butter, black pepper, lime juice, and chopped cilantro.
- Add kernels to chicken soup, bean chili, or a hearty vegetable stew.
- Mix corn with diced peppers and onions for a colorful salsa or taco topping.
- Fold it into cornbread batter, savory muffins, or a breakfast egg bake.
- Combine it with cooked pasta, herbs, and a light cream sauce for a quick dinner.
Because the corn is already blanched, it is especially convenient for weeknight cooking. A measured freezer bag can turn a plain meal into something colorful and satisfying in just a few minutes.
For a festive dessert table after dinner, these pumpkin Oreo pops make a playful seasonal choice.
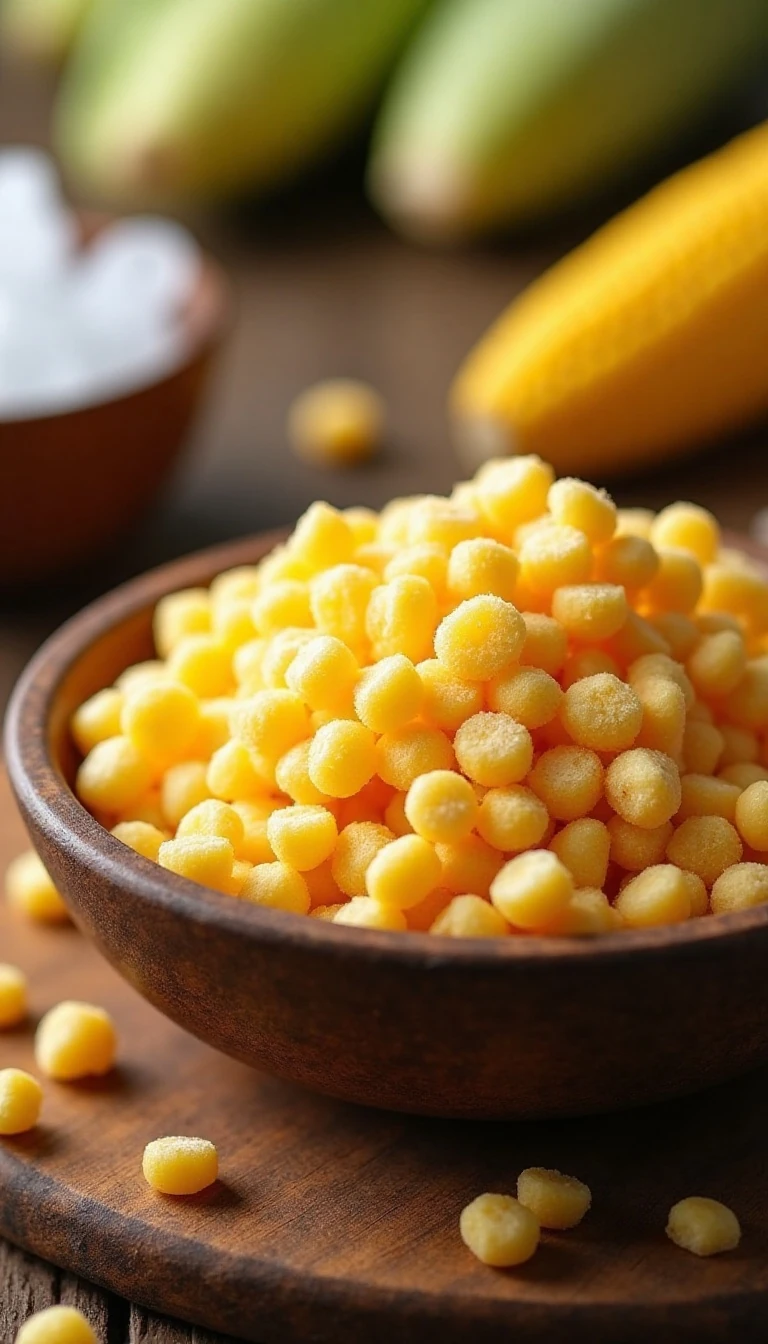
Frozen Sweet Corn for Winter
Ingredients
Method
- Select fresh, tender corn and use it as soon as possible after picking or purchasing. Husk the ears, remove the silk, rinse them, and trim any damaged ends.
- Bring 1 gallon of water to a full boil. If desired, add 1 teaspoon of salt, although salt is not required and may slightly toughen the corn.
- Blanch whole ears for 7 minutes if small, 9 minutes if medium, or 11 minutes if large. Transfer them immediately to 1 gallon of ice water and cool for the same amount of time.
- Drain the cooled ears thoroughly. Using a sharp knife, cut the kernels from the cob with downward strokes, and do not scrape the cob.
- Measure the kernels into freezer bags or airtight containers, usually 2 to 4 cups per package. Press out as much air as possible, leaving a little headspace in rigid containers.
- Label each package with the date and freeze it flat until solid. Once frozen, stack the bags to save space.
Notes
Final Thoughts
Freezing sweet corn for winter takes only about 30 to 45 minutes from start to finish, including preparation, blanching, cooling, packing, and freezing. The key is to begin with fresh corn, follow the correct blanching time, cool it immediately, and protect it from excess air in the freezer.
With 12 medium ears, you can prepare about 6 cups of golden kernels, portioned and ready for countless cold-weather meals. Once you have tasted the fresh sweetness of properly frozen corn, you will want to make it part of your regular summer preserving routine.
Label your packages clearly, freeze them flat, and enjoy your harvest within 8 to 12 months for the best quality. It is a simple kitchen project that brings a little taste of summer to every winter bowl, casserole, and skillet.