These easy homemade apple hand pies are made with refrigerated pie crust, a quick cinnamon-apple filling, and a buttery golden finish. The recipe makes 8 hand pies and takes about 1 hour from start to finish, including 15–30 minutes of chilling and 20–25 minutes of baking.
Every little pie has a crisp, flaky crust wrapped around tender diced apples, brown sugar, cinnamon, nutmeg, and a bright touch of lemon. They are simple enough for a weeknight dessert, portable enough for lunchboxes and picnics, and especially delicious served warm with vanilla ice cream.
Jump to RecipeWhy You’ll Love This Recipe
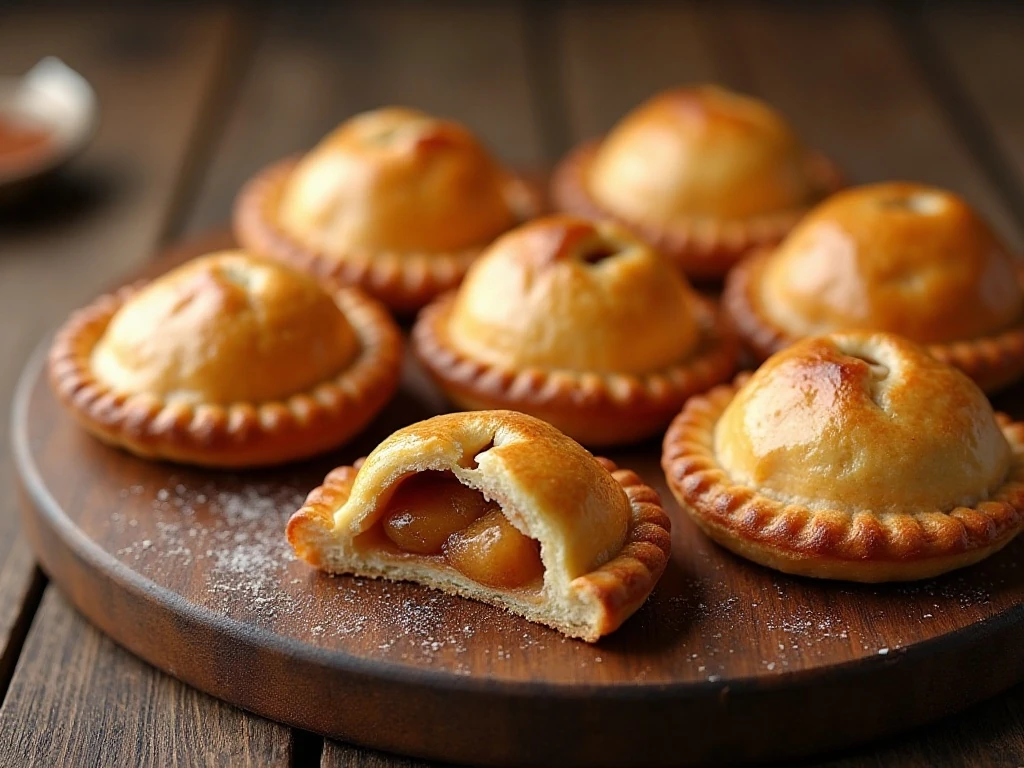
Apple hand pies deliver all the cozy flavor of a classic apple pie in a small, easy-to-serve package. There is no need to slice a full pie, arrange a lattice crust, or worry about perfect wedges; each pastry is ready to pick up and enjoy.
The filling is cooked briefly before it goes into the dough. That short stovetop step softens the apples, thickens their juices with cornstarch, and helps keep the pastry from becoming soggy while it bakes.
These hand pies are also wonderfully flexible. Serve them as an autumn dessert, pack them for a gathering, or place them on a dessert table beside a chilled treat such as our easy berry ice box cake for a delicious contrast of warm pastry and cool fruit.
- Yield: 8 individual hand pies
- Total time: About 1 hour
- Oven temperature: 400°F
- Best apples: Granny Smith, Honeycrisp, or Braeburn
Ingredients You’ll Need
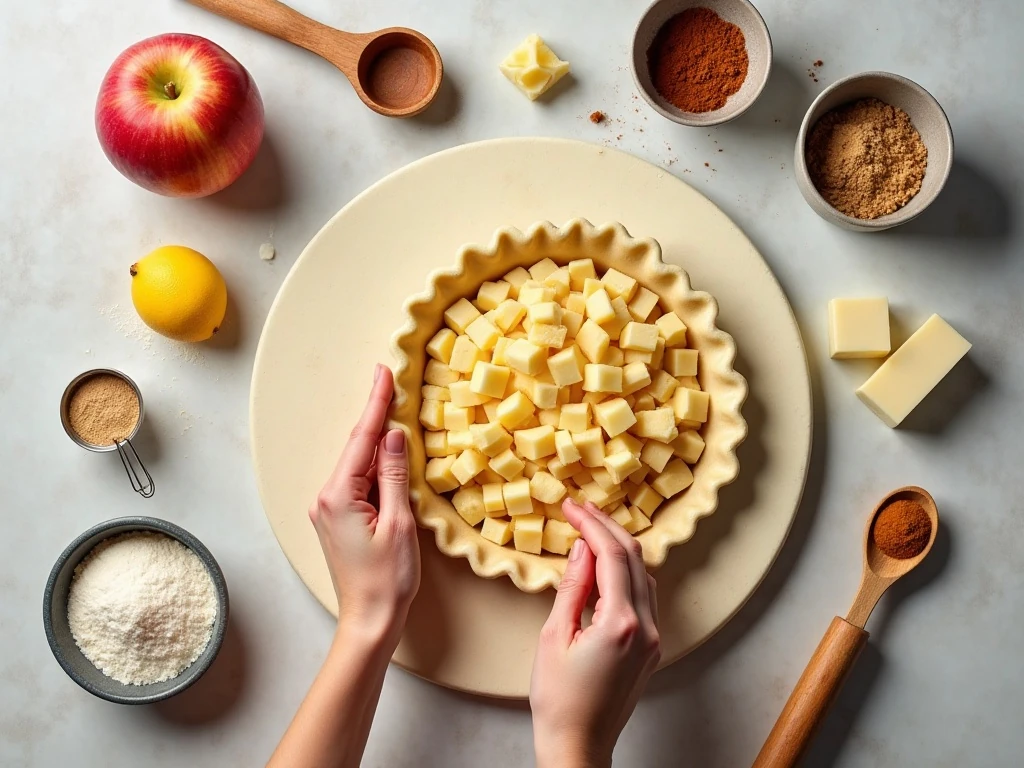
Refrigerated pie crusts make this recipe especially approachable. Use two 9-inch crusts, or substitute one double-crust batch of homemade pie dough if you prefer a from-scratch pastry.
Choose apples that stay firm during cooking. Granny Smith apples bring a pleasantly tart flavor, Honeycrisp adds sweetness and crunch, and Braeburn offers a balanced apple taste. Whatever variety you select, peel, core, and dice the fruit quite small so the filling fits neatly inside the pastry.
- Two refrigerated 9-inch pie crusts or one double-crust batch of homemade pie dough
- Three medium firm apples, about 3 cups once peeled, cored, and diced
- Butter, brown sugar, lemon juice, cinnamon, nutmeg, cornstarch, and salt
- One egg and water for a glossy egg wash
- Coarse or granulated sugar for a crisp, sparkling topping
- Optional vanilla extract or ground cloves for extra warmth
If you want to make your own pastry, an all-butter dough commonly uses about 2 1/2 cups flour, 1 cup cold butter, and roughly 1/2 cup ice water. Keep the butter cold and chill the dough according to your dough recipe before rolling.
How to Make It Step-by-Step
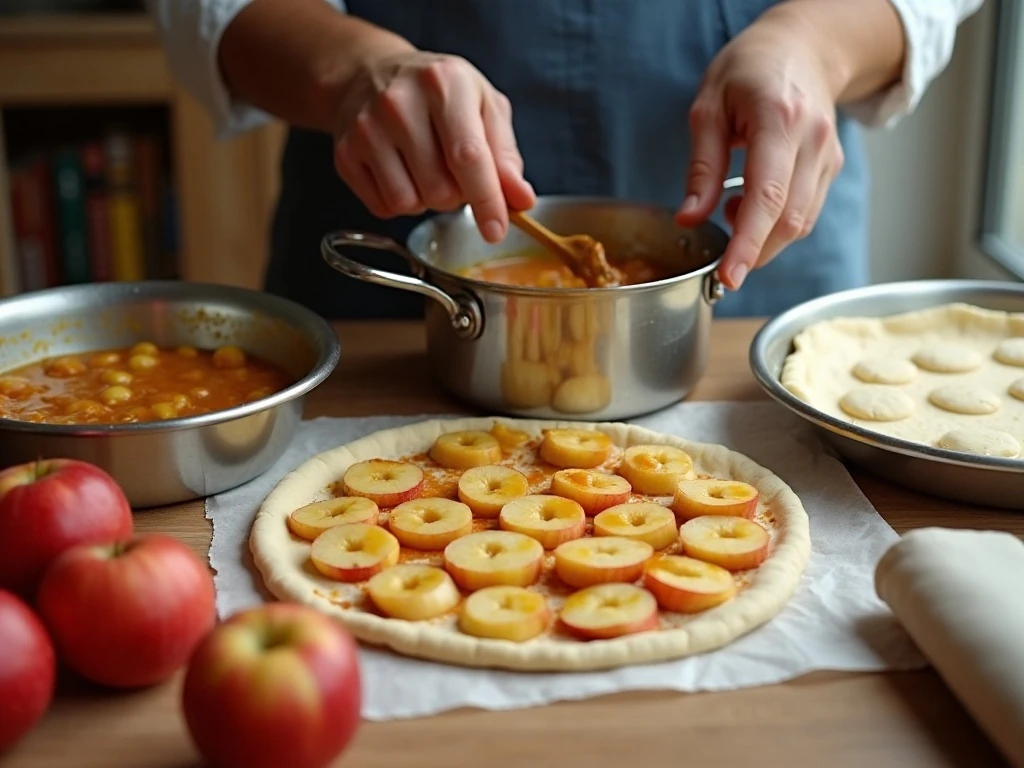
Step 1: Heat the oven to 400°F and line a baking sheet with parchment paper. The parchment catches any bubbling apple juices and makes cleanup much easier, while the fully heated oven helps the pastry begin baking promptly.
Step 2: Melt the unsalted butter in a saucepan over medium heat. Add the diced apples, packed brown sugar, lemon juice, cinnamon, nutmeg, cornstarch, and salt, then stir until every piece is coated.
Step 3: Cook the apple mixture for 5–8 minutes, stirring occasionally, until the apples are slightly softened and the juices have thickened. Stir in the vanilla if using, or add the optional cloves for a deeper spice note, then transfer the filling away from the heat.
Step 4: Cool the filling to room temperature before assembling the pies. This is an important pause: hot filling can soften the dough, make the edges difficult to seal, and encourage leaks during baking.
Step 5: Roll the pie dough to about 1/8-inch thickness. Cut eight rounds or rectangles approximately 5–6 inches across, gathering and rerolling scraps only as needed so the pastry stays tender.
Step 6: Place about 2 tablespoons of cooled apple filling in the center of half the dough pieces. Leave a clear border around each piece, and avoid overfilling because a generous mound can prevent the edges from closing securely.
Step 7: Lightly brush the dough borders with water, then cover each filled piece with one of the remaining dough pieces. Press the edges together firmly, followed by crimping with a fork to create a secure seal and a pretty ridged edge.
Step 8: Cut 2–3 small vents in the top of every pie. These openings allow steam to escape, reducing pressure inside the pastry and giving the pies a classic homemade appearance.
Step 9: Whisk the large egg with 1 tablespoon of water to make the egg wash. Brush it over the tops of the pies, keeping the coating light, then sprinkle with the coarse or granulated sugar.
Step 10: Chill the assembled pies for 15–30 minutes. Arrange them on the prepared baking sheet with space between each one, then bake for 20–25 minutes, until the crust is deeply golden and the filling is bubbling.
Step 11: Let the baked hand pies cool for at least 10 minutes before serving. The filling will be extremely hot when it comes from the oven, and this resting time allows the juices to settle slightly.
Pro Tips for Flaky, Sealed Hand Pies
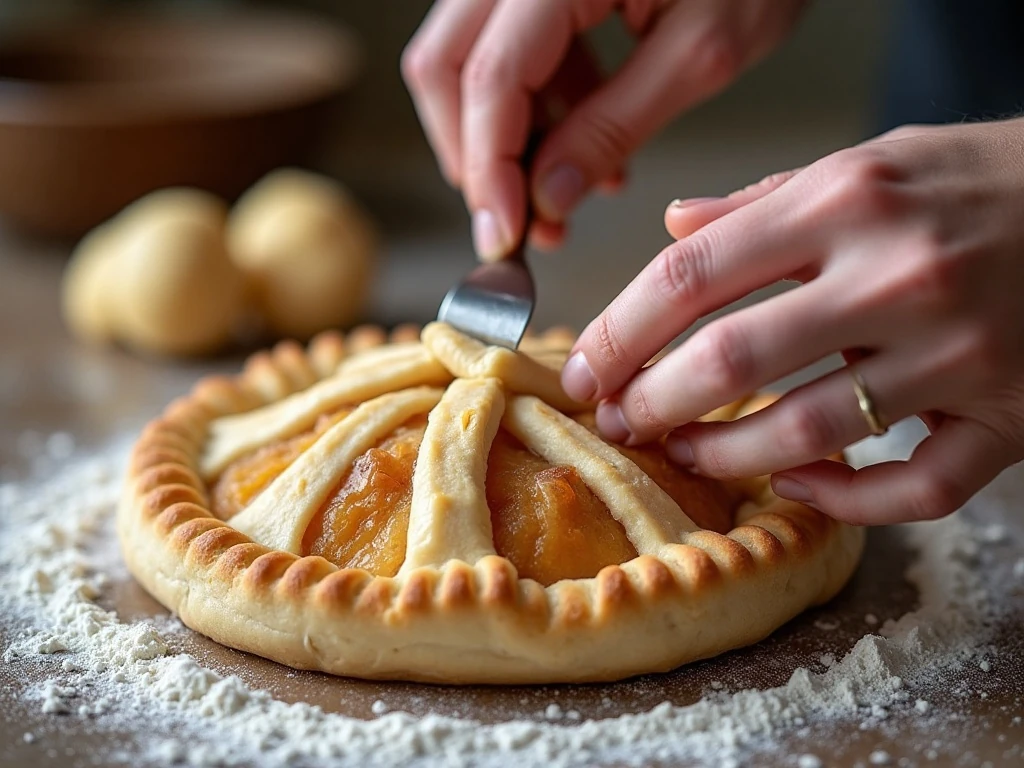
Small apple pieces are the secret to an easy-to-eat filling and a reliable seal. Pieces that are too large can poke through the dough or leave empty pockets inside the pastry.
Do not skip the chilling stage after shaping. Cold pastry holds its shape better in the oven, helping the hand pies keep their crisp edges and flaky layers.
- Use a ruler or cutter guide to keep the dough pieces close in size.
- Measure the filling so all eight pies bake at a similar rate.
- Press out excess air around the filling before crimping.
- Make sure the fork reaches through both dough layers along the edge.
- Place the pies on parchment before brushing with egg wash and sugar.
For a slightly different pastry style, puff pastry can be used in many easy hand pie recipes. It creates a lighter, flakier result and generally works best in an oven around 400–425°F, so follow the package directions if making that substitution.
Serving Ideas and Pairings
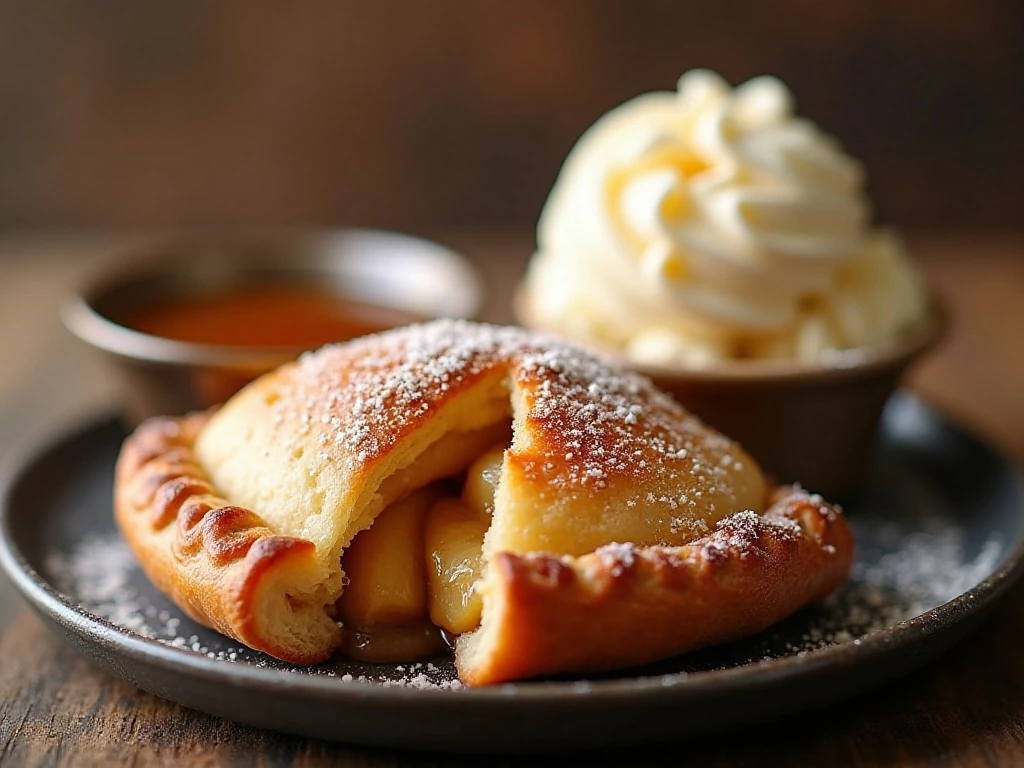
Serve these apple hand pies warm or at room temperature. A scoop of vanilla ice cream melts into the cinnamon filling, while softly whipped cream adds a light, creamy finish.
For a dessert spread, arrange the pies on a platter with a small bowl of caramel sauce for dipping. Their individual size also makes them a friendly choice for parties because guests can take one without needing plates and forks.
These pastries fit naturally into a cozy brunch or holiday menu. If you are preparing a larger spread with homemade breads, our homemade Hawaiian sweet rolls make a soft, buttery companion for the savory side of the table.
Storage, Freezing, and Reheating
Store cooled hand pies in an airtight container at room temperature for a short period, or refrigerate them if keeping them longer. The crust is crispest on the day they are baked, but gentle reheating can bring back much of that fresh pastry texture.
Reheat individual pies in a 325°F oven or toaster oven until warmed through. Avoid microwaving when possible because it softens the crust, although a brief microwave warming can be useful when speed matters more than crispness.
For make-ahead baking, assemble the pies, seal and vent them, then chill them before baking. You can also freeze shaped pies in a single layer until firm, transfer them to a freezer-safe container, and bake from frozen while allowing extra time for the centers to heat through; watch for a deeply golden crust and bubbling filling.
Troubleshooting Common Problems
If filling leaks, the pies may have been overfilled, the border may not have been sealed firmly, or the pastry may have been too warm. Cool the filling fully, leave a generous border, and chill the shaped pies before they go into the oven.
If the bottoms seem soft, make sure the baking sheet is lined and the oven is fully preheated. Thick or wet filling can also contribute to softness, which is why cooking the apples until the juices are visibly thickened is so helpful.
If the pastry browns before the filling bubbles, loosely tent the tops with foil and continue baking until done. Letting the pies rest for at least 10 minutes after baking also makes them easier to handle and eat.
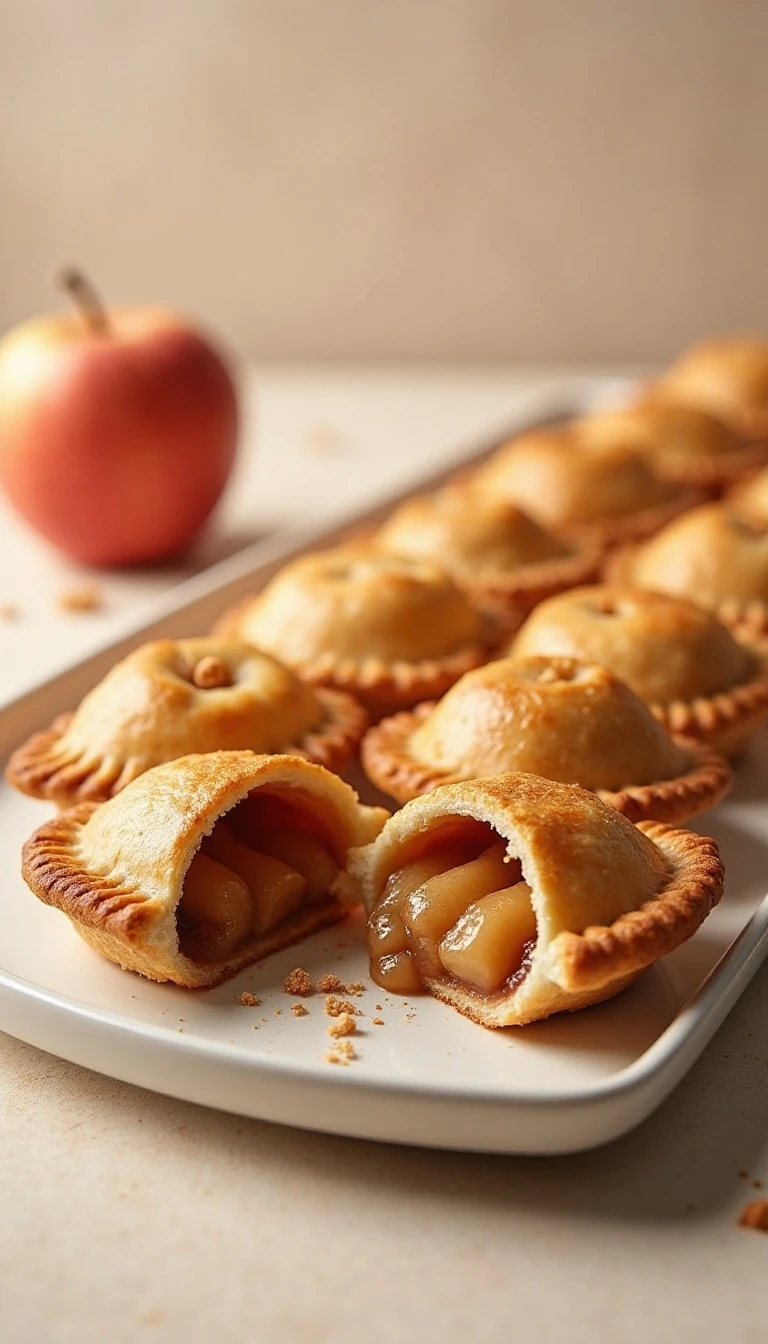
Easy Homemade Apple Hand Pies
Ingredients
Method
- Heat the oven to 400°F and line a baking sheet with parchment paper.
- Melt the butter in a saucepan over medium heat. Add the diced apples, brown sugar, lemon juice, cinnamon, nutmeg, cornstarch, and salt, then cook for 5–8 minutes, stirring occasionally, until slightly softened and thickened. Stir in vanilla if using, then cool the filling to room temperature.
- Roll the pie dough to about 1/8-inch thickness and cut eight rounds or rectangles approximately 5–6 inches across.
- Place about 2 tablespoons of cooled apple filling in the center of half the dough pieces, leaving a border. Lightly brush the borders with water, cover with the remaining dough pieces, press the edges together, and crimp with a fork.
- Cut 2–3 small vents in the top of each pie. Whisk the egg with the water, brush it over the pies, and sprinkle with coarse sugar.
- Chill the assembled pies for 15–30 minutes. Bake for 20–25 minutes, until deeply golden and bubbling, then cool for at least 10 minutes before serving.
Notes
Final Thoughts
These easy homemade apple hand pies bring classic apple pie flavor to the table with less effort and no slicing required. The quick cooked filling, flaky crust, egg-washed top, and sparkling sugar finish make every bite sweet, buttery, warmly spiced, and wonderfully comforting.
Make the recipe with refrigerated crust for a fast dessert, or use homemade all-butter dough when you have extra time. Once you have cooled the filling, sealed the edges, added a few vents, and chilled the pies, the oven does the rest.
For another apple-centered dessert to enjoy during the season, try our autumn apple cake with cream cheese frosting. Whether served with ice cream, caramel, or simply eaten warm from the cooling rack, these hand pies are sure to disappear quickly.