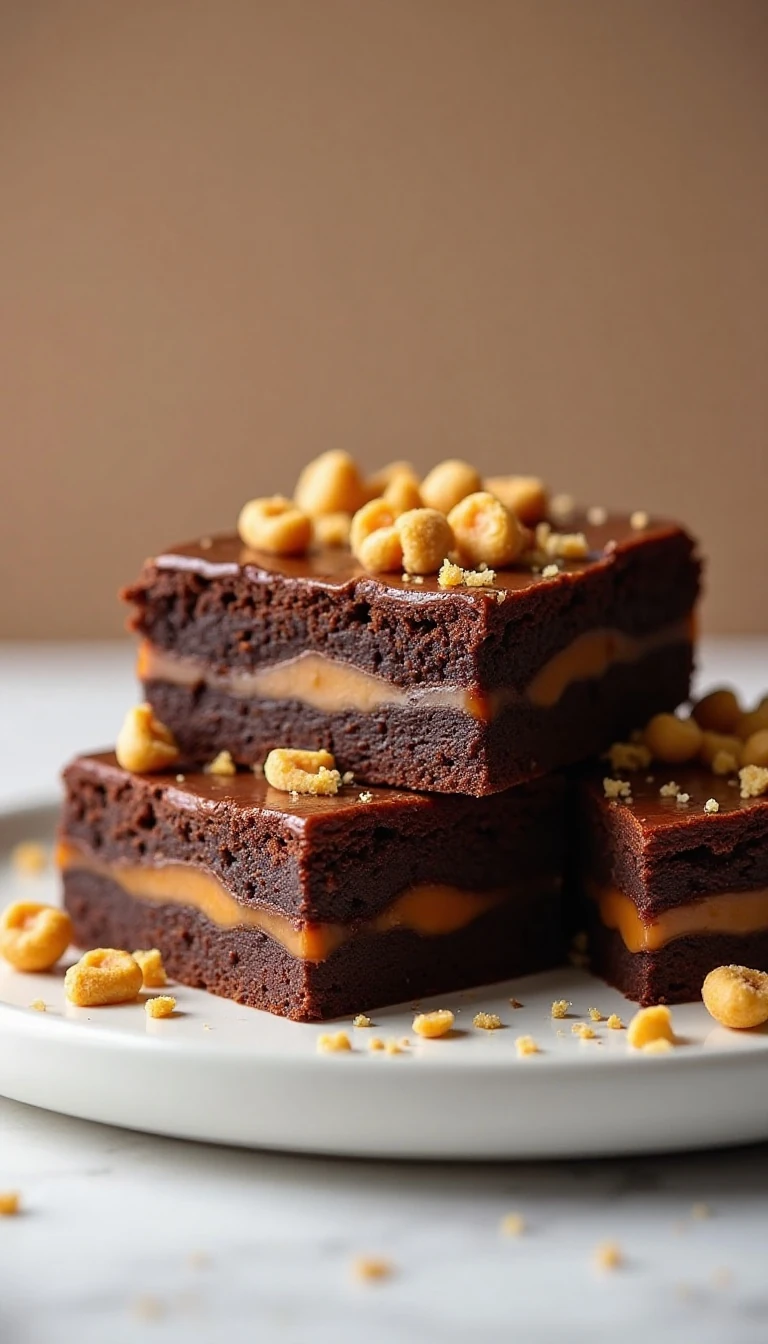
This Delicious Butterfinger Brownies Recipe makes rich, fudgy brownies layered with sweetened condensed milk, caramel ice-cream topping, and crunchy crushed Butterfinger candy. Starting with a convenient 18- to 19-ounce fudge brownie mix, you can prepare a 9-by-13-inch pan in about 10 to 15 minutes, bake it for 25 to 30 minutes, and have a crowd-pleasing dessert ready after cooling.
Every bite combines soft chocolate brownie, creamy caramel, milky sweetness, and crisp peanut-butter candy crunch. The brownies are especially tempting served chilled, when the topping has settled into the holes and the squares cut cleanly without losing their gooey texture.
Jump to RecipeWhy You’ll Love This Recipe
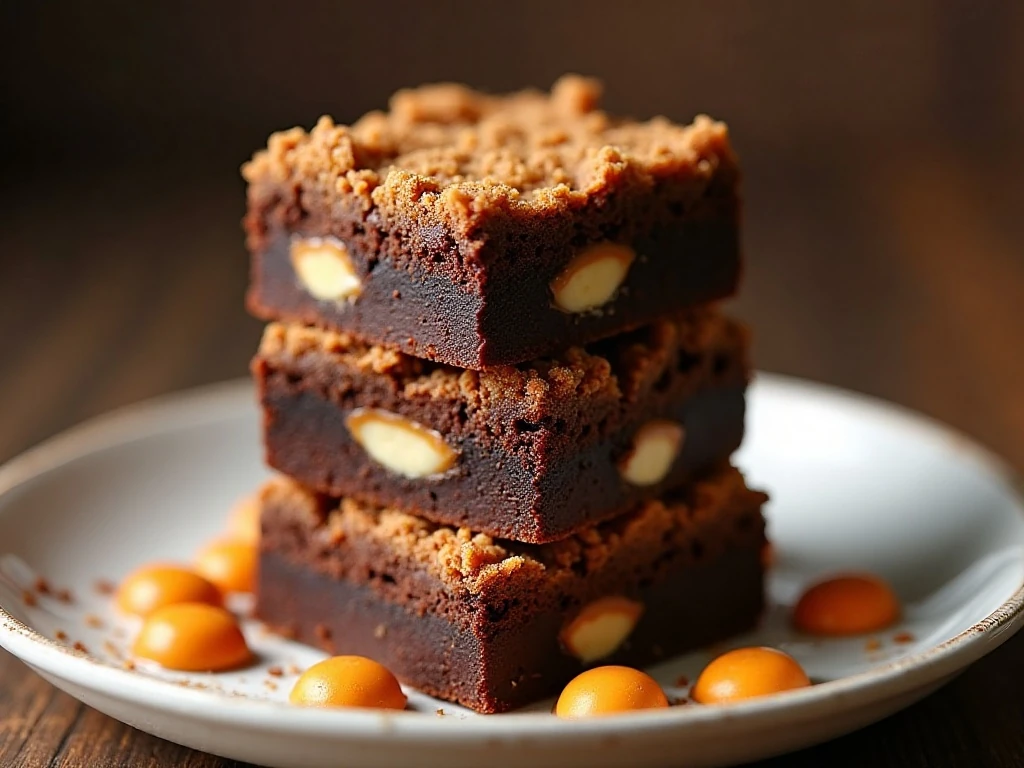
These Butterfinger brownies taste like a bakery-style dessert while relying on a few easy supermarket ingredients. The brownie mix creates a dependable chocolate base, and the toppings turn it into a rich layered treat without requiring a complicated frosting or candy-making step.
The texture is the real reason this dessert disappears quickly. Warm brownies absorb sweetened condensed milk and caramel through the poked holes, leaving the middle moist and luscious while the crushed Butterfinger topping stays crisp and pleasantly crackly.
This recipe also travels well once chilled. Cut it into small squares for a potluck, arrange larger pieces on a dessert platter for a celebration, or serve it with vanilla ice cream for a dramatic after-dinner treat.
If you enjoy simple candy-inspired desserts, you may also like this easy cake batter fudge for another colorful, no-fuss sweet.
Ingredients You’ll Need
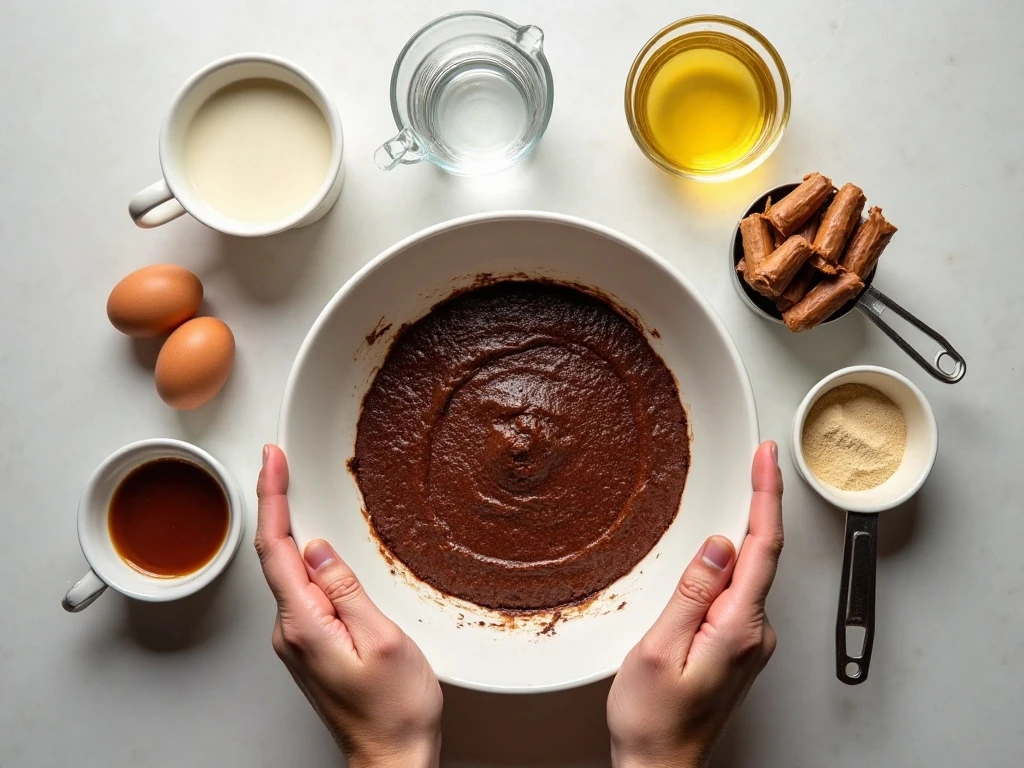
The base requires one box of fudge brownie mix that makes enough batter for a 9-by-13-inch pan, generally an 18- to 19-ounce package. Follow the package directions and have the typical two large eggs, one-half cup vegetable oil, and one-quarter cup water ready.
- One 14-ounce can sweetened condensed milk
- One jar of caramel ice-cream topping, about 12 ounces
- Five regular-size Butterfinger candy bars, crushed, about 8 to 10 ounces total
- Nonstick spray or a little oil for greasing the pan
Choose a fudge-style mix rather than a cake-style mix for the softest result. The condensed milk and caramel already bring plenty of sweetness, so there is no need to add extra sugar to the batter or topping.
For the candy, aim for a combination of fine crumbs and small chunks. Fine pieces stick to the caramel and fill the surface, while larger pieces create the signature crispy peanut-butter crunch in every serving.
For another dessert idea with a cozy, bakery-inspired feel, keep this coffee cake muffin recipe nearby for breakfast tables and afternoon gatherings.
How to Make It Step-by-Step
Step 1: Begin by heating the oven to the temperature printed on the brownie-mix package, usually 350°F. Grease a 9-by-13-inch baking pan thoroughly, paying special attention to the corners so the sticky topping will not cling to the metal.
Step 2: Mix the brownie batter according to the package instructions, using the eggs, vegetable oil, and water called for in the ingredient list. Stir only until the batter is combined, then spread it into the pan in an even layer so it bakes at the same rate from edge to center.
Step 3: Bake the brownies for 25 to 30 minutes, or follow the package timing if it differs. Test the center with a toothpick; it should come out with moist crumbs, not wet batter and not completely clean, because overbaking makes it harder for the toppings to soak in.
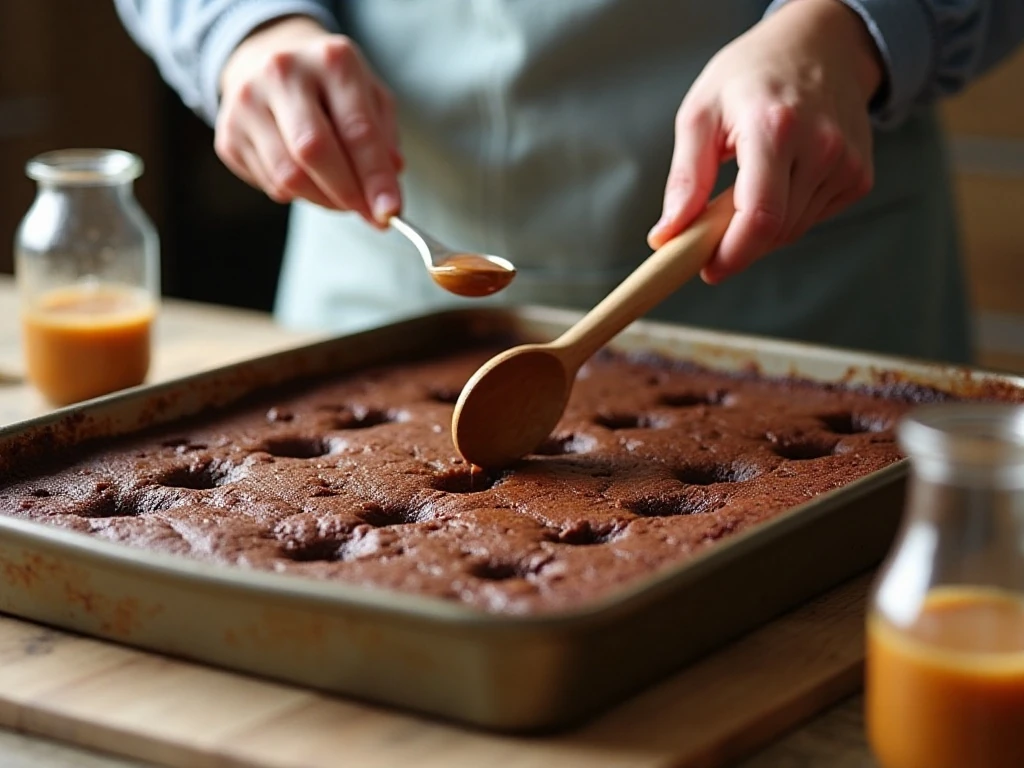
Step 4: Remove the pan from the oven while the brownies are still warm. Use the handle of a wooden spoon or a fork to poke holes across the entire surface, spacing them close enough for the condensed milk and caramel to reach the interior.
Step 5: Slowly pour the sweetened condensed milk over the brownies. Pause as needed to let it flow into the holes rather than collecting only around the edges, and use the back of a spoon to guide any thick spots across the top.
Step 6: Drizzle the caramel ice-cream topping evenly over the condensed milk. The two toppings will overlap in places, creating creamy, sticky pockets that settle into the warm brownie as the pan cools.
Step 7: Scatter the crushed Butterfinger pieces over the caramel immediately. Press a few larger chunks very lightly into the topping if needed, but leave plenty of candy visible so the finished brownies have an inviting golden, craggy surface.
Step 8: Let the brownies cool for at least 30 minutes before cutting. For the neatest squares, refrigerate the pan for 30 to 60 minutes, then use a sharp knife and wipe the blade between cuts.
Pro Tips for Fudgy Results
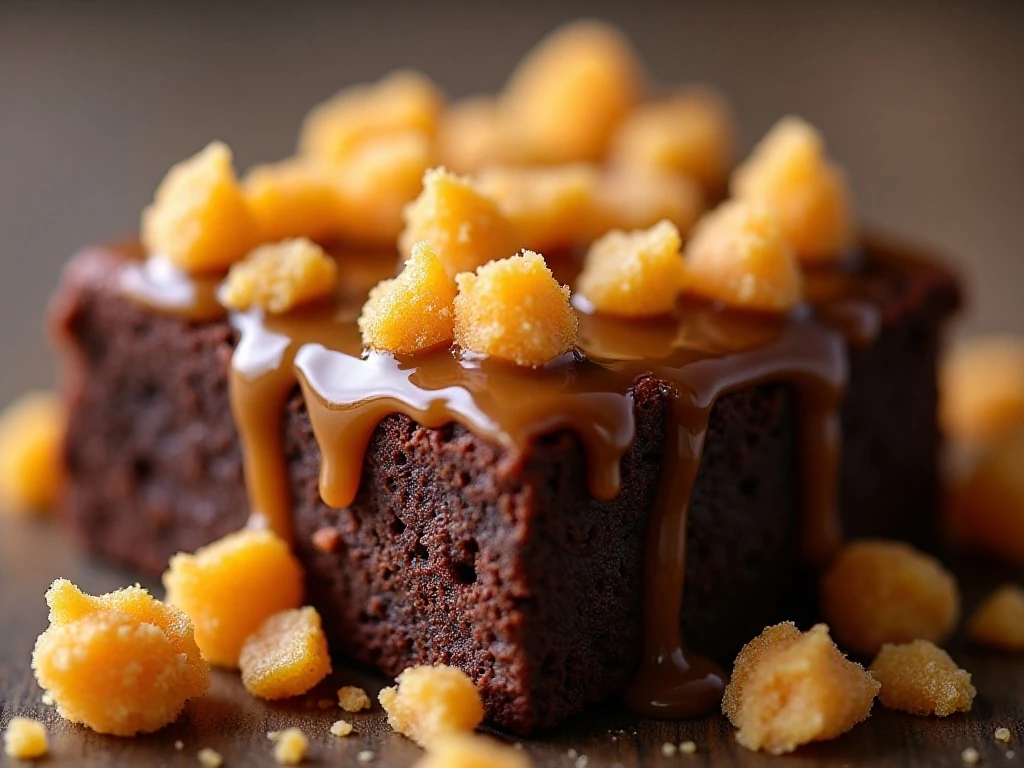
The most important detail is knowing when to remove the brownies from the oven. A fudge brownie should look set around the edges with a center that has finished baking but still retains moisture; a dry toothpick usually means the pan stayed in too long.
Do not rush the pouring stage. Condensed milk is thick, so a slow, steady pour gives it time to seep into the holes instead of sliding over the top in one heavy stream.
If your caramel topping is especially thick, let the unopened jar sit in warm water briefly or stir the topping in a bowl before drizzling. It should be pourable, but it does not need to be hot.
Crush the Butterfinger bars in a sealed bag with a rolling pin or the bottom of a measuring cup. Stop when you have a varied texture rather than pulverizing every piece into powder.
For a fun serving contrast, add a few freshly crushed candy pieces just before serving. This is particularly useful when the brownies have been refrigerated overnight and you want extra crunch on top.
When you are planning a dessert spread, a cool treat such as this mint fudge ice cream stack can provide a refreshing contrast to these rich chocolate squares.
Storage, Chilling, and Serving
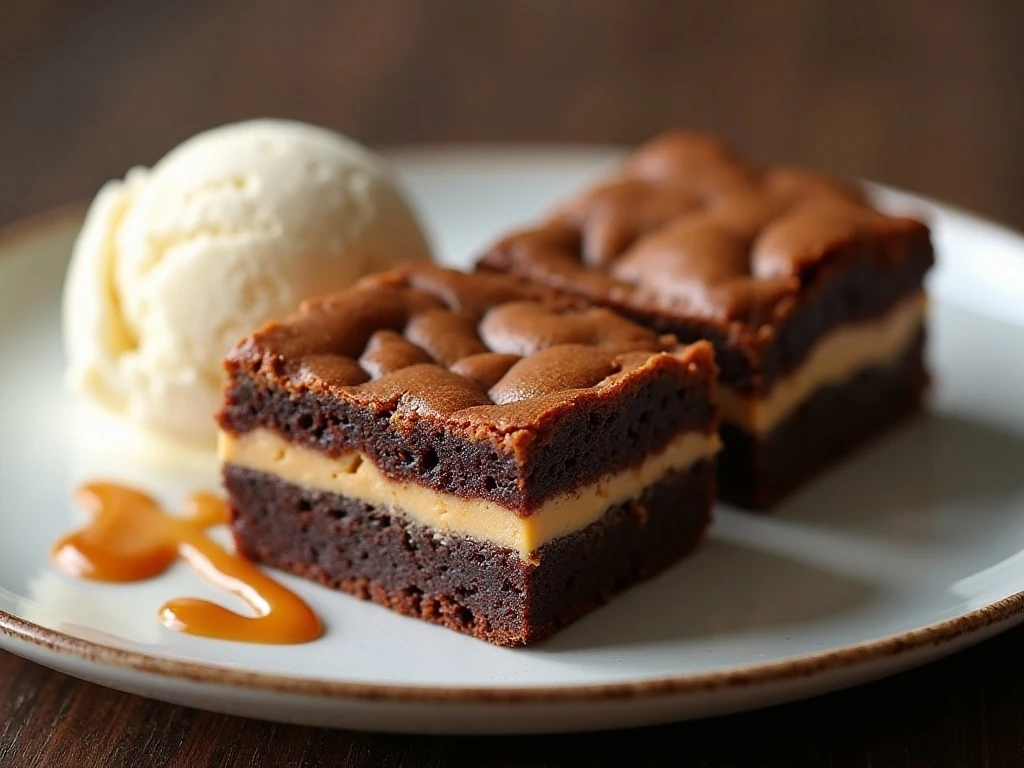
Cover the cooled brownies tightly with plastic wrap, foil, or a fitted lid and refrigerate them. Chilling for 30 to 60 minutes helps the condensed milk and caramel set enough for clean cuts, although the brownies can remain refrigerated for longer.
For the best texture, allow a chilled square to sit at room temperature for a few minutes before eating. This softens the brownie slightly while keeping the topping pleasantly thick and the candy crunchy.
Serve the brownies plain, with a scoop of vanilla ice cream, or with a small drizzle of extra caramel. Because the dessert is rich, small squares are often enough, making one pan suitable for a generous group.
These brownies are also easy to prepare ahead. Make the pan a day in advance, keep it covered in the refrigerator, and add a few fresh Butterfinger crumbs immediately before placing it on the dessert table.
For a lighter-looking option at a summer gathering, pair the platter with this colorful watermelon fruit pizza. Its fresh fruit topping offers a bright change from the deep chocolate and caramel flavors.
Common Questions
Can I use a different pan? The recipe is written for a 9-by-13-inch pan, which gives the brownies the intended thickness and topping ratio. A smaller pan may produce a thicker center that needs different baking time, while a larger pan may create thinner brownies that bake faster.
Why do my toppings sit on top? The holes may not be spread widely enough, or the brownies may have cooled too much before the condensed milk was added. Poke across the entire warm surface and pour slowly so the liquid has room to travel downward.
Can I cut them right away? You can, but the warm layers will be very soft and messy. Waiting at least 30 minutes, followed by 30 to 60 minutes of refrigeration for the cleanest results, gives the dessert time to set.
What can I serve after these brownies? Since the brownies are sweet and rich, a creamy drink such as homemade eggnog works beautifully during the holidays, while coffee or cold milk is perfect year-round.
Delicious Butterfinger Brownies Recipe
Ingredients
Method
- Heat the oven to the temperature listed on the brownie-mix package, usually 350°F. Grease a 9-by-13-inch baking pan, making sure the corners and sides are coated.
- Prepare the brownie batter according to the package directions, using the eggs, vegetable oil, and water listed for the mix. Spread the batter evenly in the prepared pan.
- Bake for 25 to 30 minutes, or according to the package directions, until the center is set and a toothpick comes out with moist crumbs. Do not wait for the toothpick to be completely dry.
- While the brownies are still warm, poke holes across the surface with the handle of a wooden spoon or a fork. Space the holes throughout the pan so the toppings can soak into the brownie layer.
- Slowly pour the sweetened condensed milk over the warm brownies, guiding it across the surface and into the holes. Drizzle the caramel topping evenly over the condensed milk.
- Sprinkle the crushed Butterfinger pieces over the caramel while it is still slightly tacky. Let the brownies cool for at least 30 minutes, then refrigerate for 30 to 60 minutes for cleaner slices.
Notes
Final Thoughts
This Delicious Butterfinger Brownies Recipe is the kind of dessert that turns a boxed mix into something memorable. With a soft fudge center, sweetened condensed milk, flowing caramel, and crisp peanut-butter candy, it delivers several textures and flavors in one easy pan.
Keep the brownies slightly underbaked rather than dry, give the toppings time to soak in, and chill the finished pan before slicing. Once you taste that gooey middle and crunchy candy topping together, this simple recipe is sure to become a repeat favorite for bake sales, parties, potlucks, and relaxed family desserts.
1 thought on “Delicious Butterfinger Brownies Recipe: Gooey Caramel Crunch Brownies”