This old-fashioned butter tarts recipe makes 12 classic Canadian pastries with flaky shells and a rich, gooey filling made from melted butter, light brown sugar, corn syrup, egg, vanilla, and salt. The tarts bake at 375°F (190°C) for 18–25 minutes, then cool for at least 15 minutes so the bubbling filling can thicken into its signature soft center.
Every bite has the buttery flavor and caramel-like sweetness that makes butter tarts so beloved. Add plump raisins for the traditional version, or use chopped pecans or walnuts for a nutty contrast; you can also leave both out for a smooth, simple filling just like the kind found in a treasured family recipe box.
Jump to RecipeWhy You’ll Love This Recipe
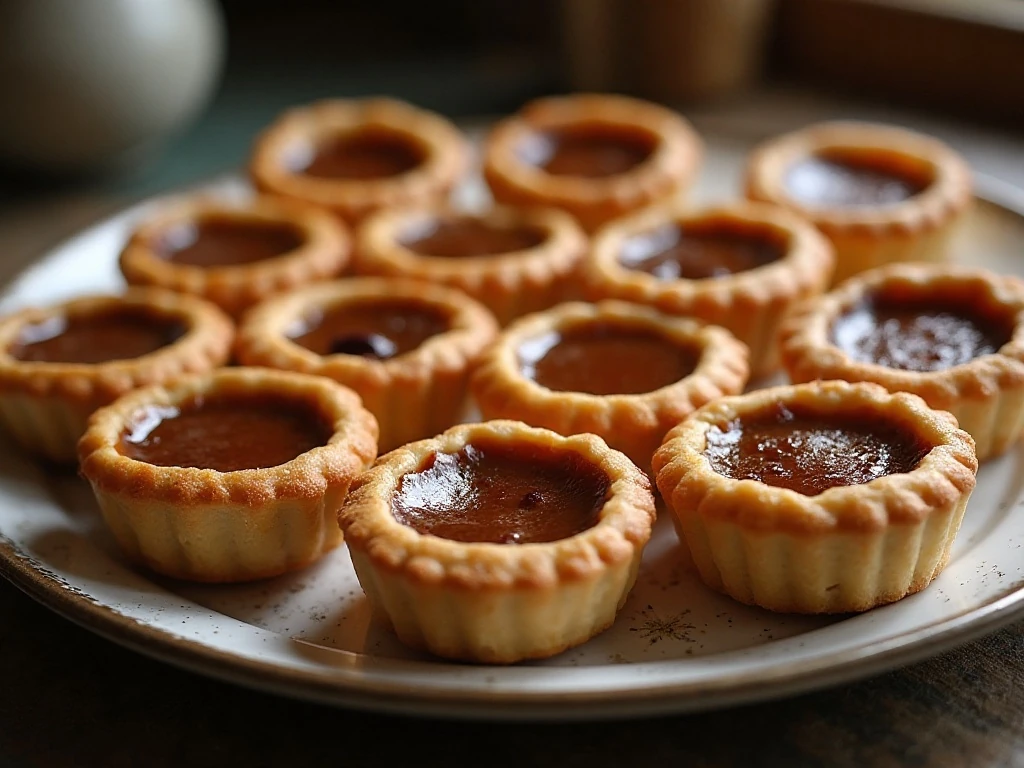
Butter tarts are one of those desserts that taste wonderfully old-fashioned from the first bite. The pastry is delicate and flaky, while the filling turns into a glossy, buttery brown sugar mixture with a soft, spoonable middle.
This recipe is especially practical because prepared tart shells work beautifully. You can have the filling mixed and the tarts ready for the oven in about 15–20 minutes, or make pastry from scratch when you want a full baking-day project.
- Makes 12 standard tarts: Ideal for a family gathering, cookie tray, or holiday dessert table.
- Uses simple ingredients: Butter, brown sugar, corn syrup, egg, vanilla, and salt create the classic taste.
- Easy to customize: Choose raisins, pecans, walnuts, or no add-ins at all.
- Perfect texture: The edges set firmly while the middle stays pleasantly gooey.
For another sweet bake with a rich brown sugar note, you may also enjoy these brown sugar butter cookies alongside your butter tarts.
Ingredients You’ll Need

The star of the recipe is the filling, and each ingredient has a specific job. Melted butter brings richness, brown sugar contributes deep caramel flavor, and light corn syrup gives the center its smooth, glossy texture.
Use 12 unbaked 3-inch tart shells, either refrigerated, frozen, or homemade. If using frozen shells, follow the package directions for thawing while keeping them cold enough to hold their shape.
- 1/2 cup unsalted butter: Melt it gently and let it cool slightly, or use softened butter for a thicker mixture.
- 1 cup packed light brown sugar: Pack it firmly into the measuring cup for the correct sweetness and texture.
- 1/2 cup light corn syrup: This helps create the characteristic soft, sticky center.
- 1 large egg: It helps the filling set as the tarts bake.
- 1 teaspoon vanilla and 1/4 teaspoon salt: These balance and sharpen the buttery sweetness.
- Optional additions: Use 1/2 cup raisins, 1/2 cup chopped pecans or walnuts, or a combination of raisins and nuts.
Raisins are traditional in many Canadian kitchens, but they are not required. For a smooth, pure butter tart, simply leave them out and fill the shells with the mixture as written.
Read More: More homemade tart inspiration
How to Make It Step-by-Step
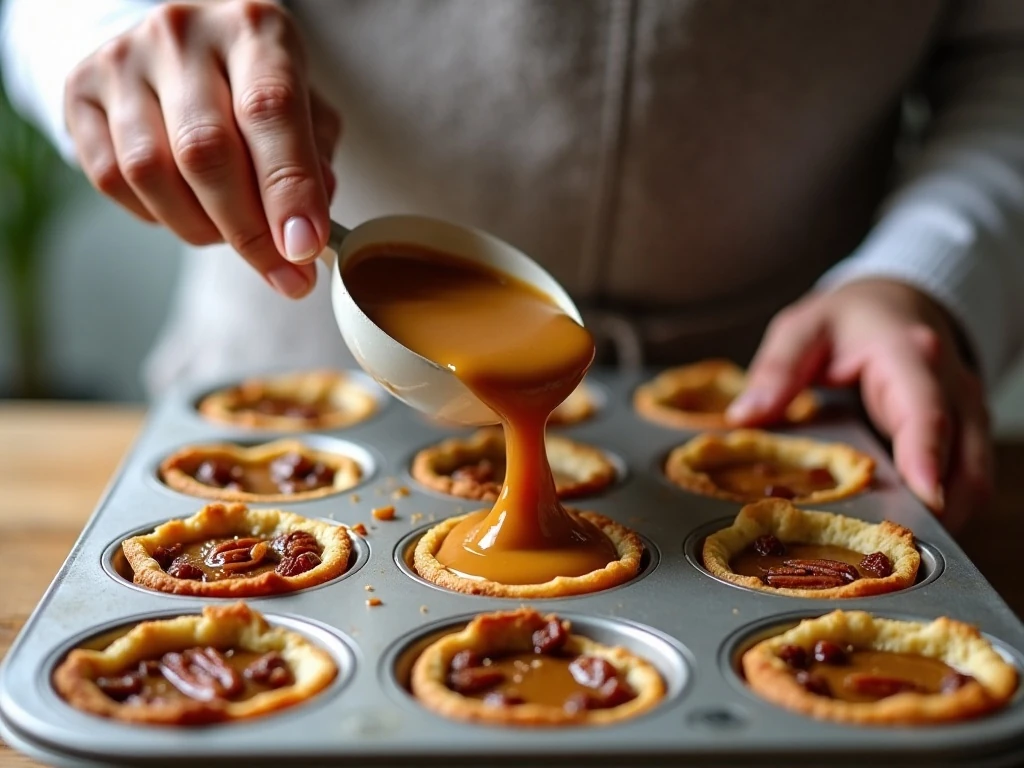
Step 1: Heat the oven to 375°F (190°C), and place the 12 unbaked tart shells in a muffin tin. Setting the shells in the tin makes them easier to move and helps support the pastry as the filling bakes.
Step 2: If you are using raisins, place them in a small bowl and cover them with hot water for about 5 minutes. Drain them thoroughly and pat them dry with paper towel so extra water does not thin the filling.
Step 3: In a medium bowl, whisk together the melted or softened butter, packed light brown sugar, light corn syrup, egg, vanilla extract, and salt. Stir until the mixture is smooth and blended, but do not whip vigorously because excess air can make the filling puff unevenly.
Step 4: Divide the prepared raisins or chopped nuts among the shells. For variety, put raisins in some shells, nuts in others, or use both in every tart.
Step 5: Pour the filling into each pastry shell, stopping when it is one-half to two-thirds full. This detail matters because the filling bubbles and expands during baking, and overfilled shells can spill onto the muffin tin.
Step 6: Bake the tarts for 18–25 minutes, watching for golden pastry and a filling that bubbles around the edges. The center should still look slightly soft and jiggle gently when the pan is moved; it will continue setting as it cools.
Step 7: Leave the tarts in the pan for 10–15 minutes, then carefully transfer them to a wire rack. Let them cool for at least 15 minutes before serving, since the filling becomes thicker and easier to eat as it cools.
Step 8: Serve the butter tarts at room temperature or slightly warm. A cup of coffee, black tea, or cold milk makes a lovely pairing for the sweet, buttery filling.
How to Make Homemade Pastry
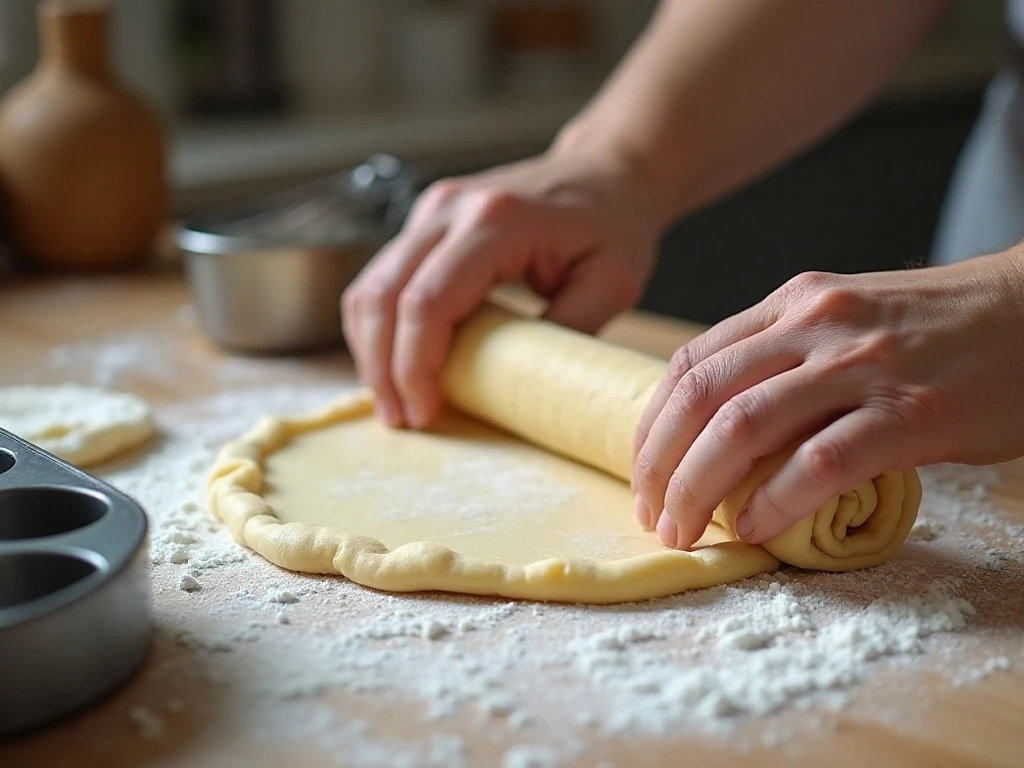
Prepared shells save time, but homemade pastry gives these tarts an especially nostalgic character. The pastry should be tender and flaky, not heavily worked or tough.
Combine 1 1/2 cups all-purpose flour with 1/2 teaspoon salt. Cut in 1/2 cup cold unsalted butter or shortening until the mixture resembles coarse crumbs with a few pea-sized pieces remaining.
Add 1/4 to 1/3 cup ice water a tablespoon at a time, mixing only until the dough holds together. Shape it into a disk, wrap it, and chill for 30 minutes.
Roll the chilled dough on a lightly floured surface and cut twelve rounds sized to fit 3-inch tart shells. Press each round gently into a muffin-tin cup, taking care not to stretch the dough, then fill and bake as directed.
For a broader homemade baking spread, these chewy peanut butter chocolate chip cookies make a delicious companion on a dessert platter.
Pro Tips for Gooey, Perfect Butter Tarts
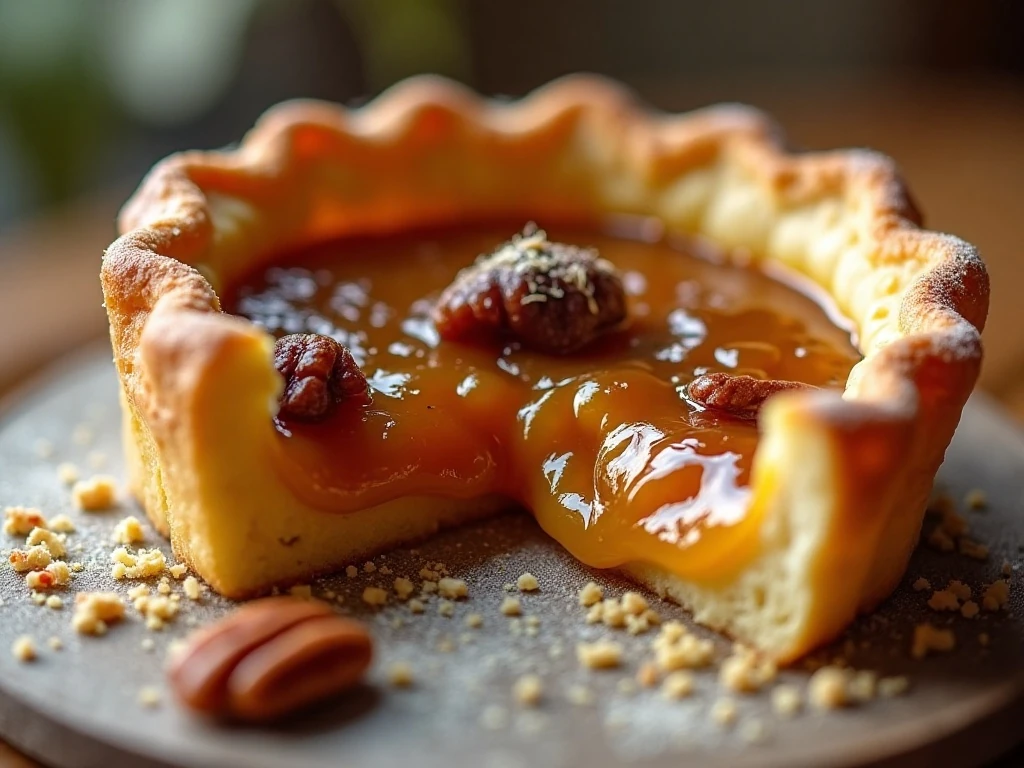
The most important technique is to avoid overfilling. One-half to two-thirds full gives the filling room to bubble without running over the pastry and sticking stubbornly to the muffin tin.
Do not judge doneness by the center alone. The outside should be set and bubbling, while the middle should retain a slight jiggle; baking until the entire surface is firm can produce a hard, sugary filling instead of the classic gooey center.
- Measure brown sugar correctly: Pack it into the cup so the filling has the intended sweetness.
- Keep the whisking gentle: Smooth and combined is the goal, not a frothy mixture.
- Pat raisins dry: Plump raisins are wonderful, but excess water can affect the filling.
- Use a muffin tin: It supports the shells and makes handling easier.
- Cool before removing: Warm filling is fragile and can separate from the pastry.
- Adjust the bake slightly: A shorter bake gives a softer center, while a few additional minutes produce a firmer texture.
If you are serving these after a savory meal, keep the menu simple and comforting with a side dish such as this garlic butter portobello mushroom recipe before dessert.
Storage, Serving, and Make-Ahead Advice
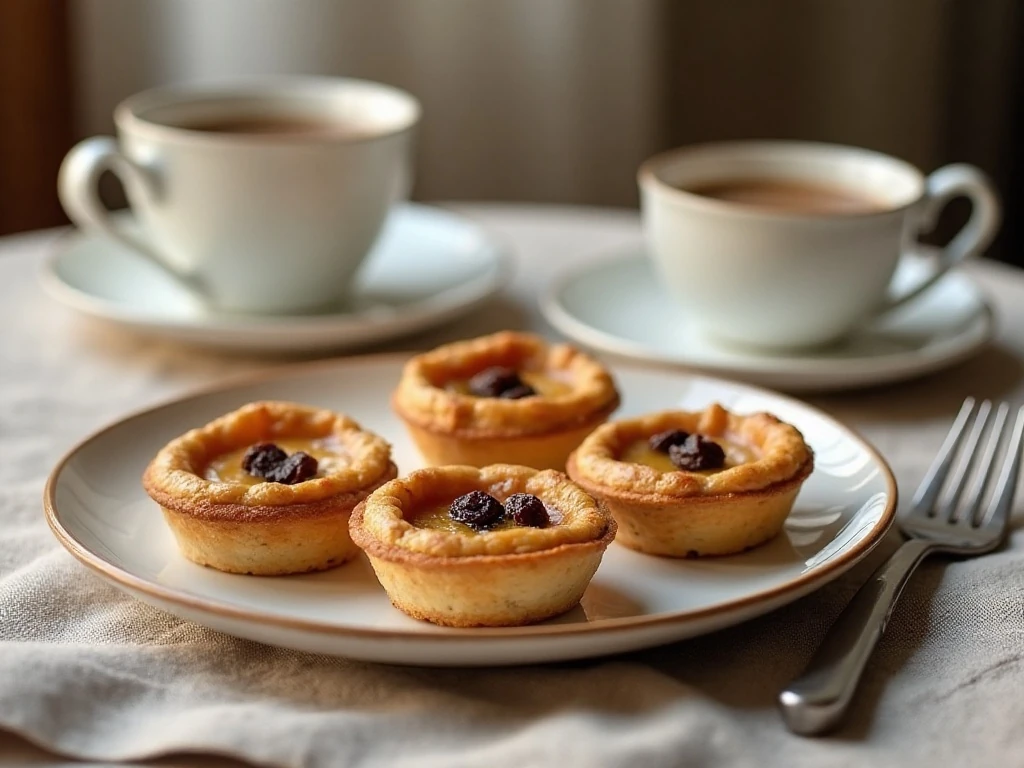
Once fully cooled, store the butter tarts in an airtight container at room temperature for a short serving window, or refrigerate them when keeping them longer. Chilling firms the filling, so allow refrigerated tarts to sit at room temperature before serving for the softest texture.
To warm a tart, place it in a low oven briefly until just warmed through. Avoid overheating, since the filling can become runny and the pastry may lose its delicate texture.
These tarts are excellent for holiday baking because they can be made ahead and arranged on a tray just before guests arrive. For a playful savory option at the same gathering, consider adding these old-school pizza English muffins to the appetizer table.
When transporting the tarts, let them cool completely first and place parchment between layers if stacking. This keeps the tops neat and helps protect the flaky pastry edges.
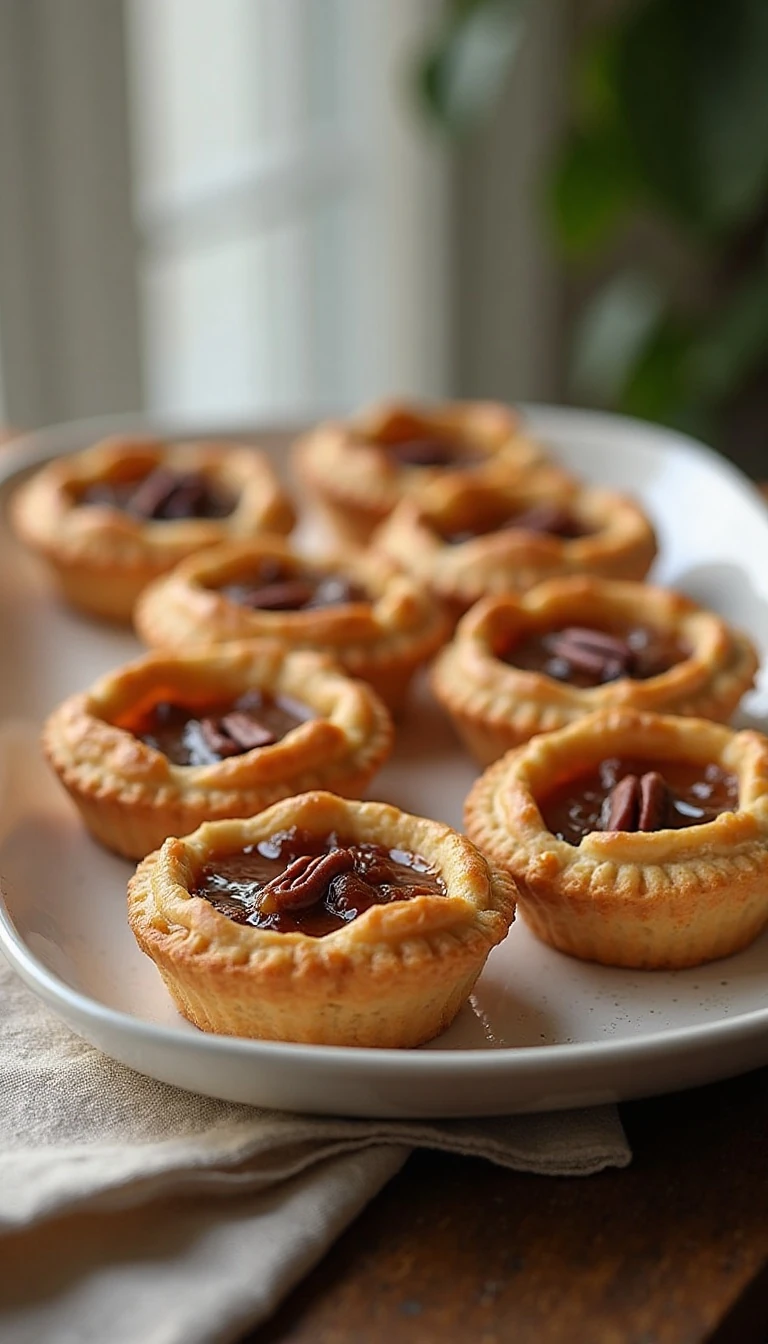
Old-Fashioned Butter Tarts
Ingredients
Method
- Heat the oven to 375°F (190°C), and arrange the 12 unbaked tart shells in the cups of a muffin tin.
- If using raisins, cover them with hot water for about 5 minutes, drain them well, and pat them dry. This helps keep the raisins tender and plump while they bake.
- Whisk the melted or softened butter, packed brown sugar, corn syrup, egg, vanilla, and salt until smooth. Mix just until combined rather than whipping in lots of air.
- Divide the raisins, chopped pecans, or chopped walnuts among the tart shells, using either one addition or a combination according to preference.
- Pour the filling into the shells, filling each one only one-half to two-thirds full. The filling bubbles and expands as it bakes, so leaving space helps prevent overflow.
- Bake for 18–25 minutes, until the pastry is golden and the filling is bubbling and set around the edges while remaining slightly soft in the center.
- Cool the tarts in the pan for 10–15 minutes, then transfer them to a rack and let them cool for at least 15 minutes before serving. The filling thickens as it cools.
Notes
Final Thoughts
This old-fashioned butter tarts recipe delivers the cozy flavor people remember from Grandma’s kitchen: crisp pastry, buttery brown sugar filling, and a center that stays soft without becoming runny. Raisins bring traditional sweetness, while pecans or walnuts add a pleasing crunch, but the plain version is every bit as delicious.
Keep an eye on the final minutes of baking, resist the temptation to overfill the shells, and give the tarts time to cool before moving them. Those small details are what create the perfect contrast between golden pastry and gooey filling.
Make a batch for a holiday table, afternoon coffee, or an ordinary day that deserves a homemade treat. Once you taste one slightly warm, you may understand why butter tarts remain such a treasured Canadian classic.