These Raspberry Tuxedo Mini Cheesecakes are an elegant make-ahead dessert made with chocolate wafer crusts, creamy chocolate cheesecake, and sweet seedless raspberry cheesecake. The recipe makes 12 individual cheesecakes, requires about 25 minutes of preparation, bakes for 18–20 minutes, and needs at least 2 hours of chilling before serving.
Every bite brings together a crisp, buttery chocolate base and two silky cheesecake flavors. The semisweet chocolate layer tastes rich and mellow, while raspberry jam adds bright fruit flavor and a beautiful rosy contrast that makes these petite desserts perfect for holidays, showers, dinner parties, or any celebration.
Jump to RecipeWhy You’ll Love This Recipe
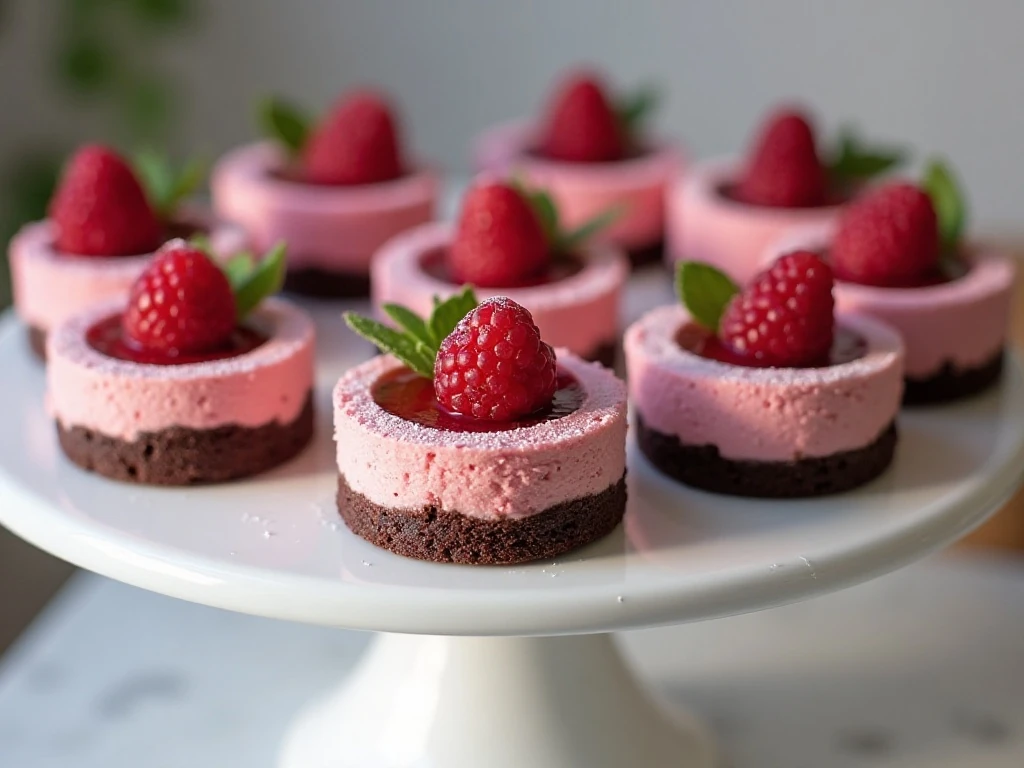
These mini cheesecakes deliver the drama of a layered dessert without requiring a water bath or a complicated decorating technique. Each portion is baked in a muffin cup, so the cheesecakes are easy to portion, chill, transport, and serve.
The name “tuxedo” comes from the striking contrast between chocolate and pale cheesecake, while the raspberry layer adds a jewel-like color and lively fruit flavor. The chocolate wafer crust gives the dessert a pleasantly crisp foundation beneath the soft filling.
They are also wonderfully practical for entertaining. You can bake them earlier in the day, refrigerate them until cold, and add the raspberries and confectioners’ sugar shortly before guests arrive.
If you enjoy small-format baking, keep a batch of our mini banana muffins in mind for a breakfast spread or brunch table alongside these dessert cheesecakes.
Ingredients You’ll Need
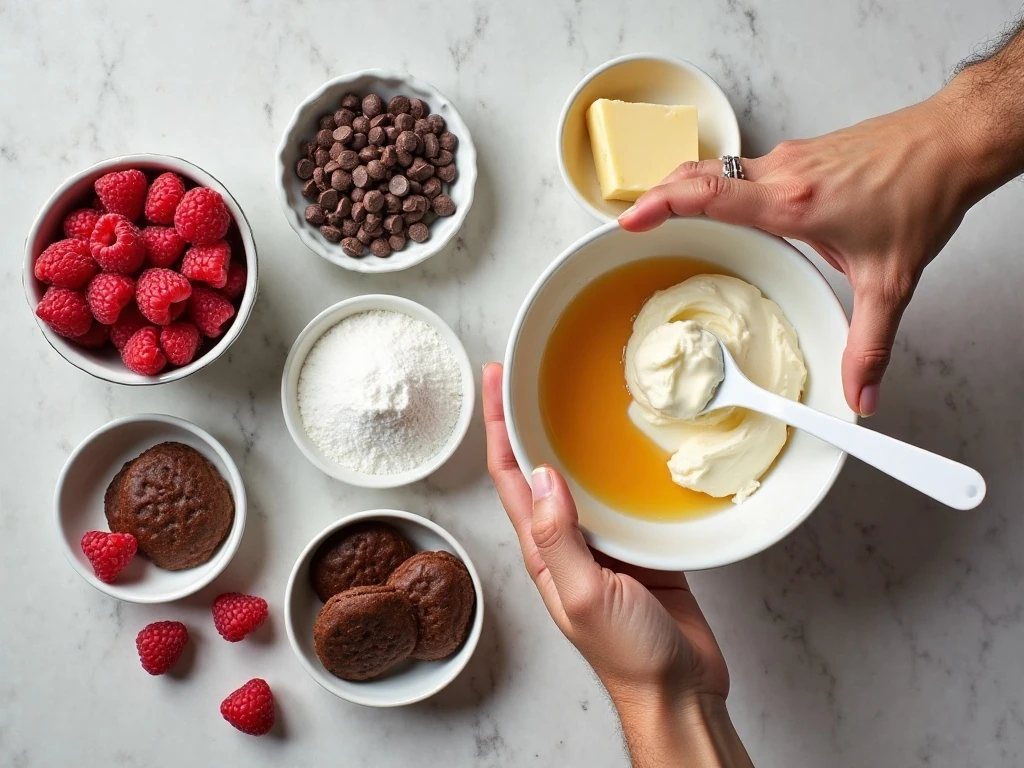
The crust begins with 9 ounces of finely crushed chocolate wafer cookies and 1/4 cup of melted unsalted butter. Crush the cookies into fine, even crumbs so the mixture presses into a firm layer rather than breaking apart when the cheesecakes are released.
For the filling, use two 8-ounce packages of softened cream cheese, 1/2 cup of granulated sugar, two large eggs, and 1 teaspoon of vanilla extract. Soft cream cheese blends smoothly with the sugar and helps prevent small lumps in the finished batter.
The two signature flavors come from 1/2 cup of seedless raspberry jam and 1/2 cup of semisweet chocolate chips. Choose a smooth, seedless jam so the raspberry layer stays velvety, and melt the chocolate gently before allowing it to cool slightly.
- Fresh raspberries make a colorful, naturally tart garnish.
- Confectioners’ sugar adds a snowy finishing touch.
- Paper or foil liners make the individual cheesecakes easier to remove.
For another dessert idea with a creamy custard texture, you can also browse this pumpkin pie custard when planning a seasonal dessert menu.
How to Make It Step-by-Step
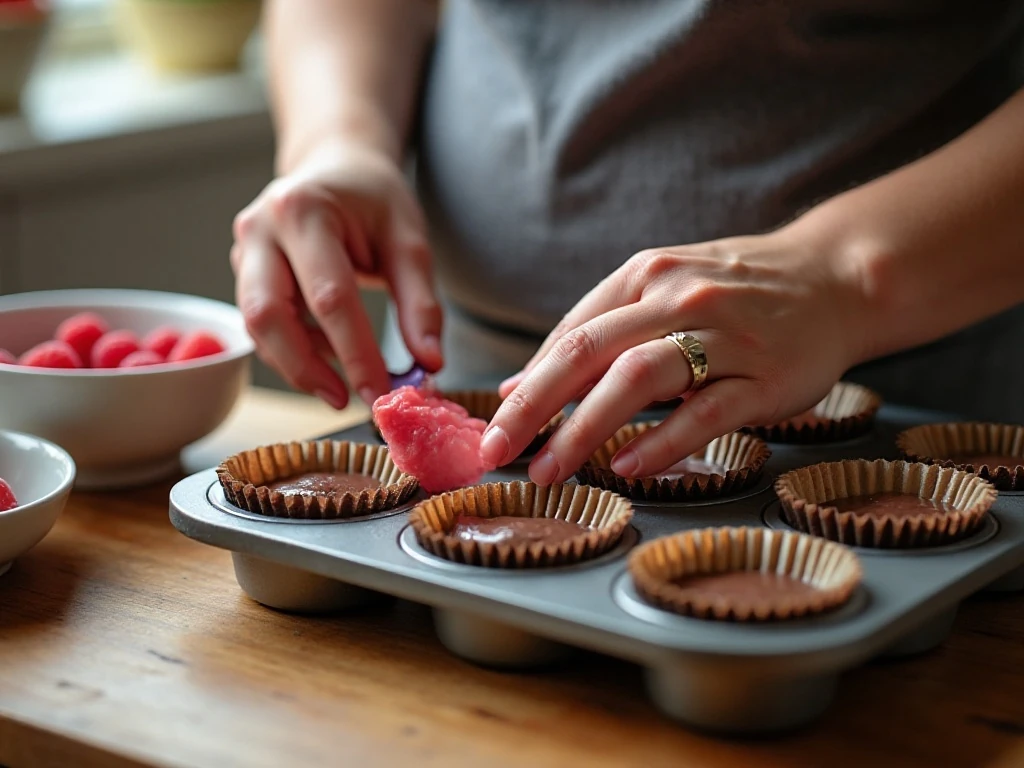
Step 1: Heat the oven to 350°F and line a 12-cup muffin pan with paper or foil liners. Set the pan on a level work surface so the crust and batter can be divided evenly among all 12 cups.
Step 2: Combine the finely crushed chocolate wafer cookies with the melted butter until every crumb looks lightly moistened. Press the mixture firmly into the bottoms of the liners, using the back of a small spoon or a flat measuring cup to create compact crusts.
Step 3: Bake the crusts for about 5 minutes, then remove the pan from the oven. Cool the crusts briefly; they do not need to be completely cold before the filling is added.
Step 4: Beat the softened cream cheese and granulated sugar until smooth and creamy. Add the lightly beaten eggs and vanilla, then mix just until the ingredients are combined; stopping promptly helps keep excess air out of the batter.
Step 5: Divide the cheesecake batter into two portions. Stir the raspberry jam into one portion until evenly distributed, then stir the melted and slightly cooled semisweet chocolate into the second portion.
Step 6: Spoon the chocolate batter over the crusts first, dividing it evenly among the liners. Add the raspberry batter on top, keeping the layers distinct for a crisp visual contrast or lightly swirling them with a knife for a marbled finish.
Step 7: Bake for 18–20 minutes, watching for centers that look nearly set but may still have a subtle wobble. Avoid baking until the centers are completely firm, because the cheesecakes continue setting as they cool.
Step 8: Cool the cheesecakes in the pan for about 10 minutes, then transfer the pan to the refrigerator. Chill for at least 2 hours, since thorough chilling gives the filling its best texture and makes the liners easier to remove.
Step 9: Garnish just before serving with fresh raspberries and a light dusting of confectioners’ sugar. For the neatest presentation, place one or two berries on each cheesecake and sift the sugar from a small distance above the pan.
Pro Tips for Smooth, Pretty Cheesecakes
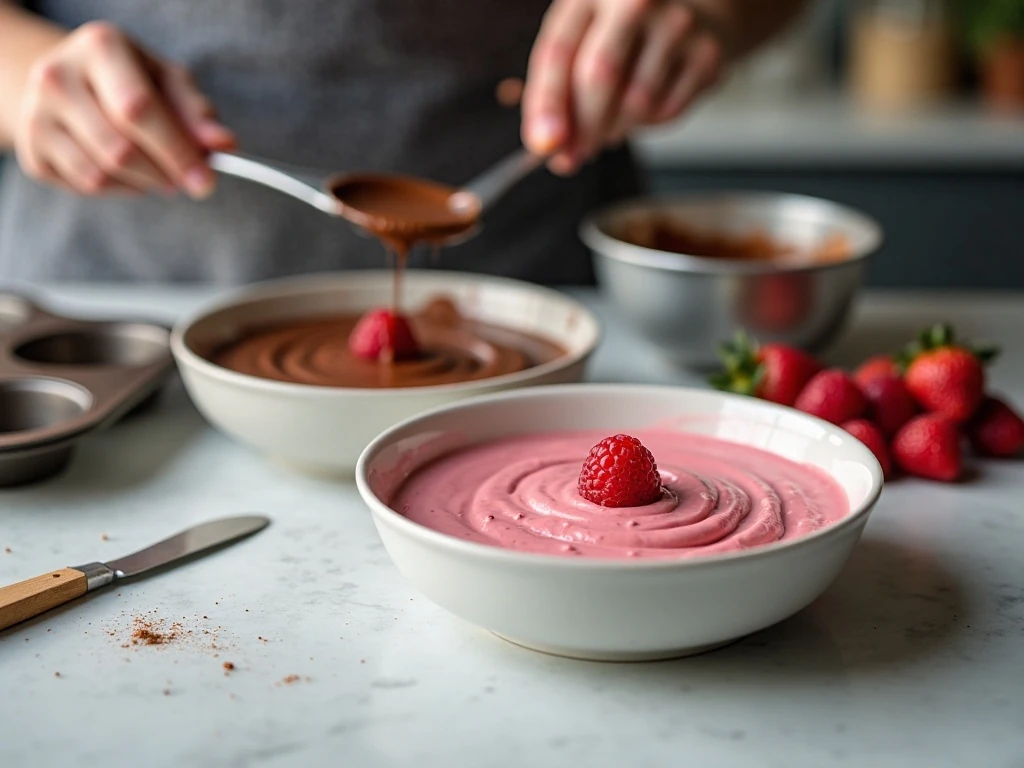
Begin with properly softened cream cheese. It should feel pliable when pressed, but it should not be warm or melted; evenly softened cheese combines more easily and reduces the temptation to overmix.
Once the eggs are added, mix only until the batter is blended. Excessive beating incorporates air, which can make the cheesecakes puff in the oven and develop cracks as they cool.
Take care with the chocolate. Melt the semisweet chips gently, stirring often, and let them cool slightly before adding them to the reserved batter; very hot chocolate can loosen or partially cook the cream-cheese mixture.
Press the crusts firmly but evenly. A compact crust holds together when lifted, while an overly thick or loosely packed crust can make each bite feel dry or crumbly.
For defined layers, use a small cookie scoop and place the chocolate batter carefully over each crust before adding the raspberry batter. For a swirled appearance, drag a toothpick or thin knife through the top layer with only a few deliberate motions.
The cheesecakes are ready when the centers are nearly set rather than rigid. Cooling and chilling complete the setting process and help preserve the creamy texture.
If you are assembling a party buffet, savory bite-sized dishes such as these mini quiches can balance the sweetness of the dessert table.
Serving, Storage & Make-Ahead Advice
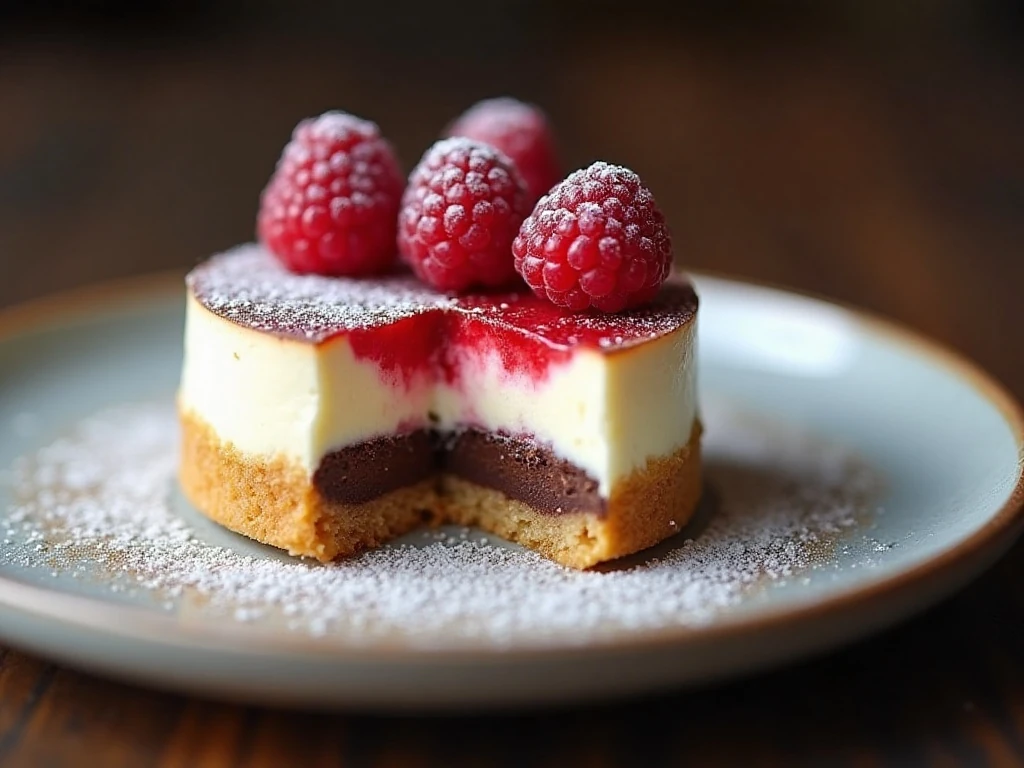
Serve these cheesecakes cold, either in their liners or carefully lifted onto a dessert platter. The fresh raspberries provide a pleasant tart note, while the confectioners’ sugar gives the tops a polished finish without adding a heavy frosting.
For a dinner party, prepare the cheesecakes through the chilling step earlier in the day. Keep them covered in the refrigerator, but wait to add the berries and sugar until shortly before serving so the garnish remains fresh and the sugar does not dissolve.
Store leftovers in the refrigerator in a covered container. Keep the cheesecakes chilled until ready to eat, and avoid stacking them directly on top of one another because the raspberry layer and garnish are delicate.
These individual desserts also make a lovely finale after a comforting family meal. If you are planning a full menu, our easy Big Mac casserole offers a playful savory main course, while lasagna roll-ups create a more classic dinner option.
Variations and Presentation Ideas
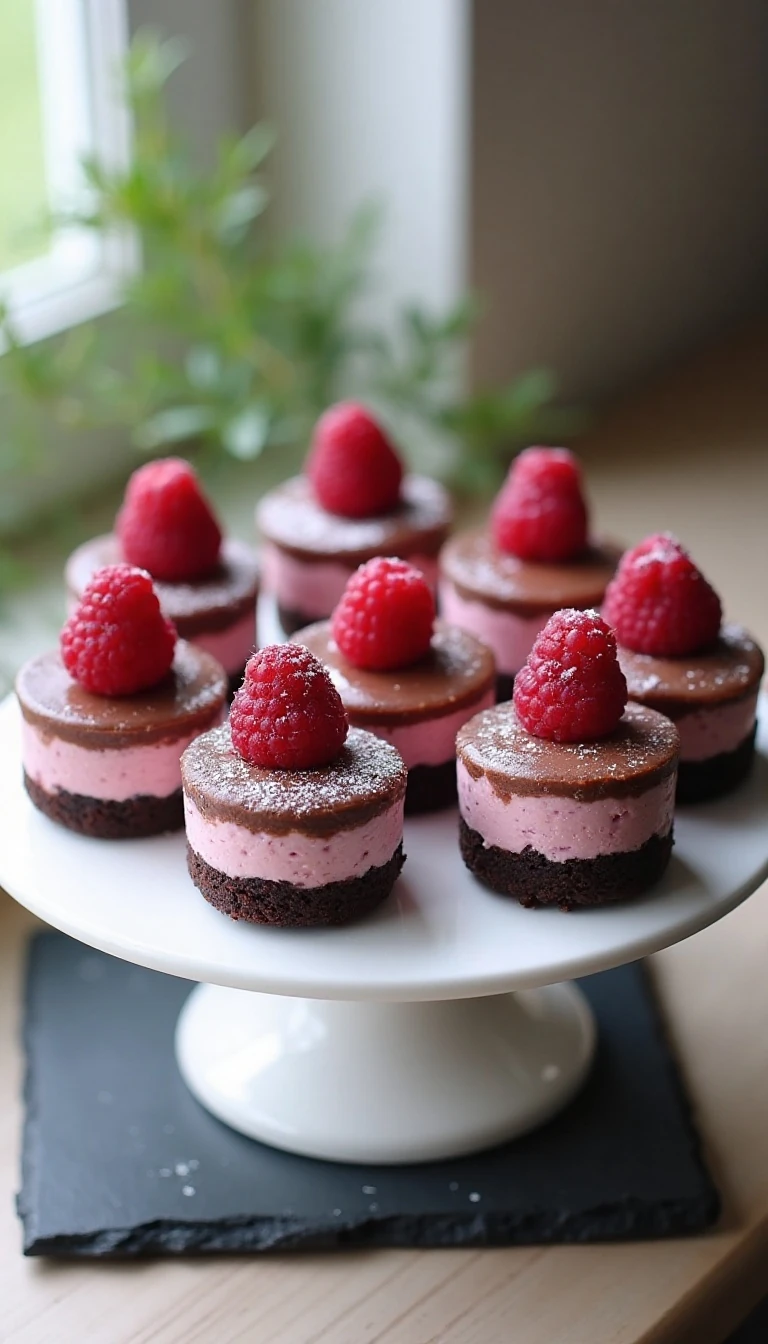
For a more pronounced raspberry appearance, leave the layers distinct rather than swirling them together. The pale raspberry layer will stand out against the chocolate base, especially when finished with bright red berries.
You can also arrange the mini cheesecakes on a tiered stand for a special occasion. A few scattered raspberries around the platter and a very light veil of confectioners’ sugar create an elegant presentation without extra frosting or complicated piping.
For casual serving, leave the cheesecakes in their liners and place them on a large tray. For a more formal presentation, peel away the liners only after the cheesecakes are fully chilled and firm.
Keep the garnish simple so the chocolate and raspberry flavors remain the focus. The recipe already has strong color and texture contrast, so fresh raspberries and a small amount of sugar are all that is needed.
Raspberry Tuxedo Mini Cheesecakes
Ingredients
Method
- Heat the oven to 350°F and line a 12-cup muffin pan with paper or foil liners. Combine the finely crushed chocolate wafer cookies with the melted butter, then press the mixture firmly into the bottoms of the liners.
- Bake the crusts for about 5 minutes, just until they are set. Remove the pan from the oven and allow the crusts to cool briefly while preparing the filling.
- Beat the softened cream cheese and granulated sugar until smooth. Add the lightly beaten eggs and vanilla extract, mixing only until combined.
- Divide the cheesecake batter evenly into two portions. Stir the seedless raspberry jam into one portion and the melted, slightly cooled semisweet chocolate into the other.
- Spoon the chocolate batter over the cooled crusts, dividing it evenly among the 12 liners. Add the raspberry batter on top, leaving the layers distinct or lightly swirling them with the tip of a knife.
- Bake for 18–20 minutes, until the centers are nearly set. Cool the cheesecakes in the pan for about 10 minutes, then refrigerate them until thoroughly chilled for at least 2 hours.
- Before serving, top each cheesecake with fresh raspberries and a light dusting of confectioners’ sugar. Serve cold for the cleanest layers and creamiest texture.
Notes
Final Thoughts
Raspberry Tuxedo Mini Cheesecakes are small enough for individual serving but special enough to anchor a celebration dessert table. The buttery chocolate wafer crust, creamy chocolate filling, and bright raspberry layer create a balanced bite with plenty of visual appeal.
Follow the key timing carefully: bake the crusts for about 5 minutes, bake the filled cheesecakes for 18–20 minutes, cool them in the pan for about 10 minutes, and refrigerate for at least 2 hours. With softened cream cheese, gently cooled chocolate, and a light hand when mixing, you will have smooth, creamy mini cheesecakes ready for their raspberry finish.
2 thoughts on “Raspberry Tuxedo Mini Cheesecakes Recipe”