White Chocolate Pumpkin Pie Cups are an easy no-bake fall dessert made with crisp white chocolate shells, a cooked pumpkin-pie-spice filling, and buttery graham-cracker crumbs. This recipe makes about 24 mini cups and takes approximately 1 hour 15 minutes to 1 hour 30 minutes, including chilling time.
Each bite tastes like a tiny pumpkin pie wrapped in creamy white chocolate. The filling is warmly spiced, lightly buttery, and pleasantly chewy from the crumbs, while the candy shell adds a smooth, sweet finish that makes these little treats perfect for Thanksgiving, Halloween parties, cookie trays, and autumn gatherings.
Jump to RecipeWhy You’ll Love This Recipe
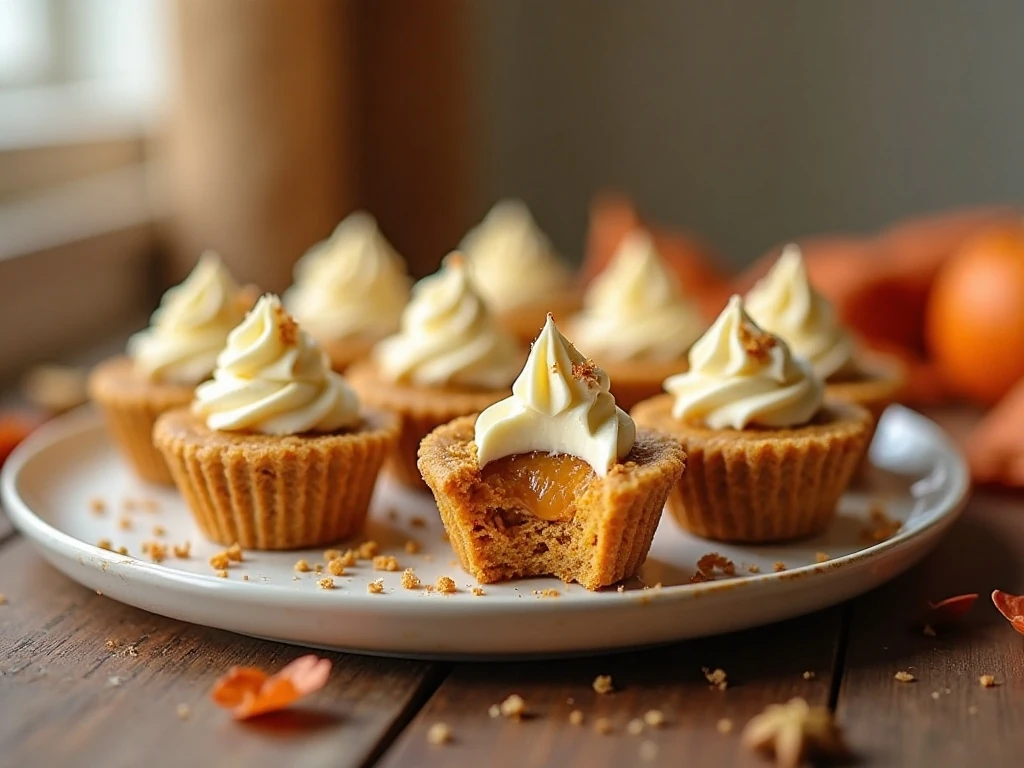
These White Chocolate Pumpkin Pie Cups bring the comforting flavor of a classic pumpkin pie into a small, party-friendly dessert. They have the look of homemade candy but require no pie crust, oven baking, or complicated tempering when white candy melts are used.
The contrast of textures makes them especially memorable. The shell snaps gently, the pumpkin center is soft and dense, and the graham-cracker crumbs add a familiar toasted note that ties every layer together.
- Small-batch friendly: The recipe yields about 24 mini cups, making it suitable for sharing.
- Make-ahead ready: The finished cups can be chilled in an airtight container until dessert time.
- Simple presentation: A pinch of crumbs or pumpkin-pie spice gives each cup a polished autumn finish.
Ingredients You’ll Need

Use 12 ounces, or about 2 cups, of white chocolate chips or white candy melts for the shells. Candy melts often set more reliably, while good-quality white chocolate chips give the cups a rich, creamy taste; the optional tablespoon of coconut oil or vegetable shortening helps loosen the melted chocolate.
For the center, choose plain pumpkin purée rather than pumpkin-pie filling. The filling already contains sugar and spices, so using it would change the balance of the recipe.
- Pumpkin purée: Provides the creamy seasonal base.
- Light brown sugar: Adds gentle molasses sweetness.
- Pumpkin-pie spice: Brings the classic cinnamon-forward fall aroma.
- Vanilla and salt: Round out the sweetness and deepen the flavor.
- Graham-cracker crumbs: Thicken the filling and echo a traditional pie crust.
- Unsalted butter: Gives the pumpkin mixture a smooth, rich finish.
Prepare extra graham-cracker crumbs or a little pumpkin-pie spice for garnish. A fine crumb works best because large pieces can make it difficult to seal the cups evenly.
How to Make It Step-by-Step
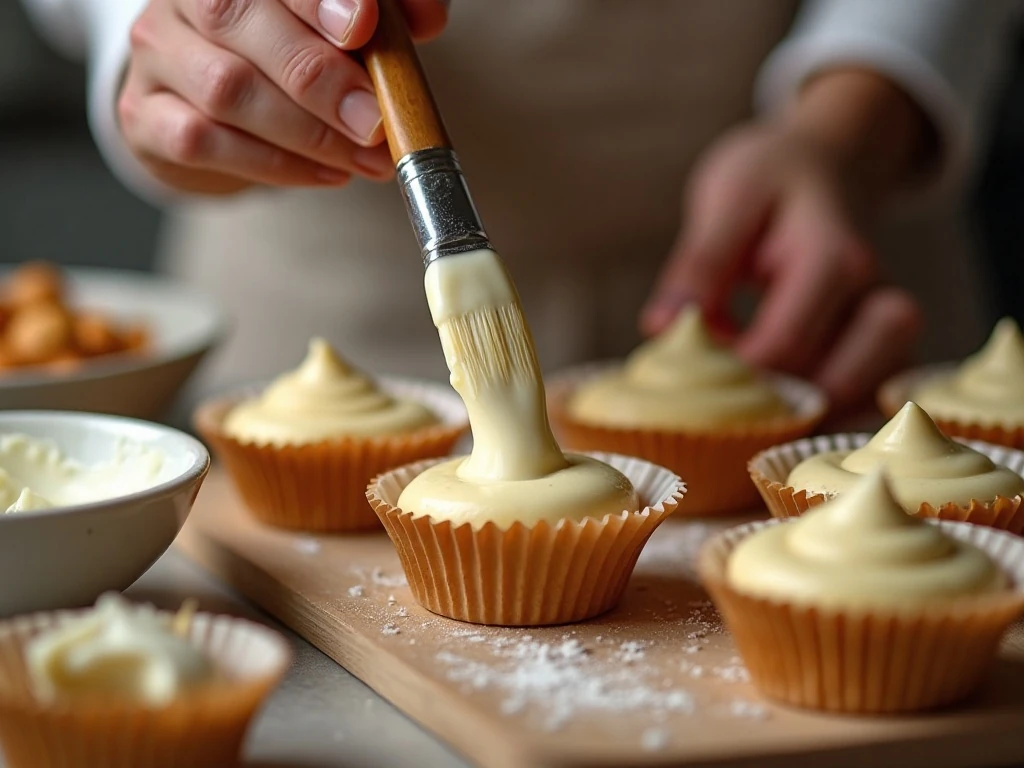
Step 1: Line a 24-cup mini muffin pan with paper candy liners and set it on a level surface. Keeping the pan ready before melting the chocolate helps you work quickly while the chocolate is fluid.
Step 2: Melt about two-thirds of the white chocolate with the coconut oil or vegetable shortening, if using. Microwave in 20-to-30-second intervals, stirring thoroughly after each one, or melt the chocolate gently over a double boiler until smooth.
Step 3: Spoon approximately 1 teaspoon of melted chocolate into each liner. Brush the chocolate up the sides with a small pastry brush, or carefully tilt and rotate each liner until the base and sides are coated.
Step 4: Chill the chocolate shells for 10 to 15 minutes, checking that they feel firm before adding the filling. If any areas look thin or uncovered, add a little more melted chocolate and chill again until the shells are sturdy.
Step 5: Place the pumpkin purée, brown sugar, pumpkin-pie spice, butter, and salt in a small saucepan. Cook over medium-low heat for about 5 minutes, stirring frequently, until the mixture is hot, thickened, and slightly reduced.
Step 6: Remove the saucepan from the heat and stir in the vanilla and graham-cracker crumbs. Let the mixture cool until it is warm or at room temperature, because hot filling can soften or melt the first chocolate layer.
Step 7: Spoon roughly 1 teaspoon of filling into each chilled shell. Leave room around the top for the final layer of white chocolate, and gently smooth the filling without pressing hard against the shell.
Step 8: Re-melt the remaining white chocolate if needed, using the same gentle method. Spread enough chocolate over each filled cup to cover the pumpkin mixture completely and seal the edges.
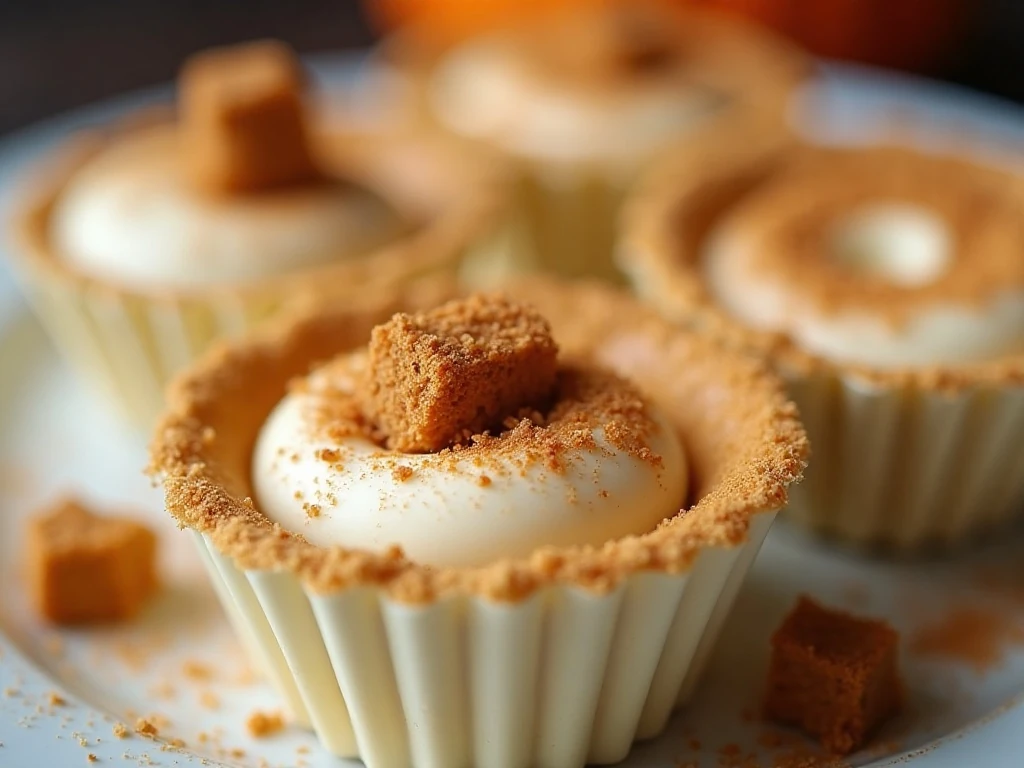
Step 9: Chill the finished cups for 30 to 60 minutes, until completely firm. Sprinkle each one with a small amount of graham-cracker crumb or pumpkin-pie spice, then serve slightly tempered for the best flavor and texture.
Pro Tips for Firm, Flavorful Cups
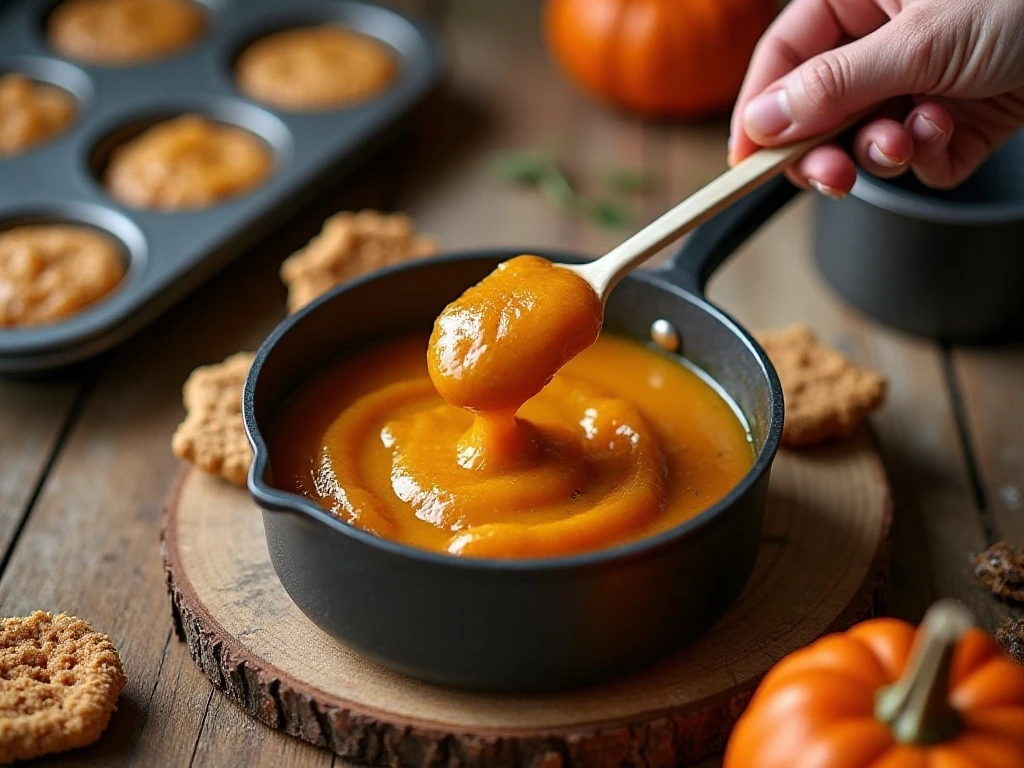
The most important detail is controlling moisture in the pumpkin filling. Cook it until it is visibly thicker and slightly reduced; excess water can soften the shells or cause them to crack as the cups chill.
Temperature matters just as much. The filling should not be hot when it goes into the shells, and the chocolate should be smooth rather than overheated or grainy.
- Use a small spoon or piping bag to portion the filling neatly.
- Keep the mini muffin pan level so the chocolate spreads evenly.
- Stir the pumpkin mixture frequently to prevent scorching on the bottom.
- Choose white candy melts when you want especially dependable setting.
- Allow the cups to sit out for several minutes before eating so the shell is pleasantly tender.
Variations and Serving Ideas
For a cheesecake-style center, stir 2 ounces of softened cream cheese into the cooled pumpkin mixture. The cream cheese makes the filling tangier and silkier, but it should be fully softened before mixing so the center stays smooth.
Another option is a quicker uncooked filling made with pumpkin purée, powdered sugar, graham-cracker crumbs, and pumpkin-pie spice. The cooked version in this recipe is especially dependable because heating helps drive off moisture and creates a thicker center.
Arrange the cups on a wooden dessert board with cinnamon sticks, miniature pumpkins, or autumn-colored napkins. They also look lovely in small paper candy boxes, making them a thoughtful seasonal hostess gift.
Storage and Serving

Store the finished White Chocolate Pumpkin Pie Cups in an airtight container in the refrigerator. Chilling keeps the chocolate firm and protects the pumpkin filling, especially if the room is warm.
Let the cups sit at room temperature for several minutes before serving. This brief rest softens the shell slightly and allows the pumpkin spice, vanilla, butter, and white chocolate flavors to come through more clearly.
For the neatest appearance, place parchment between layers if stacking is necessary. Add the garnish shortly before serving when possible so the crumbs remain crisp and the spice looks fresh.

White Chocolate Pumpkin Pie Cups
Ingredients
Method
- Line a 24-cup mini muffin pan with paper candy liners. Melt about two-thirds of the white chocolate with the optional coconut oil or vegetable shortening in 20-to-30-second microwave intervals, stirring after each interval, or melt it gently over a double boiler.
- Spoon approximately 1 teaspoon of melted white chocolate into each liner. Brush or tilt the chocolate up the sides to create an even shell, then chill for 10 to 15 minutes until firm.
- Combine the pumpkin purée, brown sugar, pumpkin-pie spice, butter, and salt in a small saucepan. Cook over medium-low heat for about 5 minutes, stirring frequently, until the mixture is hot, thickened, and slightly reduced.
- Remove the pumpkin mixture from the heat and stir in the vanilla and graham-cracker crumbs. Let the filling cool until warm or room temperature rather than hot.
- Spoon roughly 1 teaspoon of cooled filling into each chocolate shell, leaving enough space for the top chocolate layer. Re-melt the remaining white chocolate if necessary and spread it over each cup to seal in the filling.
- Chill the completed cups for 30 to 60 minutes, until completely firm. Garnish with a small amount of graham-cracker crumb or pumpkin-pie spice before serving.
Notes
Final Thoughts
White Chocolate Pumpkin Pie Cups are a delightful way to serve the flavors of fall in a playful, bite-sized format. With creamy white chocolate, warmly spiced pumpkin, buttery graham-cracker crumbs, and a simple chill-and-set method, they offer the comfort of pumpkin pie without the work of rolling dough.
Make them for a holiday dessert table, an autumn bake sale, or a cozy weekend treat. Once the shells are firm and the garnish is scattered over the top, these little cups are ready to turn any gathering into a celebration of pumpkin season.