This fudgy red velvet cheesecake brownies recipe makes 16 rich, marbled brownies in an 8-inch square pan. The batter comes together in about 15 to 20 minutes, then bakes at 350°F (177°C) for 28 to 32 minutes before cooling and chilling for the cleanest slices.
Every bite combines the deep chocolate flavor and soft, dense texture of a brownie with a smooth vanilla cheesecake layer. A little red food coloring and white vinegar create the signature red velvet character, while the lightly tangy cream cheese keeps the dessert from tasting overly sweet.
Jump to RecipeWhy You’ll Love This Recipe
These brownies bring together two classic desserts in one compact pan. The bottom is dense, buttery, and intensely chocolatey, while the cheesecake layer adds a cool, creamy contrast that makes each square taste special.
The recipe is also sized for an 8-inch pan, so it is practical for a family dessert, holiday tray, bake sale, or small celebration. You get 16 portions without needing a large batch or a 9 x 13-inch pan.
The marbled top makes the brownies look bakery-worthy, but the technique is simple. A few passes with a knife or skewer create ribbons of red brownie batter across the pale cheesecake layer.
If you enjoy pretty, tender cakes as well as brownies, you may also like our velvety white cake for another dessert with a soft crumb and elegant appearance.
Ingredients You’ll Need
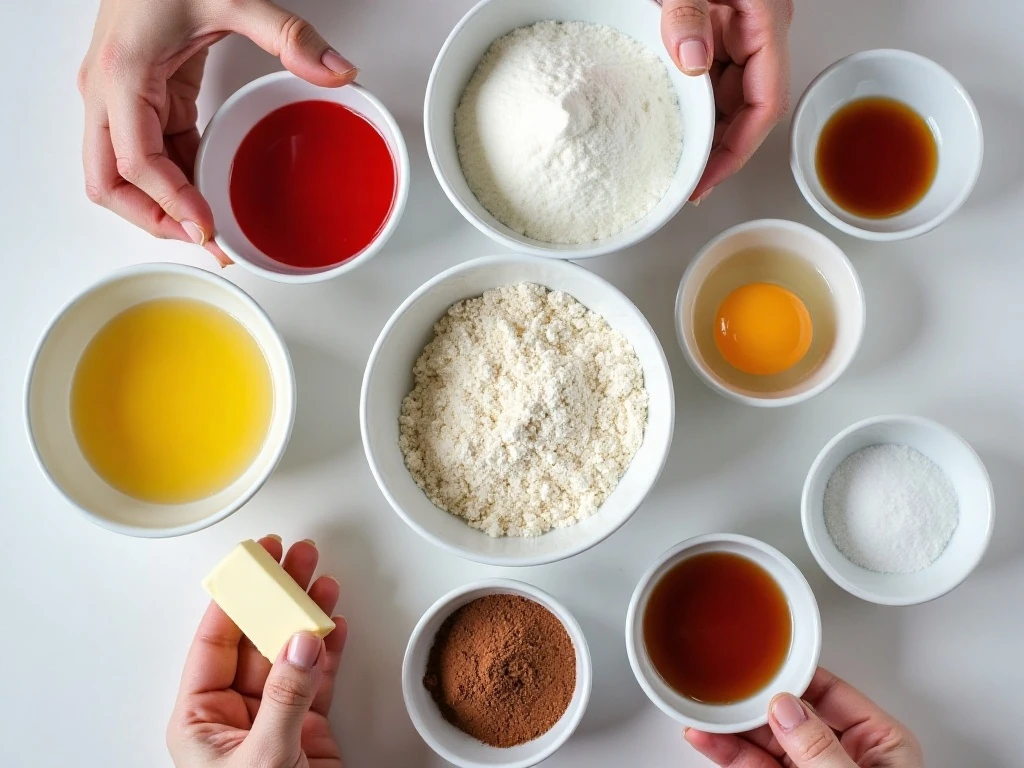
The brownie base starts with melted unsalted butter rather than softened butter. This keeps the process quick and helps produce the moist, fudgy texture associated with this style of brownie.
- Butter and sugar: Melted butter supplies richness, while granulated sugar provides sweetness and a glossy, chewy texture.
- Egg and vanilla: One large egg binds the brownie mixture, and vanilla rounds out the cocoa flavor.
- Red food coloring and vinegar: Liquid red food coloring gives the batter its color, while a teaspoon of white vinegar supplies the familiar red velvet tang.
- Flour, cocoa, and salt: A modest amount of flour keeps the brownies dense, natural cocoa brings chocolate flavor, and salt balances the sweetness.
- Cream cheese, sugar, egg yolk, and vanilla: These four ingredients create the smooth cheesecake layer without making it too thick or heavy.
For the best consistency, use full-fat cream cheese and bring it to room temperature before mixing. Soft cream cheese blends easily, which means you can stop mixing as soon as the filling is smooth.
How to Make It Step-by-Step
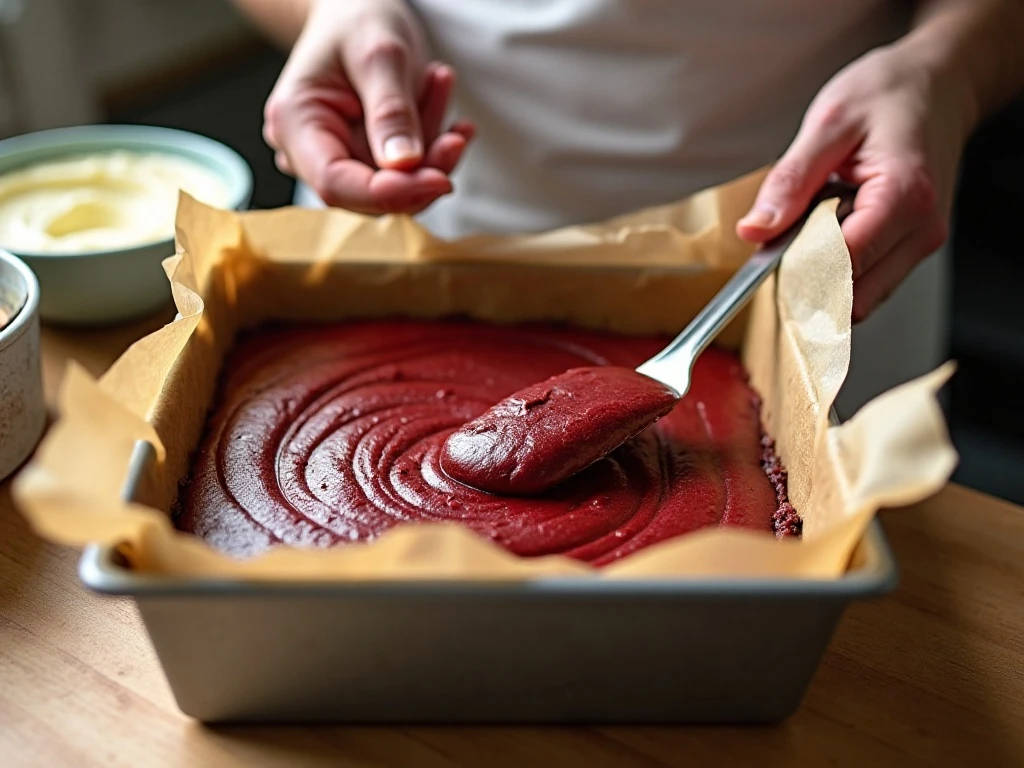
Step 1: Heat the oven to 350°F (177°C) so it is fully ready when the batter is assembled. Line an 8 x 8-inch square pan with parchment paper, leaving an overhang that will act as handles later.
Step 2: Whisk the melted butter and sugar together in a medium bowl until combined. Add the egg, vanilla, red food coloring, and vinegar, then continue whisking until the mixture is smooth and the color is evenly distributed.
Step 3: In another bowl, combine the all-purpose flour, unsweetened natural cocoa powder, and salt. Add these dry ingredients to the wet mixture and fold just until no dry streaks remain; overmixing can make the brownies less tender.
Step 4: Reserve approximately 2 to 3 tablespoons of the brownie batter in a small dish. Spread the rest into the prepared pan, nudging it into the corners with a spatula so the bottom layer is reasonably even.
Step 5: Beat the softened cream cheese with the sugar, egg yolk, and vanilla until smooth. Mix only until the ingredients are combined, because excessive beating can add air and encourage puffing or cracks during baking.
Step 6: Spread the cheesecake mixture carefully over the brownie batter. Spoon the reserved brownie batter over the top in several small patches, then drag a knife or skewer through the layers to form a marbled design.
Step 7: Bake for 28 to 32 minutes. Look for set edges, a center with a slight wobble, and a toothpick that emerges with moist crumbs rather than wet batter.
Step 8: Cool the pan completely before cutting, allowing at least 1 hour for the layers to settle. Refrigerate for 1 to 2 hours if you want especially neat squares, then use the parchment overhang to lift the slab from the pan.
How to Get a Truly Fudgy Texture
The most important cue is the center of the pan. It should not look liquid, but it should retain a slight wobble when the brownies come out of the oven.
Brownies continue to cook and set from their residual heat as they cool. Baking until the center is completely firm may produce a more cake-like result and can take away the dense, moist texture that makes this dessert so appealing.
Measure the flour carefully, preferably by weighing the 94 grams listed in the recipe. Too much flour can make the brownie layer dry, while gentle folding protects its soft texture.
Chilling is useful even though it requires patience. Cold brownies are easier to cut, and the cheesecake layer becomes firm enough to produce clean, distinct layers.
Color, Swirling, and Presentation Tips
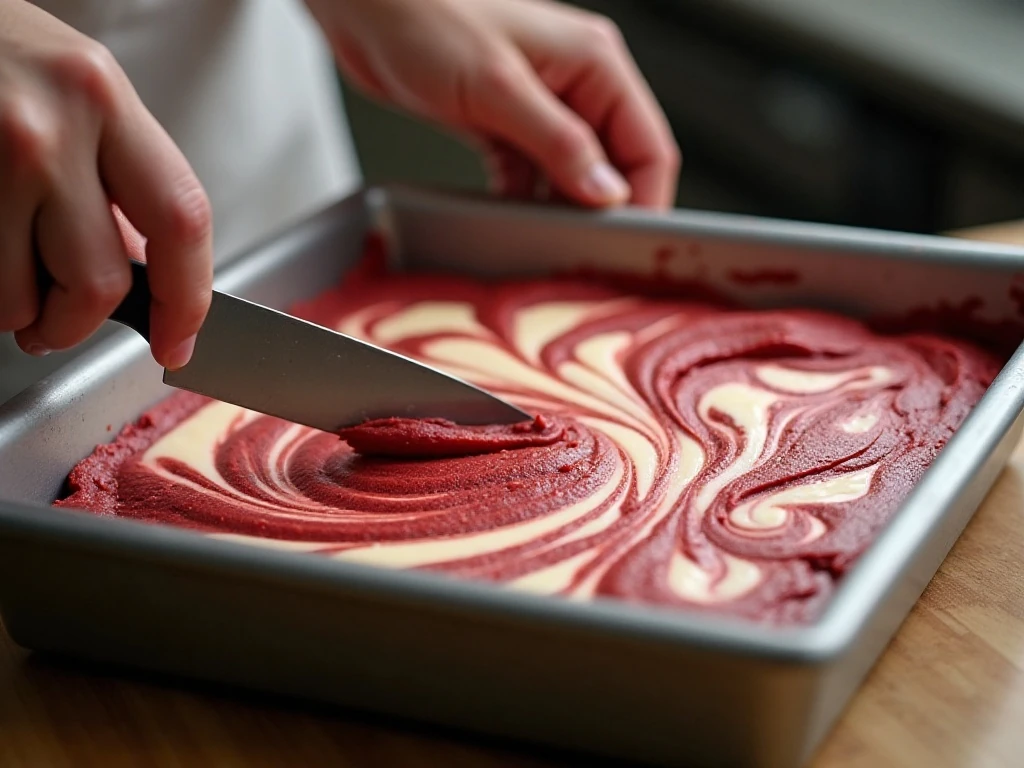
Liquid red food coloring works well and is listed in the recipe at 1 tablespoon. If you prefer gel coloring for a stronger red shade, use less because gel formulas are concentrated.
Do not swirl too aggressively. A few deliberate strokes are enough to create contrast; too many passes can blend the brownie and cheesecake layers into a less defined pattern.
For a polished finish, wipe the knife clean between cuts. You can trim a very thin edge from the slab if you want every square to have a perfectly even outline, although the end pieces are just as delicious.
For another creamy, seasonal dessert, take a look at these pumpkin cheesecake tarts. They make a lovely addition to an autumn dessert table alongside these red velvet squares.
Serving Suggestions
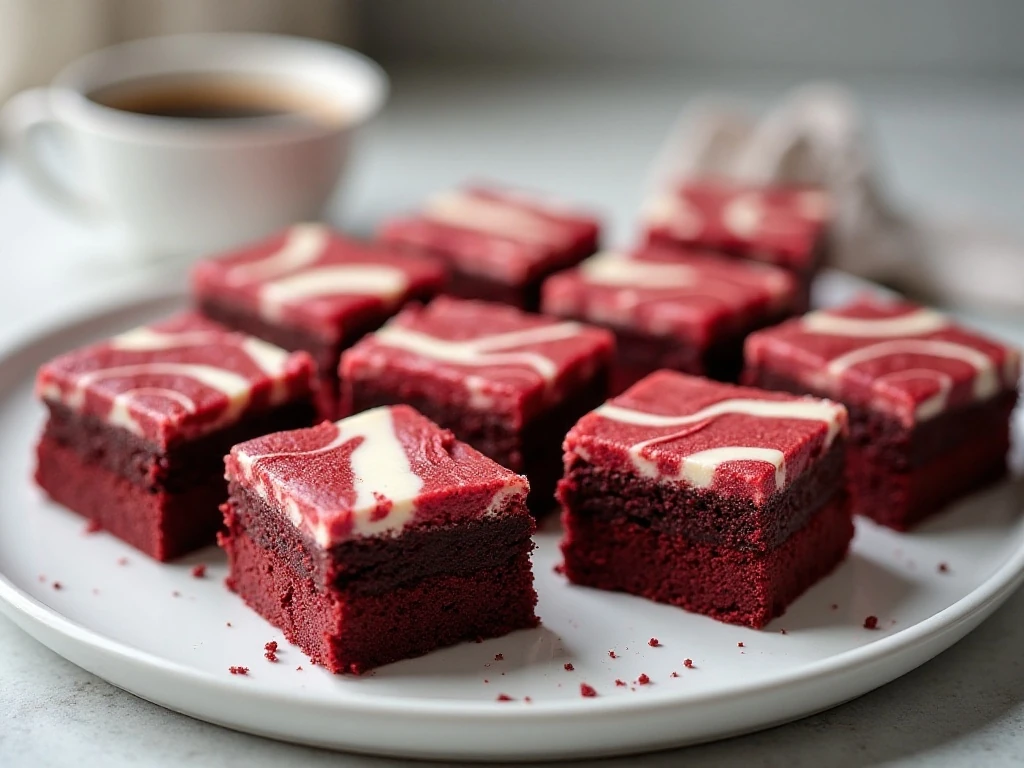
Serve the brownies chilled for the firmest cheesecake layer, or let them sit at room temperature for a short time if you prefer a softer, more melt-in-the-mouth texture. They are rich enough to stand alone, so a small square is a satisfying portion.
A light dusting of powdered sugar can add a pretty finish, though it is optional. For a party platter, arrange the brownies with other small treats such as our chewy s’mores cookies for a mix of chocolate, cream, and toasted-marshmallow flavors.
These brownies are especially attractive on a white or pale serving plate, where the red color and ivory cheesecake swirl stand out. Add coffee, black tea, or a glass of cold milk for a simple pairing.
Storage and Make-Ahead Advice
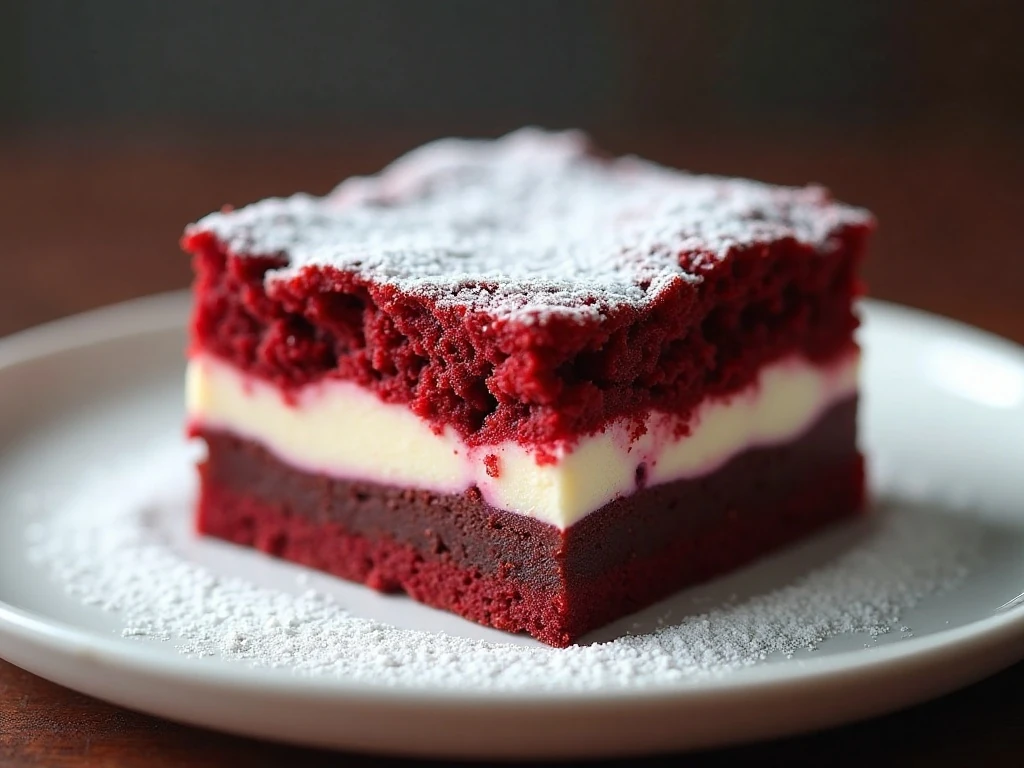
Because the brownies contain a cheesecake layer, store them covered in the refrigerator. Chilled brownies keep their layers firm and are simple to portion when a dessert is needed in advance.
For the best texture, let the brownies cool fully before covering them. If stacking cut squares, place parchment between the layers to protect the marbled tops.
You can prepare them ahead for a gathering and slice them after chilling. Their flavor remains rich and balanced, and the extra resting time makes the cheesecake layer even easier to cut cleanly.
For a savory recipe to serve before dessert, our sweet pineapple chicken offers a completely different flavor direction for a casual meal.
Common Questions and Troubleshooting
Why did my cheesecake layer crack? The cream cheese mixture may have been overbeaten, incorporating excess air, or the brownies may have baked too long. Mix only until smooth and remove the pan when the edges are set but the center still has a slight wobble.
Why are my brownies not bright red? Cocoa naturally darkens the batter, and the final shade depends on the food coloring. Liquid coloring gives the listed result, while a small amount of concentrated gel can provide a deeper color.
Can I use a larger pan? This formula is designed for an 8 x 8-inch pan. A 9 x 13-inch version would require adjusted ingredient quantities and a different baking time, so do not simply spread this batch into a larger pan.
Why are the slices messy? The brownies may need more cooling time. Chill them for 1 to 2 hours, use a sharp knife, and wipe the blade between cuts for clean layers.
If you are building a varied cookie and dessert tray, our tender Russian tea cakes are another bite-sized option with a delicate, buttery finish.
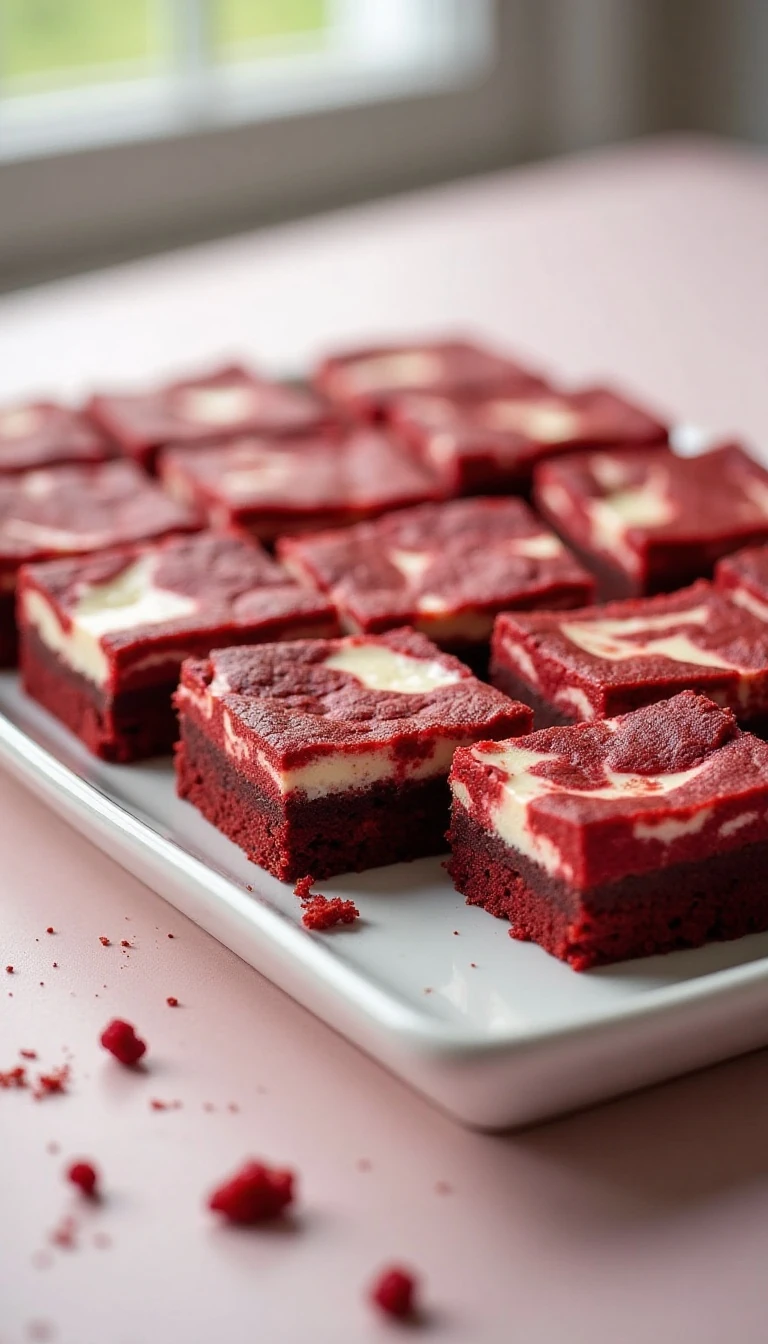
Fudgy Red Velvet Cheesecake Brownies
Ingredients
Method
- Heat the oven to 350°F (177°C). Line an 8 x 8-inch square pan with parchment paper, leaving enough overhang on two sides to lift out the cooled brownies.
- Whisk the melted butter and granulated sugar together in a medium bowl. Add the egg, vanilla extract, red food coloring, and white vinegar, then whisk until the mixture looks smooth and evenly colored.
- In a separate bowl, stir together the flour, natural cocoa powder, and salt. Fold the dry mixture into the butter mixture just until no dry streaks remain, taking care not to overmix.
- Set aside approximately 2 to 3 tablespoons of the brownie batter for the swirl. Spread the remaining batter evenly in the parchment-lined pan.
- Beat the softened cream cheese, sugar, egg yolk, and vanilla until smooth. Spread this cheesecake mixture gently over the brownie batter.
- Spoon the reserved brownie batter over the cheesecake layer in small dots or thin lines. Drag a knife or skewer through the top to create a marbled pattern without disturbing the bottom layer.
- Bake for 28 to 32 minutes, until the cheesecake is set around the edges and the center still has a slight wobble. A toothpick inserted into the brownie portion should come out with moist crumbs rather than wet batter.
- Cool the brownies completely in the pan for at least 1 hour. For firmer layers and cleaner cuts, refrigerate them for 1 to 2 hours before lifting them out and slicing into 16 squares.
Notes
Final Thoughts
Fudgy red velvet cheesecake brownies are an easy way to make a classic brownie feel festive and indulgent. The recipe uses everyday ingredients, a straightforward mixing method, and one small pan to create a dessert with striking color and contrasting textures.
Remember the three keys to success: do not overmix the brownie batter, do not overbeat the cheesecake layer, and do not wait for the center to become completely firm before removing the pan from the oven. A slight wobble and moist crumbs are exactly what you want.
Once the brownies have cooled and chilled, cut them into 16 squares and serve them as an after-dinner treat, holiday dessert, or special homemade gift. Their creamy marbling and rich chocolate center make every piece feel worthy of a celebration.
1 thought on “Fudgy Red Velvet Cheesecake Brownies Recipe”