These easy mini pumpkin pies in a muffin tin are a simple way to make 12 individual desserts with two refrigerated 9-inch pie crusts, canned pumpkin, evaporated milk, eggs, sugar, and pumpkin-pie spice. Prep takes about 20 minutes, baking takes 25 to 35 minutes, and the full recipe is ready in approximately 1 hour once cooling time is included.
Every little pie has a crisp, buttery pastry shell and a creamy pumpkin filling with familiar notes of vanilla, warm spice, and caramel-like sugar. They are wonderful for a cozy breakfast spread, a fall brunch, or a dessert table, especially when served cool with a small spoonful of whipped cream.
Jump to RecipeWhy You’ll Love This Recipe
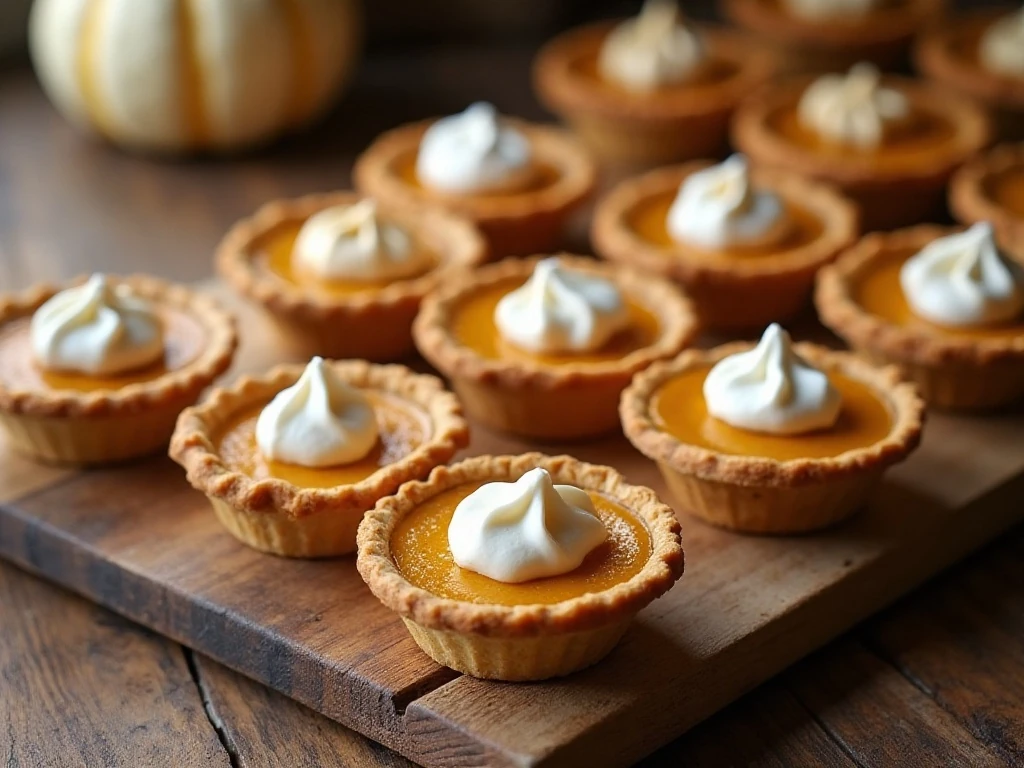
Mini pumpkin pies give you all the comfort of a classic pumpkin pie without the challenge of slicing a large one. Each pie is portioned in its own flaky shell, making the batch easy to serve at breakfast, brunch, school gatherings, or a relaxed holiday meal.
The muffin tin does most of the shaping work. There is no need for a springform pan, water bath, or homemade pastry, so this recipe is especially friendly to beginning bakers and busy cooks.
The filling is whisked together in one bowl and uses pantry-friendly ingredients. A short blast at 425°F helps the crust begin to brown, while the lower 350°F finish gently cooks the custard without overbaking the edges.
If you enjoy serving a variety of small sweets, our strawberry cream puffs make a pretty companion for a brunch platter, with fresh fruit flavor beside the warm spice of pumpkin.
Ingredients You’ll Need
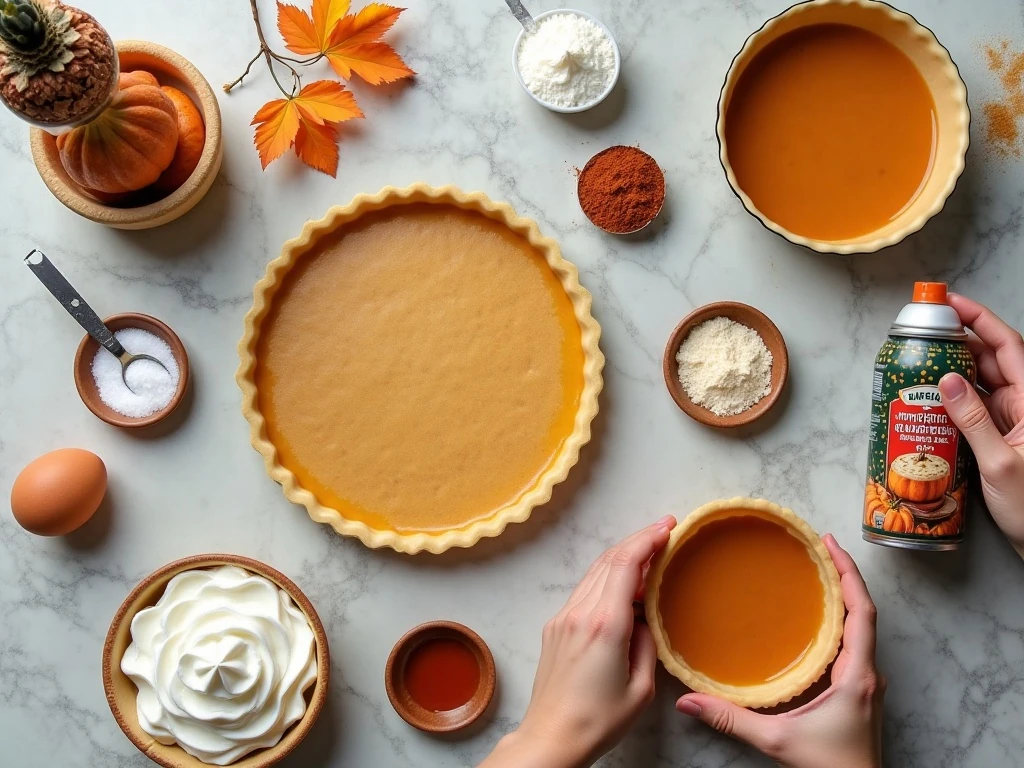
Start with two refrigerated 9-inch pie crusts from a 14- to 16-ounce package. These are the shortcut that keeps the recipe quick while still giving every mini pie a tender, crisp pastry base.
- Pure pumpkin purée: One 15-ounce can provides the creamy pumpkin foundation.
- Eggs: Two large eggs help the filling set into a soft custard.
- Evaporated milk: One 12-fluid-ounce can adds richness and moisture without making the filling watery.
- Sugar: Three-quarters cup gives the pies a balanced sweetness.
- Pumpkin-pie spice: One teaspoon brings familiar cinnamon-forward warmth.
- Salt and vanilla: These sharpen and round out the pumpkin flavor.
- Nonstick spray and whipped cream: Spray prepares the pan, while whipped cream is an optional finishing touch.
Be sure to buy pure pumpkin purée, not canned pumpkin-pie filling. Pie filling is already sweetened and spiced, so substituting it would change the flavor and sweetness of these pies.
How to Make It Step-by-Step
Step 1: Heat the oven to 425°F and lightly spray a standard 12-cup muffin tin. Coat the cups without leaving puddles of spray, since excess moisture can affect the pastry as it bakes.
Step 2: Unroll the refrigerated crusts on a lightly prepared work surface and cut 12 rounds approximately 3 1/2 inches across. Re-roll the scraps if needed, but handle them gently and avoid repeatedly working the dough, which can make the crust tough.
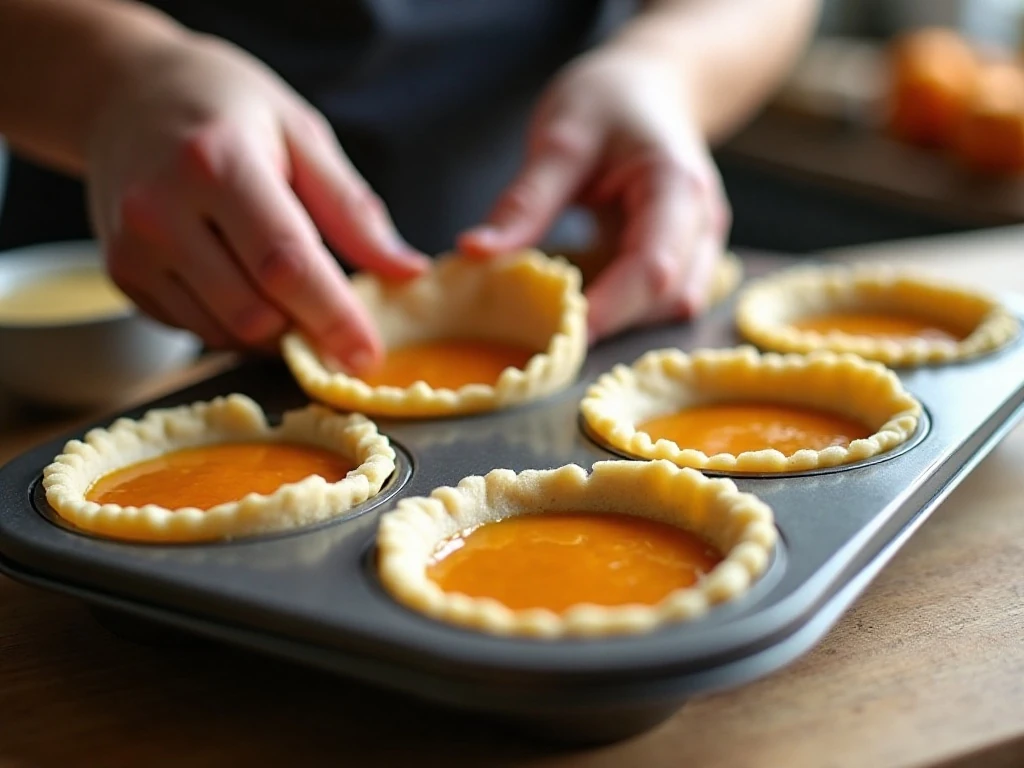
Step 3: Press one pastry round into each muffin cup, guiding it down the sides to form a small shell. It is fine if the dough reaches close to the top of the cup, but leave enough room for the filling and avoid stretching the pastry.
Step 4: Refrigerate the muffin tin while preparing the filling. This brief chill keeps the butter in the crust firm and helps reduce shrinking or greasy edges during baking.
Step 5: Whisk the pumpkin, eggs, sugar, pumpkin-pie spice, salt, vanilla, and evaporated milk in a mixing bowl. Continue whisking until the mixture looks smooth, with no visible streaks of egg or pockets of spice.
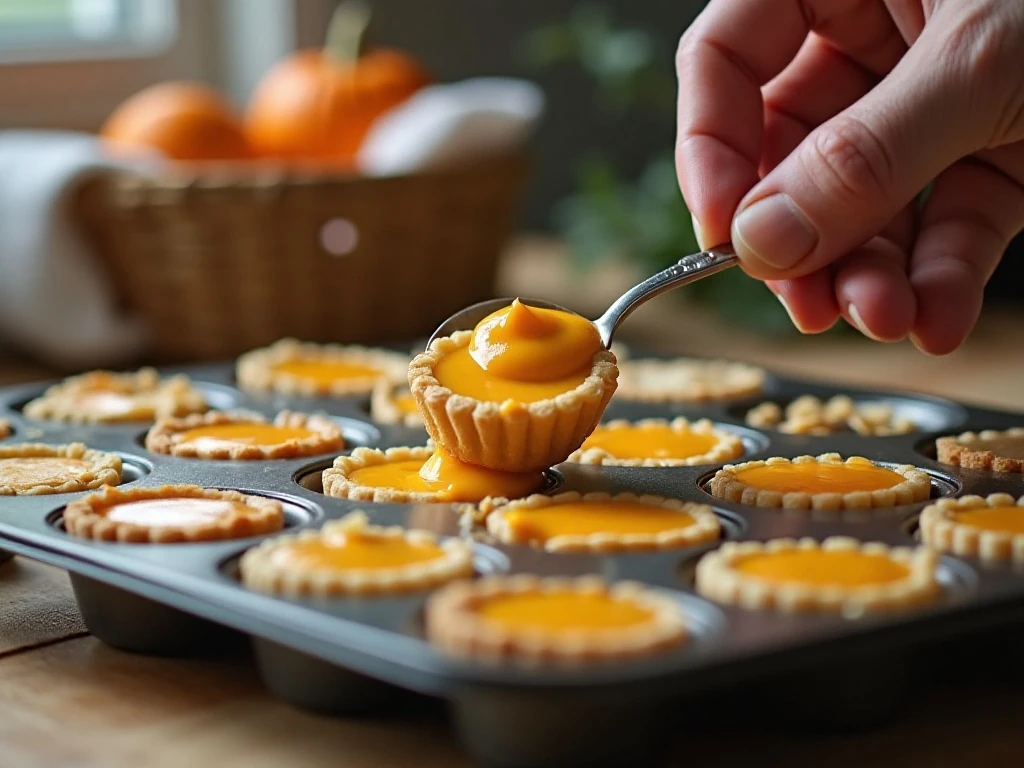
Step 6: Pour or ladle the filling into the chilled pastry shells, filling each one about three-quarters full. Do not fill them to the rim because the custard needs room to puff slightly as it bakes.
Step 7: Bake the pies at 425°F for 15 minutes. This initial high temperature helps the crust get started and gives the finished pies a pleasantly golden edge.
Step 8: Reduce the oven temperature to 350°F and bake for another 15 to 20 minutes. The filling should be nearly set, and a knife inserted near the center should come out mostly clean; a slight softness in the middle is expected.
Step 9: Let the pies cool in the pan for 15 to 20 minutes before loosening them. Carefully run a thin knife around the edges, then move the pies to a rack and cool or chill completely before serving.
Step 10: Serve each mini pie plain or with whipped cream. For the neatest finish, add the whipped cream shortly before serving so it stays fresh and airy.
Pro Tips for Perfect Mini Pies
Keep the pastry cold from the moment you cut the rounds until the tin goes into the oven. Chilling the assembled shells is one of the most useful steps because cold pastry is less likely to shrink and release excess fat.
Cutting rounds approximately 3 1/2 inches in diameter gives enough dough to line a standard muffin cup. If your scraps need to be re-rolled, gather them gently, roll them once, and cut the remaining rounds without compressing the dough too firmly.
Do not judge doneness by waiting for the entire filling to look completely firm. Pumpkin custard continues to set as it cools, so removing the pies when they are nearly set prevents a dry, cracked center.
- Use a thin knife or small offset spatula to release the edges.
- Move the pies only after they have rested in the pan for 15 to 20 minutes.
- Place the muffin tin on a baking sheet if you want extra stability while moving it to the oven.
- Keep the filling level in every cup so the pies finish baking at roughly the same time.
For another make-ahead treat with a crisp texture, you can also browse our easy cracker candy. It is a nice addition to a breakfast or dessert spread when you want one rich, crunchy bite alongside the soft pumpkin pies.
Serving, Storage & Make-Ahead Advice
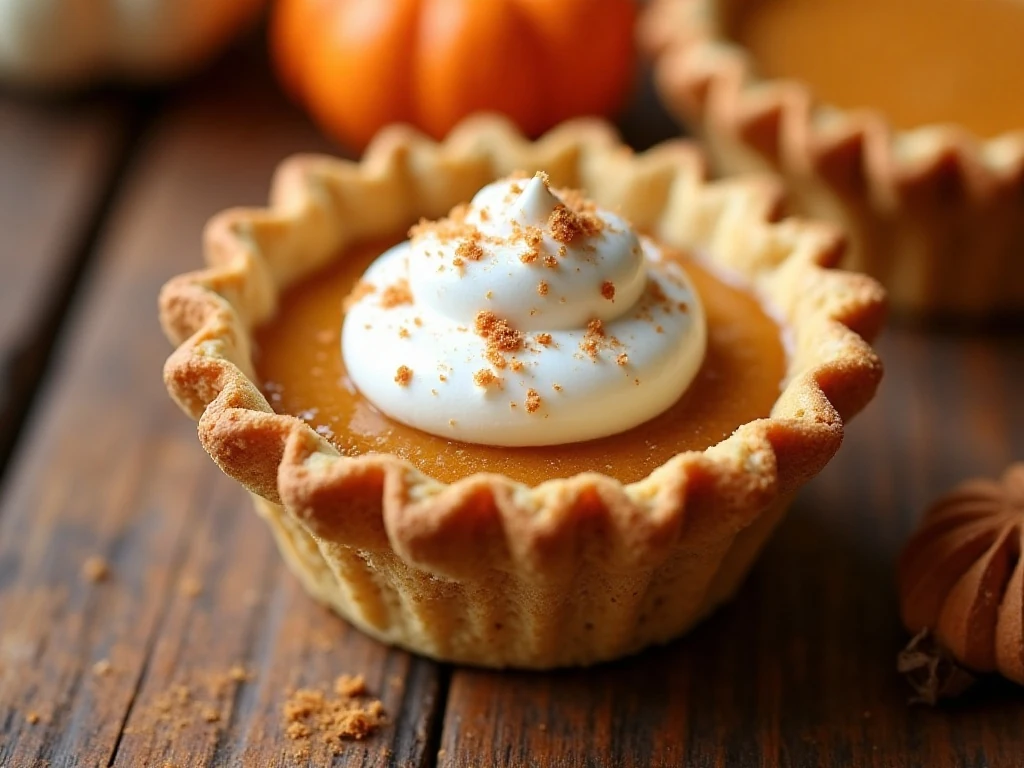
These pies can be served completely cool or chilled, depending on the texture you prefer. Cool pies have a tender, creamy center, while chilled pies are firmer and especially easy to handle on a buffet.
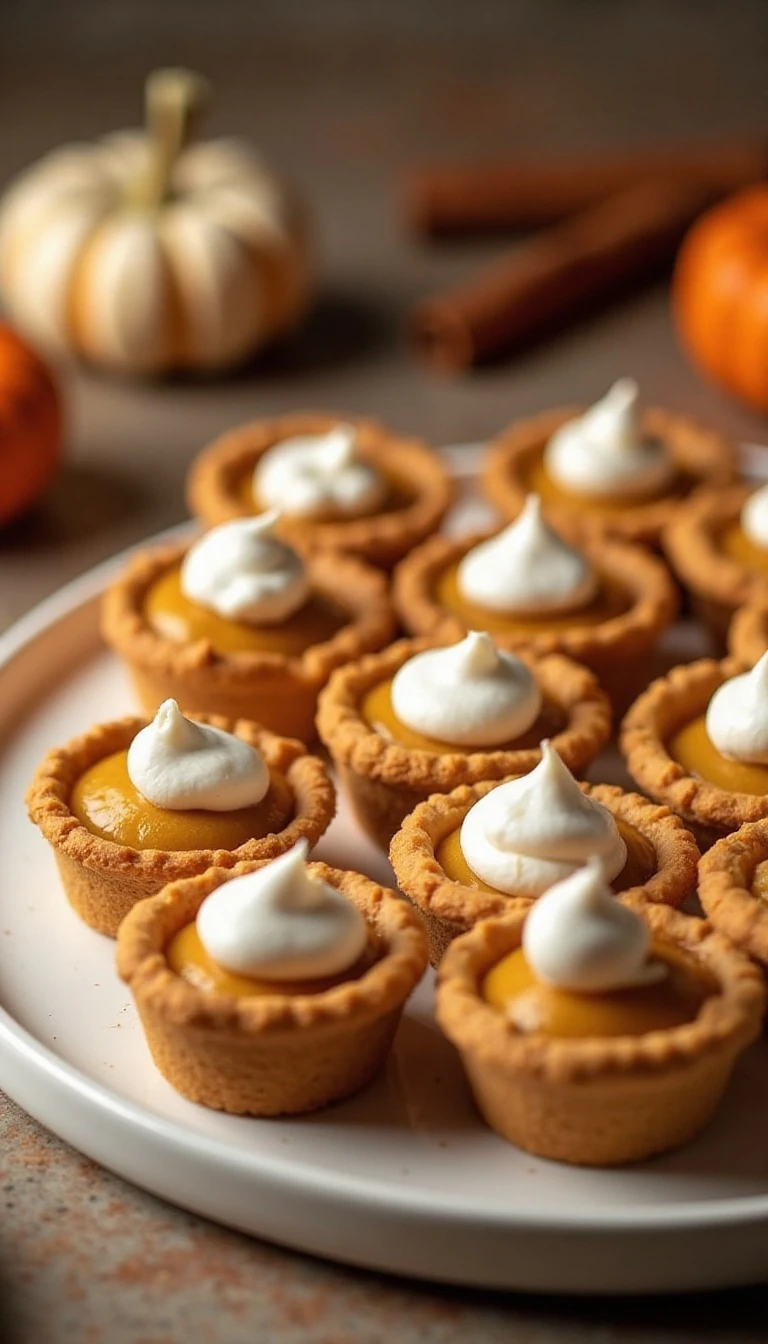
For a simple breakfast presentation, arrange the pies on a platter and add whipped cream just before serving. A light dusting of pumpkin-pie spice over the cream adds a pretty finish without changing the recipe.
Let the pies cool fully before transferring them to storage. Keep them covered in the refrigerator, and serve them chilled or allow them to sit briefly at room temperature before eating.
Because the centers continue to set as they cool, avoid trying to remove the pies while they are still hot. Warm mini pies are more fragile, and their pastry shells can crack or separate from the filling.
Common Questions About Mini Pumpkin Pies
Can I use pumpkin-pie filling instead of pumpkin purée? No. Use pure pumpkin purée for this formula because canned pumpkin-pie filling already contains sugar and spices, which would make the finished pies too sweet and alter the seasoning.
Why do the pies need two oven temperatures? The initial 425°F temperature helps the pastry begin browning. Lowering the oven to 350°F allows the pumpkin custard to finish cooking more gently, reducing the chance of an overbaked edge.
Can I make these without whipped cream? Absolutely. The pies are flavorful and attractive on their own, although whipped cream adds a soft, cool contrast to the spiced filling.
How do I know when they are done? The filling should be nearly set, and a knife inserted near the center should come out mostly clean. The middle may still have a small amount of softness because it will continue setting during the cooling period.
If you are planning a full breakfast menu, pair these sweet pies with a savory dish such as our one-pot tuna and noodles for an easy meal with contrasting flavors.
Easy Mini Pumpkin Pies in a Muffin Tin
Ingredients
Method
- Heat the oven to 425°F. Lightly coat a standard 12-cup muffin tin with nonstick cooking spray.
- Unroll the two refrigerated pie crusts and cut 12 rounds approximately 3 1/2 inches in diameter. Re-roll the scraps if necessary, keeping the pastry as cool as possible.
- Press one pastry round into each muffin cup to form a small shell. Refrigerate the prepared tin while you make the filling.
- Whisk the pumpkin, eggs, sugar, pumpkin-pie spice, salt, vanilla, and evaporated milk in a bowl until smooth and evenly combined.
- Divide the filling among the chilled crusts, filling each cup about three-quarters full. Do not fill the shells to the rim.
- Bake at 425°F for 15 minutes. Reduce the oven temperature to 350°F and continue baking for 15 to 20 minutes, until the filling is nearly set and a knife inserted near the center comes out mostly clean.
- Cool the pies in the muffin tin for 15 to 20 minutes. Carefully loosen the edges, transfer the pies to a rack, and cool or chill completely before serving.
- Serve the mini pumpkin pies plain or with whipped cream. Keep the presentation simple so the flaky pastry and smooth pumpkin centers remain the focus.
Notes
Final Thoughts
These easy mini pumpkin pies turn a classic fall favorite into a convenient muffin-tin recipe with very little fuss. The refrigerated crust keeps prep manageable, while pumpkin, evaporated milk, eggs, sugar, spice, salt, and vanilla create a smooth filling with plenty of cozy flavor.
Remember the three most important details: use pure pumpkin purée, chill the pastry shells before filling, and cool the pies completely before removing them from the pan. Follow those steps and you will have 12 neat, creamy mini pies ready for breakfast, brunch, or any autumn gathering.
Serve them plain for a simple finish or add whipped cream for a festive touch. Either way, these individual pumpkin pies are small enough for easy sharing and satisfying enough to make the whole kitchen smell like fall.