This classic Peanut Butter Blossoms recipe makes approximately 48 soft, lightly browned cookies in about 20 minutes of preparation, with each batch baking for 8 to 10 minutes at 375°F (190°C). Creamy peanut butter, shortening, brown sugar, and granulated sugar create the tender cookie base, while an unwrapped milk-chocolate kiss pressed into every warm cookie provides the familiar chocolate center.
These cookies are chewy in the middle, delicately crisp around the sugary edges, and full of rich peanut-butter flavor. They are especially popular during holiday baking, but their simple dough and short baking time make them a welcome treat for cookie exchanges, school parties, family gatherings, and ordinary afternoons when you want something sweet from the oven.
Jump to RecipeWhy You’ll Love This Recipe
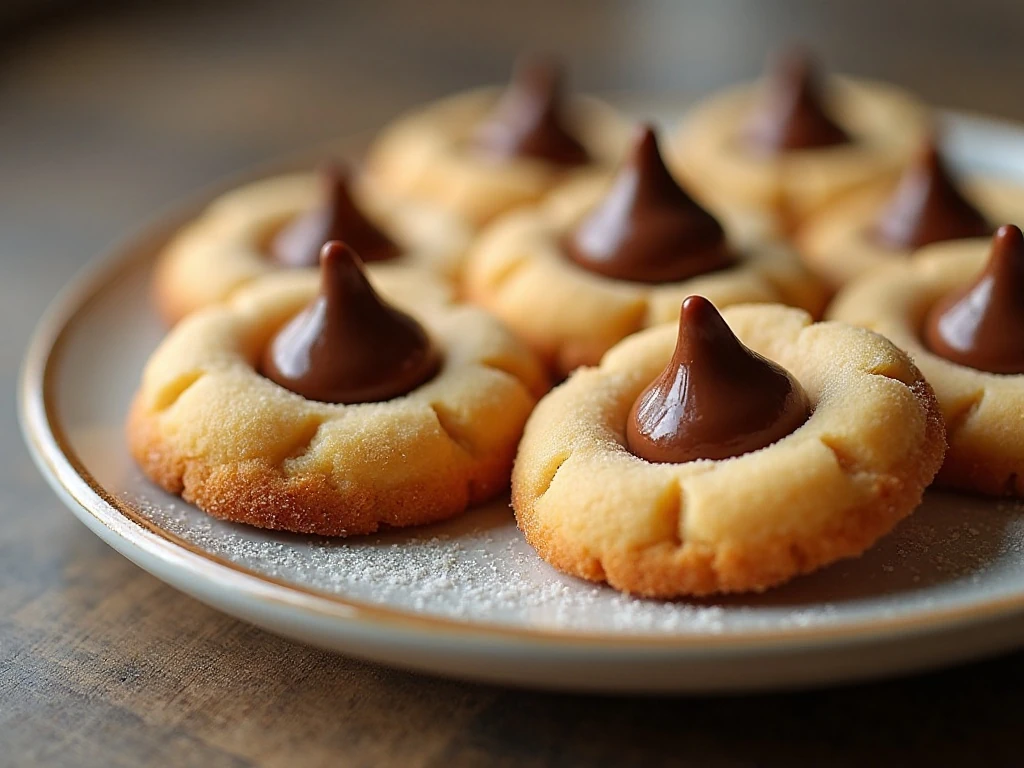
Peanut Butter Blossoms have an irresistible contrast of textures. The outside is coated in sparkling sugar, the cookie itself stays soft and tender, and the chocolate kiss melts slightly into the center before firming as the cookies cool.
The formula is also wonderfully dependable. Shortening helps the cookies hold their shape, creamy peanut butter supplies a smooth roasted flavor, and a small amount of milk keeps the dough supple without making it heavy.
There is no complicated decorating required. Once the cookies leave the oven, a single chocolate kiss transforms each one into a festive blossom with a charmingly cracked edge.
- Yield: Approximately 48 cookies
- Prep time: About 20 minutes
- Baking temperature: 375°F (190°C)
- Bake time: 8 to 10 minutes per batch
Ingredients You’ll Need
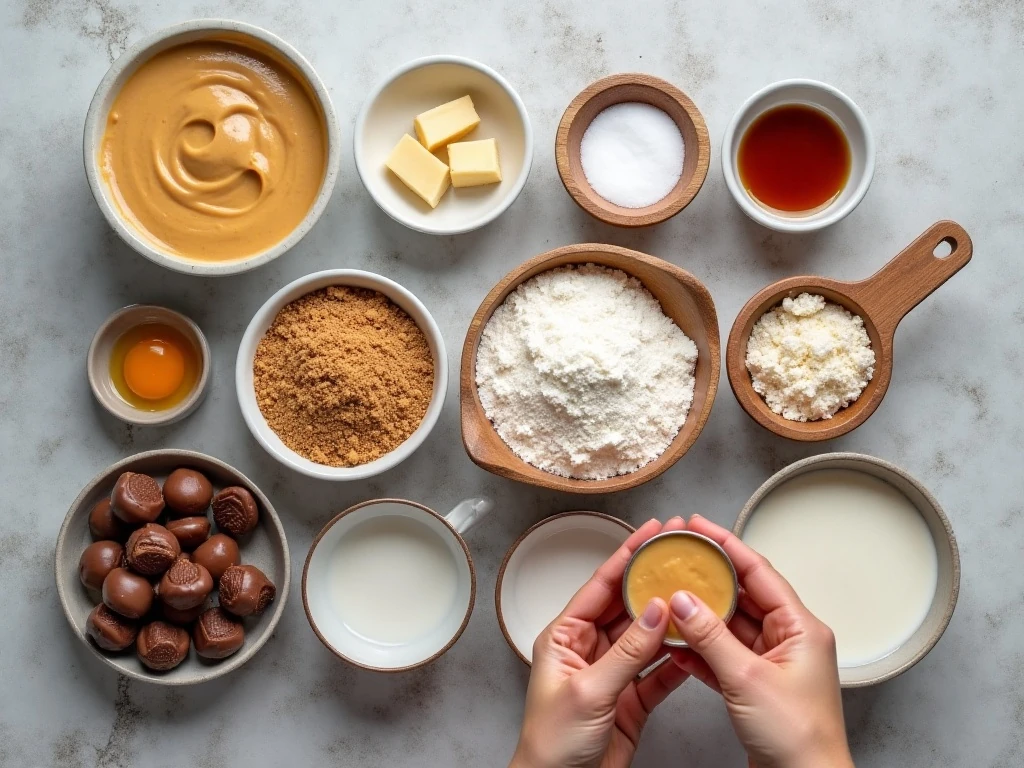
Start with 48 milk-chocolate candy kisses and unwrap every one before you begin. The topping must be ready because it is pressed into the cookies immediately after baking, while the centers are still soft.
For the dough, gather 1/2 cup vegetable shortening, 3/4 cup creamy peanut butter, 1/3 cup granulated sugar, and 1/3 cup packed light brown sugar. You will also need one large egg, 2 tablespoons milk, and 1 teaspoon vanilla extract.
The dry ingredients are straightforward: 1 1/2 cups all-purpose flour, 1 teaspoon baking soda, and 1/2 teaspoon salt. Reserve about 1/3 cup additional granulated sugar for rolling the dough balls before they go onto the baking sheets.
Regular creamy peanut butter is the best choice for this recipe. Natural peanut butter often separates into oil and solids, which can change the dough’s consistency and lead to cookies that spread differently.
For another make-ahead sweet treat, you can also try this blueberry frozen yogurt bark when you want a cool dessert alongside your warm cookies.
How to Make It Step-by-Step
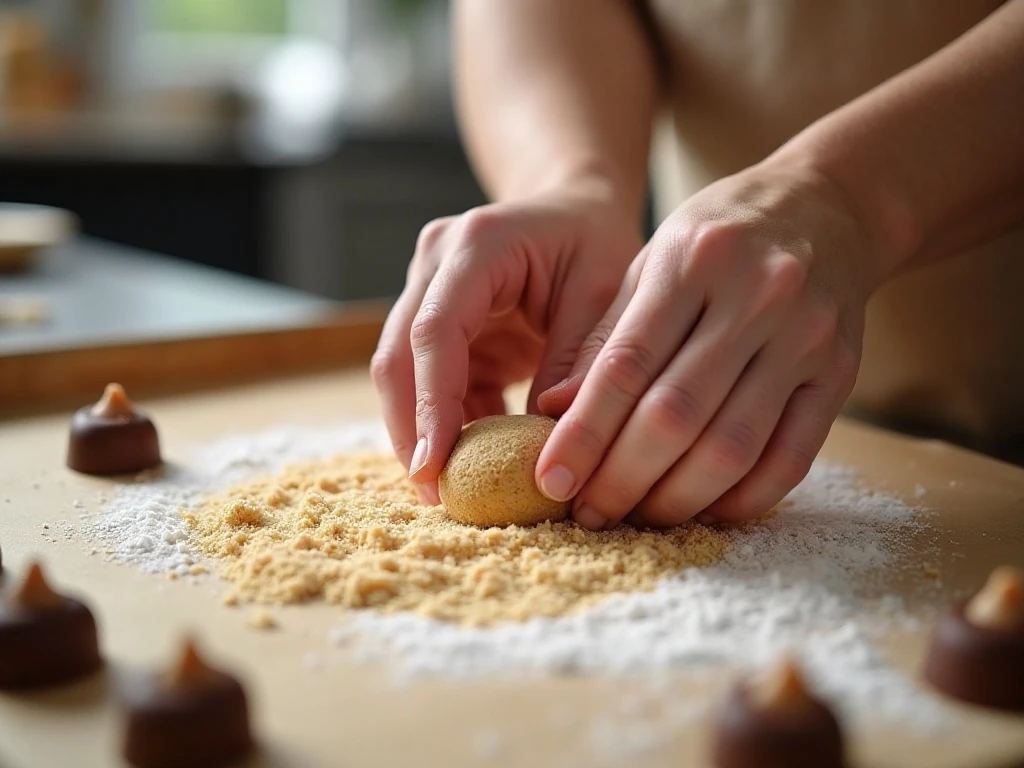
Step 1: Heat the oven to 375°F (190°C), and line the baking sheets with parchment paper if desired. Unwrap all of the chocolate kisses and set them in a bowl within easy reach, since topping the cookies must happen as soon as they come out of the oven.
Step 2: Place the shortening, creamy peanut butter, 1/3 cup granulated sugar, and packed light brown sugar in a large mixing bowl. Beat until the ingredients are well blended and the mixture looks creamy, scraping down the sides of the bowl if needed.
Step 3: Beat in the large egg, milk, and vanilla extract until the wet mixture is smooth. Mixing these ingredients thoroughly helps distribute the flavor and gives the finished cookies an even, tender crumb.
Step 4: In a separate bowl, whisk together the all-purpose flour, baking soda, and salt. Gradually add this dry mixture to the peanut-butter mixture, mixing just until a soft dough forms and no dry streaks remain.
Step 5: Shape the dough into approximately 1-inch balls, keeping the portions as even as possible for consistent baking. Roll each ball in the additional granulated sugar, then arrange the cookies about 2 inches apart on the prepared baking sheets.
Step 6: Bake each sheet for 8 to 10 minutes, watching for lightly browned edges and tops that look just set but still soft. Avoid waiting for the cookies to become deeply brown because they will continue to firm as they cool.
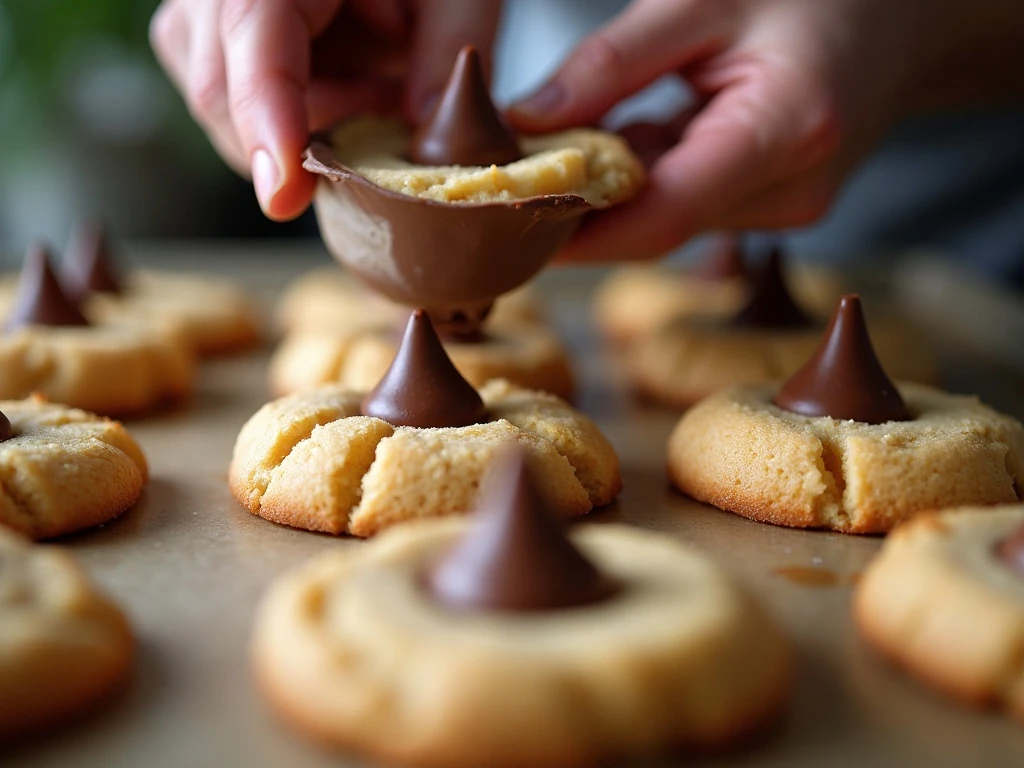
Step 7: Immediately press one unwrapped chocolate kiss into the center of every hot cookie. The edges may crack slightly around the candy, and those characteristic cracks are part of the classic appearance.
Step 8: Let the cookies rest on the baking sheet for several minutes so the delicate centers can settle. Transfer them to a cooling rack and allow the chocolate to firm before stacking or storing.
Pro Tips for Soft, Pretty Cookies
Measure the flour carefully, preferably by spooning it into a measuring cup and leveling the top. Too much flour can make the dough stiff and reduce the soft texture that makes these cookies special.
If your kitchen is warm or the dough feels unusually soft, chill it briefly before shaping. A short chill helps the balls stay rounded and can reduce spreading during baking.
Use a cookie scoop or a measuring spoon to portion the dough. Uniform 1-inch balls bake at the same rate, so you are less likely to have some cookies dry out while others are still underbaked.
Keep the baking sheets cool between batches. Dough placed on a hot sheet can begin spreading before it reaches the oven, changing the shape and texture of the finished cookies.
Do not press the chocolate kisses into the cookies before baking. They belong on the hot cookies after baking, when the warm dough can hold the candy securely without causing the chocolate to lose its shape in the oven.
Cooling, Storage, and Serving
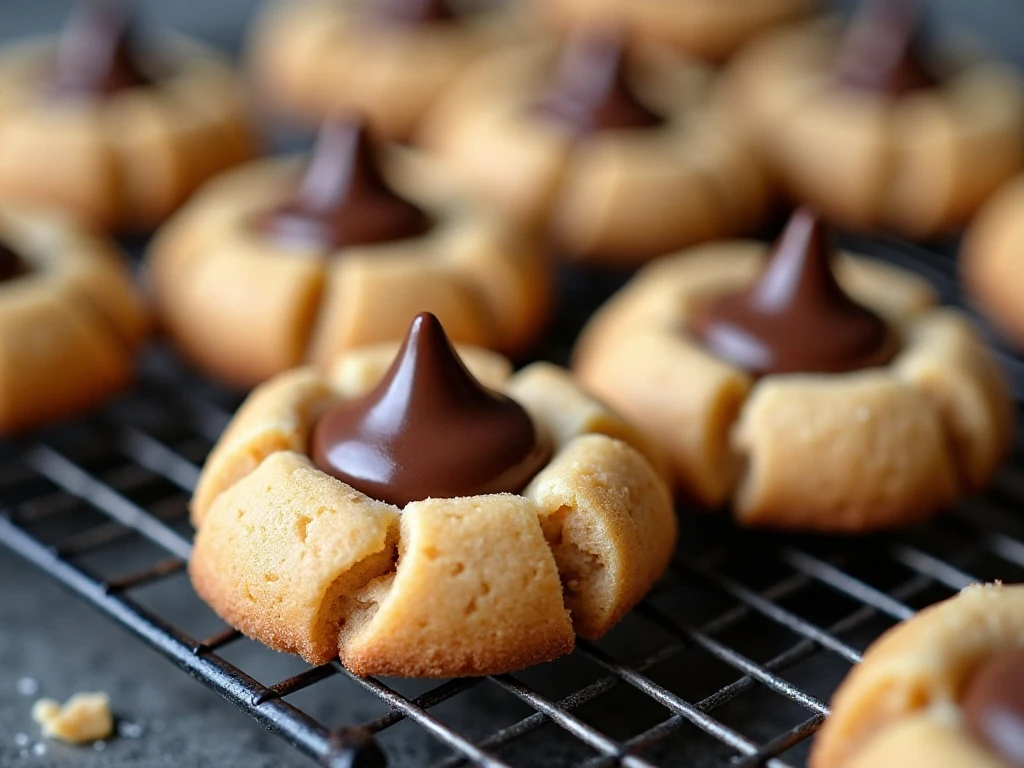
Allow the cookies to cool on the baking sheet for several minutes, then move them to a rack. They need at least 10 minutes of cooling time overall, and the chocolate should feel firm before the cookies are packed away.
Store completely cooled cookies in an airtight container at room temperature. Place parchment between layers if needed, especially if the chocolate is still slightly soft, and avoid storing them while warm because trapped steam can make the sugar coating lose its sparkle.
For a party tray, arrange the cookies with the chocolate centers facing up and add a few whole chocolate kisses around the platter for a simple presentation. Their familiar peanut-butter-and-chocolate flavor pairs nicely with coffee, cold milk, or hot cocoa.
If you are planning a full menu for a gathering, balance the dessert table with a savory comfort dish such as this Hungarian-style beef goulash. A hearty main course followed by these small cookies makes a satisfying meal.
Common Questions
Why did my cookies crack? Slight cracking around the chocolate kiss is expected and characteristic of Peanut Butter Blossoms. Cracks that spread dramatically can result from very soft dough, a warm baking sheet, or overmixing after the flour is added.
Can I use natural peanut butter? Regular creamy peanut butter is recommended because its texture is consistent. Natural peanut butter can separate, and that extra oil may affect spreading and tenderness.
How do I know when they are done? Look for cookies that are lightly browned and just set while still soft. They should not look dry or deeply brown, since they firm during cooling.
Can I prepare the dough ahead? The dough can be chilled briefly when the kitchen is warm to make shaping easier. If chilled until firm, let it soften enough to portion into 1-inch balls without forcing it.
For a different baked treat to serve at breakfast or brunch, our lemon yogurt breakfast cake brings bright citrus flavor to the table and pairs beautifully with coffee.
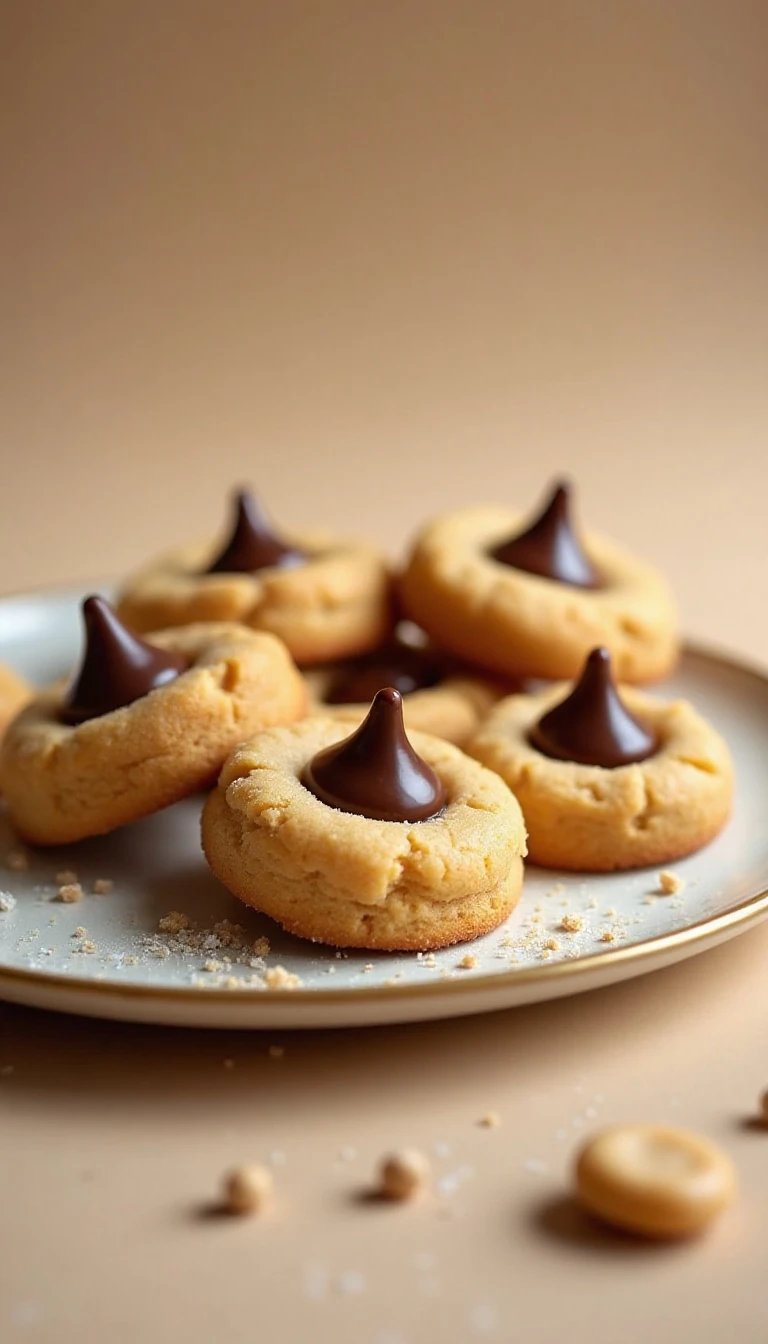
Classic Peanut Butter Blossoms
Ingredients
Method
- Heat the oven to 375°F (190°C). Line baking sheets with parchment paper if desired, and unwrap all 48 chocolate kisses before mixing the dough.
- Beat the shortening, creamy peanut butter, 1/3 cup granulated sugar, and packed light brown sugar until well blended. Add the egg, milk, and vanilla extract, then beat until smooth.
- Whisk the flour, baking soda, and salt together in a separate bowl. Gradually mix the dry ingredients into the peanut-butter mixture until a soft dough forms.
- Shape the dough into approximately 1-inch balls. Roll each ball in the additional granulated sugar and place the balls about 2 inches apart on the prepared baking sheets.
- Bake for 8 to 10 minutes, until the cookies are lightly browned but still soft. Immediately press one chocolate kiss into the center of each cookie.
- Let the cookies cool on the baking sheet for several minutes before transferring them to a rack. Allow the chocolate to firm before storing.
Notes
Final Thoughts
This Classic Peanut Butter Blossoms recipe earns its place in every cookie collection because it is easy to prepare, consistently delicious, and instantly recognizable. The sugary peanut-butter cookie, lightly cracked edges, and soft milk-chocolate center create a bite that feels both nostalgic and special.
For the best results, unwrap the kisses first, use regular creamy peanut butter, chill the dough briefly if necessary, and remove the cookies from the oven while they are still soft. Press in the chocolate immediately, cool the cookies for at least 10 minutes, and wait for the centers to firm before storing.
Make a batch for the holidays, a cookie exchange, or a simple weekend dessert. Once you taste that warm peanut-butter cookie with its chocolate center, you will understand why these blossoms remain a classic.
1 thought on “Classic Peanut Butter Blossoms Recipe with Chocolate Kisses”