This easy pear crisp recipe makes a warm, bubbling dessert with tender sliced pears and a golden oat topping in just 15 to 20 minutes of preparation. Bake it at 375°F for 35 to 45 minutes, then let it rest for 10 to 15 minutes before serving. The recipe yields 6 to 8 generous servings and is ideal for an uncomplicated family dessert.
Each spoonful combines fragrant pears, brown sugar, cinnamon, buttery crumbs, and a little crunch from old-fashioned oats and optional pecans or walnuts. Serve this cozy fruit crisp warm with vanilla ice cream or whipped cream for a comforting finish that tastes special without requiring complicated pastry techniques.
Jump to RecipeWhy You’ll Love This Recipe
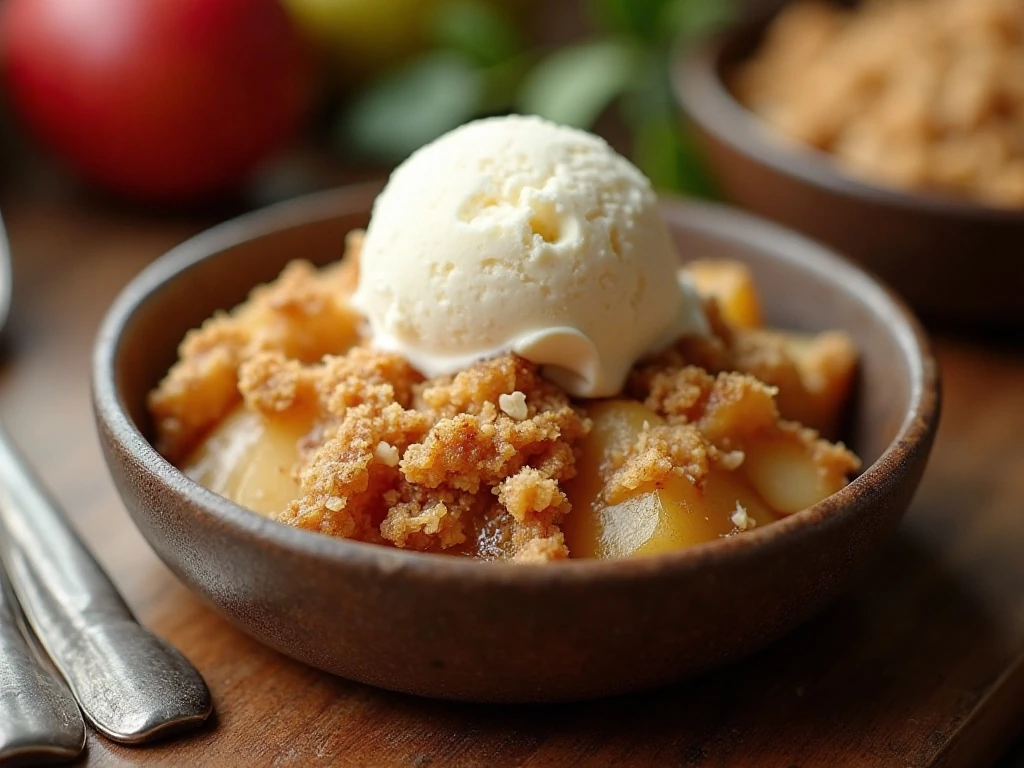
This pear crisp is the kind of dessert that feels generous, homemade, and welcoming from the moment it comes out of the oven. The fruit needs only a few simple flavorings, while the topping comes together in one bowl with no rolling, chilling, or fussy shaping.
The recipe balances soft fruit with a pleasantly crisp surface. Pears become tender and juicy as they bake, while brown sugar, oats, flour, and cold butter form irregular crumbs that turn golden at the edges.
It is also flexible enough for different occasions. Make it for a relaxed Sunday dinner, a holiday gathering, or an afternoon when you want a warm dessert without spending hours in the kitchen.
If you are planning a menu with several comforting dishes, you may also enjoy this savory chicken Marsala soup before dessert. Its rich mushroom flavor pairs nicely with a simple fruit crisp afterward.
Ingredients You’ll Need
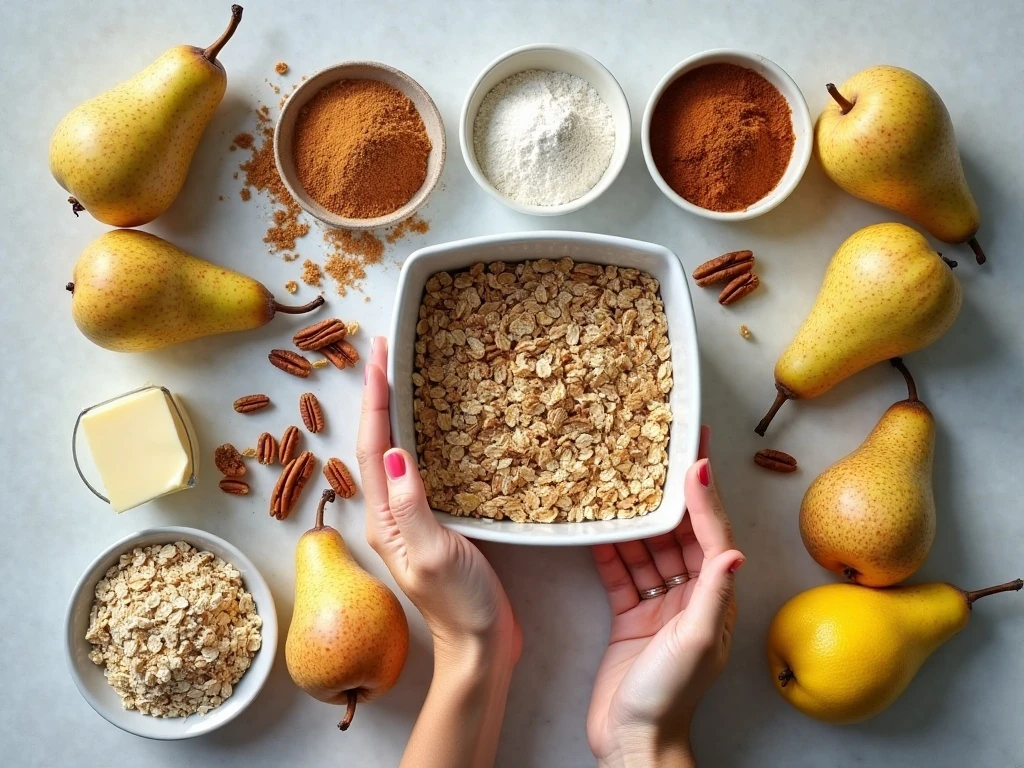
The fruit is the star, so begin with six medium-to-large pears weighing about 2 1/2 to 3 pounds total. Bosc, Anjou, and Bartlett pears are all good choices, provided they are fragrant and ripe but still firm enough to hold their shape.
- Pears: Use six medium-to-large pears, peeled if you prefer, cored, and sliced about 1/4 inch thick.
- Lemon juice: One tablespoon adds brightness and helps keep the sliced fruit from darkening too quickly.
- Sweetener and thickener: One-quarter cup granulated sugar and one tablespoon all-purpose flour or cornstarch help create a flavorful, lightly thickened filling.
- Spices: Cinnamon is essential for a familiar warm flavor. Nutmeg and vanilla are optional, but each adds another pleasant aromatic note.
- Topping basics: Equal amounts of flour, old-fashioned rolled oats, and packed light brown sugar create the crumbly foundation.
- Butter: Six tablespoons of cold unsalted butter provide rich flavor and help form crisp, buttery clusters.
- Nuts: Add one-half cup of chopped pecans or walnuts if you like extra crunch.
Old-fashioned rolled oats are preferable to quick oats because they keep more texture during baking. Fine salt in both the filling and topping keeps the sweetness balanced rather than sugary.
For another dessert idea with a playful flavor profile, save this root beer float pie for a chilled contrast to this warm pear dessert.
How to Make It Step-by-Step
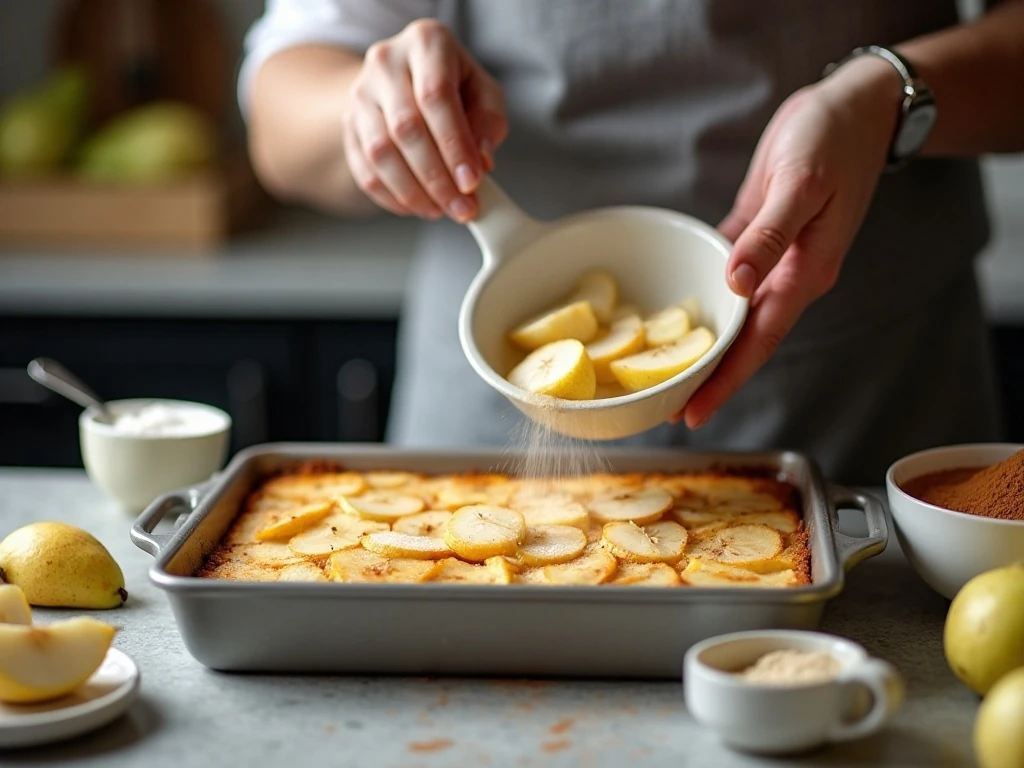
Step 1: Heat your oven to 375°F (190°C), then lightly butter an 8-inch square or similar 2-quart baking dish. Greasing the dish helps with serving and makes cleanup easier, especially around the bubbling fruit juices.
Step 2: Prepare the pears by peeling them if desired, cutting out the cores, and slicing the fruit into pieces about 1/4 inch thick. Try to keep the slices fairly similar in size so they soften at approximately the same rate.
Step 3: Place the pears in a large bowl and toss them with one tablespoon of fresh lemon juice, one-quarter cup granulated sugar, one tablespoon flour or cornstarch, one-half teaspoon cinnamon, optional nutmeg, optional vanilla, and one-quarter teaspoon salt. Mix gently until the slices are evenly coated, then spread the filling across the prepared dish.
Step 4: Make the topping by combining one-half cup flour, one-half cup old-fashioned rolled oats, one-half cup packed light brown sugar, one-half teaspoon cinnamon, and one-quarter teaspoon salt in a bowl. Stir the dry ingredients thoroughly so the spices and sugar are distributed throughout the mixture.
Step 5: Add six tablespoons of cold butter cut into small pieces, then work it into the dry ingredients with your fingers, a pastry cutter, or two knives. Stop when the mixture resembles coarse, irregular crumbs with some larger buttery pieces still visible; do not mix it into a smooth dough.
Step 6: Stir one-half cup of chopped pecans or walnuts into the topping if you are using them. Scatter the mixture evenly over the pears, making sure the fruit is covered without pressing the crumbs down too firmly.
Step 7: Bake the dish for 35 to 45 minutes, checking toward the lower end of the baking range. The crisp is ready when the topping is golden brown, the pears are tender when pierced, and juices are bubbling around the edges.
Step 8: Remove the crisp from the oven and let it rest for 10 to 15 minutes before serving. This short pause allows the hot juices to settle while the topping remains pleasantly crisp, and it also makes each serving easier to spoon.
How to Choose and Prepare Pears
A ripe pear should smell fragrant near the stem but should not feel extremely soft throughout. Very soft pears contain more loose moisture and can become watery or mushy in the oven, so choose fruit that gives slightly when pressed near the stem.
Bosc pears tend to keep a firm texture, Anjou pears offer a mild and juicy bite, and Bartlett pears bring a classic pear aroma. You can use one variety or combine varieties for a more interesting mixture of texture and flavor.
Peeling is optional. Leaving the skins on saves time and adds color, while peeling produces a softer, more delicate filling; either approach works well as long as the cores are removed and the slices are reasonably even.
Pro Tips for the Best Crisp
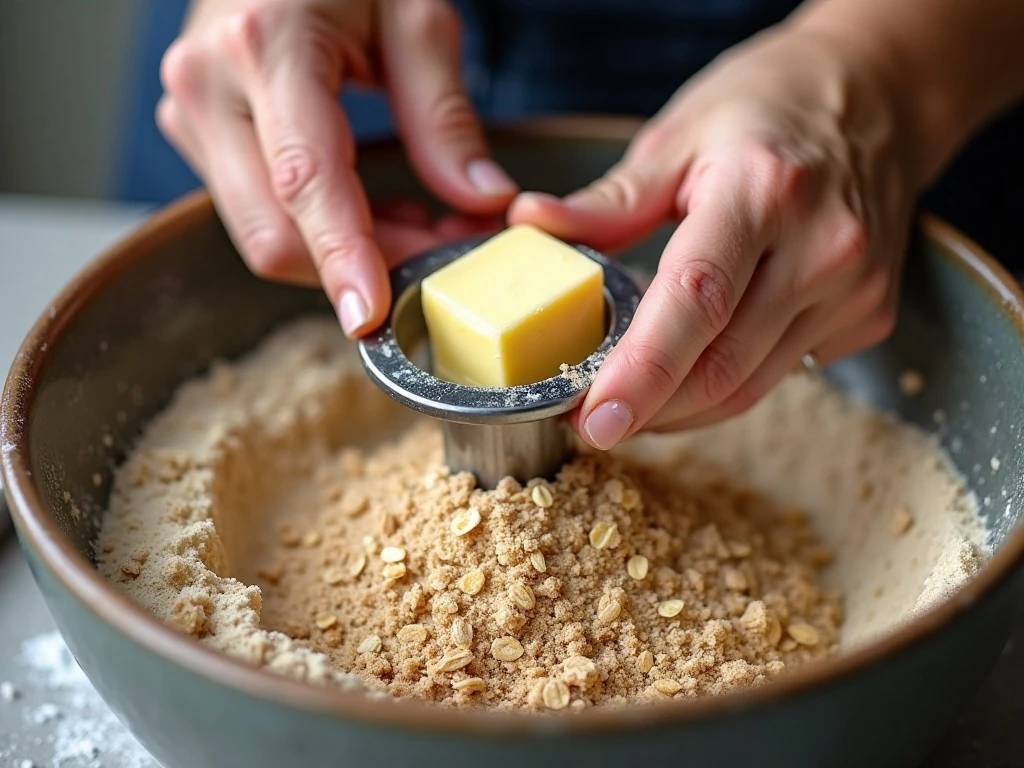
Cold butter is one of the most important details in the topping. As the crisp bakes, the butter melts into the flour, oats, and sugar, creating golden crumbs rather than a flat, cake-like layer.
Use a light touch when cutting in the butter. A few larger pieces are welcome because they create varied texture, and stopping early is better than working the mixture until it becomes smooth.
- Keep the fruit layer even: Spread the pears into a level layer so every portion receives a balanced amount of topping.
- Do not skip the rest: Waiting 10 to 15 minutes helps the filling thicken slightly and reduces the chance of a runny serving.
- Watch the topping: If it browns before the fruit is tender, loosely cover the dish with foil for the remaining baking time.
- Adjust the flavor carefully: A typical variation is one-half teaspoon ground ginger, cardamom, or a tablespoon of maple syrup, but keep additions modest so the pear flavor remains clear.
- Use the right dish: An 8-inch square or similar 2-quart dish gives a satisfying fruit-to-topping ratio. A 9-inch square or 9-by-13-inch dish makes a thinner crisp and may need slightly less baking time.
For a festive baking project when the season calls for something more decorative, try this pumpkin roll recipe. It makes a lovely companion dessert for a larger holiday table.
Serving Ideas, Storage, and Reheating
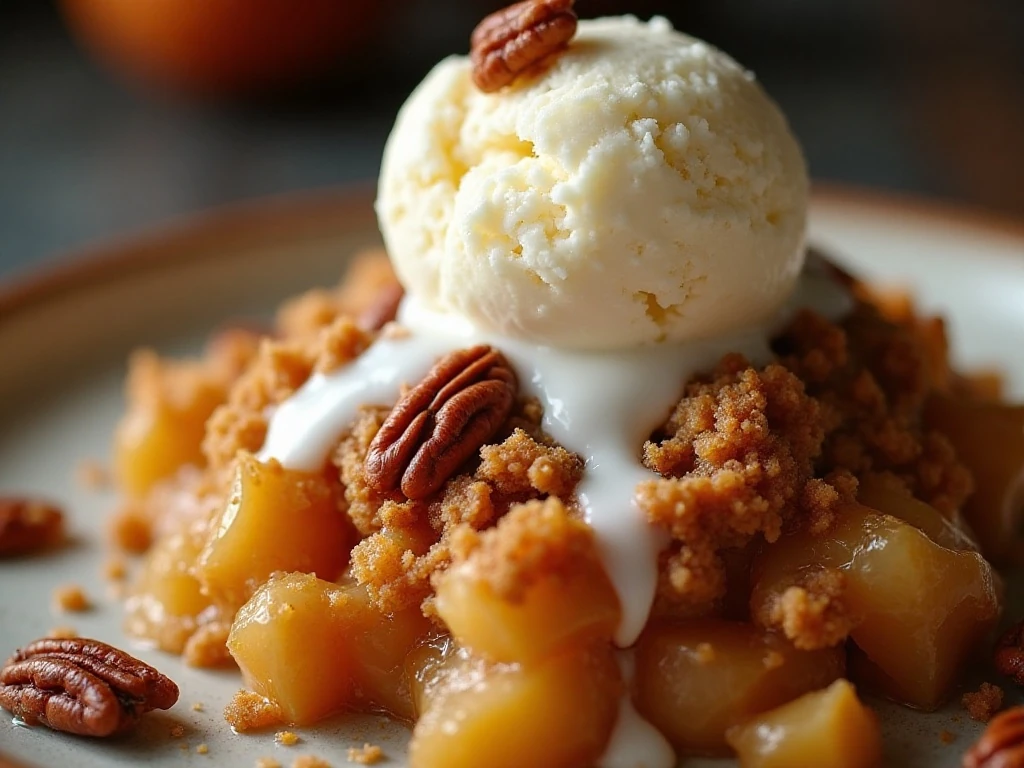
Serve pear crisp warm in shallow bowls so the fruit and topping are included in every spoonful. Vanilla ice cream is the classic partner because it melts into the warm juices, while whipped cream adds a lighter finish.
You can also serve each portion with plain yogurt, a spoonful of softly whipped cream, or a small drizzle of maple syrup. For a little extra texture, add a few toasted nuts just before serving rather than baking them into the entire topping.
Cover leftover crisp and refrigerate it. Reheat individual portions gently in the microwave, or warm the baking dish in the oven until heated through; the topping is best on the day it is baked but remains delicious afterward.
If you are assembling a dessert spread for a celebration, this elegant Christmas Love Cake can join the menu alongside the rustic pear crisp. The two desserts offer different textures while keeping the table welcoming and homemade.
Easy Variations to Try
The basic recipe is dependable, but small changes can make it fit your pantry or the mood of the meal. Replace the optional nuts with extra oats, or leave them out entirely for a simpler nut-free topping.
Ground ginger or cardamom can join the cinnamon in the pear filling or topping. A tablespoon of maple syrup can also add a deeper sweetness, though the fruit should still remain the main flavor.
For a more textural topping, keep the butter pieces slightly larger when mixing. For a finer topping, work the butter in a little more thoroughly, but stop before the mixture turns into a paste.
The filling can use all-purpose flour or cornstarch. Both provide light thickening, so choose whichever you already have available and measure the tablespoon accurately.
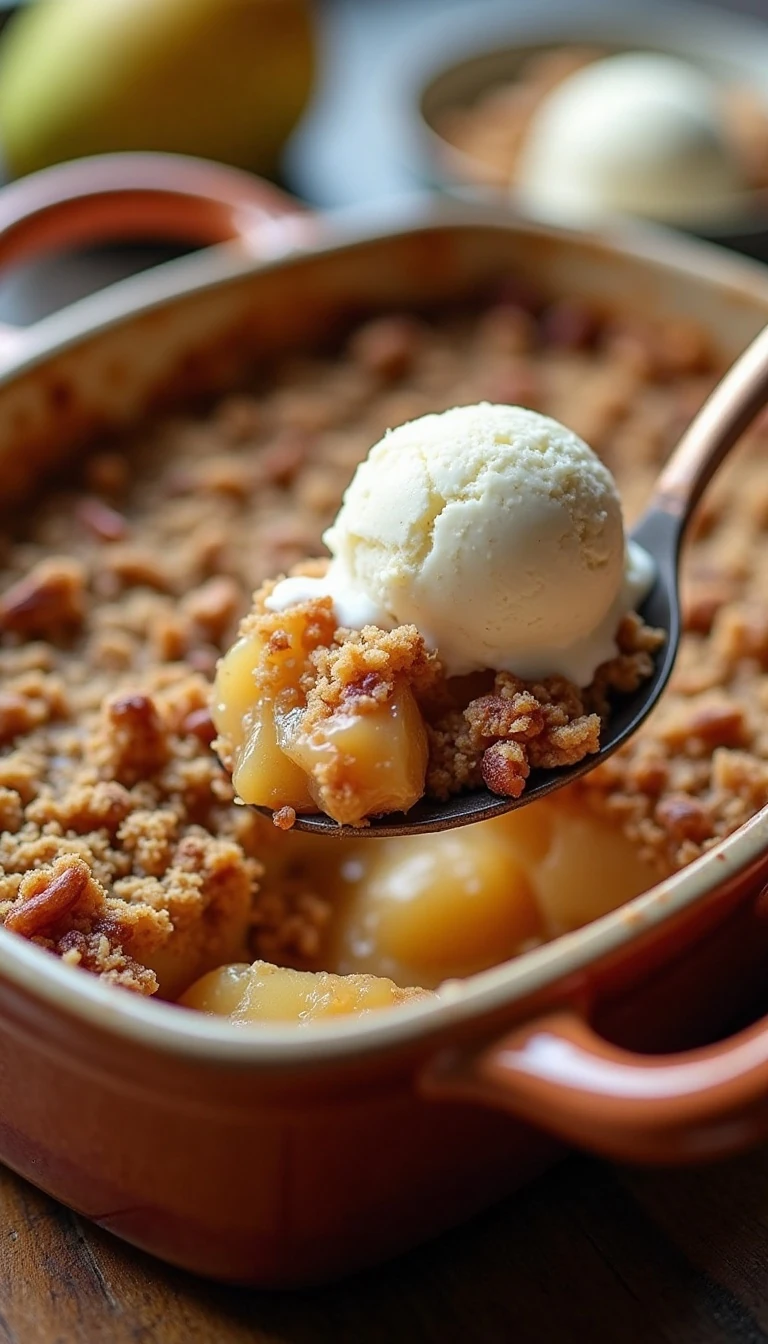
Easy Pear Crisp Recipe Everyone Will Love
Ingredients
Method
- Heat the oven to 375°F (190°C) and lightly butter an 8-inch square or similar 2-quart baking dish.
- Peel the pears if desired, remove their cores, and slice them into pieces about 1/4 inch thick.
- Toss the pear slices with lemon juice, granulated sugar, flour or cornstarch, cinnamon, optional nutmeg, optional vanilla, and salt. Spread the mixture evenly in the prepared baking dish.
- Combine the topping flour, oats, brown sugar, cinnamon, and salt in a bowl. Cut in the cold butter with your fingers, a pastry cutter, or two knives until coarse, irregular crumbs form, then stir in the nuts if using.
- Scatter the topping evenly over the pears, taking care to cover the fruit from edge to edge.
- Bake for 35 to 45 minutes, until the pears are tender and bubbling around the edges and the topping is golden brown.
- Let the crisp rest for 10 to 15 minutes before serving. Spoon it into bowls while warm and add vanilla ice cream or whipped cream.
Notes
Final Thoughts
This easy pear crisp recipe is a reliable way to turn fresh pears into a warm, fragrant dessert with very little effort. The tender fruit, cinnamon-scented juices, and crisp brown sugar topping create the kind of comforting combination that appeals to children and adults alike.
Remember the essential details: use ripe but firm pears, keep the butter cold, avoid overmixing the crumbs, and bake until the edges bubble and the topping turns golden. After a 10-to-15-minute rest, serve it warm with vanilla ice cream or whipped cream and enjoy every spoonful.
Because it serves 6 to 8 people and uses familiar ingredients, this crisp is equally suitable for a casual weeknight or a festive dinner. Once you make it, you may find yourself keeping pears on hand just in case a warm, buttery dessert is suddenly needed.