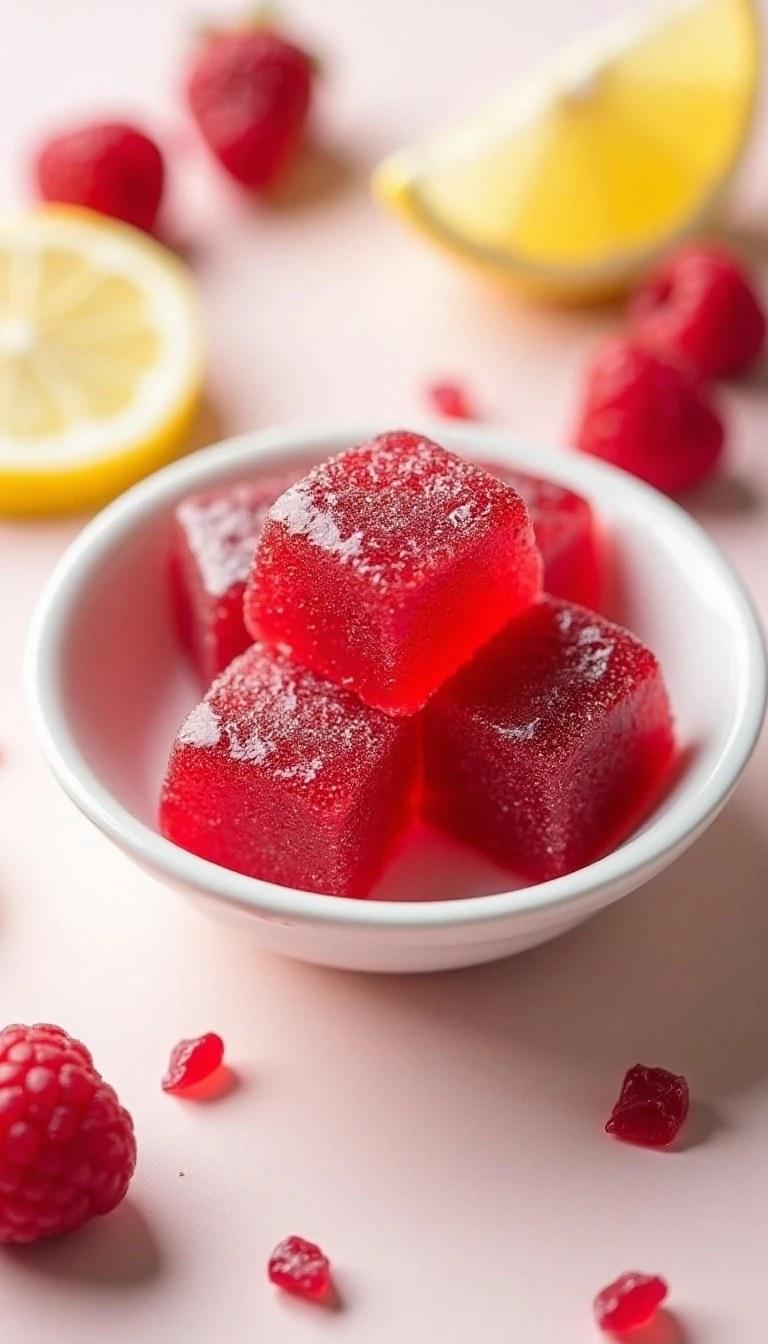
This easy low-carb raspberry gummies recipe makes approximately 20–30 small, firm fruit gummies with fresh or frozen raspberries, unflavored gelatin, lemon juice, and powdered erythritol or monk-fruit/erythritol sweetener. The active preparation takes about 10–15 minutes, heating takes 5–8 minutes, and the gummies become firm after 1–2 hours in the refrigerator.
Each bite has a bright raspberry flavor, a gentle lemony tang, and a pleasantly springy texture that feels like homemade fruit candy. Straining the raspberry purée removes the seeds, while three tablespoons of gelatin give these treats a firmer, candy-like consistency without adding traditional sugar.
Jump to RecipeWhy You’ll Love This Recipe
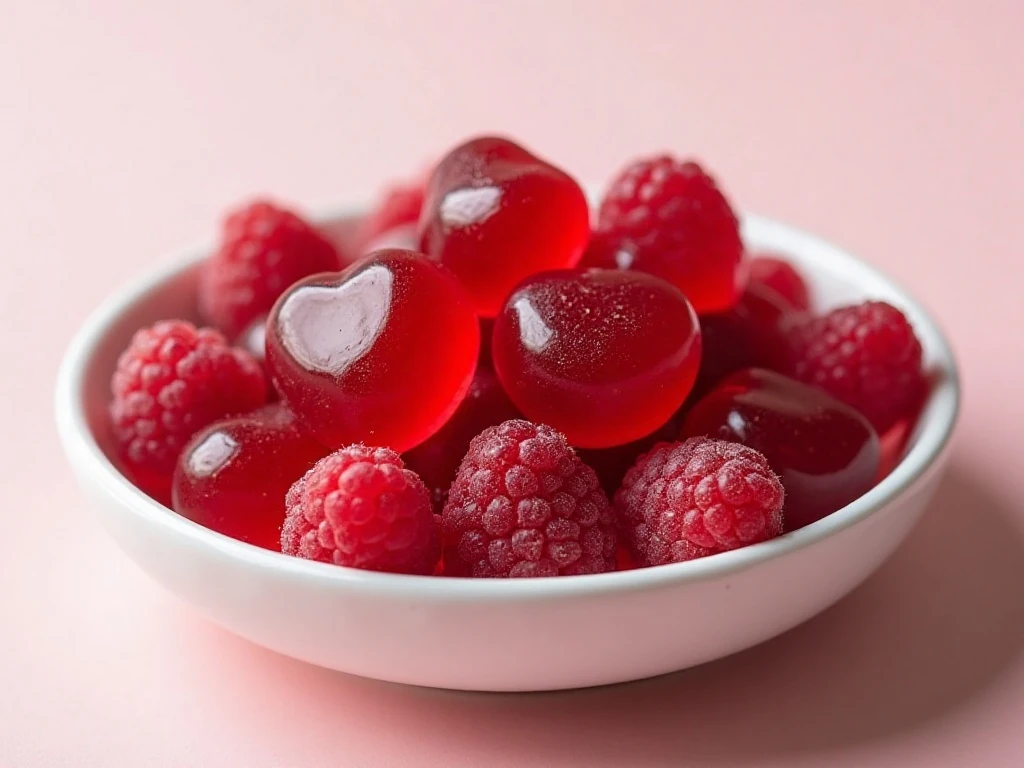
These raspberry gummies are a wonderful answer when you want a small, colorful dessert without a long ingredient list. Real raspberries provide the main fruit flavor, and the gelatin creates a satisfying chew that makes each piece feel special.
The recipe is also flexible. Use fresh berries when they are available, or thaw frozen raspberries for a convenient batch any time of year. The sweetener can be adjusted according to the natural tartness of the fruit and your personal taste.
Because the gummies are poured into small molds, portioning is simple. They are excellent for a make-ahead dessert tray, an afternoon treat, or a little sweet bite after dinner.
If you are planning a full meal before dessert, you might pair these colorful gummies with a comforting oven-braised pot roast for a satisfying contrast between a hearty main course and a bright fruit finish.
Ingredients You’ll Need
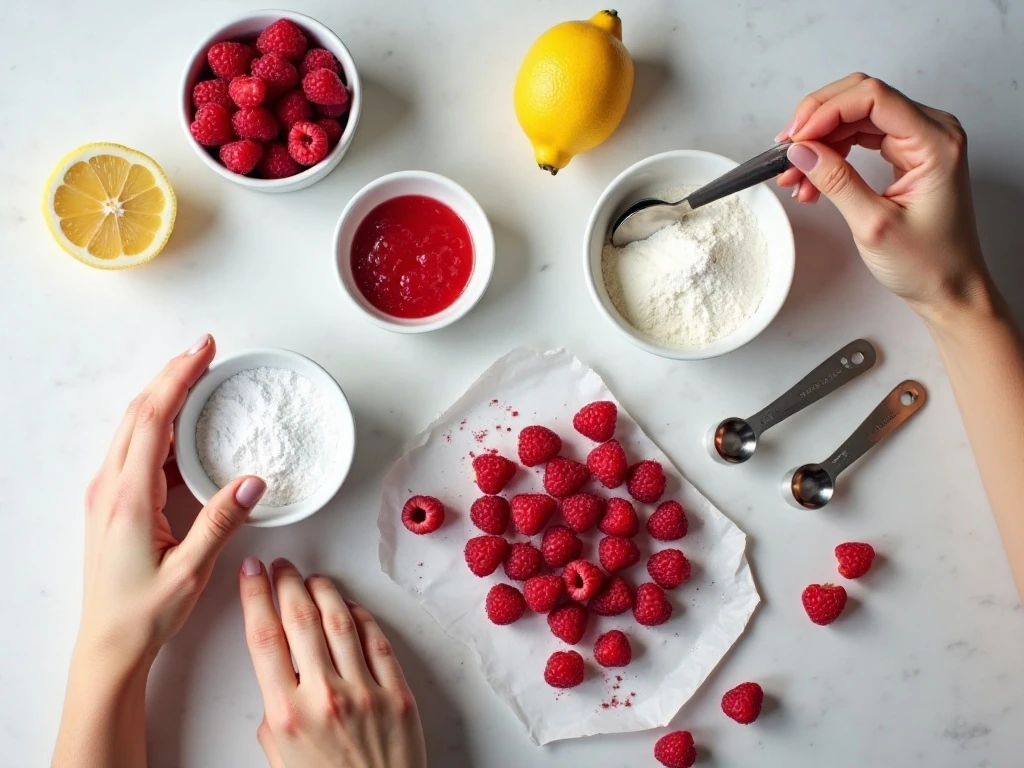
The ingredient list is short, but each item has a clear purpose. Raspberries provide flavor and color, lemon juice sharpens the fruit, and gelatin transforms the liquid purée into a sliceable or moldable candy.
- Raspberries: Use 1 cup, or about 125–140 g, of fresh or frozen berries. Thaw frozen fruit before blending.
- Water: The 1/2 cup is divided between blending the fruit and blooming the gelatin.
- Lemon juice: Two tablespoons add freshness and balance the sweetness.
- Sweetener: Use 2 tablespoons of powdered erythritol or monk-fruit/erythritol sweetener, then taste and adjust if needed.
- Gelatin: Three tablespoons, about 27 g, create a firm, candy-like texture.
- Salt: A small pinch is optional, but it can make the raspberry flavor taste more rounded.
Powdered sweetener dissolves more readily than a coarse granulated variety. If your raspberries are especially tart, add sweetener gradually and taste the warm purée before adding the gelatin.
For the best appearance, choose small silicone gummy molds. A lightly oiled small dish also works well, especially if you prefer cutting the set mixture into neat squares.
How to Make It Step-by-Step
Step 1: Prepare the raspberries by thawing them if necessary and checking for any stems or leaves. Blend the berries with 1/4 cup of the water until smooth, working only until the fruit becomes a pourable purée.
Step 2: Pour the blended raspberries through a fine-mesh sieve set over a bowl. Press gently with a spoon to collect the smooth purée, but avoid forcing too many seeds through the sieve; this extra step gives the finished gummies a much smoother texture.
Step 3: Place the remaining 1/4 cup cold water in a small bowl and sprinkle the powdered gelatin evenly over the surface. Let it stand for 3–5 minutes, allowing the gelatin granules to absorb the water and form a soft, swollen mixture.
Step 4: Add the strained raspberry purée, lemon juice, powdered sweetener, and optional pinch of salt to a small saucepan. Warm the mixture over low to medium-low heat, stirring occasionally, until it is hot and the sweetener has dissolved; do not bring it to a boil.
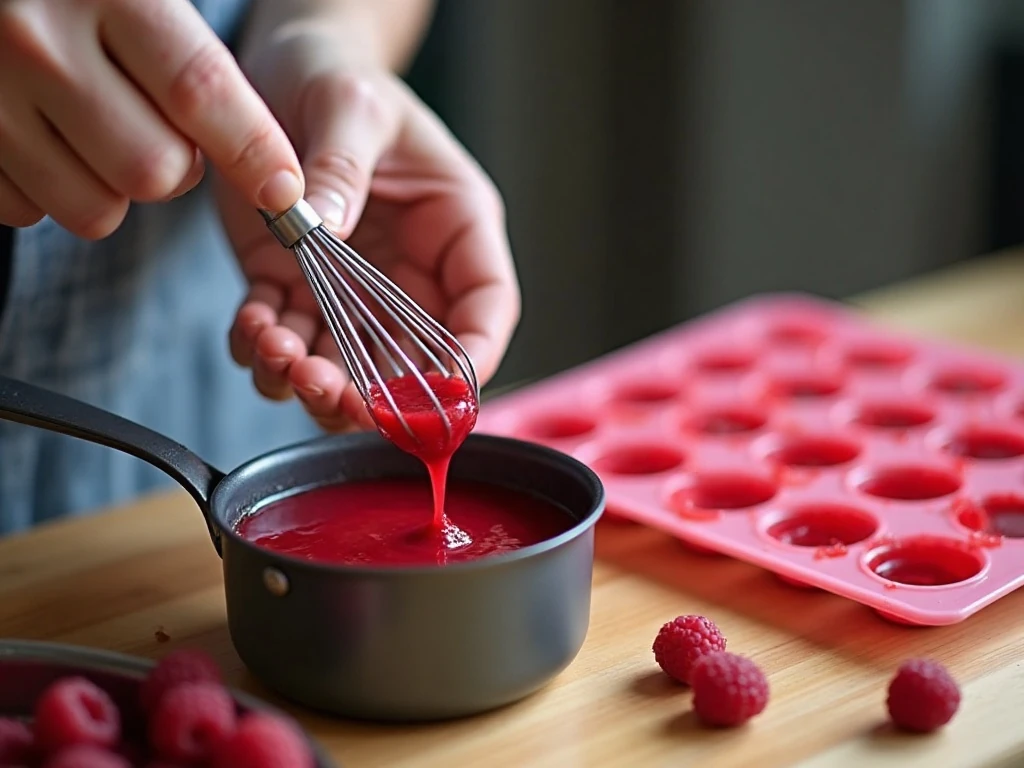
Step 5: Remove the saucepan from the heat before adding the bloomed gelatin. Whisk steadily until no visible gelatin remains and the mixture is completely smooth, taking care not to whip in unnecessary air bubbles.
Step 6: Lightly grease the silicone molds if they seem prone to sticking, then carefully pour in the raspberry mixture. Fill each cavity evenly, and use a spoon or small measuring cup to make the process less messy.
Step 7: Refrigerate the filled molds or dish for 1–2 hours. The gummies are ready when they feel firm to the touch and release cleanly from the molds; if using a dish, cut the set mixture into small squares with a sharp knife.
Chef’s Texture Tips
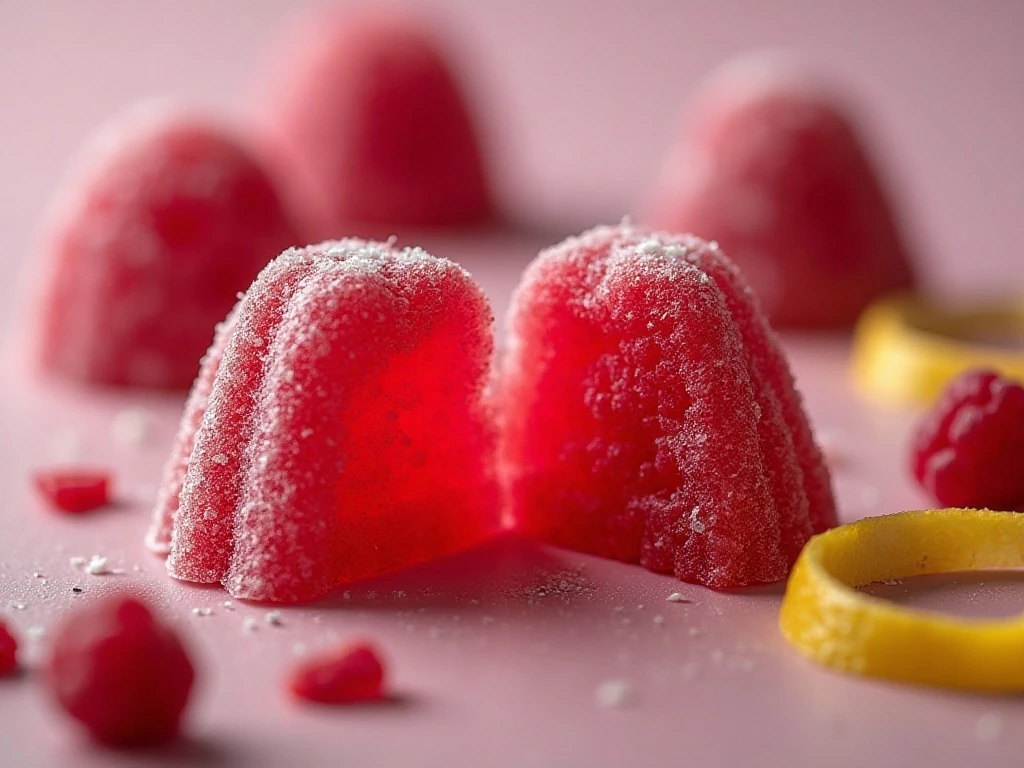
The most important rule is to protect the gelatin from excessive heat. Heating the raspberry mixture is necessary to dissolve the sweetener, but boiling after the gelatin is incorporated can weaken its setting ability and result in softer gummies.
Three tablespoons of gelatin produce the firmest result from this formula. That level is ideal when you want a classic candy-like bite that holds its shape at room temperature for a short serving period.
For a softer, more jellied texture, use two tablespoons of gelatin instead. This variation is tender and spoonable but may be more delicate when removed from small molds.
Straining is worth the few extra minutes. Raspberry seeds can interrupt the smooth texture, while careful straining creates a cleaner-looking gummy with a glossy surface.
After whisking, let the mixture rest for a minute if you notice foam on top. You can skim away visible bubbles with a spoon before filling the molds for a clearer finish.
For another fruit-forward treat, consider serving these gummies alongside soft apple banana muffins on a dessert table. The contrast between the chewy berries and tender baked crumb makes a pleasing assortment.
Serving and Storage
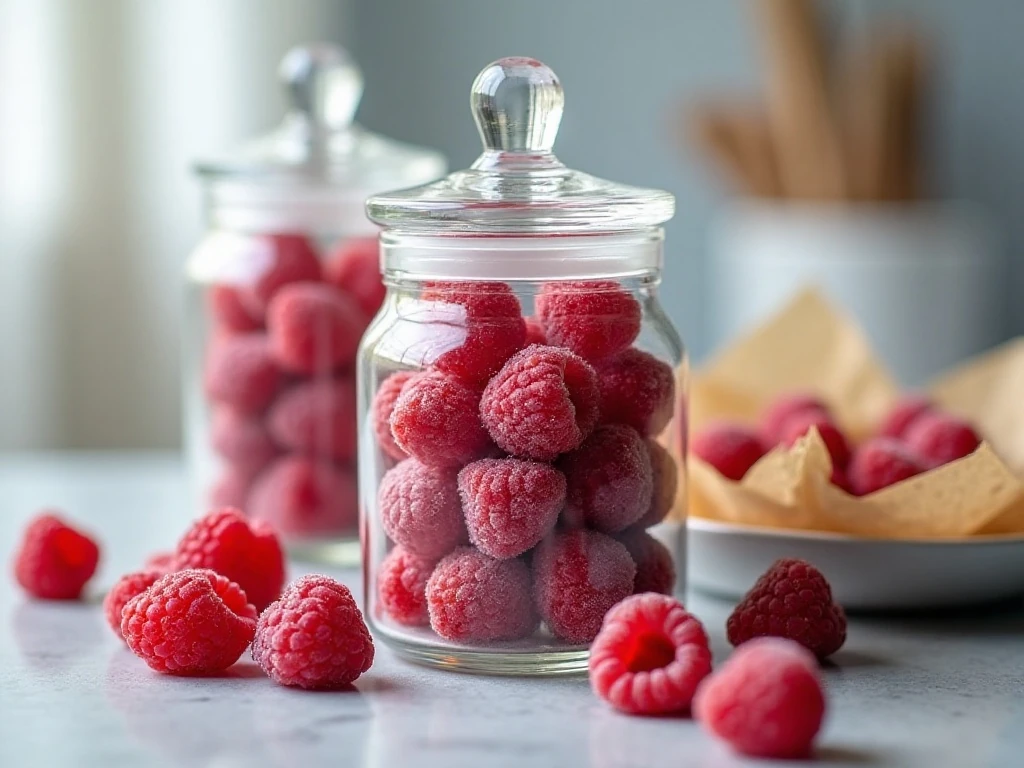
Serve the gummies cold or let them sit at room temperature for a few minutes before eating. Their raspberry flavor is especially refreshing when paired with unsweetened whipped cream, plain Greek yogurt, or a few fresh berries.
Keep the finished gummies in an airtight container in the refrigerator. Separate layers with parchment paper if needed, particularly when the pieces are cut from a dish rather than released from individual molds.
Homemade gummies are generally best within about 5–7 days. Because this recipe contains real fruit and no commercial preservatives, refrigeration is important for maintaining both quality and freshness.
If the gummies seem sticky after storage, chill them uncovered for a short period before transferring them back to the container. Avoid leaving the whole batch at room temperature for extended periods, since the texture can soften.
For a colorful dessert spread, place the raspberry gummies beside a savory party dish such as this vegetarian taco casserole. It is an unexpected pairing, but the bright fruit bites make a fun sweet ending after bold, seasoned flavors.
Easy Variations
You can make the gummies slightly more tart by adding a little extra lemon flavor, but begin with the stated two tablespoons so the fruit balance remains pleasant. Sweetener should always be adjusted to the specific raspberries and the brand of erythritol blend you use.
For a two-tone effect, prepare two batches with different fruit purée colors and layer them in the molds. Let the first layer chill until lightly set before carefully adding the second layer, keeping the flavors within the same basic formula.
A shallow dish creates thin squares that are easy to stack, while small molds produce familiar bite-size candies. Whichever shape you choose, lightly oil the dish or molds if you have experienced sticking with gelatin desserts.
Easy Low-Carb Raspberry Gummies
Ingredients
Method
- If using frozen raspberries, thaw them first. Blend the raspberries with 1/4 cup of the water until smooth, then strain the purée through a fine-mesh sieve to remove the seeds.
- Sprinkle the gelatin over the remaining 1/4 cup cold water in a small bowl. Let it stand for 3–5 minutes so the gelatin can bloom.
- Warm the raspberry purée, lemon juice, sweetener, and optional salt in a small saucepan over low to medium-low heat. Stir until hot and the sweetener dissolves, but do not let the mixture boil.
- Remove the saucepan from the heat and whisk in the bloomed gelatin. Continue whisking until the gelatin has completely dissolved and the liquid looks smooth.
- Pour the mixture into silicone gummy molds or a small lightly oiled dish. Refrigerate for 1–2 hours, or until firm, then unmold or cut into small squares.
Notes
Final Thoughts
This easy low-carb raspberry gummies recipe turns a handful of simple ingredients into a bright, chewy dessert with real fruit flavor. The key details are straining the purée, blooming the gelatin properly, and keeping the mixture below a boil.
Make a batch when you want a colorful make-ahead treat that stores neatly in the refrigerator. With approximately 20–30 gummies per batch, you can enjoy a small raspberry bite whenever a sweet craving arrives.