This fluffy and easy gluten-free waffles recipe makes about 6–8 golden waffles in approximately 25–30 minutes. The batter comes together in 10 minutes, rests for 5–10 minutes, and cooks in a thoroughly preheated waffle iron for about 3–5 minutes per waffle.
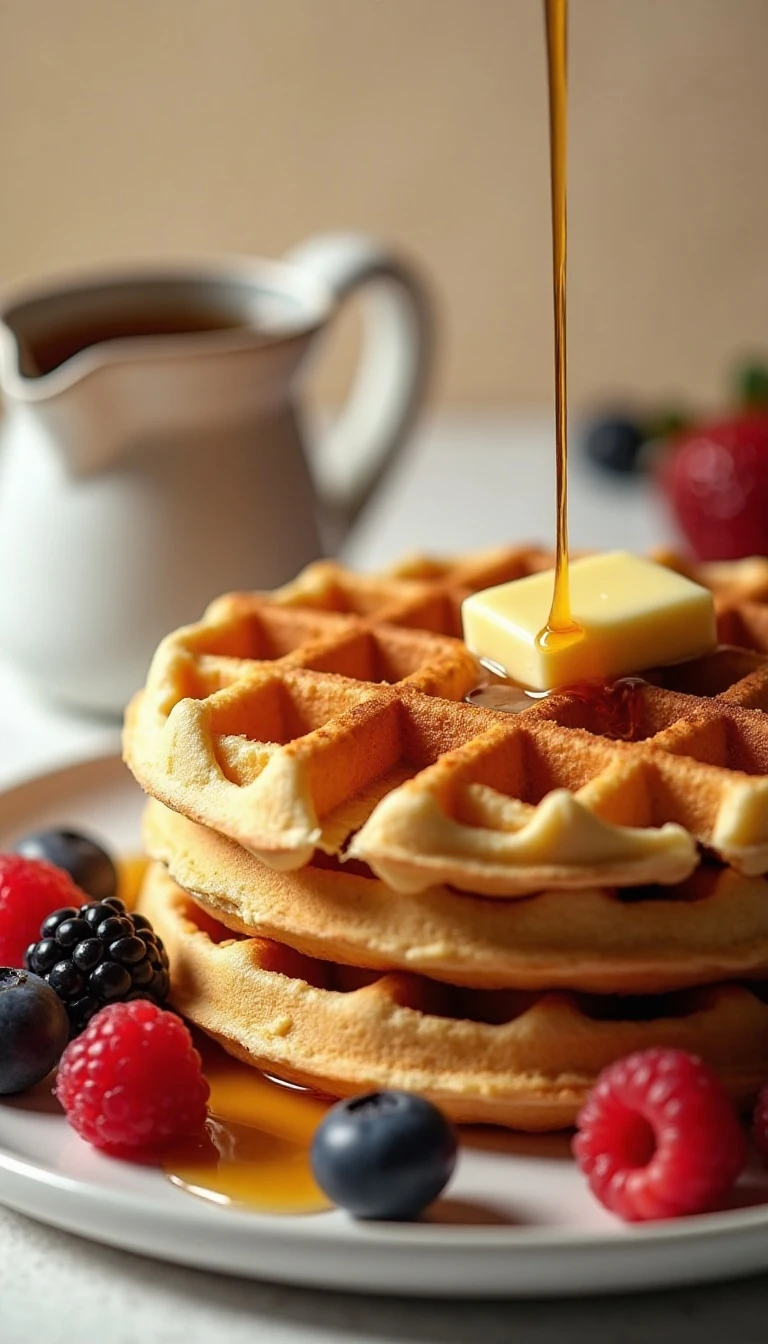
Each waffle has crisp, lightly browned edges and a soft, tender middle with buttery vanilla flavor. Serve them immediately with maple syrup and butter, or add berries, whipped cream, yogurt, fruit, or powdered sugar for a breakfast everyone will enjoy.
Jump to RecipeWhy You’ll Love This Recipe
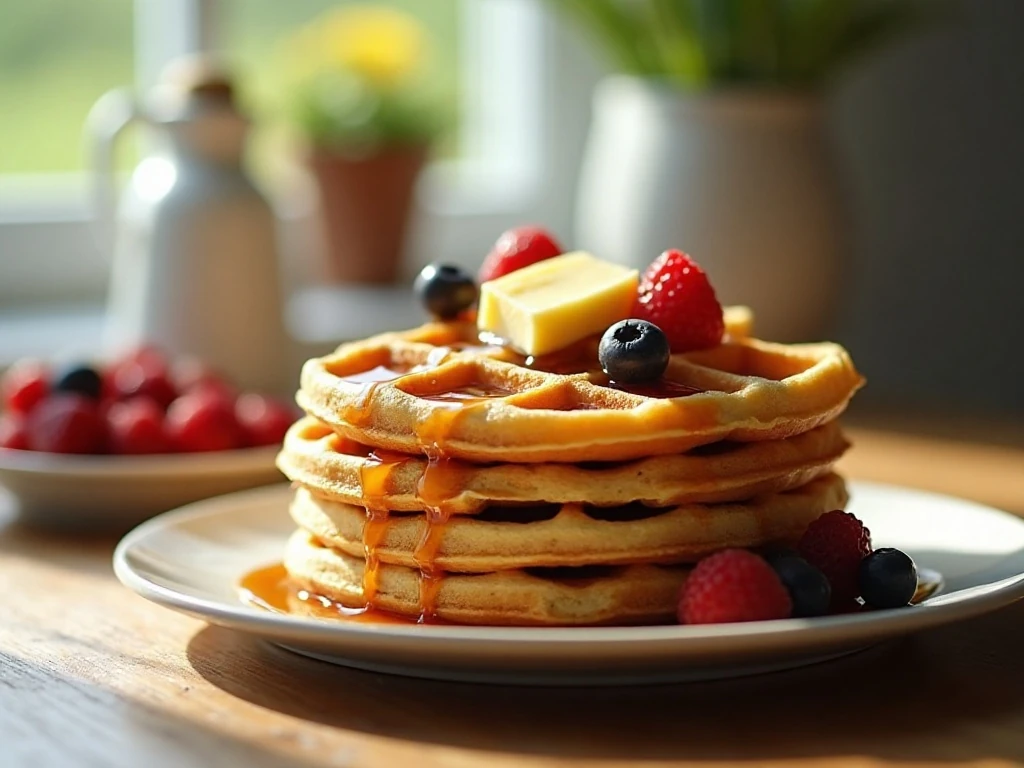
Finding a gluten-free waffle that is both crisp and fluffy can be surprisingly difficult. This recipe keeps the ingredient list familiar while using a brief rest and a properly heated waffle iron to create the texture most people want from a classic breakfast waffle.
The outside browns beautifully from the butter and sugar, while the inside stays soft without becoming heavy. Buttermilk adds a gentle tang and works with the baking soda, while regular milk creates a mild, creamy batter if that is what you have available.
These waffles are also practical for busy mornings. The dry ingredients can be measured in advance, the wet ingredients take only a minute to whisk, and the batter is ready for the iron after its short 5–10 minute rest.
- Gluten-free: Made with a baking-ready gluten-free flour blend.
- Fluffy texture: Eggs and leavening help the centers rise.
- Crisp edges: Proper preheating keeps the surface golden and firm.
- Flexible serving: Sweet toppings can be changed for every person at the table.
If you are planning a generous breakfast spread, these waffles pair nicely with savory sides too. For another comforting breakfast-friendly dish, you can also serve easy roasted potatoes alongside eggs or breakfast sausage.
Ingredients You’ll Need
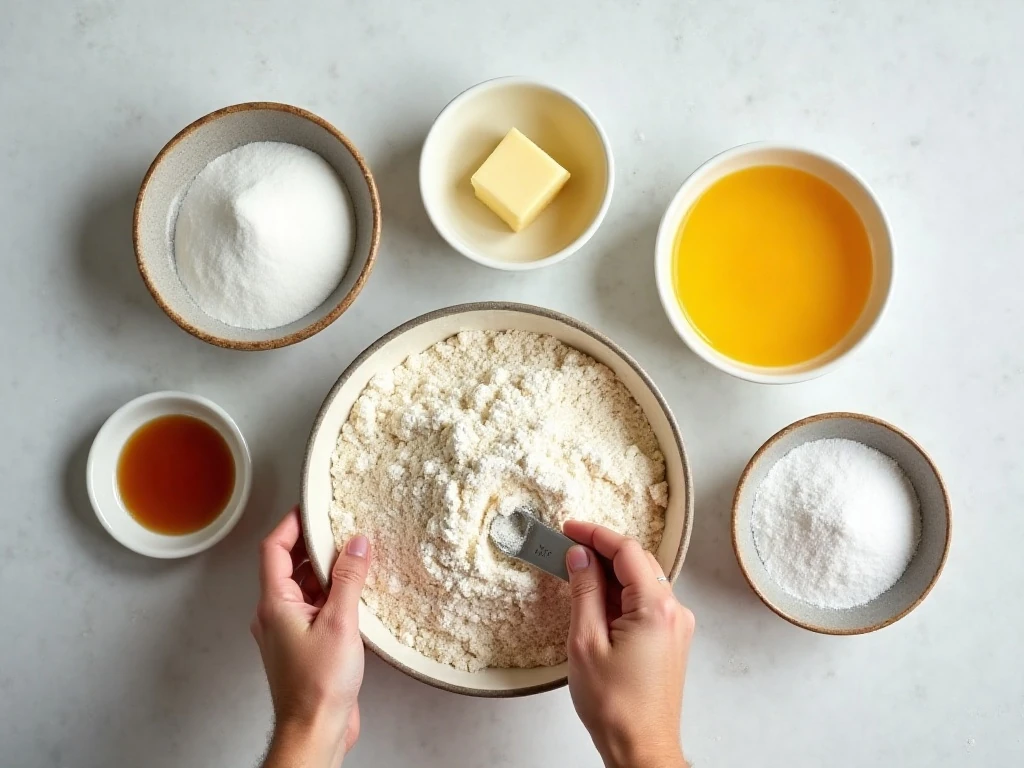
The foundation is 2 cups, or about 240 grams, of gluten-free all-purpose flour blend. Choose one designed for baking rather than a single flour such as rice flour or almond flour, since a tested blend gives the batter better structure and a more balanced bite.
Check the flour package for xanthan gum. If the blend does not contain it, add about 1/2 teaspoon to the dry ingredients. Xanthan gum helps the waffles hold together, but adding extra to a blend that already includes it can make the texture unnecessarily gummy.
Baking powder and baking soda provide the lift. The baking soda is especially useful when using buttermilk, while the baking powder supports a light interior whether you choose buttermilk or milk.
Two large eggs bring richness and structure, and 1/2 cup of melted unsalted butter adds a delicate buttery flavor. Let the butter cool slightly before combining it with the eggs and dairy so the eggs remain smooth instead of beginning to cook.
Two tablespoons of granulated sugar add a subtle sweetness and encourage attractive browning. Finish the wet mixture with 1 teaspoon of pure vanilla extract for a warm aroma that works beautifully with fruit, syrup, or whipped cream.
For a fruit-inspired breakfast table, consider making easy peach bread in advance. Its tender slices are a lovely addition beside a plate of freshly cooked waffles.
How to Make It Step-by-Step

Step 1: Preheat the waffle iron thoroughly before mixing the batter. A fully heated iron starts cooking the surface right away, which helps the waffles develop crisp edges instead of turning pale and soft. Lightly grease the plates only when the manufacturer recommends it.
Step 2: Add the gluten-free flour blend, baking powder, baking soda, fine salt, sugar, and optional xanthan gum to a large bowl. Whisk for several seconds so the leavening and salt are evenly distributed throughout the flour.
Step 3: In another bowl, whisk the eggs, buttermilk or milk, melted slightly cooled butter, and vanilla extract. Continue until the mixture looks uniform, with no streaks of egg white or pools of butter.
Step 4: Pour the wet ingredients into the bowl of dry ingredients. Stir gently just until no large dry patches remain; a few small lumps are acceptable, and stopping early prevents the waffles from becoming dense.
Step 5: Let the batter stand for 5–10 minutes. This pause gives the gluten-free flour time to absorb the liquid and allows the baking powder and baking soda to begin working, which improves the finished texture.
Step 6: Pour the recommended amount of batter into the hot waffle iron, using the amount suggested for your particular model. Close the lid and cook for about 3–5 minutes, watching for a golden-brown surface and steam that has mostly subsided.
Step 7: Remove each waffle carefully and serve it right away for the best contrast between crisp edges and a fluffy center. If you are cooking for a group, place finished waffles in a single layer in a 200°F/95°C oven rather than stacking them.
Pro Tips for Crisp, Fluffy Waffles
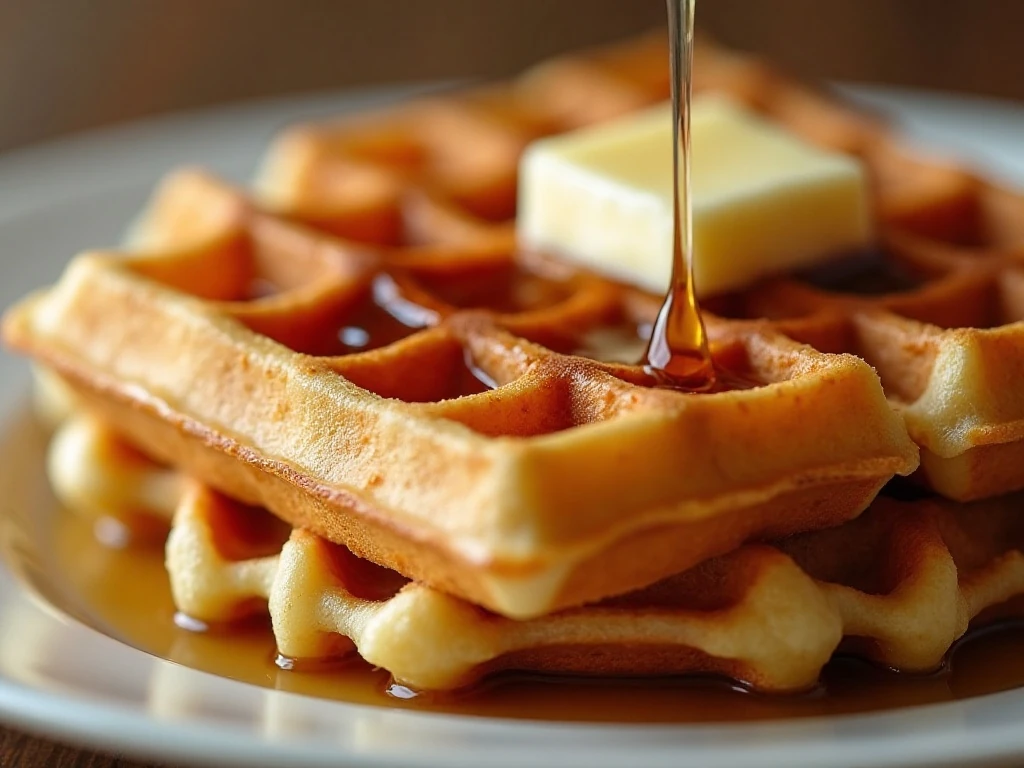
The most important detail is heat. A waffle iron that has not fully preheated may leave the batter pale and soft, even when the recipe itself is balanced. Give the appliance enough time to reach its ready signal or normal cooking temperature before adding the first portion.
Resist the urge to open the lid repeatedly. Steam is a useful clue that the waffle is still cooking, and lifting the lid too soon can interrupt browning or cause the waffle to separate. When the steam has mostly subsided, check for a deep golden color.
Do not overmix the batter. Gluten-free mixtures do not develop wheat gluten, but vigorous stirring can still make the batter less airy by breaking up the pockets created by the eggs and leavening. A gentle stir is enough.
The short rest is not optional if you want the most even texture. Gluten-free flour blends often need extra time to absorb liquid, and five minutes can make the batter feel thicker and more cohesive. If it seems slightly thicker after resting, that is normal.
Waffle irons vary in size, depth, and heat level, so the amount of batter and exact cooking time may differ. Start with the manufacturer’s recommended amount, then adjust slightly on the next waffle if batter spills or the plates are not filled enough.
For a special brunch, serve these with the soft, airy texture of souffle pancakes with caramelized bananas as another sweet centerpiece. Keeping portions of both dishes modest gives guests plenty of choices without making the table feel repetitive.
Toppings and Serving Ideas
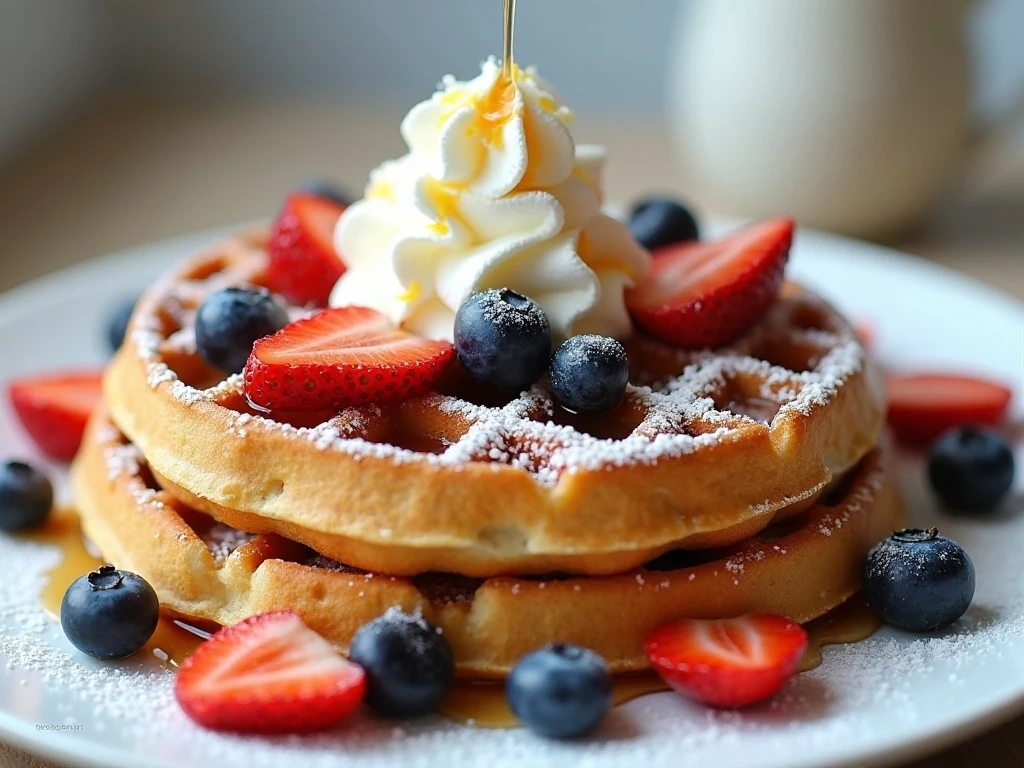
The classic combination is a pat of butter and a generous pour of maple syrup. The butter melts into the waffle’s ridges, while the syrup adds just enough sweetness to make every crisp square flavorful.
Fresh berries and whipped cream turn the waffles into a colorful brunch dessert. Strawberries, blueberries, raspberries, and sliced bananas all work well, especially when the fruit is added just before serving so the waffles stay crisp.
For a lighter option, spoon plain or vanilla yogurt over the top and add sliced fruit. Powdered sugar is another easy finish, and a small dusting gives the waffles a polished look without overpowering their buttery vanilla flavor.
- Maple syrup, butter, and toasted nuts
- Fresh berries with whipped cream
- Yogurt, sliced banana, and powdered sugar
- Warm fruit compote with a little cinnamon
A bright fruit dessert can follow a waffle breakfast or brunch. For a simple citrus option, see this easy mandarin orange dessert when you want a refreshing finish.
Storage, Freezing, and Reheating
Hot waffles should never be stacked because steam becomes trapped between them and softens the crisp surfaces. Hold them in a single layer on a rack or baking sheet in a 200°F/95°C oven while the remaining batter cooks.
For leftovers, let the waffles cool completely before storing them in an airtight container. Refrigerate them for a short-term option, or arrange them with parchment between layers and freeze them for convenient breakfasts later.
Reheat chilled or frozen waffles in a toaster or toaster oven until hot and crisp. This method restores the surface much better than microwaving, which can make the centers soft and chewy.
If you are preparing several recipes for a weekend gathering, keep the waffle toppings fresh and simple. A savory side such as ham and pineapple salad can provide a bright contrast to the rich butter and maple syrup.
Fluffy and Easy Gluten-Free Waffles
Ingredients
Method
- Preheat the waffle iron thoroughly. Lightly grease it only if recommended by the manufacturer.
- Whisk together the gluten-free flour blend, baking powder, baking soda, salt, and sugar in a large bowl.
- In a separate bowl, whisk the eggs, buttermilk or milk, melted butter, and vanilla extract until combined.
- Pour the wet mixture into the dry ingredients and stir just until combined. A few small lumps are fine, so avoid overmixing.
- Let the batter stand for 5–10 minutes so the gluten-free flour can hydrate and the leavening can begin working.
- Pour the recommended amount of batter into the hot waffle iron, close the lid, and cook for about 3–5 minutes, or until golden brown and the steam has mostly subsided.
- Serve the waffles immediately, or keep them in a single layer in a 200°F/95°C oven until ready to serve.
Notes
Final Thoughts
This fluffy and easy gluten-free waffles recipe proves that a satisfying breakfast does not require complicated techniques or unusual ingredients. Use a baking-ready gluten-free flour blend, check whether it includes xanthan gum, rest the batter briefly, and give the waffle iron plenty of time to preheat.
From there, the process is straightforward: mix gently, cook each waffle for about 3–5 minutes, and keep finished waffles in a single layer so their crisp edges remain intact. The result is a golden breakfast with a tender center and enough buttery vanilla flavor to stand up to every topping.
Serve the first waffle as soon as it leaves the iron, then build a platter with berries, yogurt, whipped cream, powdered sugar, butter, and maple syrup. Whether you are cooking for a relaxed family morning or a larger brunch, these waffles are easy to repeat and delicious enough to make again soon.