This easy gluten-free apple crisp recipe makes a warmly spiced, bubbling dessert in an 8-inch square baking dish or similar 2-quart casserole. Toss six sliced apples with lemon juice, sugar, gluten-free flour or cornstarch, cinnamon, nutmeg, and salt, then cover them with a buttery oat topping and bake at 350°F for 40–50 minutes.
The result is tender fruit with thick, fragrant juices and a golden, crunchy topping made from certified gluten-free oats, gluten-free flour, brown sugar, butter, and optional chopped pecans or walnuts. After a brief 10–15 minute rest, serve it warm with vanilla ice cream, whipped cream, or plain yogurt for an easy dessert that tastes like fall in every spoonful.
Jump to RecipeWhy You’ll Love This Recipe
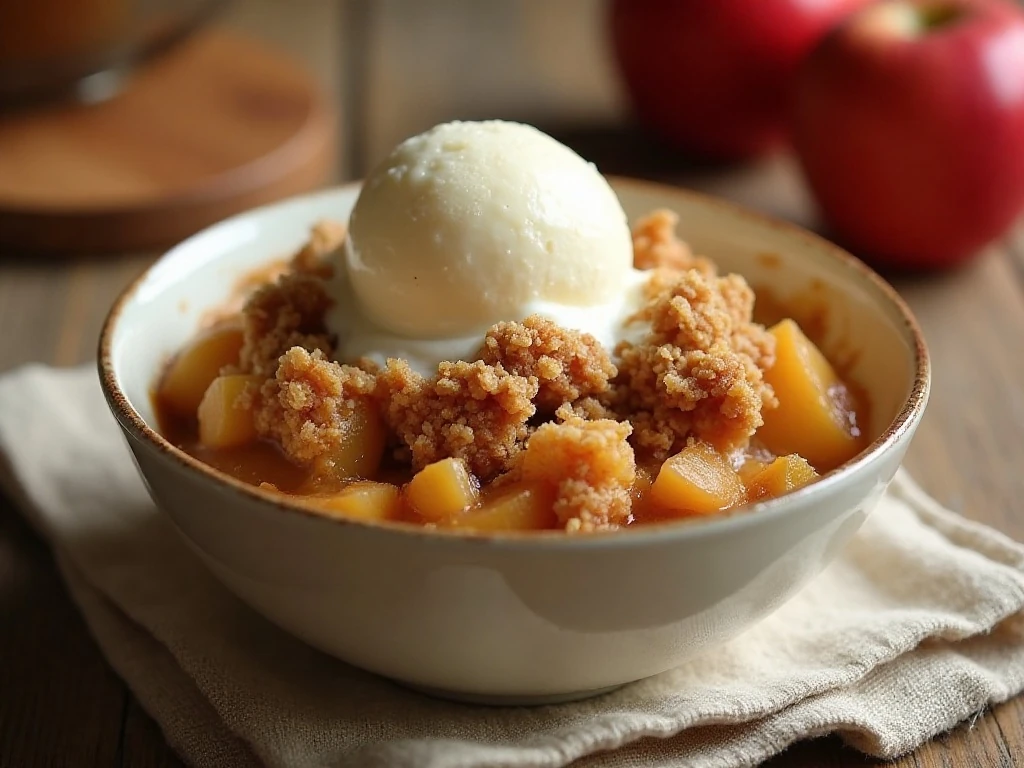
This gluten-free apple crisp is the kind of dessert that feels special without requiring complicated pastry work. There is no crust to roll, no mixer to set up, and no difficult decorating; just a fragrant apple filling and a crumbly topping baked together until golden.
Each serving offers a wonderful contrast of textures. The apples become soft and juicy while the oats turn crisp at the edges, and brown sugar gives the topping a deep caramel note that pairs beautifully with cinnamon.
The recipe makes 6–8 servings, making it suitable for a family dessert, a casual dinner party, or a weekend baking project. It is also easy to prepare ahead because the assembled dish can wait while you finish dinner, then bake just before everyone is ready for dessert.
If you enjoy sweet and savory recipes that use apples, you may also like these apple cider pork chops for a cozy main course.
Ingredients You’ll Need
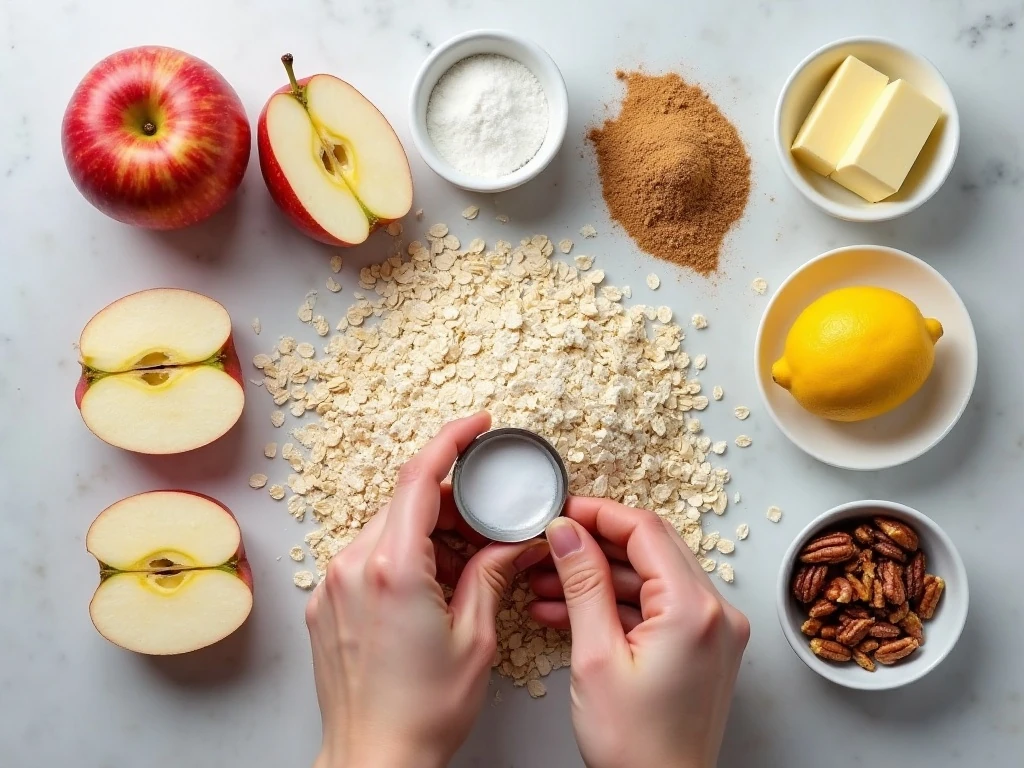
Choose apples that hold their shape in the oven and offer a balance of tartness and sweetness. Granny Smith, Honeycrisp, Pink Lady, and Braeburn are all excellent choices, and combining two varieties creates a fuller flavor.
- Apples: Six medium apples, about 2 1/2–3 pounds, peeled, cored, and sliced form the juicy base.
- Lemon juice: Two tablespoons add brightness and help keep the apple flavor fresh.
- Sweeteners: Granulated sugar seasons the fruit, while packed light brown sugar gives the topping a warm molasses flavor.
- Thickener and spices: Gluten-free all-purpose flour or cornstarch helps thicken the juices, while cinnamon, optional nutmeg, and salt bring balance.
- Oat topping: Certified gluten-free old-fashioned rolled oats and gluten-free all-purpose flour create sturdy, pleasantly nubby crumbs.
- Butter and nuts: Unsalted butter binds the topping and helps it brown; pecans or walnuts add optional crunch.
When serving someone with celiac disease, check every package carefully. Certified gluten-free oats and flour are important because ordinary oats and flour processed in shared facilities may have gluten contamination.
How to Make It Step-by-Step
Step 1: Heat the oven to 350°F (175°C) and lightly grease an 8-inch square baking dish or a similar 2-quart casserole. Greasing the dish makes serving easier and helps prevent sugary juices from sticking to the sides.
Step 2: Peel, core, and slice six medium apples into fairly even pieces. Toss them in a large bowl with lemon juice, granulated sugar, gluten-free flour or cornstarch, cinnamon, optional nutmeg, and salt until every slice is lightly coated.
Step 3: Transfer the seasoned apples to the prepared dish and spread them evenly. An even layer helps the fruit cook at the same rate and gives the topping a stable surface.
Step 4: In a clean bowl, combine the certified gluten-free oats, gluten-free all-purpose flour, packed light brown sugar, cinnamon, salt, and optional chopped pecans or walnuts. Stir the dry ingredients first so the spices and sugar are distributed throughout the topping.
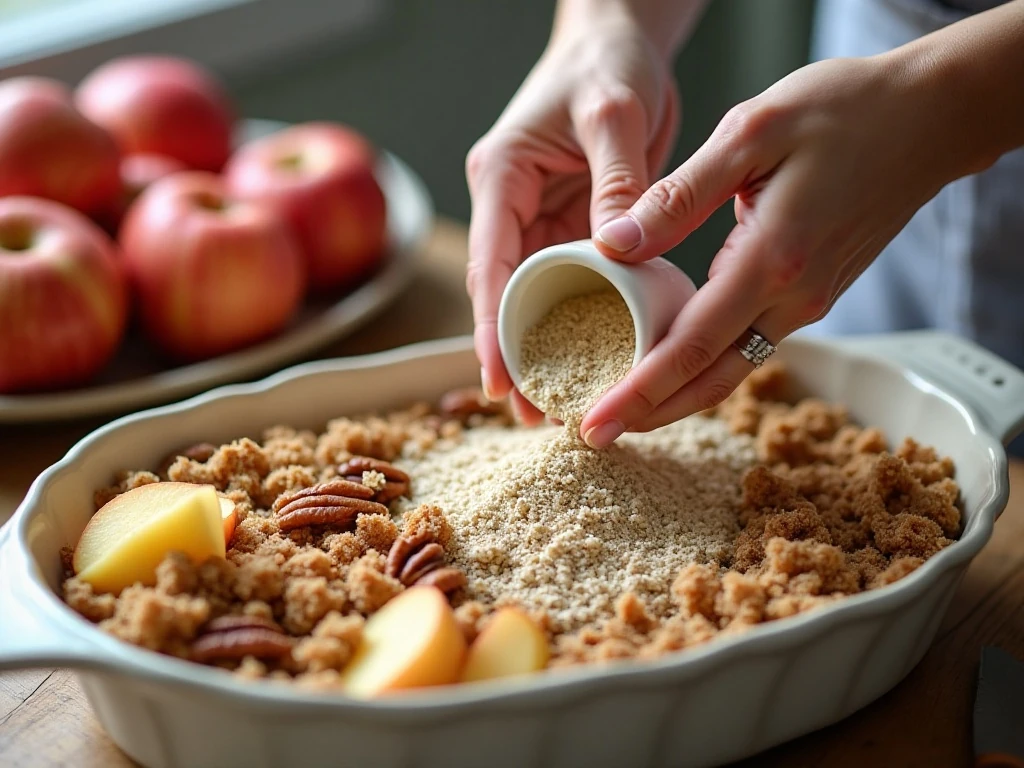
Step 5: Add the melted or softened unsalted butter and stir until moist, coarse crumbs form. Stop mixing as soon as the ingredients come together; the topping should remain crumbly rather than becoming a smooth dough.
Step 6: Scatter the topping over the apples, covering the surface as evenly as possible. A few small gaps are fine, but distributing the crumbs from edge to edge ensures every portion gets a buttery oat layer.
Step 7: Bake the crisp uncovered for 40–50 minutes. It is ready when the apples are tender, juices bubble around the edges, and the topping is golden brown; if the topping colors too quickly, loosely cover the dish with foil for the remainder of baking.
Step 8: Remove the dish from the oven and let it stand for at least 10 minutes before serving. This short rest allows the hot juices to thicken, making each spoonful easier to serve while keeping the filling delightfully warm.
Pro Tips for a Crisp, Flavorful Topping
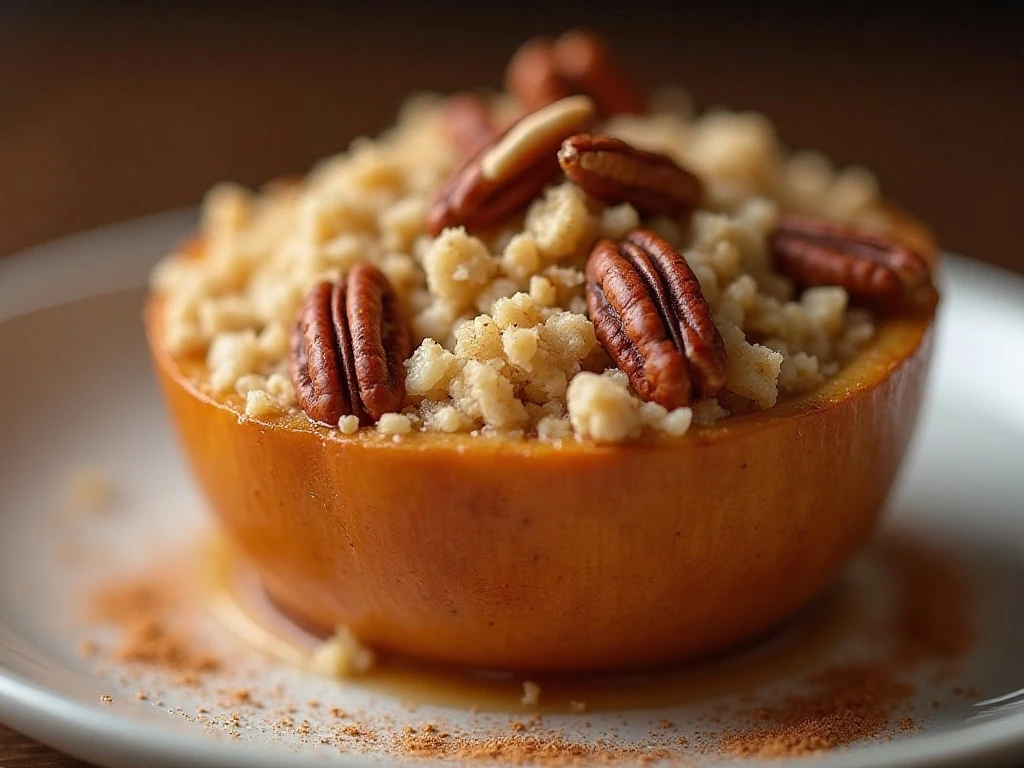
For the best apple texture, use a combination of firm tart apples and sweeter apples. This keeps the filling from becoming overly sweet or mushy while giving the finished dessert layers of flavor.
Do not cover the crisp during normal baking. An uncovered dish allows moisture to escape and helps the oats and nuts brown properly, producing the crisp surface that makes this dessert so appealing.
Both melted and softened butter work in the topping, as specified in the recipe. With either option, mix only until coarse crumbs form and avoid compacting the mixture before scattering it over the fruit.
Let the baked crisp rest before judging its texture. The apples will continue to settle, and the thickened juices will cling to the fruit instead of running immediately across the plate.
For another comforting recipe to serve at a casual gathering, try this cranberry bliss bread as a bright alternative to an apple dessert.
Serving Suggestions
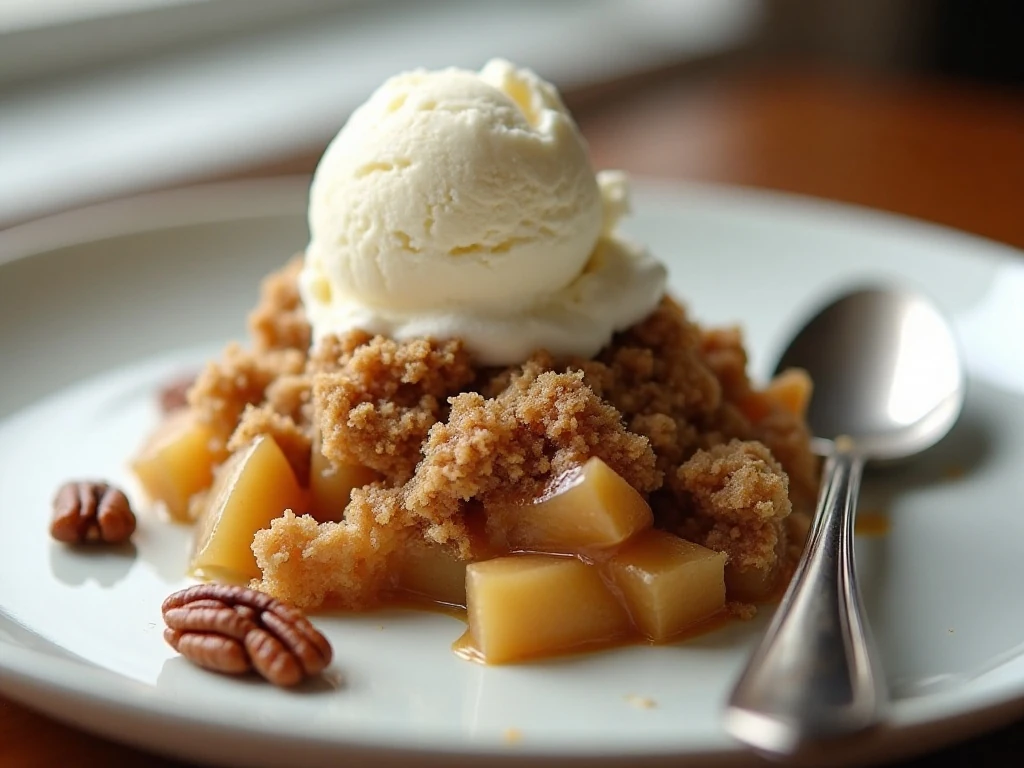
Serve this crisp warm, when the apple filling is fragrant and the topping still has its fresh-baked crunch. A scoop of vanilla ice cream is the classic pairing because the cold, creamy ice cream melts into the cinnamon-scented juices.
Whipped cream adds a light, airy finish, while plain yogurt gives the dessert a pleasantly tangy contrast. For a breakfast-style treat, a spoonful of yogurt and a few extra toasted nuts make a satisfying presentation.
For a full comfort-food menu, begin with Mexican chicken tortilla soup, follow it with a simple entrée, and finish with this warm apple crisp. The dessert also fits naturally after hearty dishes such as skillet balsamic chicken.
Storage and Reheating
Cool leftover crisp and store it covered in the refrigerator. The topping will soften slightly as it chills, but the apple filling will remain flavorful and spoonable.
Reheat individual portions until warm, or warm the baking dish gently in the oven. If you want to refresh the topping, reheat uncovered so some surface moisture can escape.
For a party buffet with several family-friendly options, this dessert can follow easy slow-cooker meatballs as part of a relaxed, make-ahead menu.

Easy Gluten-Free Apple Crisp
Ingredients
Method
- Heat the oven to 350°F (175°C) and lightly grease an 8-inch square baking dish or similar 2-quart casserole.
- Toss the sliced apples with lemon juice, granulated sugar, gluten-free flour or cornstarch, cinnamon, optional nutmeg, and salt.
- Transfer the apple mixture to the prepared baking dish and spread it into an even layer.
- Combine the certified gluten-free oats, gluten-free flour, brown sugar, cinnamon, salt, and optional chopped nuts in a bowl.
- Stir in the melted or softened butter until moist, coarse crumbs form. Avoid mixing until the topping becomes a smooth dough.
- Scatter the topping evenly over the apples, leaving no large uncovered areas.
- Bake uncovered for 40–50 minutes, until the apples are tender and bubbling around the edges and the topping is golden brown.
- Let the crisp stand for at least 10 minutes before serving so the juices can thicken.
Notes
Final Thoughts
This easy gluten-free apple crisp delivers everything a beloved fruit dessert should: tender apples, buttery crumbs, warming spices, and a golden top that invites one more spoonful. It is simple enough for a weeknight yet welcoming enough for a holiday table.
Use certified gluten-free oats and flour when cooking for someone with celiac disease, choose a balanced mix of tart and sweet apples, and give the crisp at least 10 minutes to rest after baking. Those small details make a noticeable difference in flavor, texture, and serving ease.
Bring it to the table warm with vanilla ice cream, whipped cream, or plain yogurt, and enjoy a cozy dessert that proves gluten-free baking can be wonderfully satisfying.