Crispy English Muffin Tuna Melts are an easy breakfast made with toasted English muffin halves, creamy seasoned tuna salad, and melted cheddar cheese. This quick recipe makes 4 open-faced melts in about 20–25 minutes, with just 10–15 minutes of prep and 6–10 minutes of cooking.
Each bite delivers a satisfying contrast: crisp, nubby muffin edges underneath a savory tuna filling, crunchy celery and red onion, a hint of sweet pickle relish, and bubbling golden cheese on top. It is a comforting, budget-friendly meal that works just as well for a busy morning as it does for lunch or a light dinner.
Jump to RecipeWhy You’ll Love This Recipe
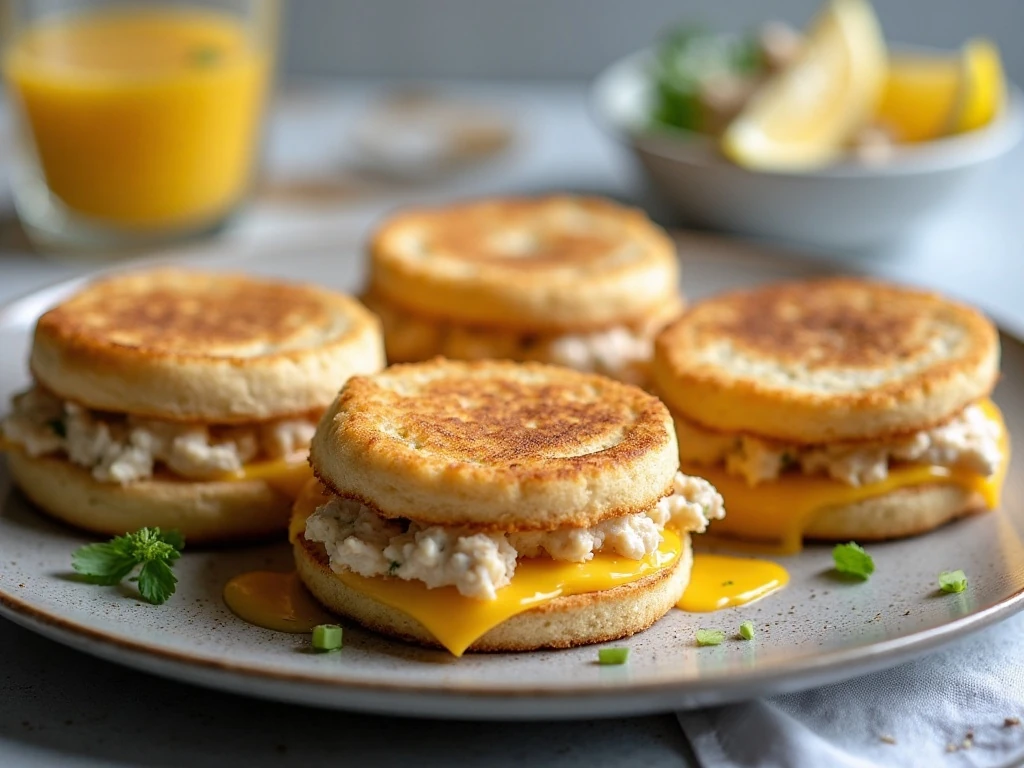
These tuna melts are designed for maximum comfort with very little work. The tuna salad comes together in one bowl, and the English muffins provide individual portions that toast quickly and hold the creamy topping without needing a knife and fork.
Water-packed tuna is an especially good choice here because it creates a firm, clean-tasting filling rather than an overly oily one. The mayonnaise adds richness, Dijon contributes gentle sharpness, and lemon juice, onion, celery, and relish keep every mouthful lively.
Cheddar is the classic choice because it melts beautifully and brings a pleasantly tangy flavor. If you enjoy changing things up, Swiss or Monterey Jack are also excellent options with the same four-slice quantity.
For another fun breakfast or brunch idea made in a familiar baking shape, try these mini apple pies in a muffin tin when you are craving something sweet after breakfast.
Ingredients You’ll Need
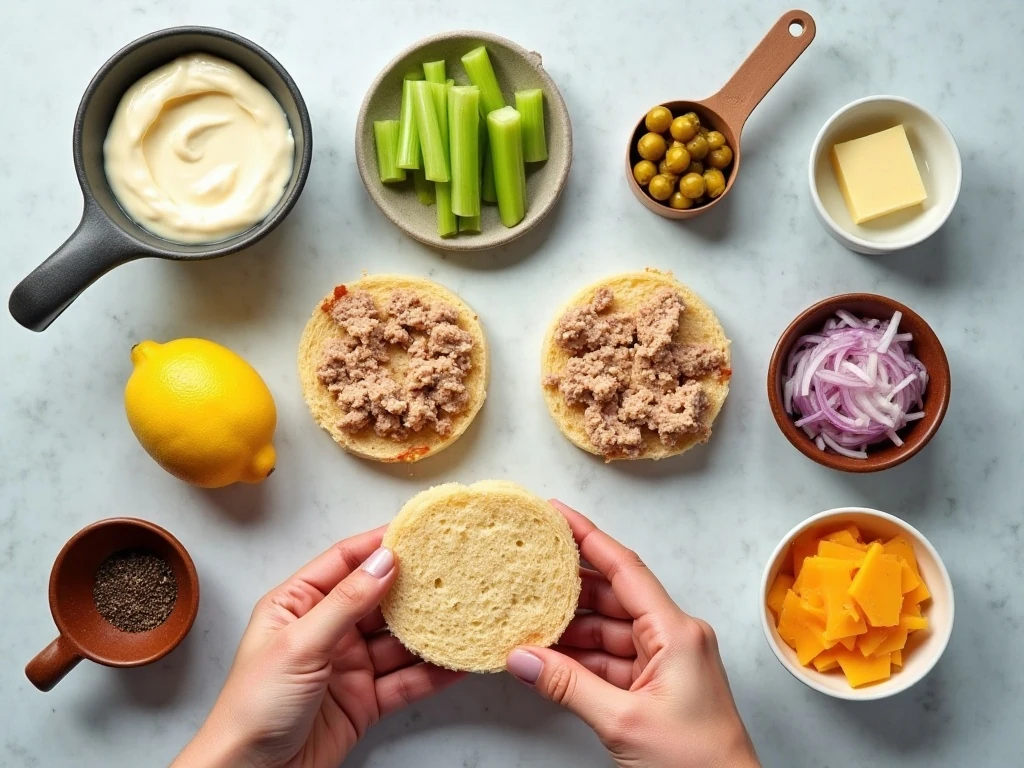
The ingredient list is short, but each item has a job in creating a balanced melt. Gather everything before you begin so the broiler or oven can do its work without delay.
- English muffins: Two split muffins provide four sturdy open-faced bases. Their nooks and crannies become wonderfully crisp around the edges.
- Tuna: Use two 5-ounce cans, drained very well. Pressing out excess liquid is one of the most important steps.
- Mayonnaise: One-third cup binds the tuna mixture and keeps it creamy.
- Crunchy vegetables: Finely chopped celery and red onion add freshness and texture.
- Flavor boosters: Dijon mustard, sweet pickle relish, lemon juice, salt, and pepper provide tang, sweetness, acidity, and seasoning.
- Cheese: Four slices of cheddar cover the melts neatly. Swiss and Monterey Jack are suitable alternatives.
- Butter or olive oil: This is optional, but a light brush on the muffin surfaces encourages extra browning and crispness.
For a dinner that uses the same cozy, cheese-topped spirit in a different way, you may also enjoy this easy ravioli pizza for a family-friendly meal.
How to Make It Step-by-Step

Step 1: Heat your cooking appliance first. Set the broiler to high, preheat a toaster oven, or heat a conventional oven to 400°F, then line a baking sheet with foil or parchment for easier cleanup.
Step 2: Drain the tuna over the sink and press it firmly with a fork or the lid of the can to remove as much liquid as possible. Transfer it to a bowl and gently flake the tuna so the final salad has a pleasantly chunky texture.
Step 3: Add the mayonnaise, finely chopped celery, red onion, sweet pickle relish, Dijon mustard, lemon juice, salt, and black pepper. Stir just until combined, then taste the mixture and adjust the salt or pepper if needed.
Step 4: Arrange the four English muffin halves cut-side up on the baking sheet. If you want the crispiest base, lightly brush the cut surfaces with butter or olive oil and toast them for 2–3 minutes before adding the tuna, taking care not to let them become too dark.
Step 5: Spoon the tuna salad evenly over the toasted muffin halves. Spread it nearly to the edges, which helps protect the muffin from drying out and ensures a generous layer of filling in every bite.
Step 6: Place one cheddar slice on each tuna-topped muffin. Keep the cheese mostly centered but close enough to the edges that it melts over the filling without running excessively onto the baking sheet.
Step 7: Broil the melts 4–6 inches from the heat for about 2–4 minutes, watching continuously during the final minute. Remove them as soon as the cheese is fully melted and lightly browned; if baking instead, cook at 400°F for 7–10 minutes.
Step 8: Serve the melts immediately. The best texture is found right away, when the muffin edges are crisp, the center is hot, and the cheese is still soft and glossy.
Pro Tips for a Crisp, Cheesy Melt
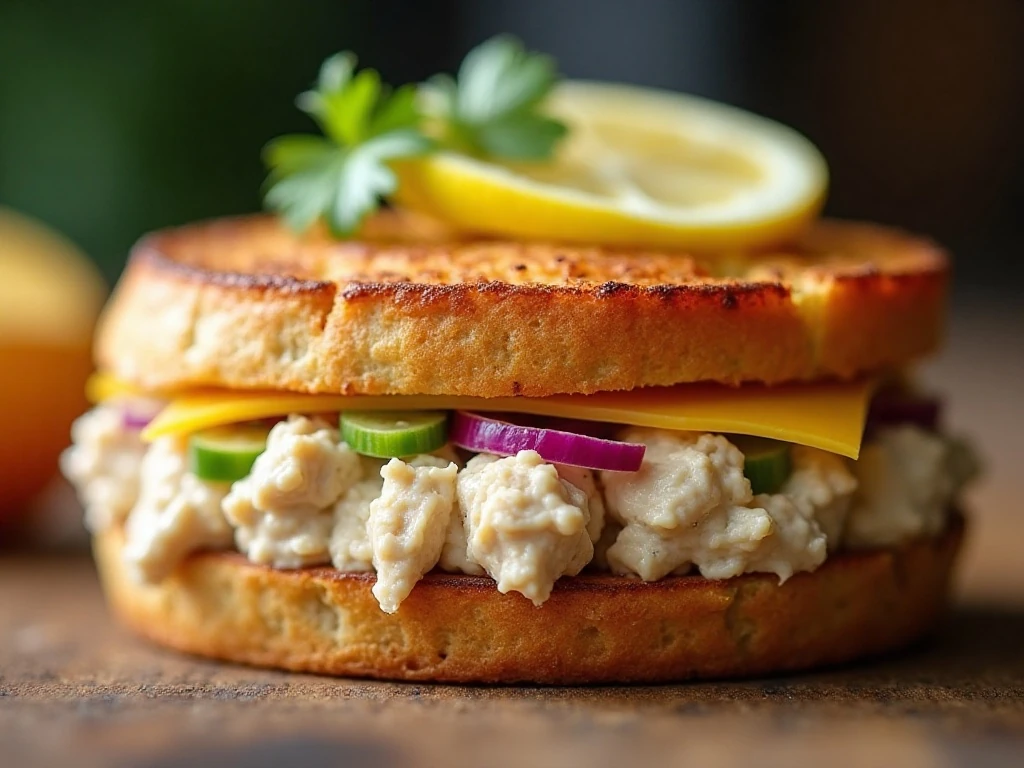
The biggest threat to a crispy English muffin is excess moisture. Drain and press the tuna thoroughly, and do not skip the brief pre-toast if you prefer a firm, crunchy base beneath the creamy salad.
Chop the celery and red onion finely so they distribute evenly instead of making the topping difficult to spread. A small dice also lets their crisp texture complement the flaky tuna rather than overpowering it.
Start with the listed amount of mayonnaise, then add more only if necessary. The tuna mixture should be creamy enough to spread but not loose or wet, especially because it will warm as the cheese melts.
Broiling is fast and gives the cheese attractive browned spots, but it requires attention. Keep the baking sheet 4–6 inches from the heat and check after 2 minutes, since cheese can go from perfectly melted to overly dark in a short time.
For a seafood-focused meal later in the day, pair these melts with a crisp salad or consider serving them alongside crispy oven-baked shrimp for a simple spread with plenty of crunch.
Serving, Storage & Reheating
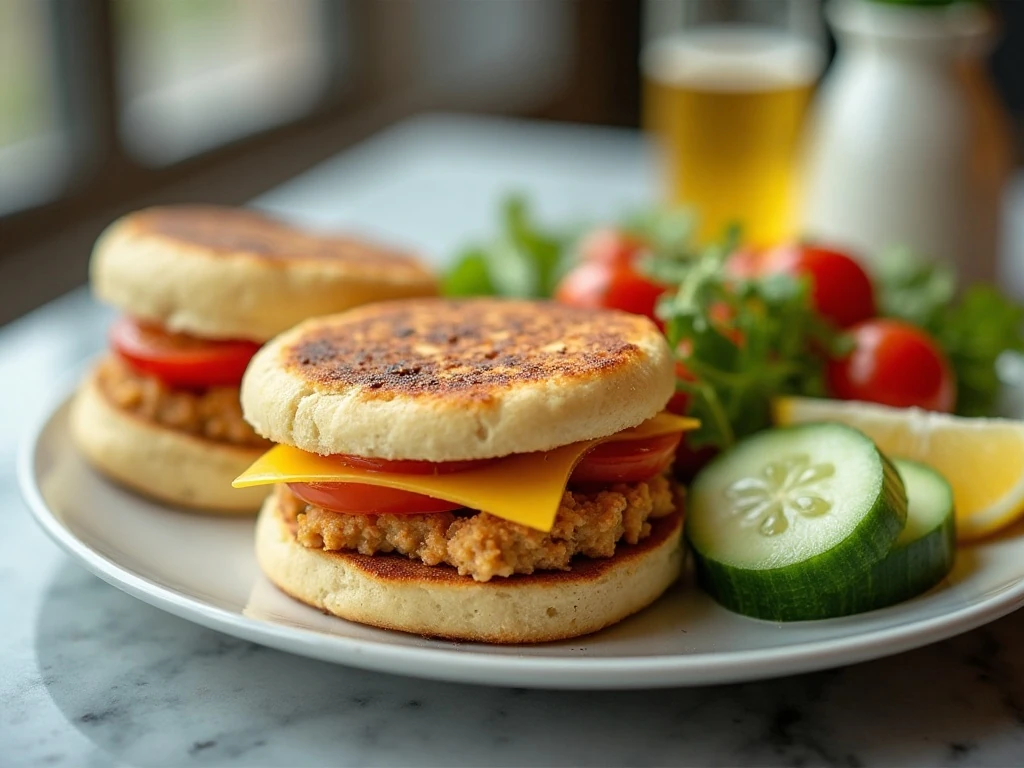
Serve the melts hot with fresh fruit, sliced tomatoes, cucumber, or a simple green salad. A few lemon wedges on the plate make the tuna taste even brighter, while a pinch of chopped parsley adds a fresh finishing touch if you have it available.
Because the muffin is crispest immediately after cooking, these melts are best enjoyed fresh. If you have leftover tuna salad, store it separately in a covered container in the refrigerator and assemble new melts when ready to eat.
Already assembled leftovers can be refrigerated, but the English muffin will soften as it sits. Reheat them in a toaster oven or 400°F oven until hot and the cheese melts again; avoid relying on the microwave alone if you want to preserve the crisp base.
For a complete menu, finish with a fruit dessert such as this easy cherry cobbler. Its warm fruit and buttery topping make a lovely contrast to the savory tuna melts.
Easy Variations to Try
The classic version is hard to beat, but small changes can make the recipe fit your preferences. Use Swiss for a nuttier finish or Monterey Jack for a mild, extra-melty topping while keeping the same quantity of four slices.
- Replace some of the mayonnaise with a little additional Dijon for a sharper tuna salad.
- Leave out the relish for a more savory profile, or keep it for a sweet-tangy note.
- Add a little extra black pepper when serving if you enjoy more bite.
- Use the optional lemon juice to brighten the filling, especially when the tuna tastes rich.
- Brush the muffin surfaces lightly with olive oil for a crisp, savory edge.
If you are planning a broader meal with bold flavors, these melts can be followed by an easy Thai green curry on another night, giving your weekly menu a flavorful change of pace.
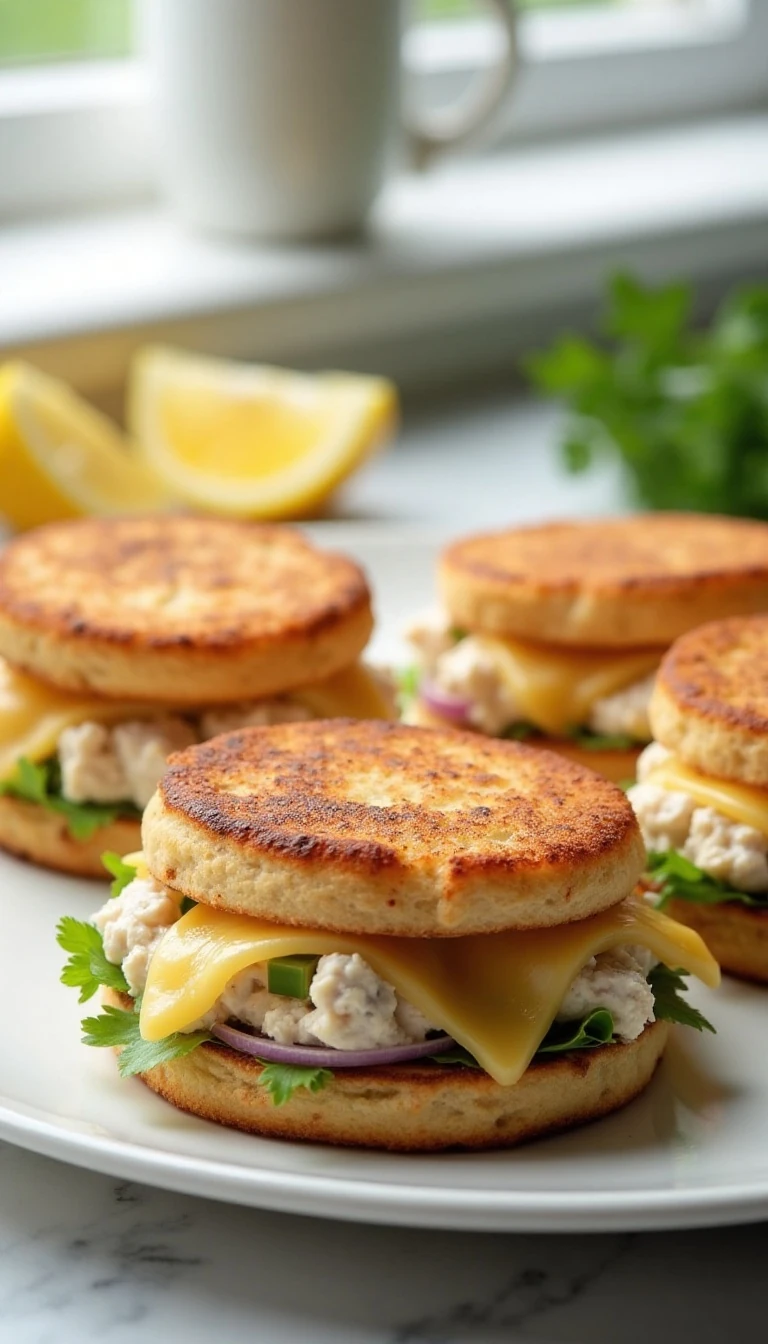
Crispy English Muffin Tuna Melts Made Easy
Ingredients
Method
- Heat the broiler, toaster oven, or oven to 400°F. Line a baking sheet with foil or parchment.
- Drain the tuna thoroughly, pressing out excess liquid, and flake it into a medium bowl.
- Stir in the mayonnaise, celery, red onion, sweet pickle relish, Dijon mustard, lemon juice, kosher salt, and black pepper. Taste and adjust the seasoning.
- Place the English muffin halves cut-side up on the prepared baking sheet. For extra crispness, lightly brush the surfaces with butter or olive oil and toast for 2-3 minutes before adding the tuna.
- Divide the tuna mixture evenly among the four muffin halves, spreading it nearly to the edges so every bite has a generous topping.
- Top each melt with a slice of cheddar. Broil 4-6 inches from the heat for about 2-4 minutes, watching closely, until the cheese melts and lightly browns. Alternatively, bake at 400°F for 7-10 minutes.
- Serve immediately while the muffin edges are crisp, the filling is hot, and the cheese is soft and golden.
Notes
Final Thoughts
Crispy English Muffin Tuna Melts prove that a satisfying breakfast does not need complicated preparation. With well-drained tuna, crunchy vegetables, toasted muffin halves, and bubbling cheddar, you get a hot, filling meal with excellent texture in about 20–25 minutes.
Toast the muffins before topping, keep the tuna mixture thick, and watch the broiler closely. Follow those simple details, and these open-faced melts will come out crisp underneath, creamy in the center, and beautifully browned on top every time.