Make easy homemade gourmet chocolate with any filling by tempering couverture chocolate, forming thin shells in a clean mold, adding your favorite prepared filling, and sealing each piece with more chocolate. This flexible method yields about 24 small filled chocolates in approximately 1 to 1 1/2 hours, including setting time.
The finished chocolates have a glossy surface, a satisfying snap, and a creamy or chewy center that can be customized with ganache, caramel, peanut butter, pistachio cream, fruit pâte de fruit, or dulce de leche. Once you understand the shell-and-seal technique, homemade chocolate becomes an impressive treat for holidays, gifts, dessert boards, and dinner parties.
Jump to RecipeWhy You’ll Love This Recipe
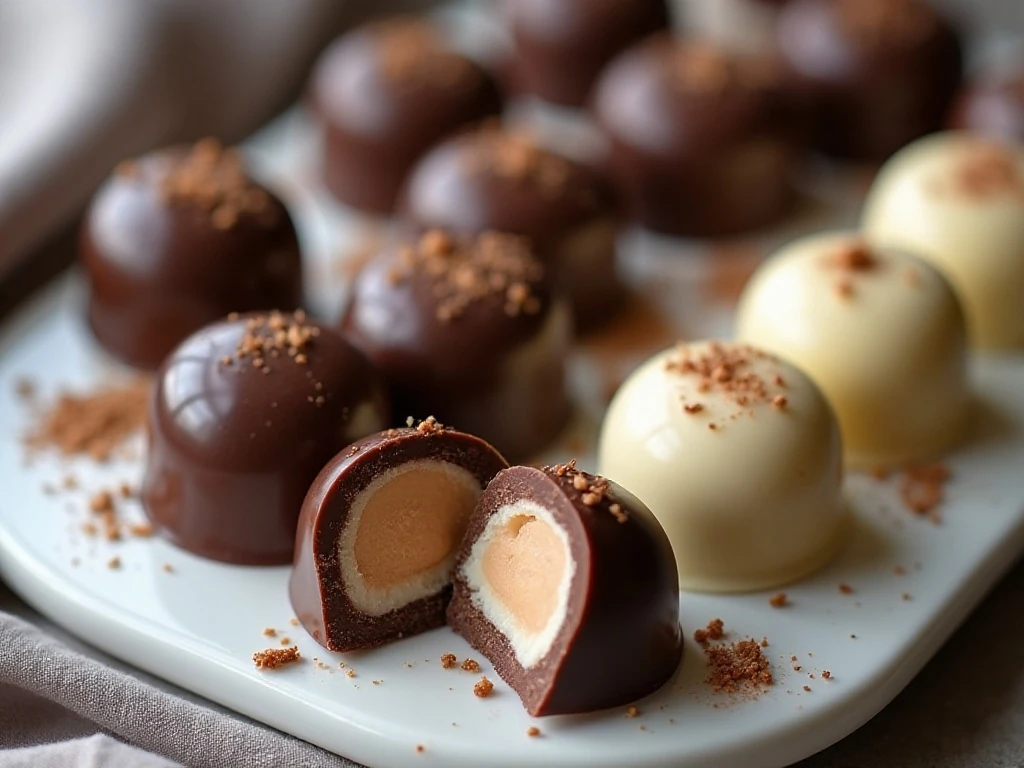
These homemade gourmet chocolates look like they came from a specialty confectionery, yet the method is manageable in a home kitchen. The real advantage is the filling freedom: one batch of shells can hold several different centers, so everyone can choose a favorite.
Couverture chocolate provides the best finish because it contains enough cocoa butter to melt smoothly and temper properly. When tempered correctly, the shells are shiny rather than dull, firm rather than sticky, and pleasantly snappy when bitten.
This recipe also makes a thoughtful edible gift. Arrange assorted fillings in small paper cups, tie the box with ribbon, and include a note identifying the flavors, especially if any contain nuts or dairy.
For another chocolate-centered dessert idea, serve these beside our flourless chocolate cookies on a dessert tray.
Ingredients You’ll Need
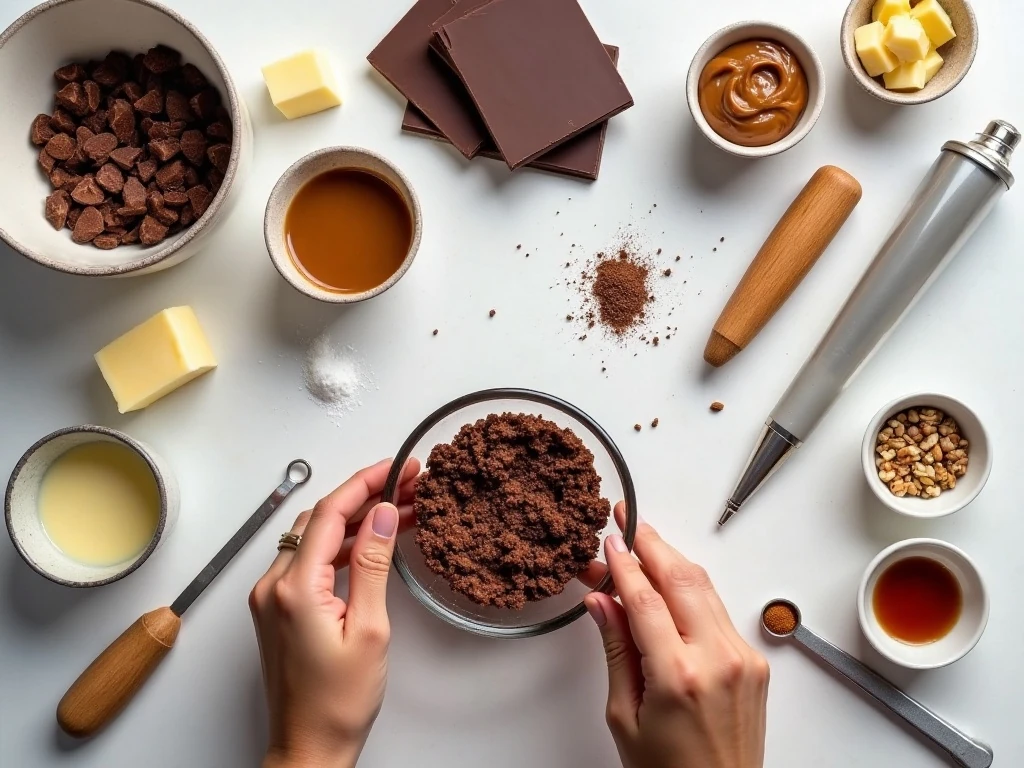
The main ingredient is 12 ounces (340 g) of finely chopped couverture chocolate. Dark chocolate between 60% and 70% cacao has a rich, balanced flavor, while milk and white chocolate can be used when you prefer a sweeter shell.
A teaspoon of neutral oil or cocoa butter is optional. Couverture chocolate generally does not need it, but a small amount can make the coating softer and thinner if your chocolate is especially thick.
Choose approximately 3/4 cup (180 g) of prepared filling. Excellent choices include:
- Silky chocolate ganache
- Soft caramel or dulce de leche
- Peanut butter or pistachio cream
- Fruit pâte de fruit
- A thick, seedless fruit spread
For texture, add 2 to 3 tablespoons of chopped toasted nuts, shredded coconut, dried fruit, or cookie crumbs. Keep crunchy additions finely chopped so they do not puncture the shells.
To make the simple ganache, combine 3 1/2 ounces (100 g) finely chopped chocolate with 1/3 cup (80 ml) heavy cream, plus optional butter, salt, and vanilla. The cream should be steaming but never boiling when poured over the chocolate.
If you are planning a large party platter, balance the sweet chocolates with savory bites such as these jalapeno popper rolls. A mix of sweet and savory snacks keeps the table interesting.
Choosing the Best Filling
The filling should be thick enough to stay in place and dry enough that it will not soften the shell too quickly. Ganache, dulce de leche, firm caramel, peanut butter, and pistachio cream are reliable choices for beginners because they are easy to pipe and portion.
Fruit pâte de fruit offers a bright contrast to dark chocolate, with a pleasantly chewy texture. Fresh fruit, loose jam, whipped cream, or other wet fillings require more care because moisture can shorten the chocolates’ shelf life and may cause the shells to lose their crisp texture.
For a varied box, prepare one filling and divide it into small bowls, flavoring each portion differently. Try vanilla in one, espresso powder in another, or a little orange zest in a third, while keeping the filling thick enough to pipe.
Do not fill the shells all the way to the top. Leaving approximately 1/8 inch (3 mm) of space gives the sealing chocolate somewhere to sit and helps prevent leaks.
How to Make It Step-by-Step
Step 1: Prepare the filling before melting the shell chocolate. For ganache, heat the cream until steaming but not boiling, pour it over the chopped chocolate, and leave it undisturbed for 2 minutes so the chocolate begins to soften.
Stir from the center outward until the mixture becomes glossy and smooth. Blend in the optional butter, pinch of salt, and vanilla, then let the ganache cool until it is thick but still pipeable.
Step 2: Set up a completely dry work area with your mold, scraper, piping bag or small spoon, thermometer, bowls, and spatula. Water is the enemy of melted chocolate, so dry every tool carefully and keep steam away from the work surface.
Finely chop the 12 ounces of couverture chocolate. Reserve about two-thirds for melting and keep the remaining one-third nearby to use as seed chocolate during tempering.
Step 3: Melt the two-thirds portion gently over a double boiler, stirring often, or use short microwave intervals with frequent stirring. The chocolate should become fluid and smooth without overheating.
If using a microwave, brief heating periods are safer than one long burst. Stirring distributes the heat and helps prevent scorched spots, particularly with milk or white chocolate.
Step 4: Bring the melted chocolate to the correct working range for its type. Melt dark chocolate to about 113-122°F (45-50°C), milk chocolate to 105-113°F (40-45°C), or white chocolate to 104-113°F (40-45°C).
Stir in the reserved unmelted chocolate to cool and seed the mixture. Continue stirring until dark chocolate reaches 88-90°F (31-32°C), milk chocolate reaches 86-88°F (30-31°C), or white chocolate reaches 82-84°F (28-29°C).
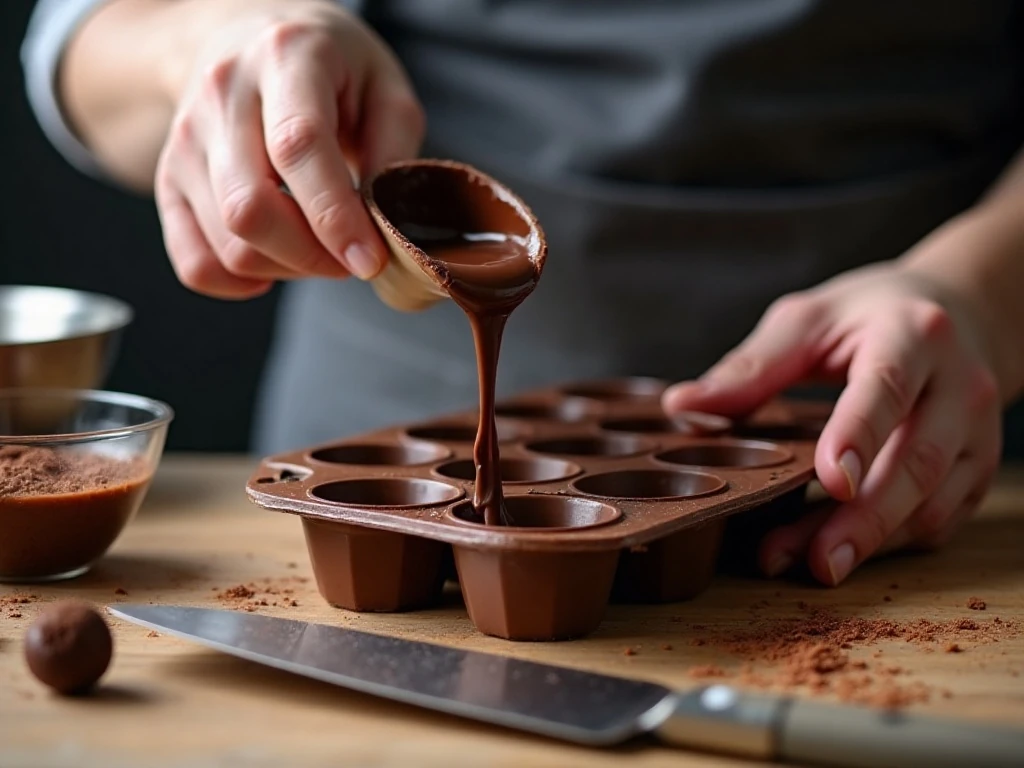
Step 5: Fill each clean, dry mold cavity with tempered chocolate using a spoon or piping bag. Turn the mold upside down over the bowl and allow the excess to drain, creating shells approximately 1/8 inch (3 mm) thick.
Scrape across the mold surface to remove drips and leave neat edges. Let the shells partially set for several minutes, but do not let them become so hard that the filling cannot bond to the chocolate.
Step 6: Pipe or spoon the prepared filling into the shells. Stop about 1/8 inch (3 mm) below the rim and gently tap the mold to settle the filling and release any trapped air.
If adding chopped toasted nuts, coconut, dried fruit, or cookie crumbs, sprinkle in only 2 to 3 tablespoons total. Keep the additions away from the rim so the final chocolate seal can close completely.
Step 7: Cover every cavity with tempered chocolate, spreading it across the mold to form a flat base. Scrape firmly but carefully across the top so the chocolates have clean edges and an even chocolate foot.
Tap the mold gently on the counter once or twice to remove air bubbles. Avoid vigorous tapping, which can disturb the filling or cause chocolate to spill over the sides.
Step 8: Let the chocolates set at cool room temperature for 30 to 60 minutes, or refrigerate for 15 to 20 minutes when you need a faster set. They are ready when the surface is firm and the pieces release easily from the mold.
Turn silicone molds inside out gently or invert polycarbonate molds with a confident tap. If the chocolates resist, allow them to set longer rather than forcing them out.
Tempering Tips for Glossy Chocolate
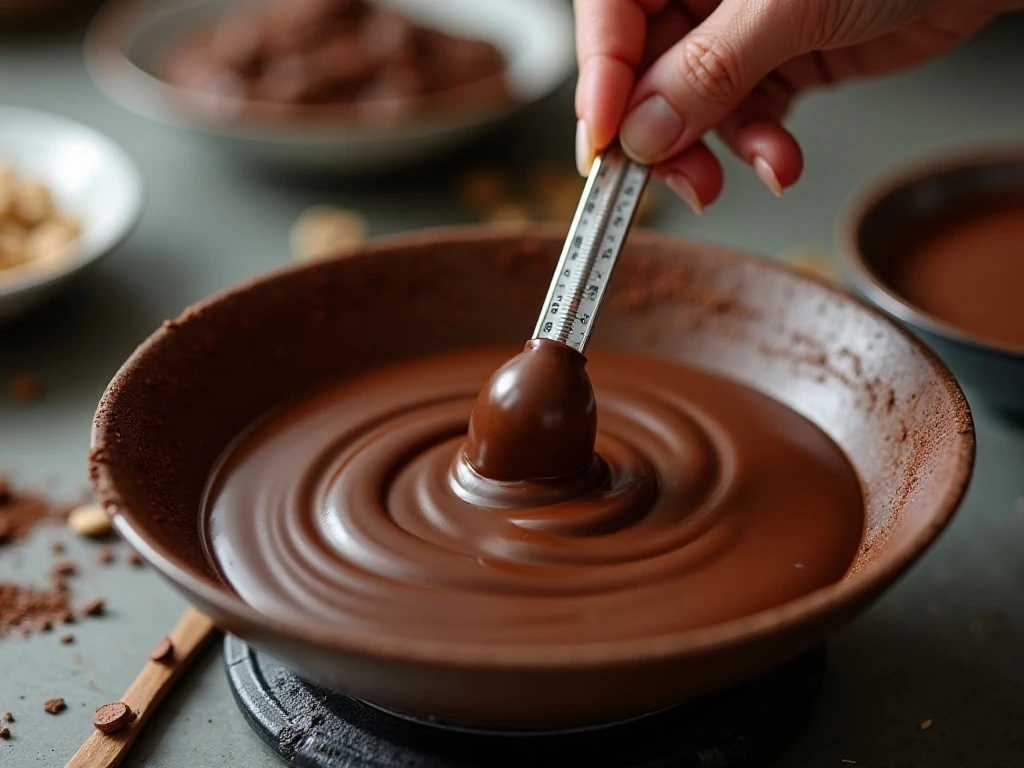
Tempering aligns the cocoa butter crystals, which is what gives finished chocolate its shine, snap, and clean release. A thermometer makes the process much more dependable, especially when working with milk or white chocolate.
Keep the chocolate moving while it cools with the reserved unmelted pieces. If a few unmelted pieces remain after the temperature reaches the target range, remove them before molding.
Chocolate that is too hot may set slowly or develop pale streaks. Chocolate that is too cool may thicken before the shells are complete, so work steadily and return it briefly to gentle heat only if necessary.
For more practical party-food inspiration, add a tray of easy cornbread muffins to your buffet. Their tender crumb pairs well with a dessert table that includes these small chocolates.
Common Mistakes to Avoid
The most common problem is moisture. Even a drop of water can cause melted chocolate to seize into a thick, grainy paste, so use dry bowls, dry utensils, and a mold that has not been washed immediately before use unless it has been dried completely.
Another frequent mistake is overfilling. A small gap at the top is essential because it gives you room to add a solid chocolate seal; without it, filling may press against the edges and leak.
Do not rush the setting stage or unmold chocolates that still feel soft. Properly tempered chocolate should release cleanly, while a piece that clings to the mold may need additional time or may have been tempered outside the correct range.
Use thick fillings rather than warm, runny ones. A warm filling can melt the shell from the inside, so always cool ganache and similar mixtures until they are pipeable but not hot.
For a lively appetizer spread before dessert, offer a bowl of homemade salsa with crisp chips. The fresh, tangy flavors create a welcome contrast to rich chocolate.
Storage and Serving
Store finished chocolates in an airtight container at approximately 60-68°F (16-20°C). Keep them away from sunlight, heat, humidity, and strong odors, since chocolate can absorb surrounding aromas.
Routine refrigeration is not ideal because condensation may dull the surface and affect the texture. If the filling contains fresh cream or fruit, refrigerate the chocolates when food safety requires it and consume them within several days.
Let refrigerated chocolates sit briefly in their closed container before opening it. This reduces the chance that warm, humid air will condense directly on the cold shells.
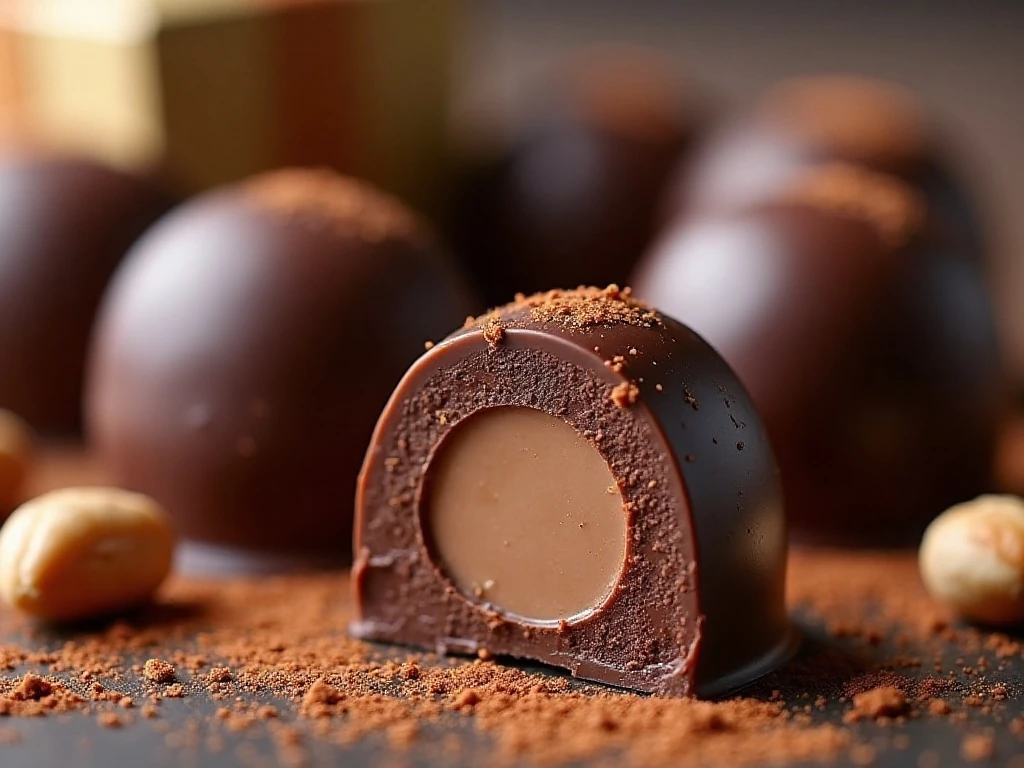
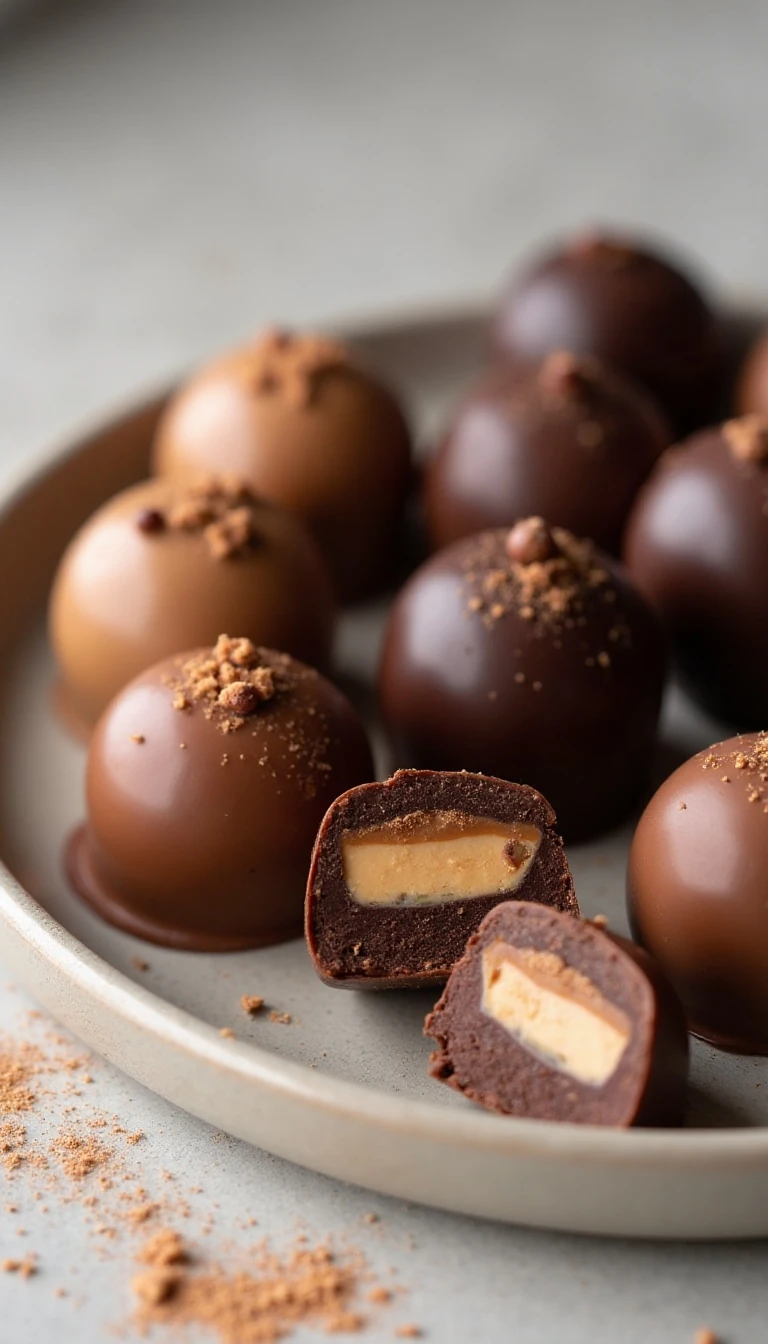
Serve the chocolates slightly cool or at a comfortable room temperature. Arrange them with the cut sides of a few pieces facing upward so guests can see the ganache, caramel, or nut center inside.
Flavor Combinations to Try
Dark chocolate and salted caramel make a classic pairing, while milk chocolate with peanut butter tastes like a polished homemade candy bar. White chocolate works beautifully with pistachio cream, dried cherries, or a tart fruit center.
For a coffeehouse-inspired assortment, fill dark shells with vanilla ganache, add a pinch of espresso powder, or fold finely chopped toasted hazelnuts into the center. Orange zest, coconut, cinnamon, and almond are also easy ways to create distinct flavors from one batch.
When serving guests, mark the flavors with small cards. This is especially useful for identifying chocolates that contain peanuts, tree nuts, dairy, or other ingredients that may matter to your guests.
If you enjoy making edible gifts, you can pair a small box of chocolates with a jar of homemade cold packed pickled peppers for an unexpected sweet-and-savory gift basket.
Easy Homemade Gourmet Chocolate With Any Filling
Ingredients
Method
- Prepare the filling first. For ganache, heat the heavy cream until steaming but not boiling, pour it over the chopped chocolate, and let it stand for 2 minutes. Stir until smooth, then mix in the optional butter, salt, and vanilla; cool until thick but still pipeable.
- Make sure the mold, bowls, spatula, knife, and piping bag are completely clean and dry. Finely chop the couverture chocolate and reserve about one-third for tempering.
- Melt about two-thirds of the chopped chocolate gently over a double boiler or in short microwave intervals, stirring frequently. Do not allow steam or water to contact the chocolate.
- Temper the chocolate by melting dark chocolate to 113-122°F (45-50°C), milk chocolate to 105-113°F (40-45°C), or white chocolate to 104-113°F (40-45°C). Stir in the reserved unmelted chocolate, then cool dark chocolate to 88-90°F (31-32°C), milk chocolate to 86-88°F (30-31°C), or white chocolate to 82-84°F (28-29°C).
- Spoon or pipe tempered chocolate into the mold, then turn it upside down over the bowl to drain away excess chocolate. Scrape the mold clean, leaving shells about 1/8 inch (3 mm) thick, and let them partially set for several minutes.
- Pipe or spoon the cooled filling into each shell, stopping about 1/8 inch (3 mm) below the rim. Add optional nuts, coconut, dried fruit, or cookie crumbs without overfilling the cavities.
- Cover the filling with the remaining tempered chocolate to create a solid chocolate foot. Scrape the mold flat and tap it gently on the counter to remove air bubbles.
- Let the chocolates set for 30-60 minutes at cool room temperature, or refrigerate them for 15-20 minutes. Unmold only when the chocolate is firm and releases easily, then store the finished pieces in an airtight container.
Notes
Final Thoughts
Homemade gourmet chocolate is all about a few careful habits: use couverture chocolate, keep every tool dry, temper with patience, and leave enough room to seal the filling. The method is simple once the shell thickness and working temperatures become familiar.
Start with a forgiving ganache or dulce de leche, then experiment with pistachio cream, caramel, fruit pâte de fruit, peanut butter, and crunchy mix-ins. The same technique can produce an elegant assortment with different chocolates and fillings from a single afternoon of cooking.
These chocolates are best enjoyed for their contrast: the crisp shell gives way to a soft, creamy, chewy, or nutty center. Make them for a celebration, package them as a gift, or keep a small box ready for the moment when an ordinary dessert needs a special finish.