Mini Caramel Apple Pops are a quick, festive candy made with firm apple pieces, warm melted caramel, and small lollipop sticks. This recipe makes about 24 to 30 pops in roughly 50 to 60 minutes, including 20 to 30 minutes of chilling, so it is an excellent choice for Halloween parties, fall gatherings, school celebrations, and dessert tables.
Granny Smith apples are especially delicious here because their crisp, tart flavor balances the rich sweetness of the caramel. Each tiny pop has a juicy apple center, a smooth chewy coating, and plenty of room for toppings such as chopped nuts, mini chocolate chips, sprinkles, or crushed cookies.
Jump to RecipeWhy You’ll Love This Recipe

Traditional caramel apples are delicious, but a whole apple can be messy to dip, slice, and eat. These mini pops offer the same classic fall flavor in a tidy, party-friendly size that guests can pick up with one hand.
The small apple balls also make decorating easy. You can prepare one batch with several toppings, allowing everyone to choose between salty nuts, creamy chocolate, bright sprinkles, or crisp cookie crumbs.
They are especially appealing for autumn birthdays, harvest parties, bake sales, and Halloween snack tables. For another apple-centered treat with a soft, pastry-style finish, you can also try our apple pie cups.
Ingredients You’ll Need
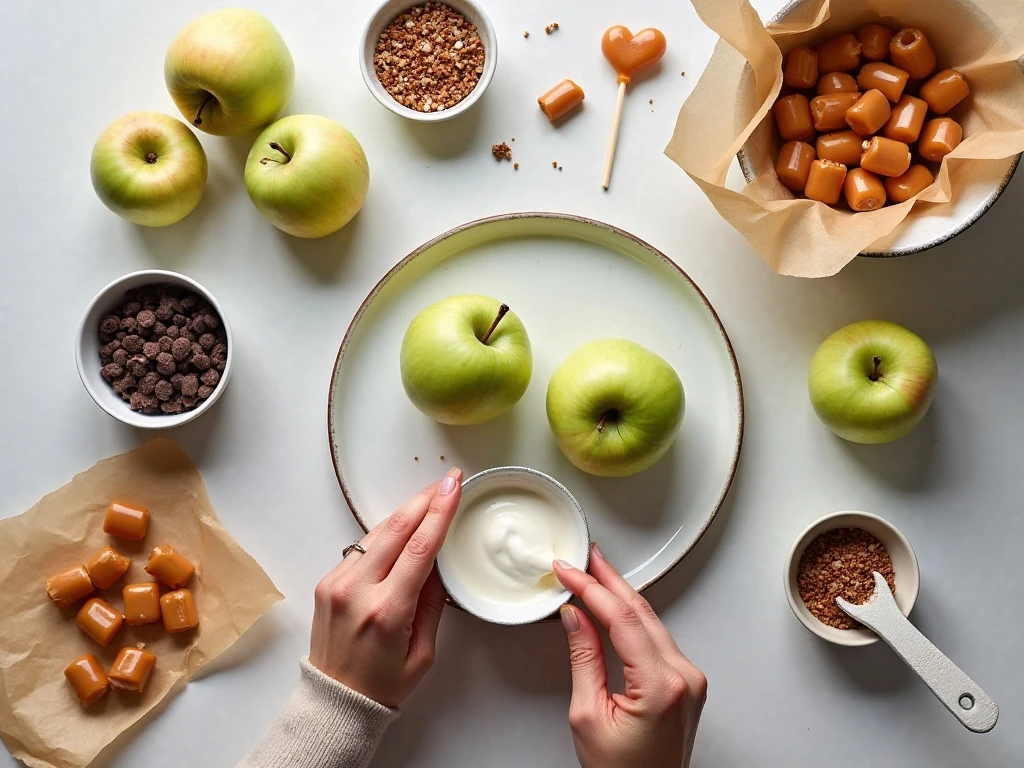
The ingredient list is short, but each item has an important job. Choose apples that are firm enough to hold their shape and caramel that melts into a smooth, spoonable coating.
- Apples: Four medium Granny Smith apples provide enough fruit for approximately 24 to 30 small pops, depending on the size of the melon-balled pieces.
- Caramel: Use 11 ounces of individually wrapped soft caramels with the wrappers removed, or one 11-ounce bag of caramel bits.
- Liquid: Two tablespoons of heavy cream, evaporated milk, or water help the caramel melt smoothly and remain fluid during dipping.
- Sticks: Small lollipop sticks, cake-pop sticks, or short wooden skewers make the pieces easy to hold.
- Toppings: Chopped peanuts, pecans, walnuts, mini chocolate chips, sprinkles, and crushed cookies are all optional.
Granny Smith is the most common choice because its tartness cuts through the sweetness of the caramel. Other firm apples can work, but avoid soft or mealy fruit that may break apart during scooping.
How to Make It Step-by-Step
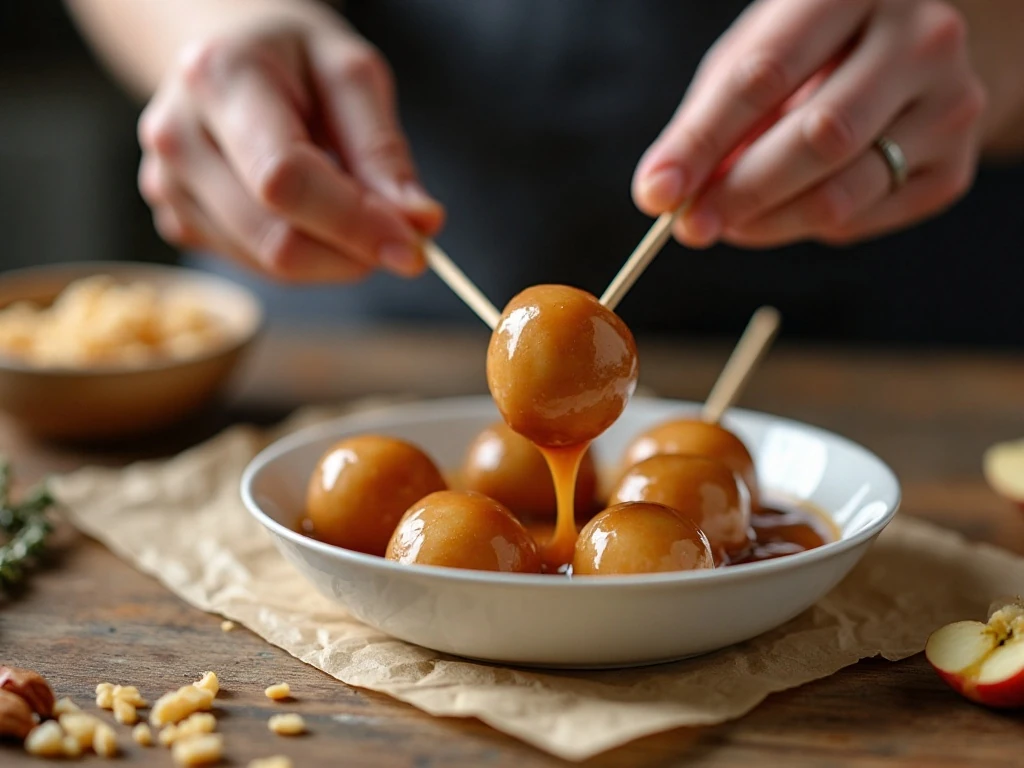
Step 1: Wash the apples thoroughly under cool running water and dry them completely with a clean towel. Remove the stems, since the melon baller needs a clear surface for making neat, rounded pieces.
Step 2: Use a small melon baller to scoop round apple pieces from the flesh, rotating the apple as you work. Trim any uneven pieces with a small knife so each one has a relatively flat side for the stick and a rounded side for the caramel.
Step 3: Immediately pat every apple piece dry with several layers of paper towel. This detail matters because moisture, juice, or condensation can prevent the caramel from gripping the apple and may cause the coating to slide off.
Step 4: Push one lollipop stick, cake-pop stick, or short wooden skewer into the flat side of each apple piece. For a cleaner finish, keep the stick centered and avoid pushing it through the rounded side.
Step 5: Arrange the prepared apple pieces on a parchment-lined tray and chill them for 15 to 20 minutes. Do not freeze them, because freezing can create excess condensation as the fruit warms and can make coating more difficult.
Step 6: Put the unwrapped soft caramels or caramel bits and two tablespoons of heavy cream, evaporated milk, or water into a microwave-safe bowl. Microwave in 30-second intervals, stirring thoroughly after each interval, until the mixture is glossy and smooth; the melting time is usually 1 1/2 to 3 minutes depending on the microwave.
Step 7: Hold one chilled apple piece by its stick and dip the rounded portion into the warm caramel. Turn it gently to coat most of the surface, then lift it slowly and let excess caramel drip back into the bowl.
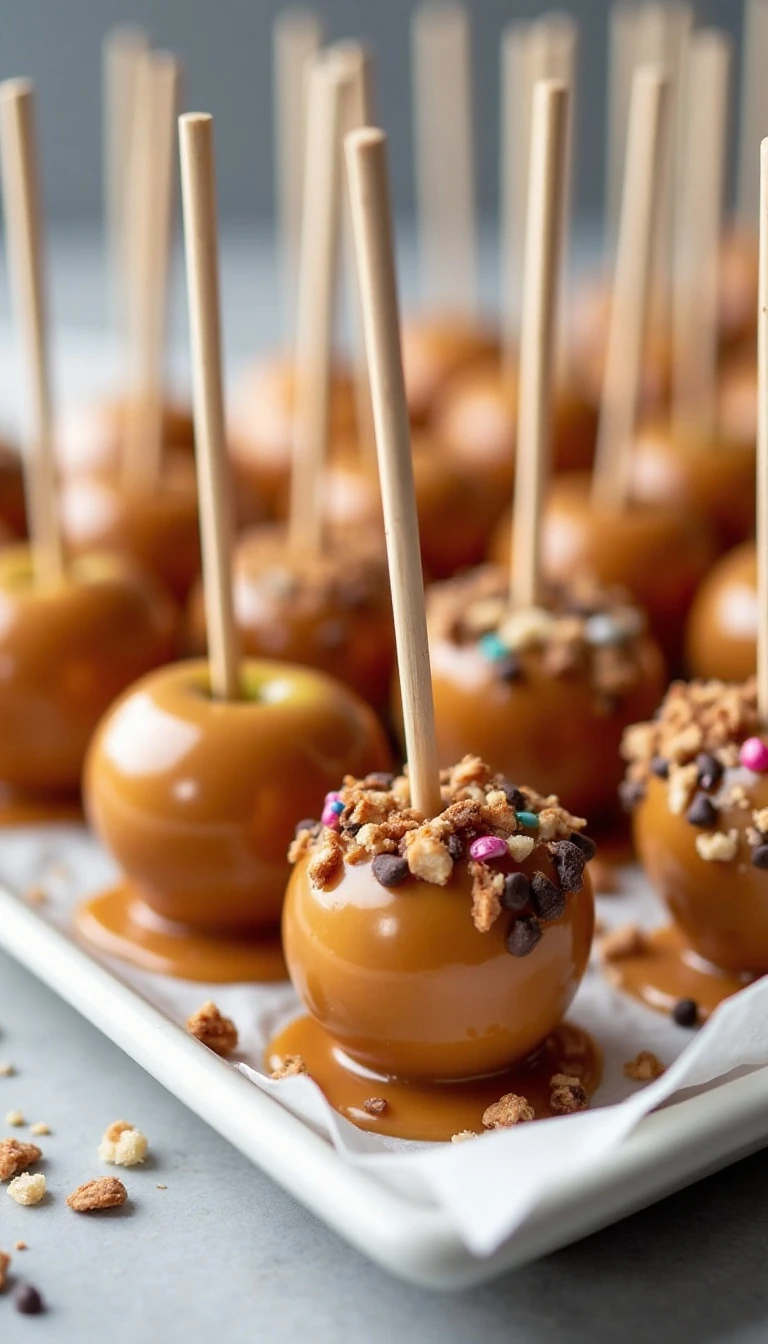
Step 8: Place the coated pop caramel-side up on a parchment- or wax-paper-lined baking sheet. Add chopped nuts, mini chocolate chips, sprinkles, or crushed cookies immediately, while the caramel is still soft enough for the toppings to stick.
Step 9: Continue dipping and decorating the remaining apple pieces, stirring the caramel occasionally so it stays consistent. If it becomes too thick, reheat it briefly and stir in a small additional amount of cream or water.
Step 10: Refrigerate the completed pops for 20 to 30 minutes, or until the caramel feels firm. Serve them chilled or shortly after taking them from the refrigerator for the best texture and appearance.
Caramel Coating and Topping Ideas

The caramel is sweet, buttery, and chewy, making it a natural partner for crisp, salty, or chocolatey toppings. Add decorations while the coating is warm rather than waiting until it sets.
- Classic nut crunch: Use chopped peanuts for a familiar caramel-apple flavor, or choose pecans and walnuts for a richer, buttery crunch.
- Chocolate finish: Press mini chocolate chips into the coating before chilling. Milk, semisweet, or dark chocolate can each provide a different balance.
- Colorful party pops: Use seasonal sprinkles for birthdays, Halloween, Thanksgiving, or classroom celebrations.
- Cookie crumble: Crushed sandwich cookies, graham crackers, or crisp wafer cookies add a pleasing contrast to the chewy caramel.
For a dessert-table spread, vary the toppings across the same batch so the pops look abundant and festive. A small label beside each group can identify nut toppings for guests with allergies.
If you are planning a larger party menu, pair these sweet bites with our mini cheese dogs for an easy sweet-and-savory combination.
Pro Tips for Smooth, Sturdy Pops
Dry apples are the most important factor in this recipe. After washing, dry the whole apples before scooping and then pat the individual pieces again just before inserting the sticks.
Keep the caramel warm and fluid, but do not overheat it. Excessive heat can make the mixture thin, grainy, or more likely to slide away from the apple surface.
- Use parchment or wax paper rather than placing the coated pops directly on a plate, where the caramel may stick.
- Dip only the rounded portion and leave the flat stick-side mostly uncovered for a neat, controlled shape.
- Work in small batches if the caramel cools quickly in your kitchen.
- Keep the apple pieces cold but never frozen before dipping.
- Stir the caramel between dips to keep the texture even.
A melon baller gives the most consistent pieces, which helps the pops chill at the same rate. If some scoops are small and others are large, use the smaller pieces for children and save the bigger ones for guests who want a more substantial treat.
Storage, Serving, and Party Planning
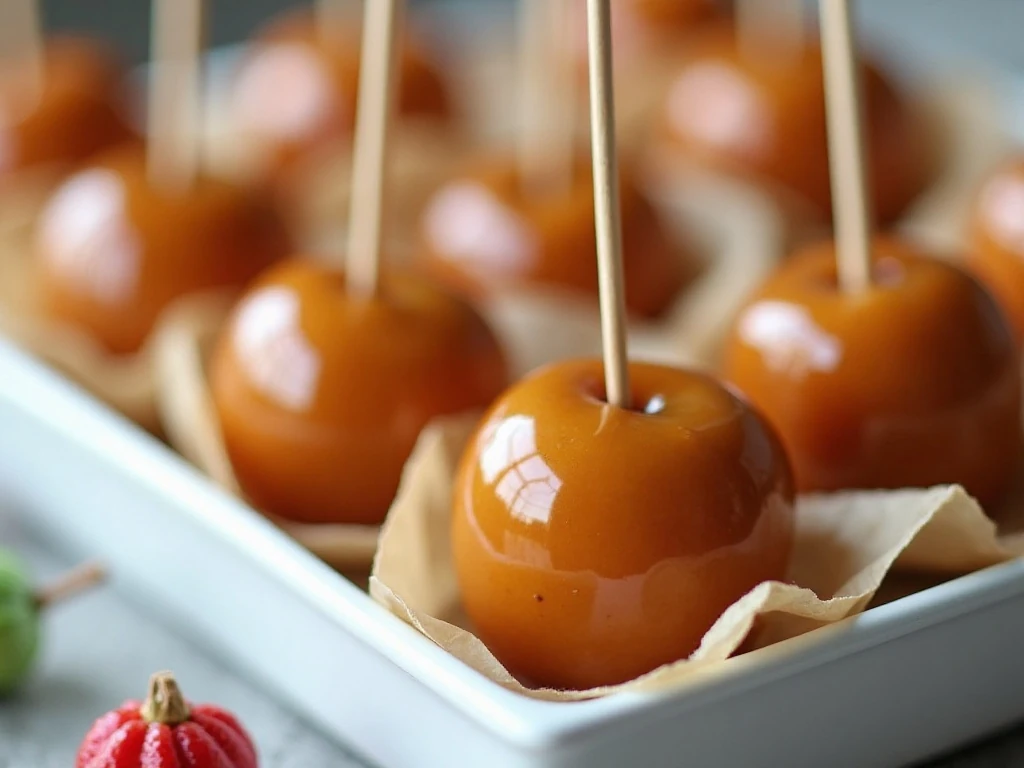
Refrigerate the finished pops on a parchment-lined tray for 20 to 30 minutes, then keep them chilled until serving. They are best enjoyed shortly after removal from the refrigerator, when the caramel is firm but still pleasantly chewy.
Because fresh apple releases moisture over time, these pops are best prepared the same day. If preparing them ahead for a gathering, make them several hours in advance, cover the tray loosely, and keep it refrigerated.
Arrange the pops upright in a shallow container filled with crumpled parchment, or lay them caramel-side up with space between each piece. Avoid stacking them, since the caramel can stick to neighboring pops and pull away from the apple.
For a complete dessert table, serve these candy pops beside a creamy dessert such as our banana cream cheesecake. The cool, silky cheesecake complements the crisp fruit and chewy caramel nicely.
Common Questions About Mini Caramel Apple Pops
Why does the caramel slide off? The apple pieces were likely damp, too warm, or coated with excess natural juice. Dry them thoroughly, chill them for 15 to 20 minutes, and dip only after the caramel has cooled slightly from its hottest point.
Can I use water instead of cream? Yes. The recipe allows two tablespoons of heavy cream, evaporated milk, or water, so use whichever option is available.
What should I do if the caramel gets too thick? Reheat it briefly in the microwave, stirring after each short interval. If needed, mix in a small additional amount of cream or water until the caramel becomes warm and fluid again.
Can children help make them? Children can add toppings and help decorate once the pops are on the lined tray. An adult should handle the hot melted caramel and supervise the sticks.
For more decorating inspiration, our guide to royal icing for cookie decorating can help you plan colorful themes for a larger sweets table, even though these apple pops use caramel rather than icing.
Flavor Variations and Serving Ideas
For a slightly saltier candy, choose peanuts and finish each pop with a tiny pinch of flaky salt while the caramel is soft. For a chocolate-caramel version, add mini chocolate chips and crushed cookies together for a layered bite.
You can also coordinate the toppings with the occasion. Orange and black sprinkles suit Halloween, red and green work for winter celebrations, and pastel colors make the pops cheerful for spring parties.
When serving guests who prefer savory food before dessert, these pops make a playful finale after our baked Hawaiian chicken. The bright apple flavor provides a refreshing finish after a hearty meal.
Mini Caramel Apple Pops Recipe
Ingredients
Method
- Wash and dry the apples thoroughly, then remove the stems. Use a small melon baller to scoop round pieces from the apples, trimming them as needed so each piece has a relatively flat side.
- Pat every apple piece very dry with paper towels. Insert a lollipop stick into the flat side, then chill the prepared apple pieces for 15 to 20 minutes without freezing them.
- Place the caramels and cream, evaporated milk, or water in a microwave-safe bowl. Microwave in 30-second intervals, stirring after each interval, until the caramel is smooth and fluid; this generally takes 1 1/2 to 3 minutes.
- Dip each apple piece into the warm caramel, turning to coat most of the rounded surface. Allow extra caramel to drip back into the bowl before transferring the pop to a parchment- or wax-paper-lined baking sheet.
- Sprinkle the soft caramel with chopped nuts, mini chocolate chips, sprinkles, or crushed cookies. Refrigerate the finished pops for 20 to 30 minutes, or until the caramel is firm, then serve chilled or soon after removing them from the refrigerator.
Notes
Final Thoughts
Mini Caramel Apple Pops deliver all the charm of a classic caramel apple in a small, easy-to-eat candy treat. With crisp Granny Smith apple centers, warm smooth caramel, and your favorite toppings, they are simple enough for a relaxed afternoon but festive enough for a holiday dessert table.
Remember the three essentials: dry the apple pieces thoroughly, keep the caramel warm without overheating it, and chill the finished pops on parchment. Follow those steps and you will have a beautiful batch of 24 to 30 bite-sized pops ready in about an hour.
Make a variety of toppings, set them out on a pretty tray, and watch these colorful little treats disappear. Their tart fruit, chewy caramel, and customizable finish make them a candy recipe worth repeating throughout the fall season.