Creative DIY Dollar Tree projects for every season make it easy to refresh your home without a large decorating budget. With inexpensive craft supplies, simple containers, ribbons, faux florals, paint, and a little imagination, you can create welcoming displays for spring, summer, autumn, and winter.
This is a seasonal craft and home-decor guide rather than a culinary recipe, so it has no food ingredients, cooking quantities, preparation time, or cook time. The ideas below focus on approachable projects that can be customized for your front door, dining table, mantel, porch, kitchen, or gift-giving needs.
Jump to RecipeWhy You’ll Love These Seasonal DIY Projects
Dollar Tree crafts are especially satisfying because they let you experiment without worrying about costly mistakes. A simple tray can become a centerpiece, a wreath form can become a front-door statement, and a plain glass vase can turn into a custom accent with only paint, ribbon, or adhesive details.
These projects also work well for renters, first-time crafters, busy families, and anyone who likes to change decor throughout the year. You can keep the basic structure simple and switch out small seasonal pieces whenever a new holiday or season arrives.
- They are budget-conscious and easy to customize.
- Many supplies can be reused in more than one project.
- Most designs work in small homes, apartments, offices, and classrooms.
- The finished pieces make thoughtful handmade gifts.
For a gathering menu to enjoy while crafting with friends, you can also browse our crunchy bacon broccoli salad for a colorful make-ahead side dish.
Seasonal Planning and Supplies

Before shopping, decide where the finished project will live and choose a color palette that suits the space. Limiting yourself to two or three main colors usually creates a more intentional look than combining every bright item on the shelf.
Useful Dollar Tree basics include foam wreath forms, plastic or glass vases, trays, baskets, picture frames, faux flowers, greenery, decorative mesh, craft ribbon, twine, wooden signs, glass gems, battery-operated lights, paint, and adhesive supplies. Keep scissors, a ruler, a pencil, craft glue, zip ties, and a small cutting mat nearby.
Because stock changes often, treat the supply list as a flexible starting point rather than a strict formula. If you cannot find the exact item shown in an inspiration photo, replace it with a similar shape, texture, or color.
Spring Dollar Tree Projects
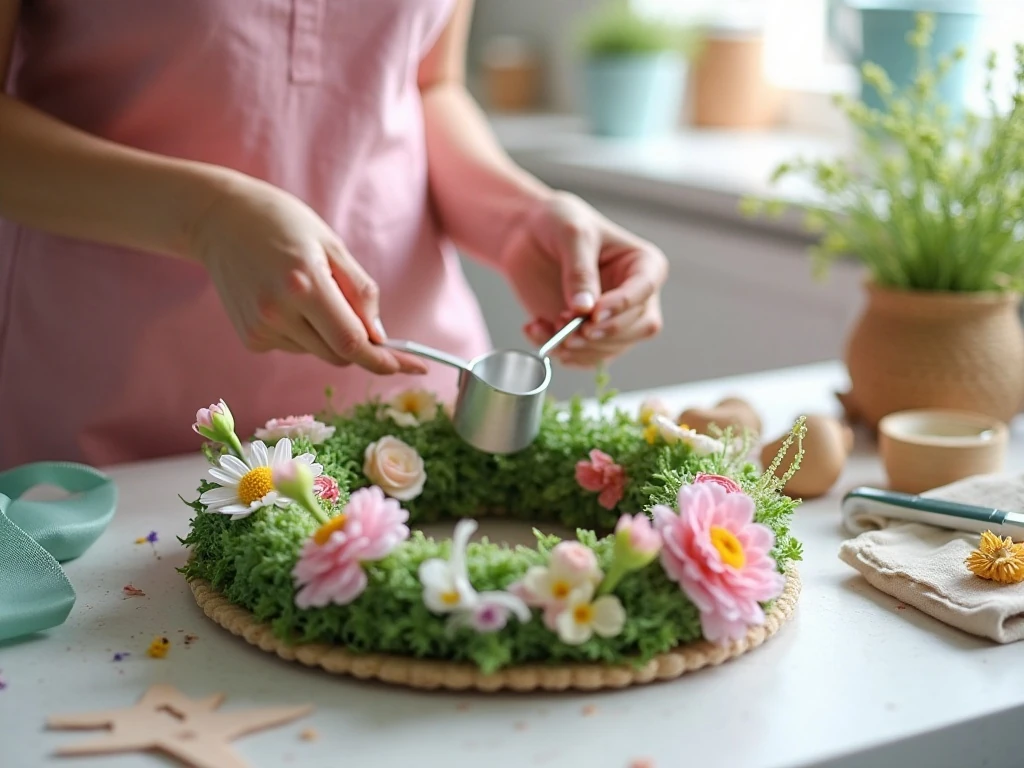
Spring decor looks fresh when it includes soft colors, leafy shapes, and light textures. A simple spring wreath can begin with a foam or grapevine-style form, faux greenery, pastel flowers, and a length of ribbon for hanging.
Arrange the greenery first so the wreath has a balanced foundation, then tuck flowers into small clusters rather than spacing every bloom evenly. Finish with a bow placed slightly off-center for a relaxed handmade appearance.
Another easy idea is a spring tabletop garden made from a shallow tray, small faux pots, decorative moss, and miniature signs. Place taller pieces toward the back and shorter accents near the front to create depth without making the display feel crowded.
For a cheerful kitchen accent, paint a plain wooden sign in a soft cream or pale green shade. Add a simple hand-lettered message, tiny flower stickers, or a ribbon loop, then display it on a shelf beside a vase of faux tulips.
Summer Dollar Tree Projects
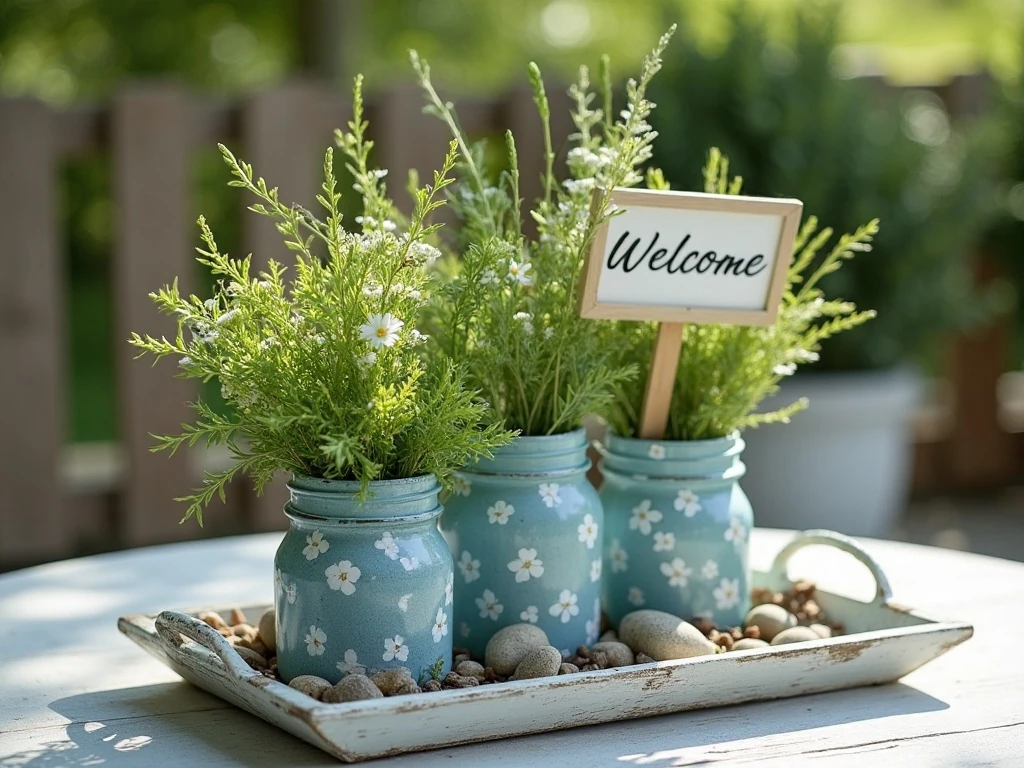
Summer crafts can bring bright color and a relaxed outdoor feeling to patios, porches, and dining spaces. A blue-and-white centerpiece made from a tray, glass containers, faux greenery, and decorative stones feels crisp while remaining easy to rearrange.
For outdoor entertaining, fill a lightweight basket with rolled guest towels, battery-operated lights, and small containers for utensils or napkins. Choose weather-resistant pieces when possible, and move delicate decorations indoors during storms or periods of intense heat.
A picture frame can also become a summer message board. Paint the frame in sunny yellow, turquoise, or white, replace the backing with a chalkboard-style surface, and add a short welcome message for guests.
If your craft day includes a special meal, our air fryer scallops are a polished option for a summer dinner, while a chilled drink station can be dressed with a matching ribbon or handwritten sign.
Autumn Dollar Tree Projects
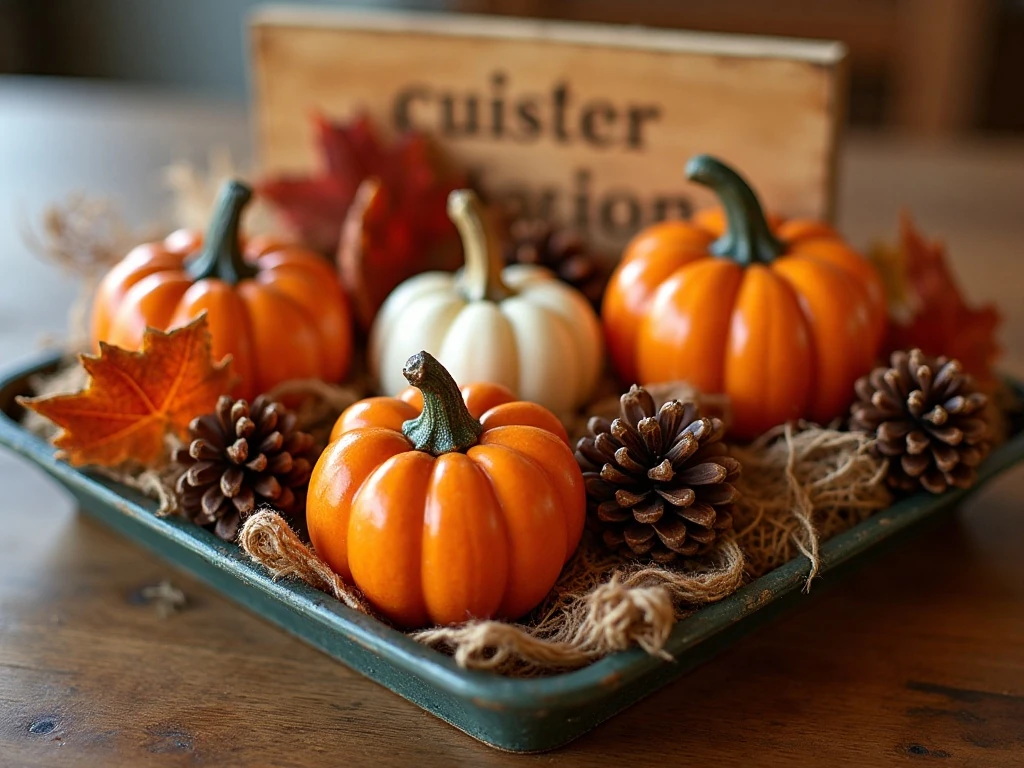
Autumn decorating is all about warmth, texture, and earthy color. Look for faux pumpkins, acorns, leaves, burlap ribbon, wood tones, amber accents, and baskets that can be layered into a welcoming arrangement.
One simple project uses a tray as the foundation for a fall centerpiece. Add a larger pumpkin or candleholder in the middle, place faux leaves around the base, and fill empty spaces with pinecones or small decorative gourds.
For a front door, wrap a wreath form with burlap or neutral ribbon before adding autumn leaves and a single oversized bow. Keeping the palette restrained with rust, cream, brown, and muted green creates a display that can remain up from early September through Thanksgiving.
Small painted pumpkins make useful place-card holders or shelf accents. Add each family member’s name, a short word such as gather, or a simple dot pattern for a design that feels festive without requiring advanced painting skills.
When you need a comforting meal after a craft-filled afternoon, serve a bowl of hearty black-eyed pea soup in a cozy kitchen decorated with your new autumn accents.
Winter and Holiday Dollar Tree Projects

Winter projects can be festive, classic, rustic, or completely neutral. White, silver, evergreen, plaid, natural wood, and soft metallic colors work together particularly well when you want decorations that last beyond one specific holiday.
Try turning a glass vase or clear container into a winter lantern by surrounding the outside with ribbon, faux greenery, and removable decorative accents. Use only battery-operated lights inside decorative containers, and keep the arrangement away from curtains, paper, and other flammable materials.
A plain wreath form can become a snowy door decoration with white mesh, silver ornaments, pine sprigs, and a velvet ribbon. Add ornaments in groups of three or five so the design feels balanced, then check the back for exposed wire before hanging it.
For a dining table, arrange inexpensive candlestick holders, bottlebrush-style trees, and small wooden signs on a tray. Vary the heights while leaving enough open space for serving dishes and conversation.
For a sweet seasonal finish after decorating, try our peanut butter frosted brownies or share our baked sugar donuts with family and friends.
How to Make It Step-by-Step
Step 1: Choose the season, room, and purpose for your project before buying supplies. A front-door wreath needs weather-aware materials, while a tabletop centerpiece should have a stable base and enough open space around it.
Step 2: Gather coordinating items and sort them by size, color, and texture. Place the largest piece down first, then keep medium and small accents nearby so you can test several arrangements before attaching anything permanently.
Step 3: Prepare the base by cleaning it, removing unwanted labels, and applying paint if needed. Allow painted surfaces to dry fully according to the product instructions before adding ribbon, greenery, signs, or embellishments.
Step 4: Assemble the design from the foundation outward. Secure lightweight pieces with craft glue or removable adhesive, and use floral wire, zip ties, or stronger fasteners for wreaths and decorations that will be moved often.
Step 5: Step back and view the project from several angles. Adjust crowded areas, fill noticeable gaps, and make sure the colors and heights look balanced from the distance where guests will see the finished piece.
Step 6: Add the final detail, such as a bow, small sign, battery-operated light, painted accent, or seasonal tag. Keep the finishing touch easy to remove if you want to reuse the base for another season.
Styling, Storage, and Safety Tips
Group decorations in odd numbers, mix smooth and textured surfaces, and repeat one color in at least two places. A small amount of empty space helps each detail stand out, especially when the project is displayed on a narrow shelf or entryway table.
Label storage bags by season and keep fragile accents in shallow boxes with tissue paper. Store ribbons loosely rather than tightly crushed, and photograph the finished arrangement before taking it apart so you can recreate it next year.
Use battery-operated lights instead of open flames around faux greenery, paper, fabric, and plastic pieces. Test hanging hardware before placing a wreath above a doorway, and keep small parts away from young children and pets.
If you are using paint, glue, wire, or cutting tools, work in a ventilated area and protect the surface beneath your project. Let every painted or glued component cure fully before transporting or displaying it.

Creative DIY Dollar Tree Projects for Every Season
Method
- Choose a seasonal project, gather inexpensive supplies, prepare the work area, assemble the design, and finish it with careful styling and safety checks.
- Store reusable pieces in labeled containers after the season ends so ribbons, signs, faux greenery, and decorative accents can be enjoyed again.
Notes
Final Thoughts
Creative DIY Dollar Tree projects for every season prove that memorable home decor does not require an expensive shopping trip. Start with one useful base, choose a small color palette, and build the design with layers of texture, height, and personality.
The best projects are the ones that fit your home and can be adapted over time. A tray, wreath, frame, vase, or basket can become a new seasonal favorite with only a few interchangeable details, making each craft more useful and enjoyable.
Whether you are decorating for a holiday, preparing a porch for guests, or creating a handmade gift, these ideas give you a practical place to begin. Gather your supplies, invite a friend or family member to join you, and enjoy making something cheerful for the season ahead.