This easy pineapple pie recipe is a no-bake tropical dessert made with a prepared graham-cracker crust, crushed pineapple, sweetened condensed milk, lemon juice, and whipped topping. It takes only 10 to 15 minutes of active preparation, then chills in the refrigerator for at least 3 to 4 hours until firm.
Every cool bite brings together juicy pineapple, bright lemon, creamy sweetness, and a light, fluffy texture in a crisp graham-cracker shell. The pie is especially welcome on warm days because there is no oven to heat the kitchen, and it can be prepared a day ahead for effortless entertaining.
Jump to RecipeWhy You’ll Love This Recipe
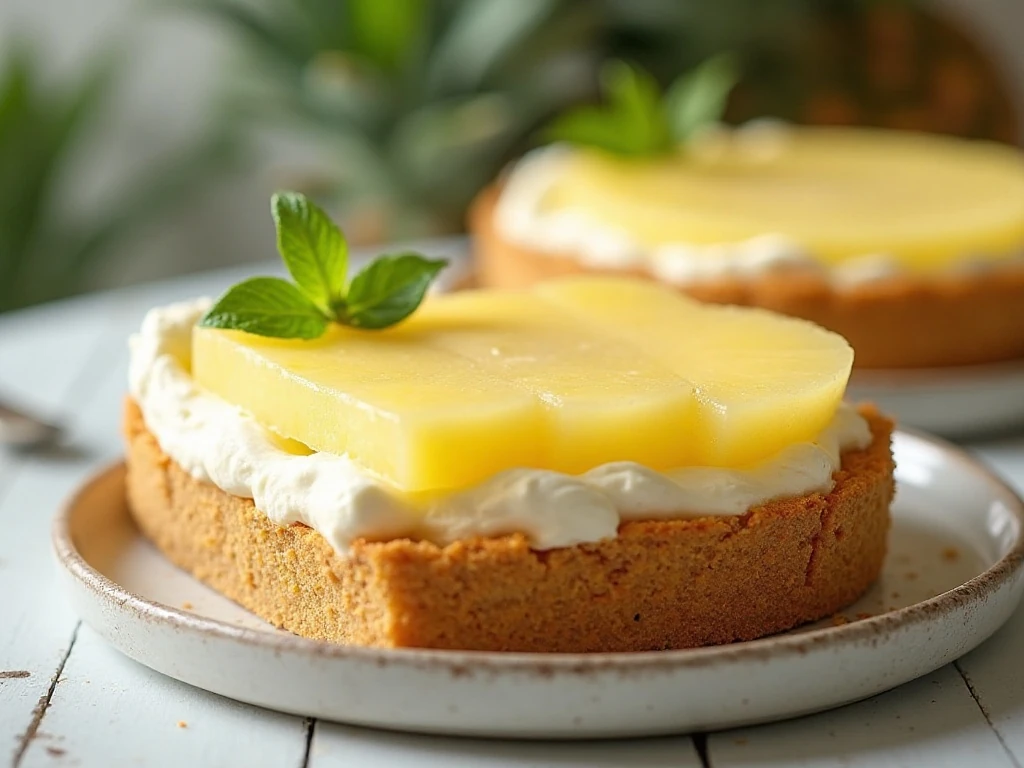
This pineapple pie is the kind of dessert that looks festive while requiring very little work. The filling comes together in one bowl, the crust is ready to use, and the refrigerator does all the setting.
The flavor is creamy and sunny rather than heavy. Sweetened condensed milk provides a rich sweetness, lemon juice adds a fresh tang, and crushed pineapple supplies a juicy tropical note throughout every slice.
It is also a useful make-ahead dessert. Prepare it the night before a gathering, keep it covered in the refrigerator, and add the finishing garnishes just before serving.
If you are planning a larger meal, balance this cool dessert with a comforting main course such as our easy baked burrito casserole.
Ingredients You’ll Need
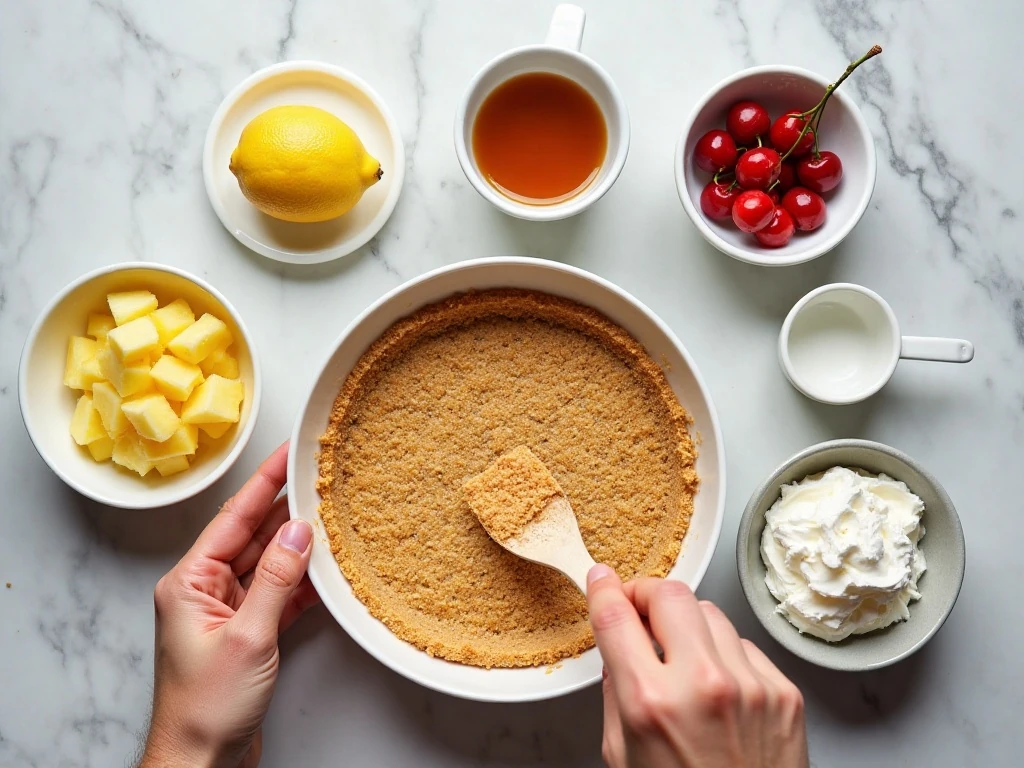
The ingredient list is short, but each item has an important role in the finished pie. A prepared graham-cracker crust gives you a crisp, lightly spiced base without any baking.
- Graham-cracker crust: Use one prepared 9-inch crust, about 6 ounces. Keep it chilled or stored according to the package directions until ready to fill.
- Crushed pineapple: A 20-ounce can packed in juice provides the tropical flavor and soft fruit texture. It must be drained very thoroughly.
- Sweetened condensed milk: One 14-ounce can creates the creamy, sweet foundation and helps the lemon juice thicken the mixture slightly.
- Fresh lemon juice: One-third cup cuts through the sweetness and gives the filling a pleasant citrus brightness.
- Frozen whipped topping: An 8-ounce container, thawed, makes the pie light and airy.
- Vanilla extract: One-half teaspoon is optional, but it adds a gentle bakery-style flavor.
For decoration, set aside extra whipped topping, pineapple pieces, toasted coconut, or maraschino cherries if desired. These additions are optional and do not change the basic filling.
For another fruit-forward dessert after dinner, you may also enjoy our simple cherry cobbler.
How to Make It Step-by-Step
Step 1: Drain the crushed pineapple thoroughly over a bowl or sink. Press the fruit firmly in a fine-mesh strainer, or place it between layers of paper towels and squeeze gently until much of the juice has been removed.
Step 2: Add the sweetened condensed milk and fresh lemon juice to a large bowl. Whisk them together until the mixture looks smooth and has thickened slightly, which usually takes only a short time.
Step 3: Stir the drained pineapple into the lemon and condensed milk mixture. Add the optional vanilla extract, then mix gently so the pineapple stays distributed without being mashed.
Step 4: Add the thawed whipped topping to the bowl. Fold it in with a spatula using broad, gentle turns until no large white streaks remain, taking care not to overmix and lose the airy texture.
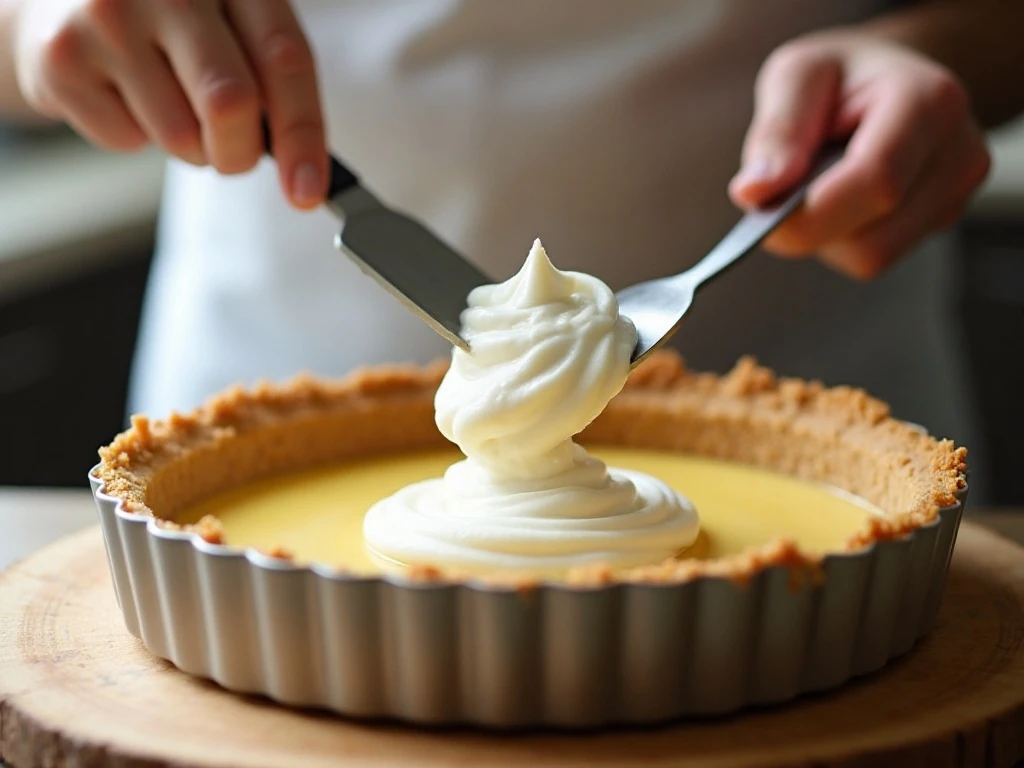
Step 5: Transfer the finished filling to the prepared graham-cracker crust. Spread it evenly from the center toward the edges, then smooth the top with a spoon or offset spatula.
Step 6: Cover the pie carefully and refrigerate it for at least 3 to 4 hours. For the firmest texture and cleanest slices, let it chill overnight before serving.
Step 7: Serve the pie cold. Add extra whipped topping, pineapple pieces, toasted coconut, or maraschino cherries immediately before bringing it to the table.
The Most Important Prep Tip
Drain the pineapple more thoroughly than you might think necessary. Canned crushed pineapple holds a surprising amount of juice, and that extra liquid can make the filling loose or watery after chilling.
Pressing the pineapple in a fine-mesh strainer is an easy method. You can also wrap it in paper towels and gently squeeze, replacing the towels if they become saturated.
Do not skip the draining step even if the fruit appears fairly dry when it comes out of the can. A few extra minutes here can make the difference between a slice that holds its shape and a filling that spreads across the plate.
How to Get Clean, Beautiful Slices
Chilling overnight gives the filling the best chance to become firm and sliceable. If you are short on time, the required 3 to 4 hours will work, but the texture may be slightly softer than it would be after a full night.
For especially neat slices, place the covered pie in the freezer for 20 to 30 minutes just before cutting. This brief cooling period helps the knife move through the filling cleanly, but do not freeze the pie solid.
Use a sharp knife and wipe the blade between cuts. Slice straight down through the crust and filling rather than sawing, then transfer each piece with a pie server.
A colorful dessert menu can include a savory contrast before the pie, such as this ravioli pizza idea for a casual family meal.
Serving and Garnish Ideas

The simplest presentation is a chilled slice with a small spoonful of whipped topping. For a more tropical look, scatter a few pineapple pieces and a pinch of toasted coconut over each serving.
- Classic: Add whipped topping and one maraschino cherry.
- Tropical: Finish with pineapple pieces and toasted coconut.
- Party-ready: Pipe small rosettes of whipped topping around the edge before chilling.
- Bright and fresh: Add a very small lemon zest accent just before serving.
Keep the garnishes light so they do not cover the soft pineapple flavor. Toasted coconut is particularly lovely because its nutty aroma contrasts with the cool, creamy filling.
If you enjoy bright, aromatic flavors in the main course, try serving dessert after our Thai green curry recipe.
Storage and Make-Ahead Advice

Keep the covered pie refrigerated until you are ready to serve it. Because the filling contains whipped topping and fruit, it should remain cold for the best texture and flavor.
This pie is an excellent overnight dessert. Assemble it the day before, refrigerate it until firm, and wait to add decorative toppings until shortly before serving.
For leftovers, cover the exposed cut surface as well as possible and return the pie to the refrigerator. Slices are best enjoyed cold, and the crust may soften gradually as the pie sits.
Easy Menu Pairings
The creamy pineapple filling makes a refreshing ending to rich or savory dishes. It works especially well after grilled foods, casual casseroles, and meals with gentle spice.
For a cozy soup-and-dessert combination, consider starting with our chicken Marsala soup, then serve a chilled slice of pineapple pie after the table is cleared.
When serving a crowd, cut the pie into eight portions as directed. Smaller slices are also a good choice for a buffet because the filling is rich and the tropical flavor is satisfying even in a modest serving.

Easy Pineapple Pie Recipe for a Tropical Dessert Delight
Ingredients
Method
- Drain the crushed pineapple very thoroughly. Press it in a fine-mesh strainer or gently squeeze it with paper towels to remove as much excess juice as possible.
- In a large mixing bowl, whisk the sweetened condensed milk and fresh lemon juice until the mixture thickens slightly.
- Stir the well-drained crushed pineapple into the condensed milk mixture. Add the vanilla extract if using, and mix just until incorporated.
- Fold in the thawed whipped topping with a spatula until the filling is evenly combined. Use gentle strokes and avoid overmixing, which can deflate the filling.
- Spoon the pineapple filling into the prepared graham-cracker crust. Smooth the top with the back of a spoon or an offset spatula.
- Cover the pie and refrigerate it for at least 3 to 4 hours, or preferably overnight, until firm. Serve cold with optional whipped topping, pineapple pieces, toasted coconut, or maraschino cherries.
Notes
Final Thoughts
This easy pineapple pie delivers a cheerful tropical dessert with almost no effort. Once the pineapple is properly drained, the filling takes just minutes to mix, and a prepared graham-cracker crust keeps the process completely oven-free.
Give the pie at least 3 to 4 hours in the refrigerator, or chill it overnight when possible. A brief 20- to 30-minute stay in the freezer before slicing can help create tidy portions without freezing the dessert solid.
Serve it cold with whipped topping, toasted coconut, pineapple pieces, or maraschino cherries. It is creamy, bright, and wonderfully refreshing—a dependable dessert for summer celebrations, potlucks, family dinners, and any time you want a taste of the tropics.