This Chocolate-Filled Real Cream Squares recipe makes 16 rich, chilled dessert bars with a buttery graham-cracker crust, silky cocoa custard, and freshly whipped real cream. The squares take about 25–30 minutes to prepare, require 8–10 minutes for the crust and 8–12 minutes for the filling, then chill for at least 4 hours before serving.
Every bite combines crisp crumbly crust, smooth chocolate pudding-like filling, and clouds of lightly sweetened cream. Finished with semisweet or bittersweet chocolate shavings, these make-ahead squares are an excellent choice for holidays, potlucks, afternoon coffee, or any occasion that calls for an especially comforting chocolate dessert.
Jump to RecipeWhy You’ll Love This Recipe
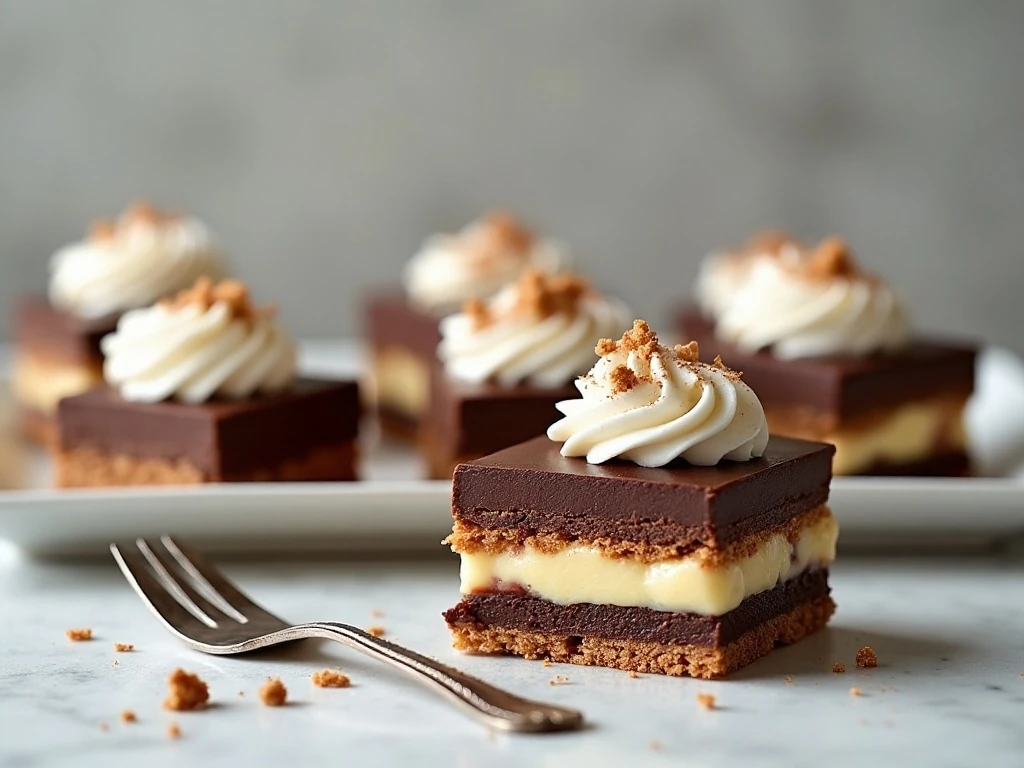
These chocolate cream squares offer the familiar comfort of chocolate cream pie in an easy-to-serve bar format. The sturdy graham-cracker base gives each square a pleasant bite, while the cooked cocoa custard stays soft, creamy, and deeply chocolatey after chilling.
Freshly whipped cream is the finishing touch that makes this dessert taste special. It brings a cool, airy contrast to the rich filling without the artificial sweetness or dense texture often found in prepared whipped toppings.
The recipe is also wonderfully practical for entertaining. You can bake the crust and prepare the filling several hours before guests arrive, then add the cream and chocolate garnish shortly before slicing.
If you enjoy desserts that pair chocolate with a light cream element, you may also like these raspberry chocolate cream puffs for another fruit-and-chocolate treat.
Ingredients You’ll Need

The crust uses 1 1/2 cups, or about 180 grams, of graham-cracker crumbs. Melted unsalted butter binds the crumbs, while granulated sugar and a pinch of salt sharpen the flavor and help the crust taste balanced rather than flat.
For the custard, use unsweetened cocoa powder, granulated sugar, cornstarch, salt, three egg yolks, and whole milk. Butter stirred in after cooking adds richness, and vanilla extract rounds out the cocoa flavor.
- Use whole milk: Its richness gives the filling a smooth, satisfying mouthfeel.
- Use cold heavy cream: Chilled cream whips more readily and holds its shape better.
- Choose good chocolate for garnish: Semisweet or bittersweet chocolate provides a pleasant contrast to the sweet cream.
Measure the cornstarch carefully because it is responsible for setting the filling. Have all custard ingredients ready before cooking, since the mixture needs continuous whisking once it begins to heat.
For another celebration-worthy chocolate dessert, keep our chocolate layer cake nearby for your next baking plan.
How to Make It Step-by-Step

Step 1: Heat the oven to 350°F (175°C), then line an 8-inch square pan with parchment paper. Leave parchment overhang along two sides so the chilled dessert can be lifted out without disturbing the crust.
Step 2: Stir together the graham-cracker crumbs, melted butter, sugar, and salt until every crumb is lightly coated. Press the mixture into the pan in a firm, even layer, using the bottom of a measuring cup to compact it.
Step 3: Bake the crust for 8–10 minutes, just until it looks set and smells buttery. Let it cool completely before adding the custard, because a warm crust can soften and make the layers harder to define.
Step 4: Place the sugar, cocoa powder, cornstarch, and salt in a saucepan and whisk them together before adding liquid. Whisk in the egg yolks and whole milk gradually until the mixture is smooth and free of cocoa or cornstarch lumps.
Step 5: Set the saucepan over medium heat and whisk continuously as the custard warms. Scrape around the corners and across the bottom, where thickening custard can otherwise stick or scorch.
Step 6: When the mixture thickens and begins to bubble gently, keep cooking for about 1 minute while whisking. This extra minute allows the cornstarch to fully activate and helps the filling become firm enough to slice.
Step 7: Take the pan off the heat and stir in the butter and vanilla extract. If you notice any small lumps, pour the custard through a fine-mesh strainer before spreading it over the cooled crust.
Step 8: Pour the hot chocolate custard over the crust and smooth it into the corners. Press plastic wrap directly on the surface, then refrigerate for at least 4 hours, or until the center is completely firm.
Step 9: Once the filling is chilled, beat the cold heavy cream with confectioners’ sugar and vanilla. Stop at medium-stiff peaks, when the cream holds its shape but still looks smooth and spreadable.
Step 10: Spread or pipe the whipped cream over the cold custard. Add a shower of shaved or finely grated semisweet or bittersweet chocolate, then lift the dessert from the pan and cut it into 16 squares.
Pro Tips for Silky Custard and Clean Squares
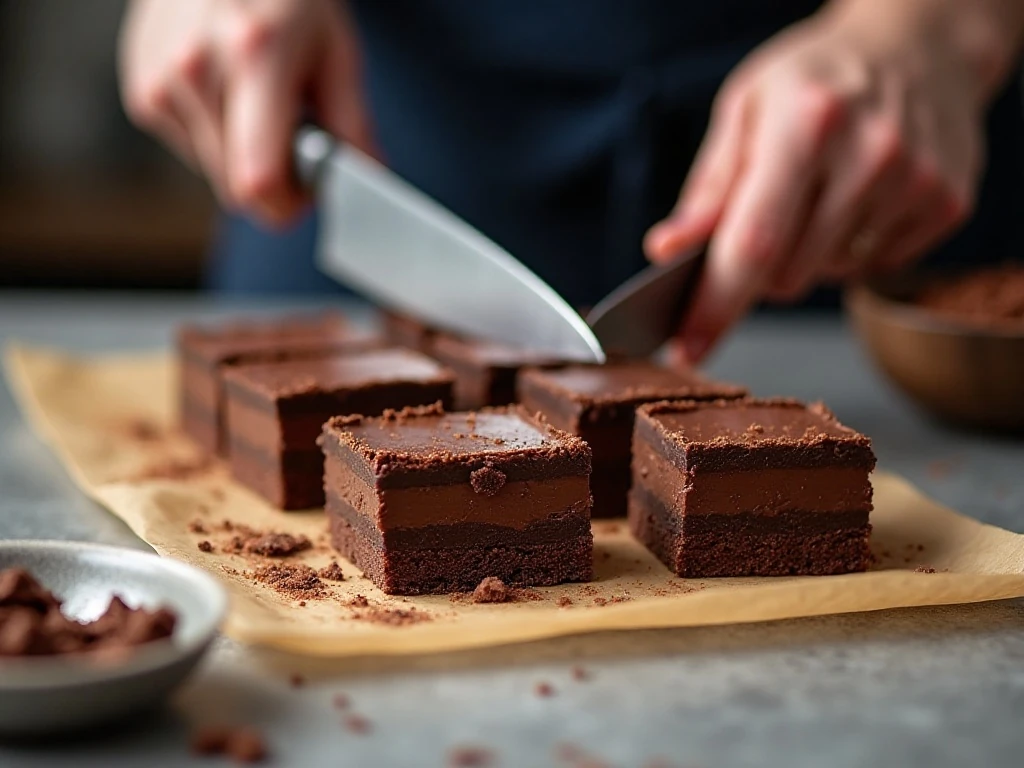
Constant whisking is the most important custard technique in this recipe. Keep the whisk moving across the entire saucepan, especially in the corners, to prevent scorching and to distribute heat evenly.
Do not rush the chilling stage. The filling needs at least 4 hours in the refrigerator to firm properly; cutting sooner can cause the layers to slide and produce soft, uneven portions.
A strained custard is worth the extra minute if the mixture looks less than perfectly smooth. Pouring it through a fine-mesh strainer removes small cooked egg or cornstarch bits before they reach the crust.
For clean cuts, dip a sharp knife in hot water, dry it thoroughly, and slice straight down. Wipe the blade between each cut, then rewarm and dry it as needed.
Whip the cream only to medium-stiff peaks. Overbeaten cream can look grainy and become difficult to spread, while properly whipped cream creates a soft, polished topping that sits beautifully on each square.
If you are planning a dessert table with several textures, our almond cream cake is another lovely option with a tender crumb and creamy character.
Serving, Storage, and Make-Ahead Advice
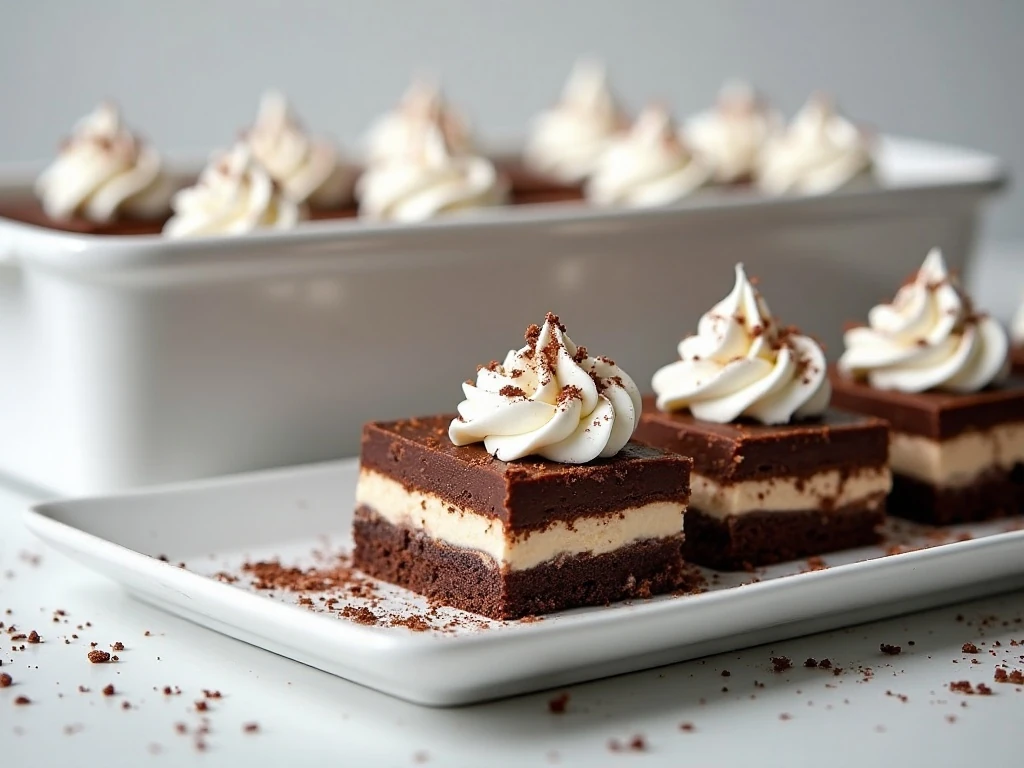
Serve these squares cold, ideally soon after adding the whipped cream and chocolate shavings. The contrast between the cool cream and dense chocolate custard is at its best when the dessert has been thoroughly chilled.
For a buffet, arrange the 16 squares on a platter with a little space between them. A few extra chocolate curls on the platter make the dessert look inviting without adding complicated decoration.
- Make ahead: Prepare and chill the crust and custard several hours in advance.
- Finish later: Whip and add the cream closer to serving for the freshest texture.
- Refrigerate: Cover leftover squares and store them in the refrigerator.
- Best quality: Enjoy within 2–3 days.
These squares are not designed for reheating, since heat would loosen the custard and melt the whipped cream. If transporting them, keep the pan or platter cold and add the garnish after arrival when possible.
For a richer dessert collection, consider pairing these bars with chocolate cake with mocha mascarpone frosting for guests who appreciate layered chocolate flavor.
Simple Variations to Try
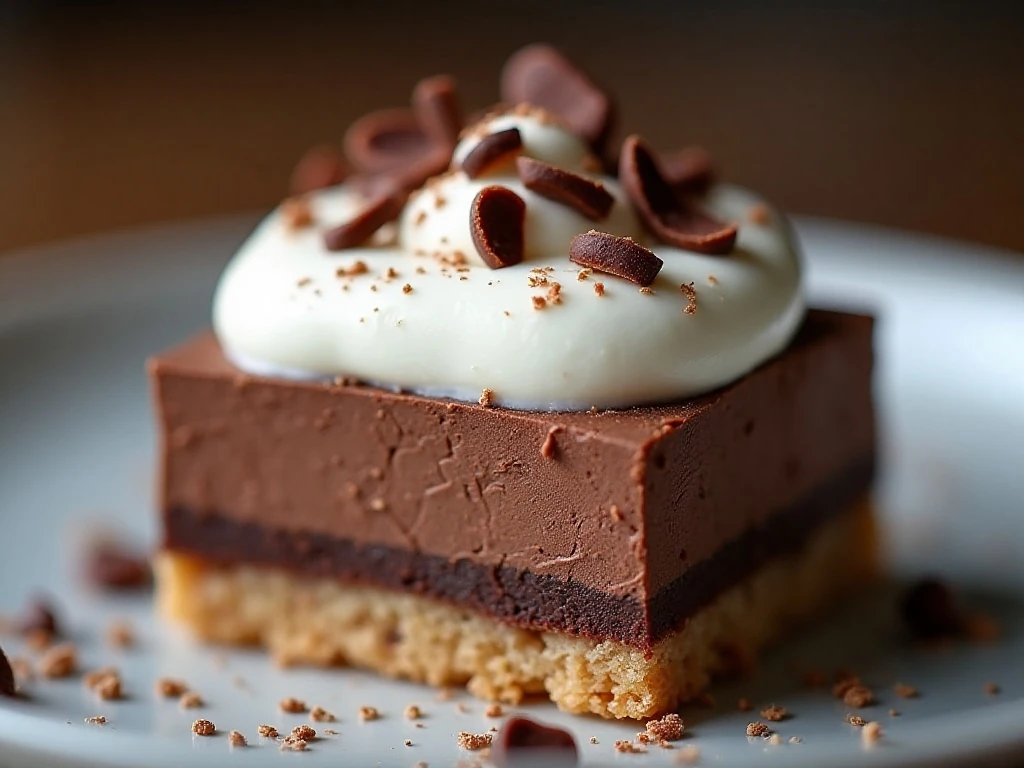
The classic version is balanced and complete, but the garnish can be adjusted to suit the occasion. Use finely grated bittersweet chocolate for a delicate finish, or make larger curls for a more dramatic presentation.
You can also pipe the cream into small rosettes instead of spreading it flat. This creates clearly defined portions and makes the squares especially attractive for birthdays, showers, and holiday dessert trays.
For a seasonal cream-puff-inspired dessert table, our pumpkin cream puffs would sit nicely beside these chocolate squares.
Keep the filling, crust, and quantities unchanged when trying these presentation ideas. The recipe is carefully balanced around the 8-inch pan, so changing the pan size may affect the thickness and chilling time.
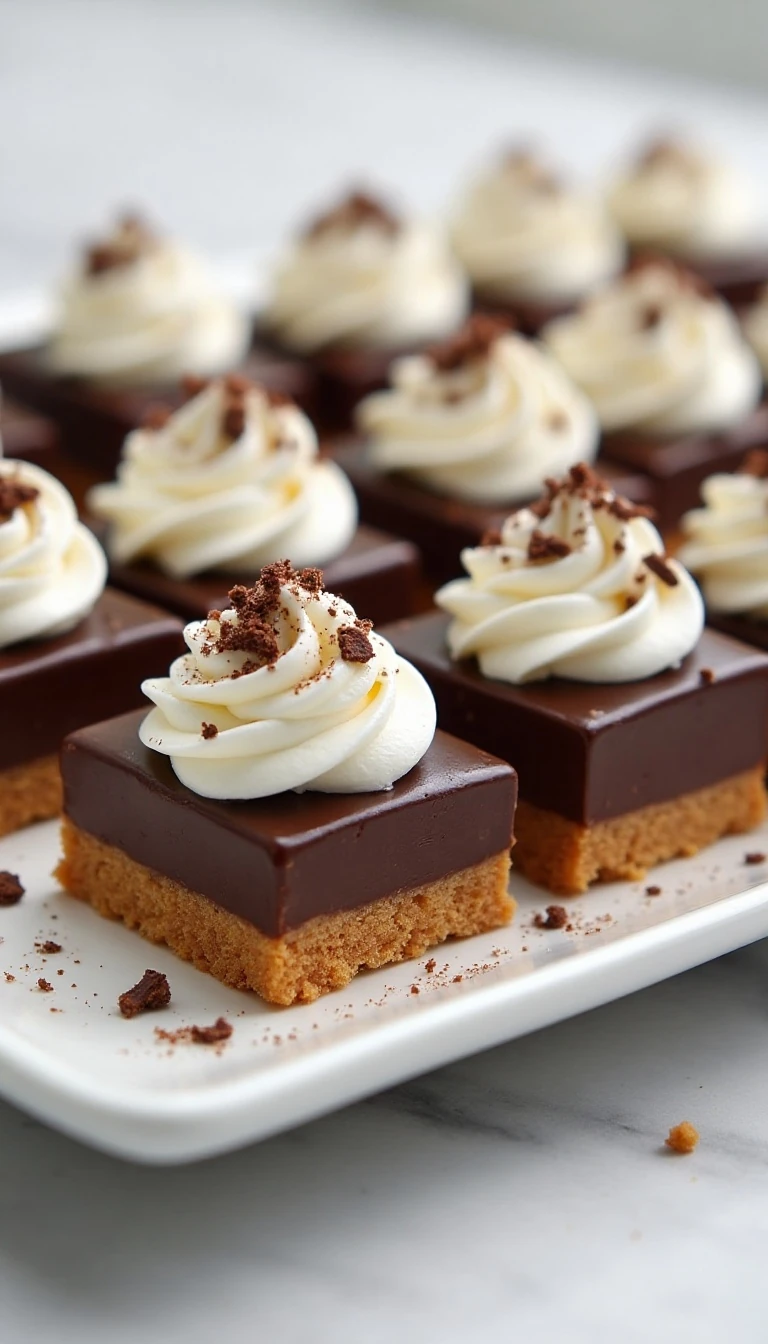
Chocolate-Filled Real Cream Squares Recipe That Delights
Ingredients
Method
- Heat the oven to 350°F (175°C). Line an 8-inch square pan with parchment paper, leaving enough overhang on two sides to lift the chilled dessert out later.
- Combine the graham-cracker crumbs, melted butter, granulated sugar, and pinch of salt. Press the mixture firmly and evenly into the prepared pan, then bake for 8–10 minutes and cool completely.
- Whisk the sugar, cocoa powder, cornstarch, and salt together in a saucepan. Whisk in the egg yolks and whole milk until the mixture is smooth and no dry pockets remain.
- Cook the mixture over medium heat, whisking constantly and paying attention to the corners of the saucepan. Once it thickens and reaches a gentle bubbling stage, continue cooking for about 1 minute.
- Remove the saucepan from the heat and stir in the butter and vanilla extract. If the custard has any lumps, strain it before pouring it over the cooled crust.
- Pour the hot chocolate filling over the crust and smooth the surface. Press plastic wrap directly against the filling to prevent a skin from forming, then refrigerate for at least 4 hours until fully firm.
- Whip the cold heavy cream with the confectioners' sugar and vanilla until medium-stiff peaks form. Spread or pipe the cream over the chilled chocolate layer without pressing too firmly.
- Scatter chocolate shavings over the whipped cream. Lift the dessert from the pan, cut it into 16 squares with a sharp hot, dry knife, and wipe the blade between cuts for tidy edges.
Notes
Final Thoughts
This Chocolate-Filled Real Cream Squares recipe delivers everything a memorable chilled dessert should offer: a buttery crumb crust, smooth homemade chocolate custard, and genuine whipped cream with a light vanilla finish. The preparation is straightforward, and the long chill gives you plenty of time to plan the rest of your meal.
Take care with the whisking, allow the filling to set fully, and use a hot, dry knife for slicing. Once the chocolate shavings are scattered across the cream, these 16 squares are ready to bring a polished, deeply satisfying finish to any gathering.