This Chocolate Cherry Jello Pie is a simple no-bake dessert made with a prepared chocolate cookie crust, cherry-flavored gelatin, cherry pie filling, and fluffy whipped topping. The filling takes about 15 to 20 minutes to prepare, then the pie chills for at least 4 hours until firm enough to slice.
Every bite combines a crisp chocolate cookie base with a cool, mousse-like cherry filling. The tart cherry flavor balances the sweetness beautifully, making this an easy choice for holidays, potlucks, birthdays, and relaxed family dinners; for another creamy cherry idea, try our cherry cheesecake dip.
Jump to RecipeWhy You’ll Love This Recipe
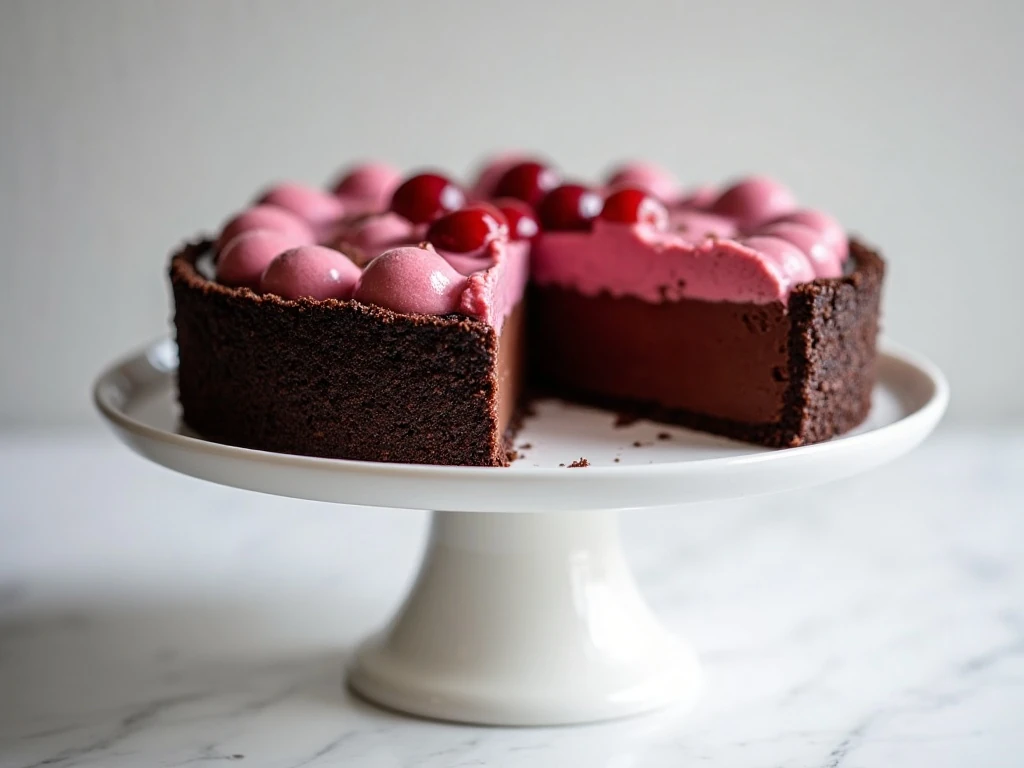
This pie delivers the flavor of a chocolate-covered cherry in a cool, creamy slice. The chocolate crumb crust gives each serving a crisp, cocoa-rich foundation, while the cherry gelatin and pie filling create a bright, fruity center.
There is no oven involved, so this recipe is especially useful when you need dessert during warm weather or when the oven is already busy. The filling comes together in one large bowl, and the refrigerator does the work of setting it.
It is also a forgiving dessert for newer cooks. The most important detail is waiting until the gelatin has cooled and thickened slightly before adding the whipped topping, which helps the finished pie keep its airy texture.
If you enjoy chocolate desserts for celebrations, you may also like this chocolate layer cake recipe when you want a taller, more traditional dessert.
Ingredients You’ll Need
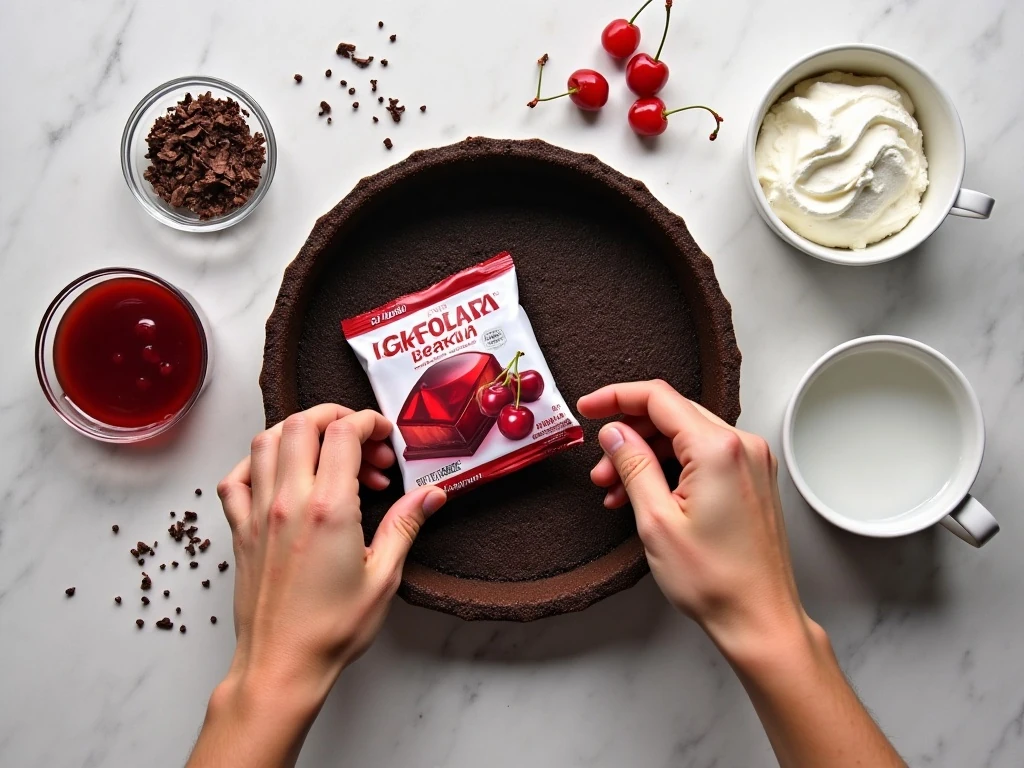
The ingredient list is short, but every component has an important job. A prepared chocolate cookie crumb crust keeps the process quick and provides a pleasantly crisp contrast to the soft filling.
- Chocolate cookie crust: Use one prepared 9-inch crust, about 6 ounces.
- Cherry gelatin: One 3-ounce package gives the filling its color, cherry flavor, and setting power.
- Water: You will need 1 cup boiling water and 1/2 cup cold water.
- Cherry pie filling: One 21-ounce can adds fruit, sweetness, and a thick cherry texture.
- Whipped topping: One 8-ounce container, thawed, makes the filling soft and mousse-like.
- Garnishes: Additional whipped topping, chocolate shavings, and maraschino cherries are optional.
For the neatest result, thaw the whipped topping in the refrigerator rather than at room temperature. Keep the crust chilled or at least cool while you prepare the filling so it stays firm when filled.
How to Make It Step-by-Step
Step 1: Add the cherry gelatin powder to a large mixing bowl. Pour in the boiling water and stir continuously for about 2 minutes, scraping the bottom and sides of the bowl as needed, until the powder is completely dissolved.
Step 2: Stir in the 1/2 cup of cold water. This cools the gelatin mixture and brings it closer to the temperature needed for the whipped topping, but it will still need a short refrigerator rest.
Step 3: Refrigerate the gelatin mixture for approximately 20 to 30 minutes. Check it after 20 minutes; it should feel cool and look slightly thickened, yet still be loose enough to fold with other ingredients.
Step 4: Fold the cherry pie filling into the thickened gelatin. Move the spatula from the bottom of the bowl upward, turning the mixture gently until the fruit and syrup are spread throughout.
Step 5: Add the thawed whipped topping and fold gently until the color and texture are fairly even. Do not beat or vigorously stir the mixture, since rough mixing can knock out the volume that gives the pie its light texture.
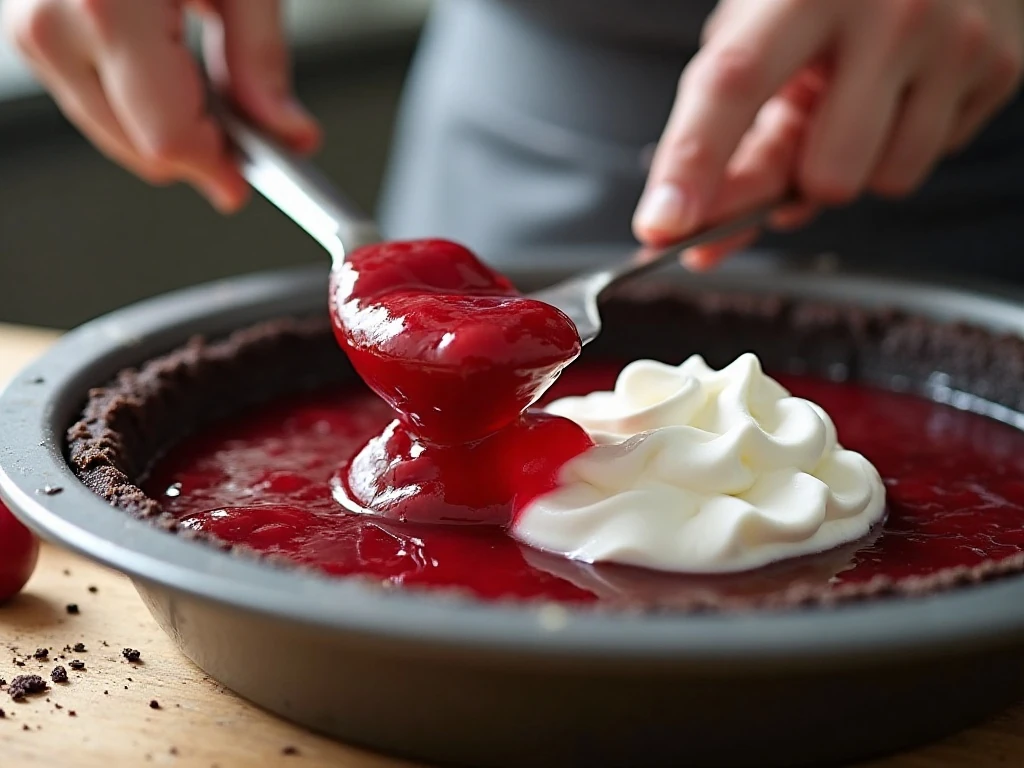
Step 6: Spoon the finished filling into the chocolate cookie crumb crust. Spread it to the edges and smooth the surface, or make gentle swirls for a more decorative top.
Step 7: Refrigerate the pie for at least 4 hours, until firm enough to slice. If your schedule allows, chill it overnight for the cleanest cuts and a firmer mousse-like consistency.
Step 8: Garnish the chilled pie immediately before serving. Add small rosettes of whipped topping, a scattering of chocolate shavings, or a maraschino cherry to each slice.
Pro Tips for the Best Texture
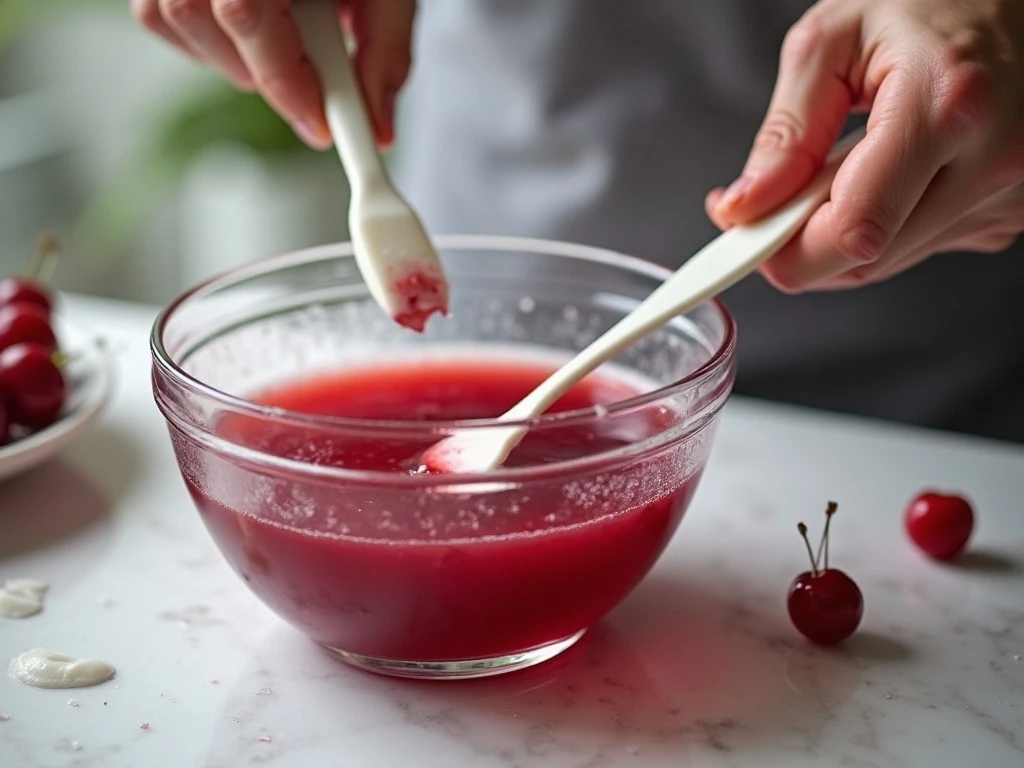
The gelatin temperature is the key to this dessert. If it is still warm or very liquid when the whipped topping goes in, the topping can lose volume and the finished filling may not set as well.
On the other hand, do not let the gelatin fully set in the refrigerator before mixing. Once it becomes firm, it will be difficult to combine smoothly with the pie filling and whipped topping. The ideal stage is cool, slightly thick, and softly fluid.
- Use a large bowl so the ingredients can be folded without spilling or compressing the filling.
- Fold with a silicone spatula rather than whisking; gentle turns preserve the fluffy consistency.
- Chill the completed pie overnight whenever possible.
- Run a sharp knife under warm water, wipe it dry, and slice for cleaner portions.
- Add decorative toppings just before serving so they remain fresh and attractive.
For a savory cherry-inspired recipe to serve at another meal, consider this pan-roasted cod with cherry tomato sauce. It is a completely different dish, but it is a useful reminder that cherries and tomatoes both bring lively acidity to a menu.
Easy Variations and Garnishes
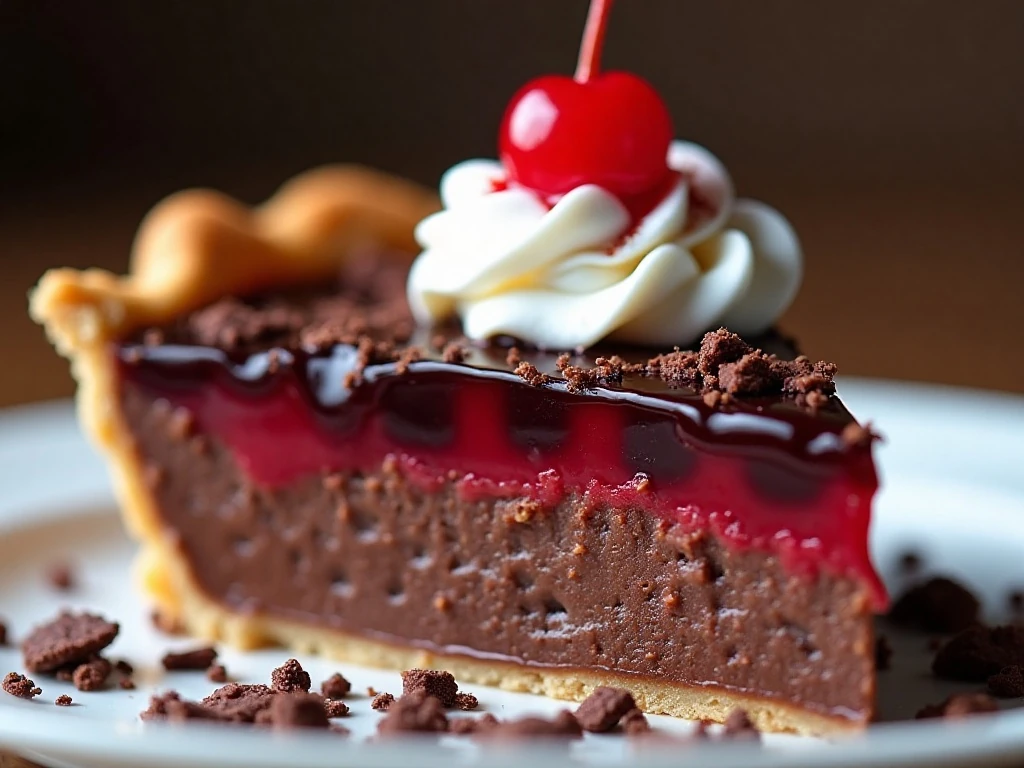
The standard recipe uses 1/2 cup cold water for a filling that sets firmly enough to slice. Some versions use 1 cup cold water instead, but that produces a softer filling, so allow extra chilling time and expect more delicate slices.
For extra chocolate flavor, sprinkle miniature chocolate chips over the filling before chilling, or add grated chocolate to the top just before serving. Chocolate shavings provide a refined finish without changing the texture of the pie.
You can also make a homemade crust if you prefer. Crush about 24 chocolate sandwich cookies, combine them with 5 tablespoons melted butter, press the mixture into a 9-inch pie plate, and chill the crust before adding the filling.
Keep the garnish simple because the pie already has strong color and flavor. A few whipped topping rosettes and maraschino cherries create a classic presentation, while dark chocolate shavings make the ruby-red filling stand out.
For another colorful gelatin-based side or dessert idea, see our Jello cottage cheese salad.
Serving, Storage, and Make-Ahead Advice
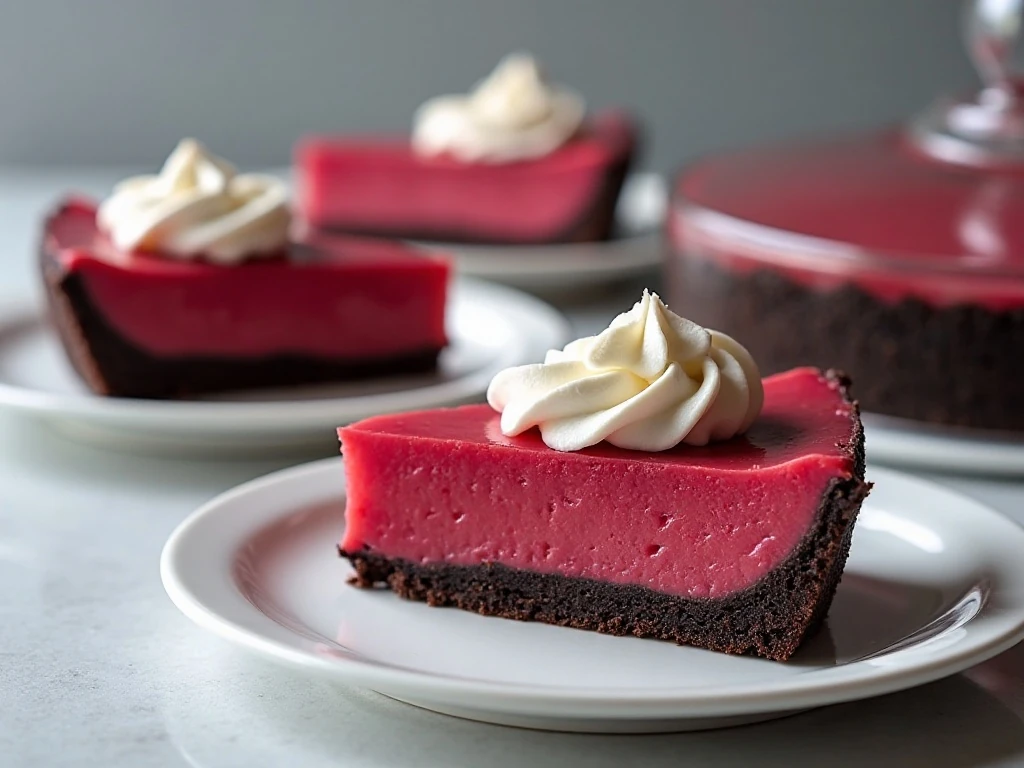
Serve this pie cold, straight from the refrigerator. Let it stand for only a few minutes before slicing if it has been chilled overnight; too much time at room temperature can soften the filling.
One 9-inch pie makes about 8 servings, depending on slice size. It is a particularly convenient make-ahead dessert because the pie needs at least 4 hours to firm and benefits from an overnight chill.
- Refrigeration: Keep the covered pie refrigerated until serving.
- Make-ahead timing: Prepare it the day before for the firmest texture.
- Garnishing: Add optional whipped topping, chocolate shavings, or maraschino cherries immediately before serving.
- Slicing: Use a clean, sharp knife and wipe the blade between cuts.
Because this is a chilled whipped-topping dessert, it is not intended for reheating. Return leftovers to the refrigerator promptly and keep them cold for the best texture and flavor.
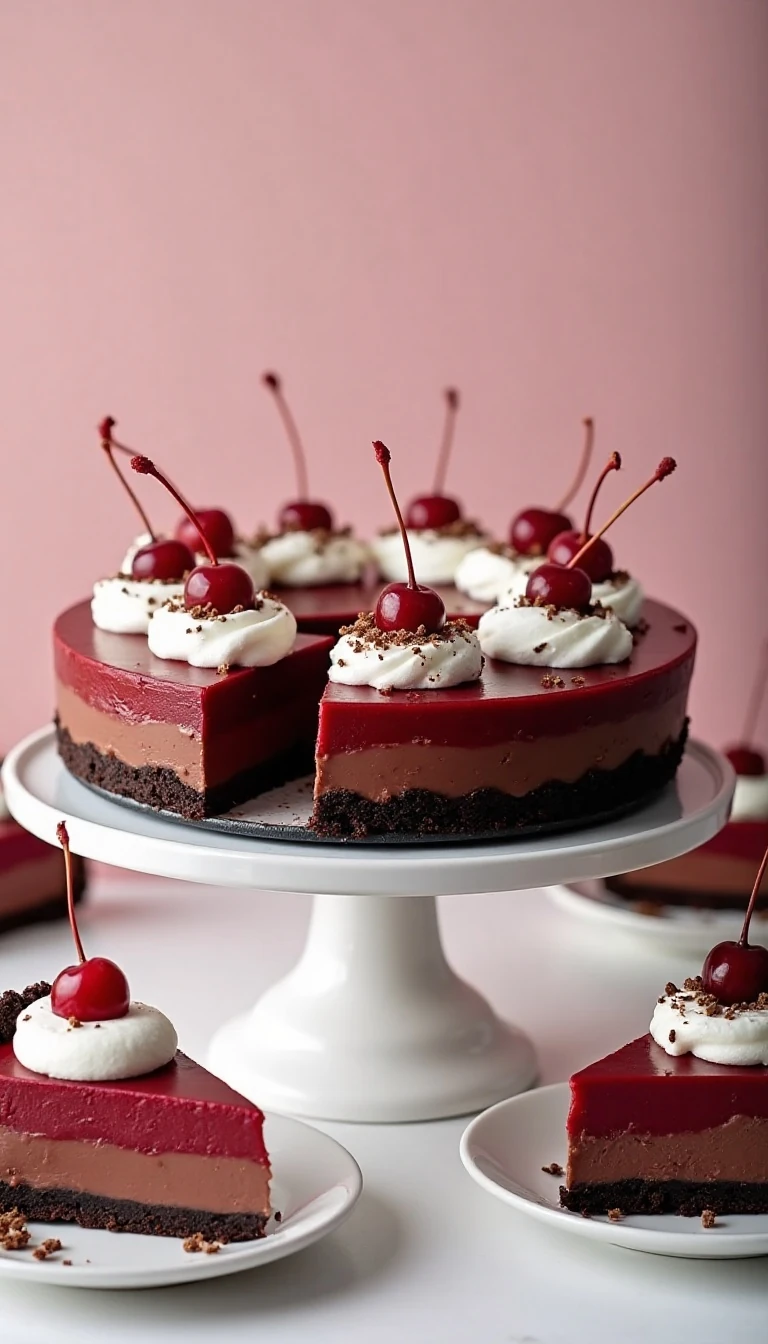
Chocolate Cherry Jello Pie
Ingredients
Method
- Place the cherry gelatin powder in a large mixing bowl. Pour in the boiling water and stir for about 2 minutes, or until every granule has dissolved.
- Stir the cold water into the dissolved gelatin. Refrigerate the mixture for about 20 to 30 minutes, until it is cool and slightly thickened but not fully set.
- Fold the cherry pie filling into the cooled gelatin. Use a spatula and gentle motions so the cherries remain evenly distributed.
- Gently fold in the thawed whipped topping until the filling looks evenly combined. Avoid vigorous stirring because it can reduce the airy texture.
- Spoon the filling into the chocolate cookie crumb crust. Smooth the top with the back of a spoon or an offset spatula.
- Refrigerate the pie for at least 4 hours, or preferably overnight, until the center is firm enough to slice cleanly.
- Add whipped topping, chocolate shavings, or maraschino cherries immediately before serving. Slice with a sharp knife and serve cold.
Notes
Final Thoughts
This Chocolate Cherry Jello Pie is proof that a memorable dessert does not require complicated techniques or a long ingredient list. With a chocolate cookie crust, bright cherry filling, and cloudlike whipped topping, it offers a satisfying contrast of textures in every bite.
Give the gelatin time to cool and thicken, fold gently, and plan for at least 4 hours of chilling. Those small details make the difference between a loose filling and a beautiful pie that cuts into clean, creamy slices.
Finish each piece with chocolate shavings, whipped topping, or a maraschino cherry, then serve it as a refreshing ending to dinner. Once you taste the chocolate-and-cherry combination, this no-bake pie is likely to become a regular favorite for gatherings and quiet weekends alike.
For another rich, no-oven dessert to add to your recipe collection, take a look at this easy German chocolate pie.