Chocolate Cherry Cheesecake Bars are an easy, crowd-pleasing dessert made with a devil’s food cake-mix crust, a smooth cream cheese layer, and sweet cherry pie filling. The bars bake in a 13 x 9-inch pan, yield about 24 servings, and take approximately 20 minutes to prepare, 40–45 minutes to bake, and at least 2 hours to cool and chill.
Every bite combines rich chocolate, tangy cheesecake, and juicy cherry flavor in a beautiful layered treat. They are simple enough for a weeknight dessert but special enough for holidays, potlucks, birthdays, and family celebrations.
Jump to RecipeWhy You’ll Love This Recipe
These chocolate cherry cheesecake bars deliver three favorite dessert flavors in one dependable recipe. The cake-mix crust gives you a rich chocolate base without measuring flour, cocoa powder, baking soda, or other dry ingredients.
The middle is creamy and lightly sweet, with vanilla and cream cheese balancing the deep chocolate. Canned cherry pie filling adds color, pleasant tartness, and a glossy fruit topping without requiring pitting or cooking fresh cherries.
They are also wonderfully practical for entertaining. One 13 x 9-inch pan produces about 24 bars, making it easy to serve a crowd or keep a few chilled for later.
For another cherry-and-chocolate dessert with a more traditional cheesecake format, you can also visit our chocolate cherry cheesecake recipe.
Ingredients You’ll Need
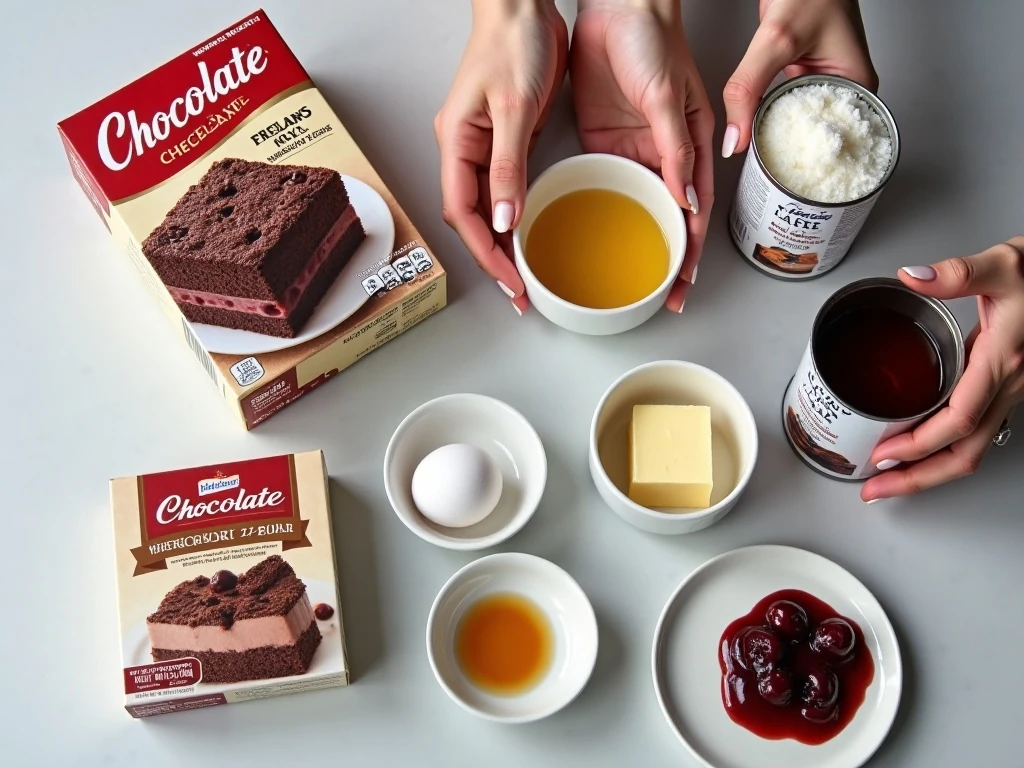
The ingredient list is short, but each item has an important role in the finished texture and flavor:
- Devil’s food cake mix: This creates the chocolate crust and supplies the dry ingredients in one convenient package. Use a regular-size package of about 15.25 ounces.
- Melted butter: Butter binds the cake mix into a pressable, crumbly crust and adds richness.
- Cream cheese: Two 8-ounce packages create the thick, creamy cheesecake layer. Let them soften fully before mixing.
- Granulated sugar: A half cup sweetens the cream cheese without overpowering the cherries.
- Eggs and vanilla: The eggs help the cheesecake layer set, while vanilla rounds out the flavor.
- Cherry pie filling: A 21-ounce can provides the fruit topping and its bright cherry sauce.
Because the layers are distinct, accurate quantities matter. Do not add the water, oil, or eggs usually listed on the cake-mix box; this recipe uses the dry mix with melted butter to form the crust.
If you enjoy bar cookies with a different chocolate profile, our chocolate pecan bars are another excellent option for dessert trays.
How to Make It Step-by-Step
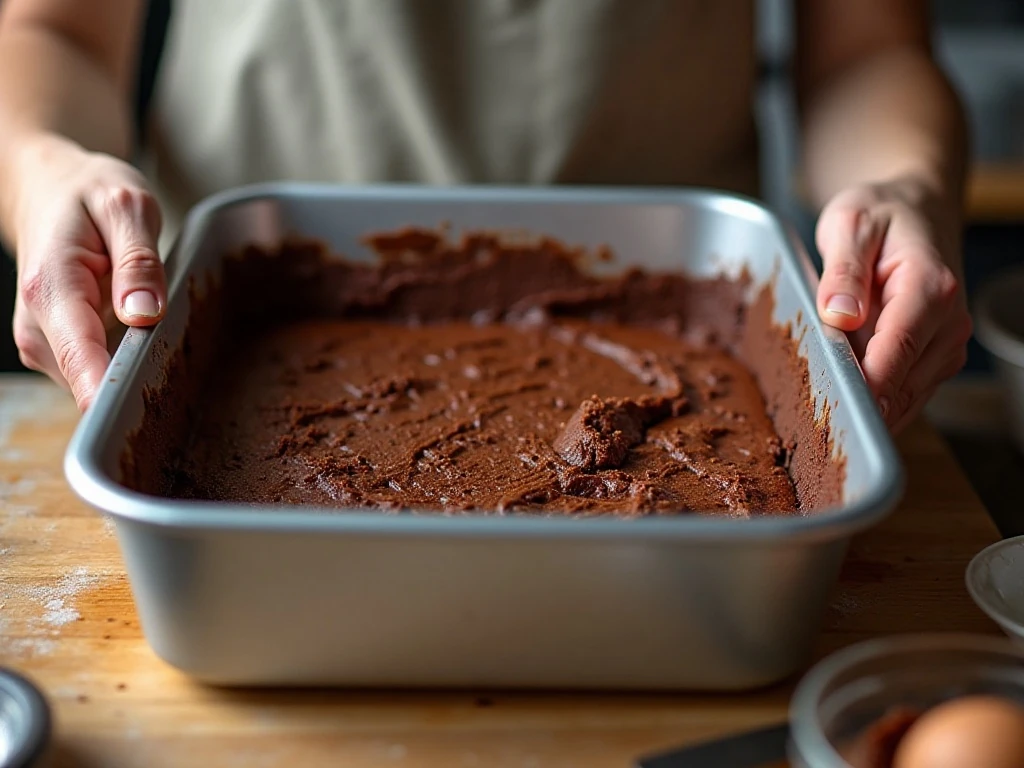
Step 1: Begin by heating the oven to 350°F. Grease a 13 x 9-inch baking pan, paying attention to the corners so the chilled bars are easier to lift and cut later.
Step 2: Place the dry devil’s food cake mix in a bowl and pour in the melted butter. Stir until the mixture resembles a thick, crumbly dough with no large dry pockets remaining.
Step 3: Press the chocolate mixture firmly and evenly over the bottom of the greased pan. A flat-bottomed measuring cup or the back of a spoon can help create an even layer without compacting it excessively.
Step 4: Bake the crust for about 10 minutes. This short initial bake gives the base enough structure to support the creamy filling and cherry topping.
Step 5: While the crust bakes, beat the softened cream cheese with the sugar until smooth. Scrape the sides and bottom of the bowl as needed so the mixture is free of lumps.
Step 6: Add the eggs and vanilla extract to the cream cheese mixture. Beat just until everything is combined, since excessive mixing can add unnecessary air to the cheesecake layer.
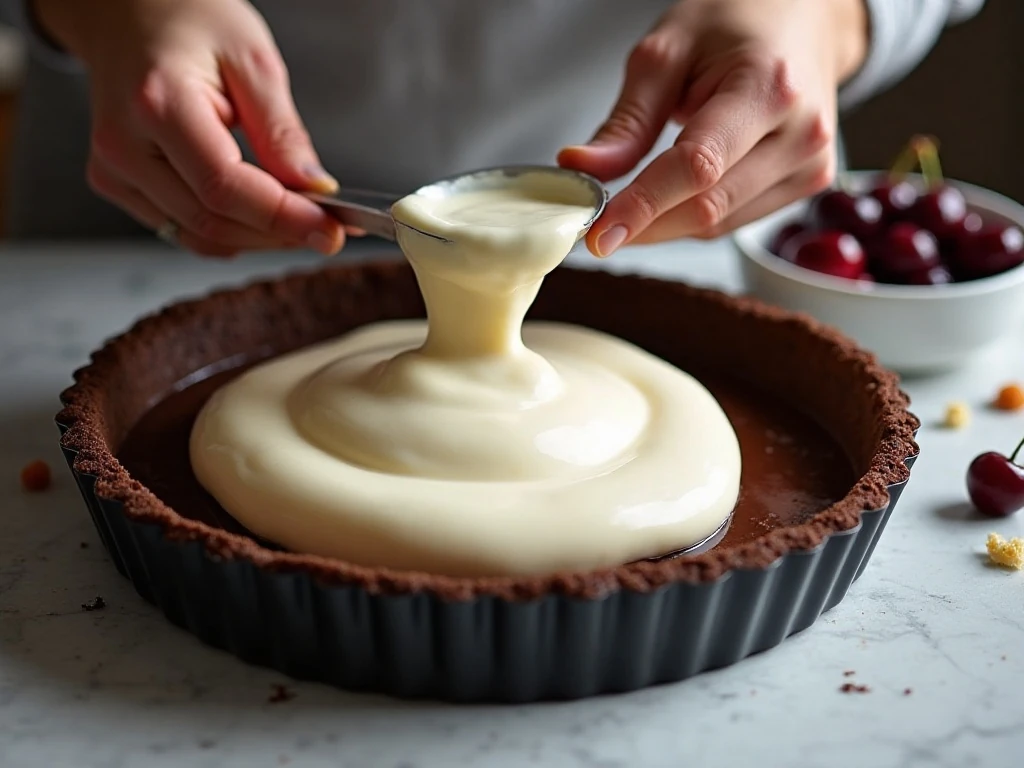
Step 7: Spread the cheesecake mixture carefully over the warm, partially baked crust. Work gently from edge to edge so the chocolate base stays intact.
Step 8: Spoon the cherry pie filling evenly over the cheesecake mixture. You can leave the cherries in distinct spoonfuls for a rustic look, or spread the filling lightly for a more uniform topping.
Step 9: Return the pan to the oven and bake for approximately 30–35 minutes. The cheesecake should look set around the edges while the center remains only slightly soft.
Step 10: Place the pan on a rack and let it cool completely. Refrigerate for at least 2 hours before cutting, because chilling gives the cheesecake layer time to firm and makes cleaner portions possible.
Pro Tips for Perfect Bars
Start with truly softened cream cheese. Cold cream cheese can leave small lumps in the filling, even when beaten thoroughly. Let both packages soften fully before you begin mixing.
Do not overbake. The center should be only slightly soft when the pan comes out of the oven. It will continue setting as it cools and becomes firmer during refrigeration.
Spread each layer with care. The crust is partially baked, so use a light touch when adding the cheesecake mixture. Drop spoonfuls across the surface first, then gently connect them with a spatula.
Chill before slicing. A sharp knife gives the neatest edges, especially when wiped clean between cuts. For especially tidy squares, chill the bars overnight, although at least 2 hours is sufficient.
For a seasonal variation in the same general dessert family, take a look at these gingersnap pumpkin cheesecake bars.
Serving Suggestions
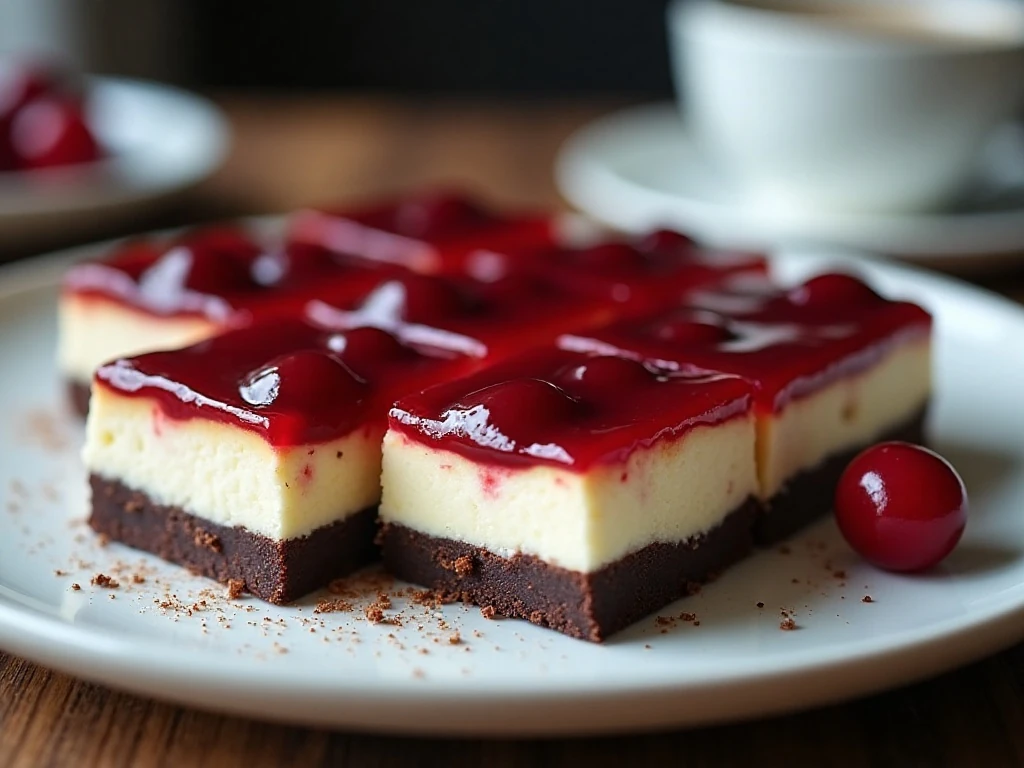
Serve the bars cold or allow them to rest briefly at room temperature before serving. The chilled texture is firm and sliceable, while a short rest makes the cream cheese layer taste especially smooth.
For a pretty dessert table, arrange the squares on a white platter so the chocolate crust and ruby cherry topping stand out. A simple fork and napkin are all they need, since the cherry layer already provides an attractive finish.
These bars pair nicely with coffee, black tea, or a glass of cold milk. They are also a smart make-ahead choice for potlucks because the dessert must chill before slicing.
Fans of creamy bar desserts may also enjoy these easy churro cheesecake bars when they want cinnamon flavor instead of chocolate and cherry.
Storage and Make-Ahead Advice
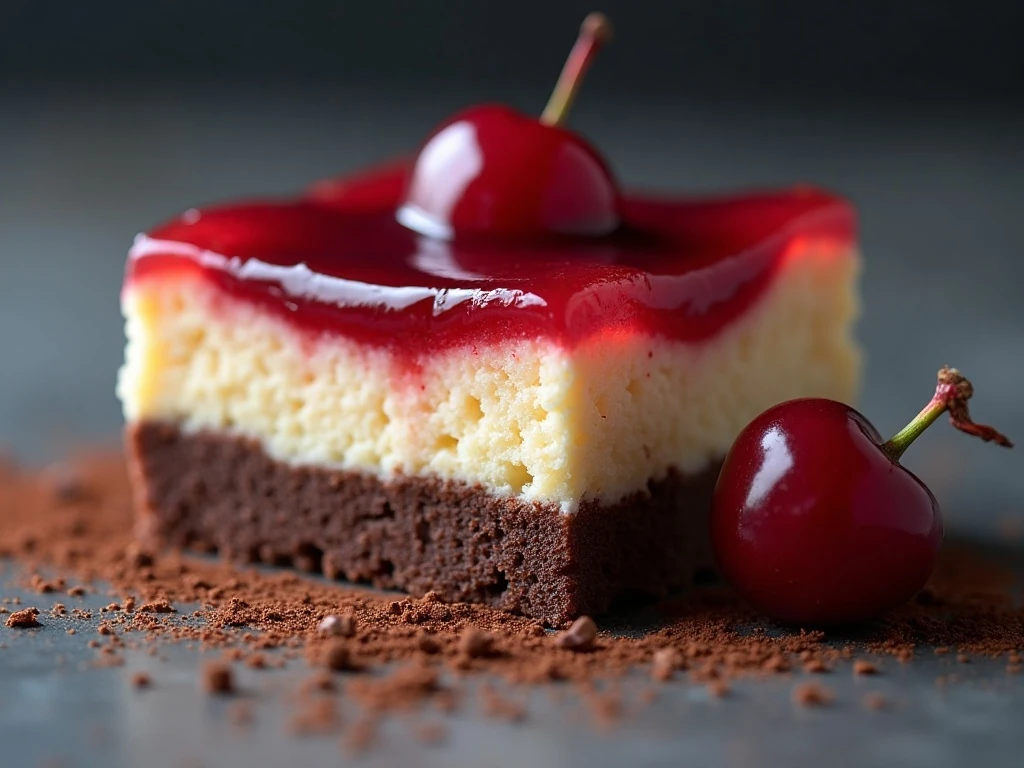
Once completely cooled, cover the pan or transfer the bars to an airtight container and refrigerate them. Keep the cheesecake bars chilled until serving because the cream cheese layer is best stored cold.
For clean storage, place parchment between layers if stacking individual bars. Slice only what you plan to serve, then return the remaining dessert to the refrigerator promptly.
The bars are especially convenient when prepared ahead. Bake and chill them before guests arrive, then cut them shortly before serving for the freshest-looking edges.
If you need another easy bar recipe for a dessert assortment, these oatmeal bars with white chocolate chips offer a chewy contrast to this creamy cheesecake dessert.
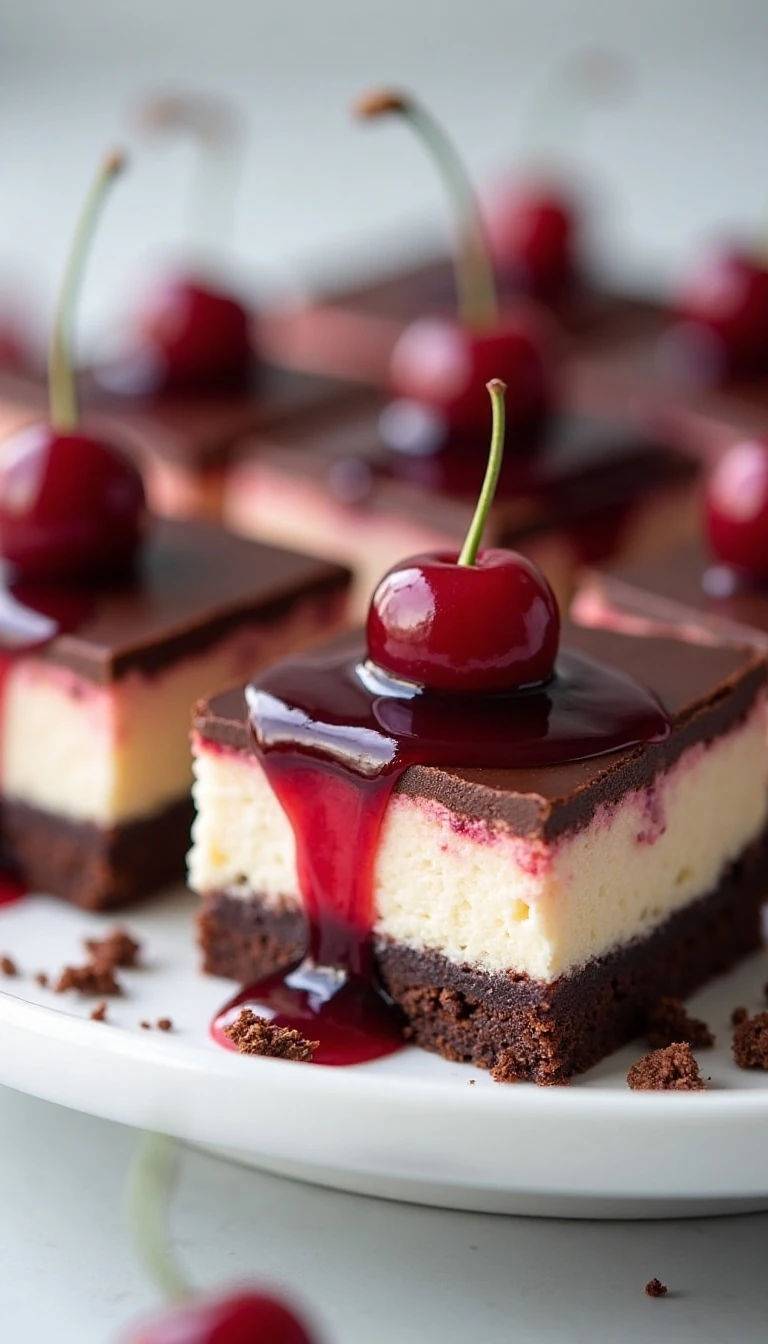
Chocolate Cherry Cheesecake Bars
Ingredients
Method
- Heat the oven to 350°F and grease a 13 x 9-inch baking pan. This helps the crust release more easily after the bars have chilled.
- Combine the dry devil’s food cake mix and melted butter in a mixing bowl until a thick, crumbly dough forms. Press the mixture evenly into the bottom of the prepared pan.
- Bake the chocolate crust for about 10 minutes. Remove it from the oven while it is still in the pan and prepare the cheesecake layer.
- Beat the softened cream cheese and granulated sugar until smooth. Add the eggs and vanilla extract, then beat just until combined; avoid mixing longer than necessary.
- Spread the cheesecake mixture evenly over the partially baked chocolate crust. Spoon the cherry pie filling over the top, distributing the cherries and sauce as evenly as possible.
- Bake for approximately 30–35 minutes, until the cheesecake layer is set around the edges and only slightly soft in the center. Do not wait for the center to become completely firm in the oven.
- Cool the pan completely on a wire rack, then refrigerate the bars until firm, for at least 2 hours. Use a sharp knife wiped clean between cuts to portion the dessert into neat bars.
Notes
Final Thoughts
Chocolate Cherry Cheesecake Bars are proof that a short ingredient list can create an impressive dessert. The buttery chocolate crust, silky cheesecake center, and bright cherry topping make every square rich, creamy, and pleasantly fruity.
Follow the key timing details: bake the crust for about 10 minutes, bake the assembled bars for 30–35 minutes, then cool and refrigerate for at least 2 hours. Once the center is properly chilled, slice with a clean sharp knife and enjoy a dessert everyone will be happy to find on the table.