These homemade strawberry pop-tarts are made with buttery, flaky pastry, thick strawberry jam, and a sweet vanilla glaze. The recipe yields 8 to 9 pastries and takes about 2 1/2 to 3 1/2 hours from start to finish, including the important dough-chilling time.
Each pastry tastes bakery-fresh: crisp and lightly golden around the edges, tender in the center, and filled with bright strawberry flavor. Add a shower of sprinkles for the nostalgic look of a favorite toaster pastry, but expect a much more delicious homemade crust.
Jump to RecipeWhy You’ll Love This Recipe
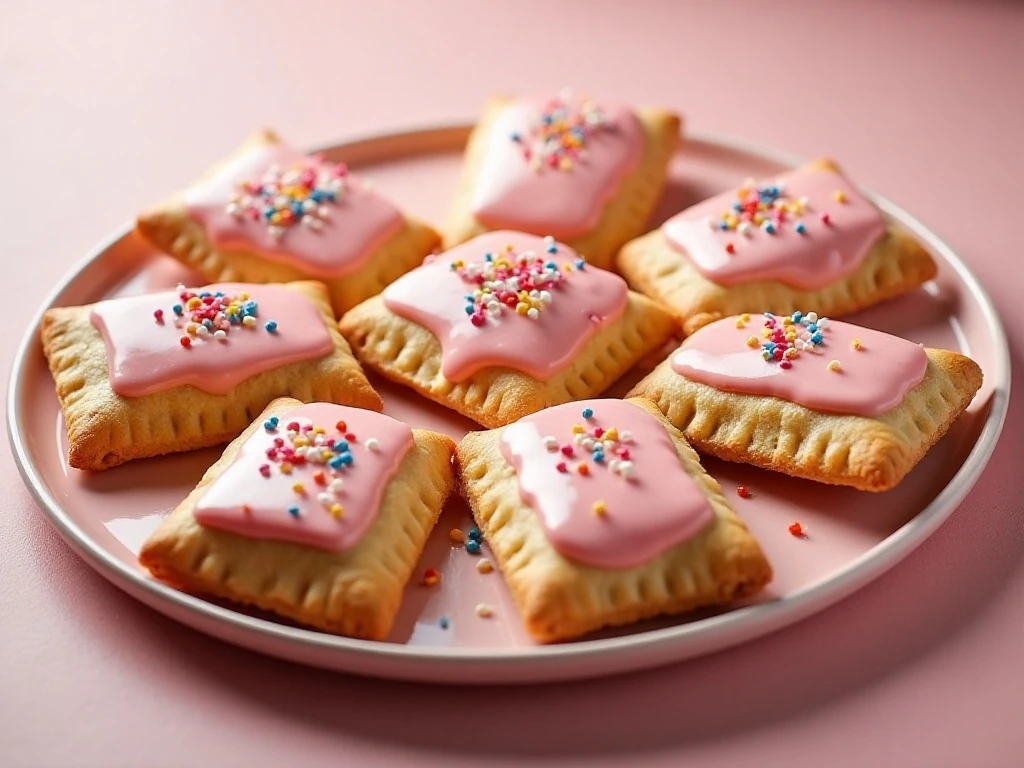
Homemade strawberry pop-tarts bring together three textures that make them irresistible: crisp pastry, soft fruit filling, and creamy glaze. The dough is made from simple pantry staples, yet cold butter creates delicate flaky layers that taste far more special than packaged pastries.
You can prepare the dough ahead, shape the pastries when convenient, and decorate them for breakfast, brunch, snack time, or dessert. They are also easy to customize with different sprinkles while keeping the classic strawberry center everyone loves.
If you enjoy strawberry desserts with a creamy finish, our strawberry cream cheese cupcakes are another lovely treat to add to your baking list.
Ingredients You’ll Need
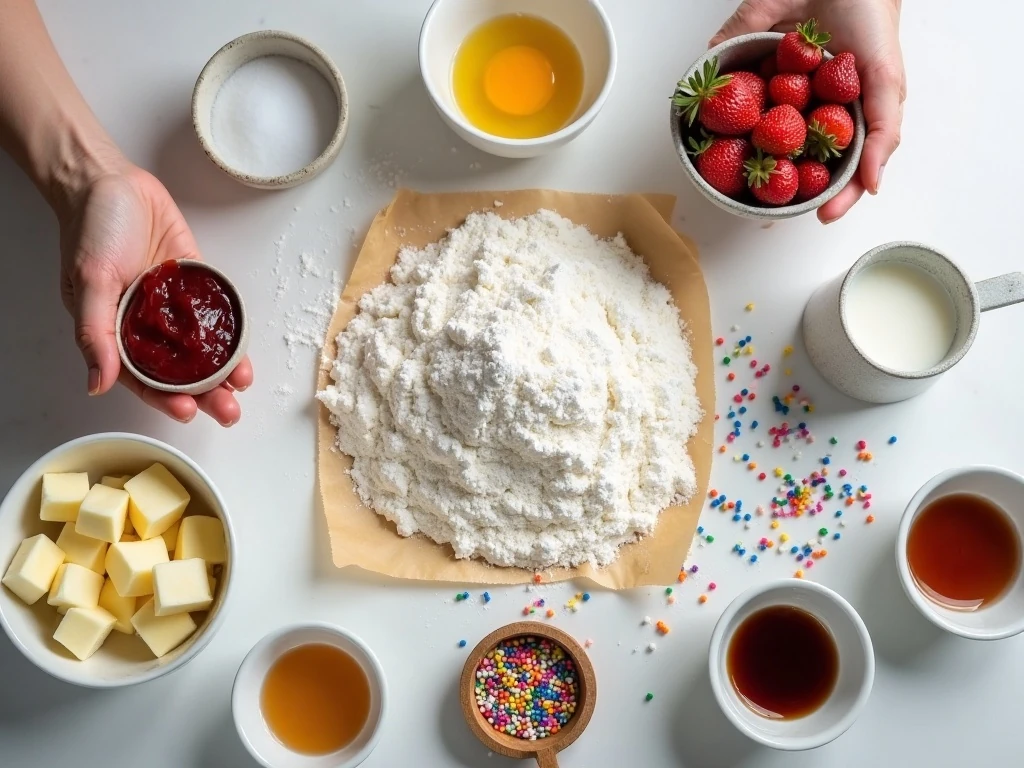
The pastry needs 2 cups (250 g) all-purpose flour, 1/2 teaspoon salt, 1/2 cup (113 to 115 g) cold unsalted butter, and 1/3 cup (75 to 80 ml) ice water. One tablespoon granulated sugar is optional, but it adds a gentle sweetness to the crust.
For the filling, use 1/2 to 3/4 cup (160 to 240 g) thick strawberry jam or preserves. Thick preserves are best because watery jam can escape through the seams; if yours is loose, stir in the optional 1 teaspoon all-purpose flour before filling the pastry.
The egg wash is one beaten large egg, with 1 teaspoon water if you want to thin it slightly. Finish with a glaze made from 1 cup (115 to 120 g) confectioners’ sugar, 1 1/2 to 2 tablespoons milk, and 1/2 teaspoon vanilla extract, plus colored sprinkles if desired.
- Keep the butter and water cold for a flaky crust.
- Use parchment paper to prevent sticking and simplify cleanup.
- Measure the jam rather than adding extra, since overfilling causes leaks.
For another fruit-forward dessert idea, take a look at this easy strawberry pie when you want a larger centerpiece.
How to Make It Step-by-Step
Step 1: Make the pastry base by whisking the flour, salt, and optional granulated sugar in a large bowl. Add the cold cubed butter and cut it in with a pastry blender or your fingertips until you see pea-sized butter pieces mixed with coarse crumbs.
Step 2: Drizzle in the ice water gradually, mixing gently after each addition. Stop as soon as the dough holds together when pressed; overmixing develops gluten and can make the baked pastry tough instead of tender.
Step 3: Turn the dough onto a work surface and divide it into two equal disks. Wrap both disks well and refrigerate for at least 1 hour, or up to 2 hours as many recipes recommend, so the butter firms and the dough becomes easier to roll.
Step 4: Lightly flour the counter and roll each chilled disk to approximately 1/8-inch thickness. Cut equal rectangles about 3 x 4 inches, gathering and rerolling scraps gently if needed, until you have 16 to 18 rectangles for 8 to 9 pastries.
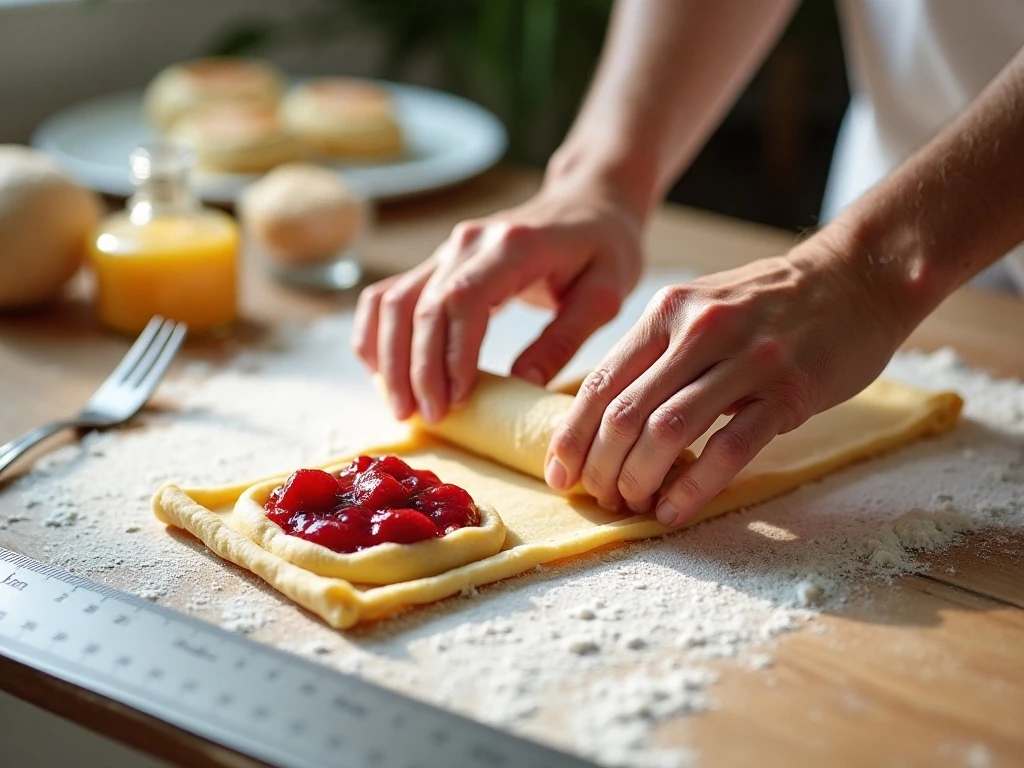
Step 5: If your strawberry jam is runny, mix it with the optional teaspoon of flour. Place about 1 tablespoon of filling in the center of half the rectangles, leaving a clear border around every side so the edges can seal properly.
Step 6: Beat the egg with the optional teaspoon of water to make the wash. Brush the exposed pastry borders, place a second rectangle over each filled piece, and press around the edges to remove air pockets and close the pastry.
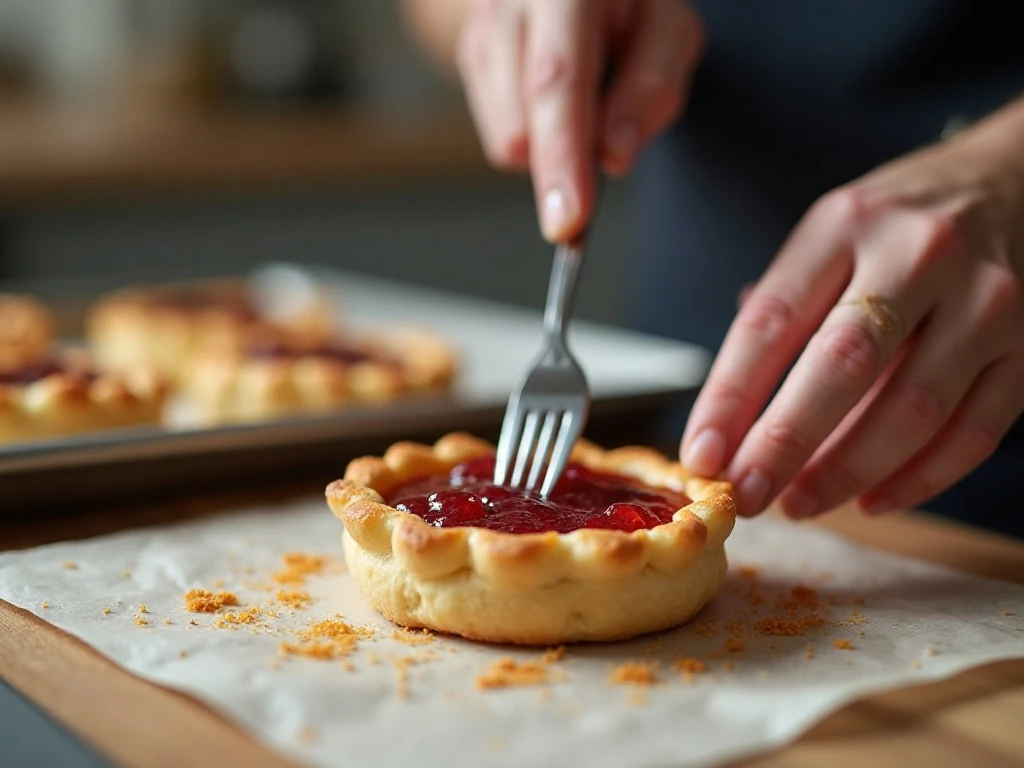
Step 7: Crimp the sealed edges firmly with a fork, then poke several small holes across the top of each pop-tart. These vents let steam escape during baking and help keep the tops from puffing or splitting.
Step 8: Transfer the pastries to a parchment-lined baking sheet and brush the tops with egg wash. If the dough has softened, refrigerate the assembled pop-tarts for 10 to 15 minutes before baking.
Step 9: Bake at 350°F (175°C) for 25 to 30 minutes, watching for lightly golden edges. The pastries may look delicate when they first come out, so let them cool on the baking sheet or a rack before moving on to the glaze.
Step 10: Whisk the confectioners’ sugar, milk, and vanilla until thick but spreadable. Spoon or spread the glaze over completely cooled pastries, then add colored sprinkles while the icing is still wet.
Pro Tips for Flaky, Leak-Free Pop-Tarts
Cold dough is the foundation of good pastry. If the butter begins to feel soft or greasy while rolling, pause and chill the dough rather than adding lots of extra flour.
Thick preserves give the cleanest result, and one tablespoon is enough for each pastry. A generous filling may sound tempting, but too much jam presses against the seams and is the main reason fruit leaks onto the baking sheet.
Press the border firmly before crimping, and do not skip the vent holes. For especially neat rectangles, trim the rolled dough with a ruler or straight edge before cutting individual pieces.
Brush the egg wash lightly and evenly. A thick coating can pool around the edges, while a thin layer gives the crust an attractive golden finish without hiding its flaky layers.
For a breakfast spread, serve these beside quick homemade biscuits and fresh fruit. The combination gives guests both a sweet pastry and a tender savory-style baked option.
Storage, Freezing, and Reheating
Let the pop-tarts cool completely before glazing and storing. Keep them in an airtight container at room temperature for a short period, placing parchment between layers if the glaze is still soft.
For longer storage, freeze the unglazed baked pastries after they have cooled. Wrap them carefully, thaw them as needed, and add fresh glaze once they are at room temperature for the best appearance.
Reheat plain or glazed pastries gently in a toaster oven or conventional oven. Avoid putting glazed pastries into a pop-up toaster, since melted icing and fruit filling can drip inside the appliance.
The dough can also be prepared ahead and refrigerated during its chilling window. Keep both disks wrapped so they do not dry out, then let them sit briefly if needed before rolling.
Serving Ideas and Flavor Variations
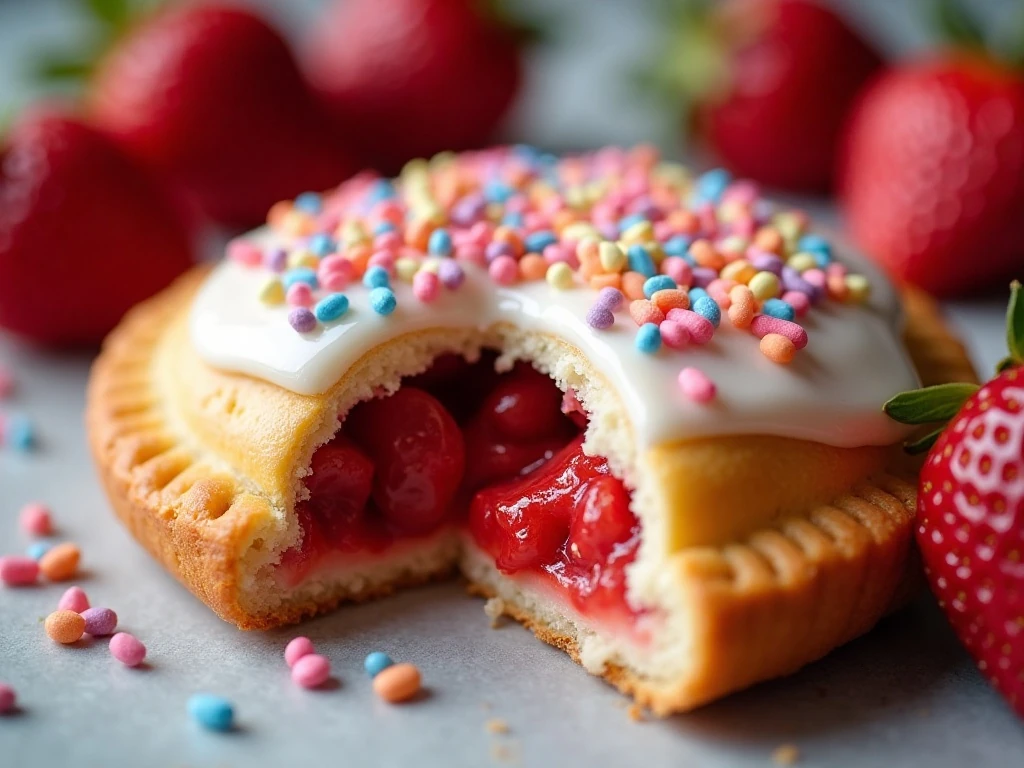
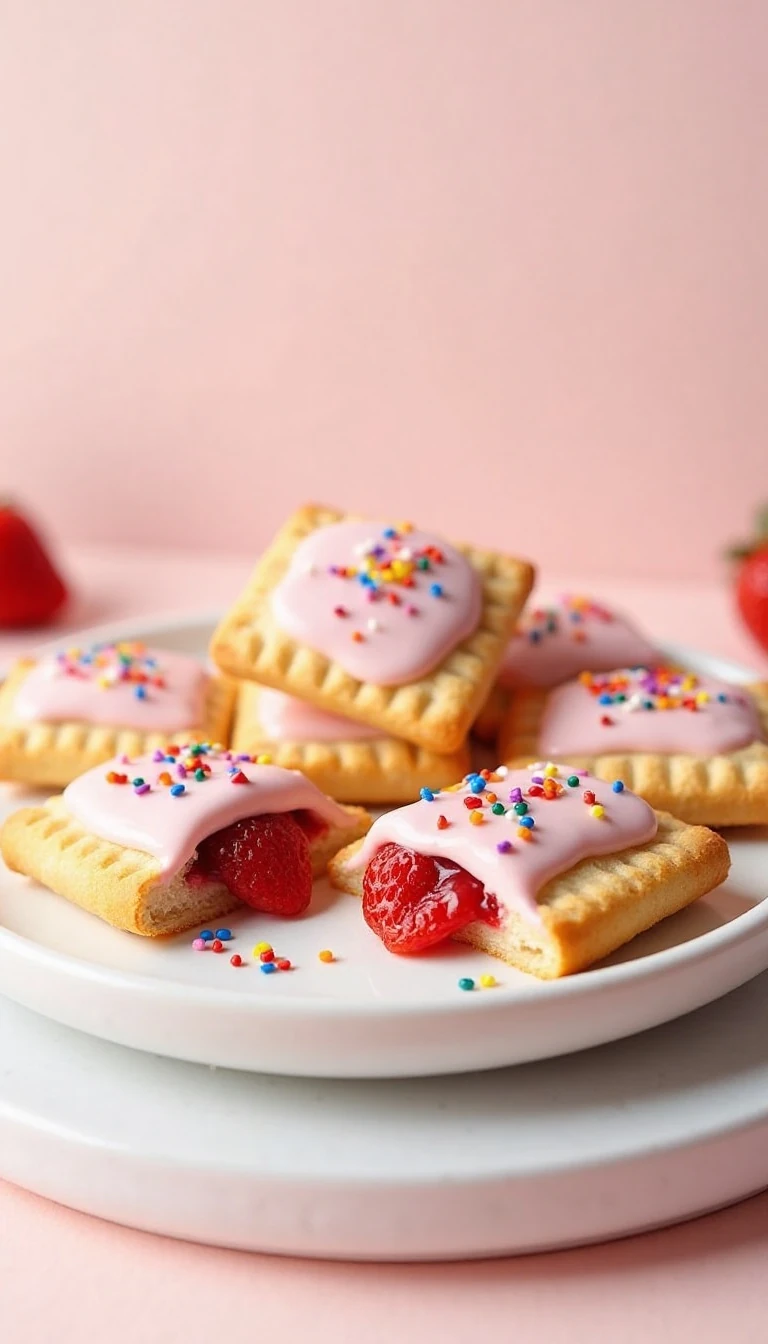
Serve the pop-tarts with coffee, tea, cold milk, or a scoop of vanilla ice cream for a dessert-style presentation. The pink glaze and sprinkles make them especially cheerful for brunches, birthday breakfasts, and bake sales.
For a fresh strawberry theme, pair them with our creamy strawberry banana salad. Its cool, fruity texture balances the warm buttery pastry beautifully.
You can keep the recipe traditional or use a different sprinkle color for holidays and celebrations. The strawberry filling should remain thick and measured, while the glaze can be made slightly thicker or thinner by adjusting the milk within the stated range.
For a sweet snack table, add crunchy homemade peanut brittle alongside the pop-tarts. The contrast between crisp candy and tender jam-filled pastry gives everyone something different to enjoy.
Homemade Strawberry Pop-Tarts
Ingredients
Method
- Whisk flour, salt, and optional sugar. Cut in cold butter until pea-sized pieces and coarse crumbs remain. Add ice water gradually and mix just until the dough comes together.
- Divide dough into two disks, wrap, and refrigerate for at least 1 hour, preferably 2 hours.
- Roll each disk to about 1/8-inch thickness and cut 16 to 18 rectangles measuring approximately 3 x 4 inches.
- Place about 1 tablespoon jam on half the rectangles. If the jam is loose, mix it with 1 teaspoon flour. Brush edges with egg wash, top with remaining rectangles, crimp with a fork, and poke several holes in each top.
- Arrange on a parchment-lined baking sheet, brush with egg wash, and chill assembled pastries for 10 to 15 minutes if softened. Bake at 350°F (175°C) for 25 to 30 minutes, until lightly golden around the edges.
- Cool completely. Stir confectioners' sugar, milk, and vanilla into a thick, spreadable glaze, then spoon over the pastries and finish with optional sprinkles.
Notes
Final Thoughts
These homemade strawberry pop-tarts prove that a few carefully handled ingredients can create a truly memorable pastry. Chilling the dough, using thick jam, sealing the edges well, and waiting for complete cooling before glazing are the small details that make the finished batch bakery-fresh.
Make them for a relaxed weekend breakfast or prepare them as a colorful dessert for guests. Once you taste the buttery crust with strawberry jam and vanilla icing, this homemade version is sure to become a favorite.