This easy apple jam without pectin is made with prepared apples, granulated sugar, lemon juice, and a little water. The apples provide natural pectin, while gentle simmering concentrates their juices into a thick, spoonable spread in about 1 hour to 1 hour 15 minutes, including preparation.
The finished jam is glossy, fragrant, softly set, and full of fresh apple flavor. A little cinnamon makes it warmly spiced, while optional vanilla adds a rounded dessert-like note after cooking.
Jump to RecipeWhy You’ll Love This Recipe
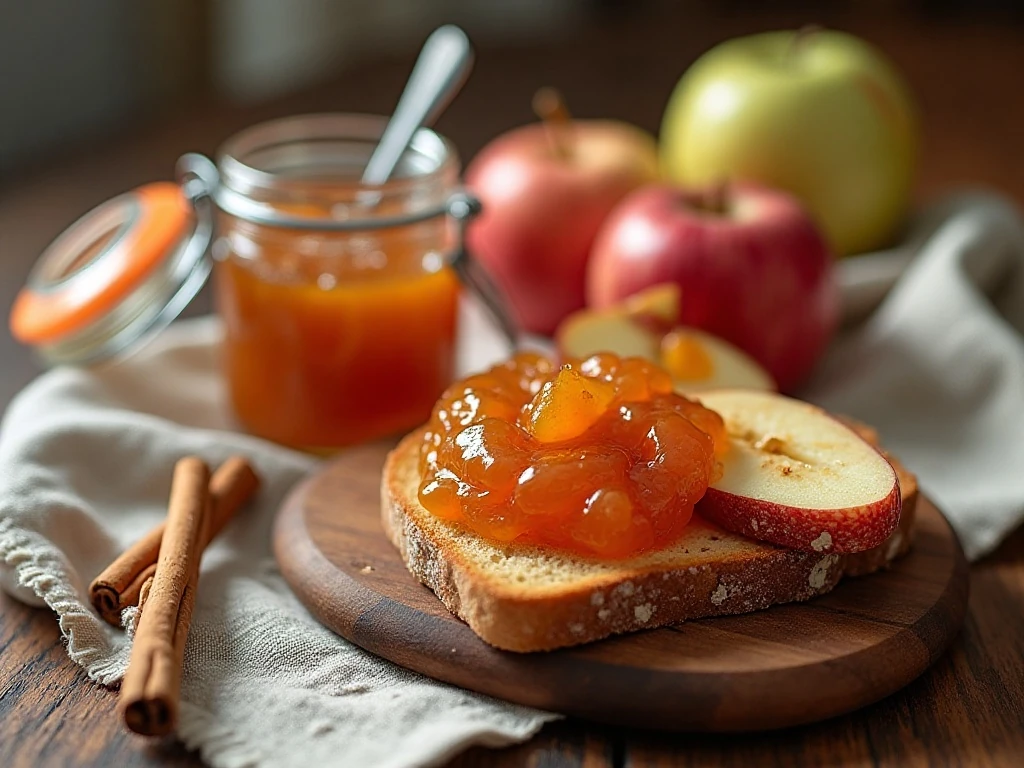
There is something especially satisfying about turning a basket of apples into a few jars of homemade jam. This recipe uses familiar pantry ingredients and does not require commercial pectin, special equipment, or complicated techniques.
The texture is softer and more spoonable than many commercial jams, which makes it lovely on toast, biscuits, pancakes, and warm porridge. Small pieces of apple bring a pleasant homemade character, while blending creates a smooth spread that is easy to swirl into yogurt or spoon over desserts.
Lemon juice brings needed brightness to the sweet mixture. It also supports the natural setting process, helping the finished jam taste balanced rather than flat or overly sugary.
If you enjoy baking with apples, save a jar for serving beside our easy apple pie. A spoonful of this jam also makes a wonderful filling for simple cakes and pastries.
Ingredients You’ll Need
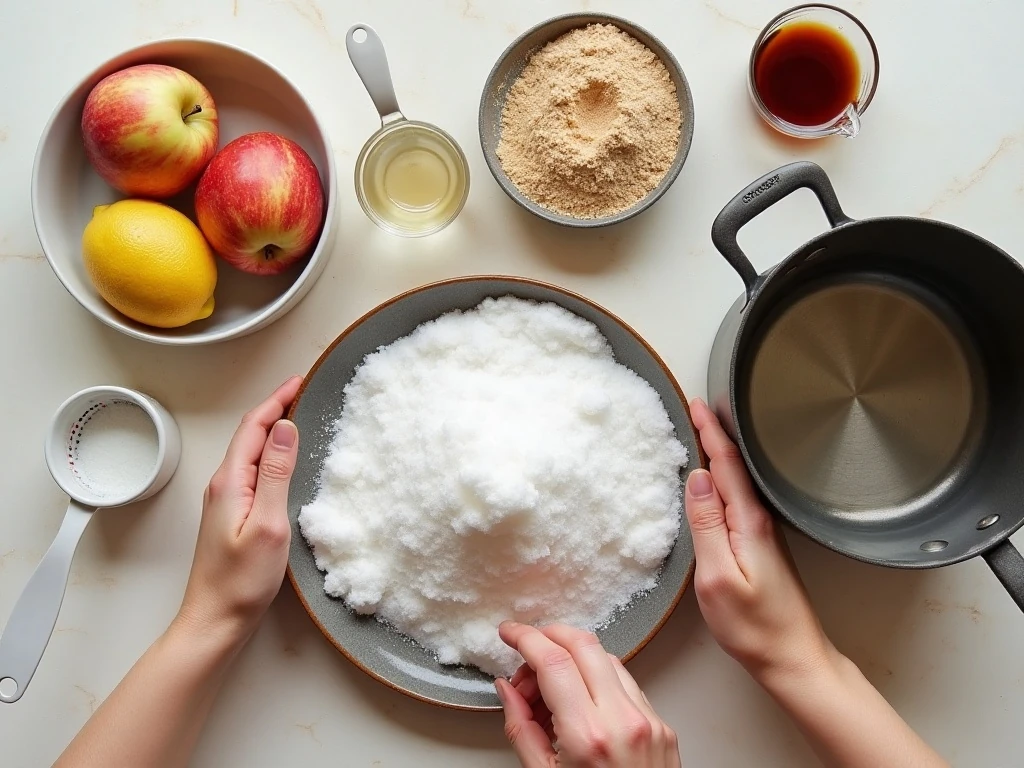
The ingredient list is short, but each item has a useful role. Weigh the apples after peeling and coring because the recipe ratio is based on 1 kg of prepared fruit, not the weight of whole apples.
- Apples: Use about 6 to 8 medium apples, preferably tart and firm such as Granny Smith or Braeburn. A mixture of tart and sweet apples gives especially good flavor.
- Granulated sugar: Use 750 g, or about 3 3/4 US cups. Sugar sweetens the jam, helps preserve it under refrigeration, and contributes to the final thick consistency.
- Lemon juice: Two tablespoons, or 30 ml, adds acidity and keeps the apple flavor lively.
- Water: One-half cup, or 120 ml, helps the apples begin cooking without scorching before their own juices are released.
- Cinnamon: One teaspoon is optional, but it gives the jam a familiar baked-apple aroma.
- Vanilla extract: One teaspoon is optional and should be stirred in after the pan leaves the heat.
Apples contain natural pectin, especially near the peel and core. Although this recipe removes both, enough natural pectin remains in the fruit to help the jam thicken as water evaporates.
For another cozy way to use apples, try this warm mulled apple cider. Its spices pair beautifully with the cinnamon in this homemade spread.
How to Make It Step-by-Step
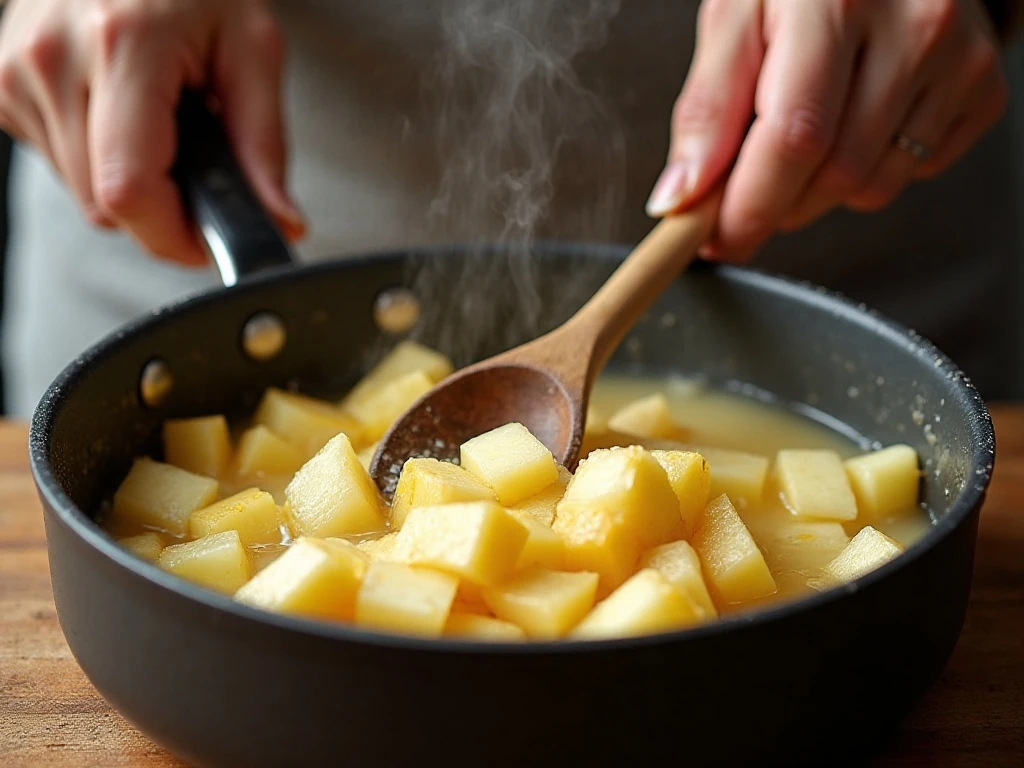
Step 1: Prepare the apples by peeling, coring, and finely chopping or grating them. Smaller pieces break down more quickly and give you a more even texture, while grated apples produce a naturally smooth jam with very little mashing required.
Step 2: Weigh the prepared apples and measure out 1 kg. Add them to a wide, heavy-bottomed saucepan with the sugar, lemon juice, water, and cinnamon if you are using it.
Step 3: Let the apple mixture stand for 15 to 30 minutes when possible. This optional macerating period draws juice from the apples and gives the sugar time to begin dissolving, which helps the mixture cook evenly.
Step 4: Set the saucepan over medium heat and bring the mixture to a boil. Stir often during this stage, making sure the sugar has dissolved before reducing the heat.
Step 5: Reduce the heat and simmer the jam uncovered for 35 to 50 minutes. The exact cooking time varies with the apple variety, the width of your pan, and how much moisture the fruit contains.
Step 6: Stir frequently as the jam cooks, particularly toward the end. Once the mixture becomes thick, it can scorch more easily, so scrape across the bottom and around the edges with a heatproof spoon.
Step 7: Choose your preferred texture. Mash the softened apples with a potato masher for a rustic spread with visible fruit, or use an immersion blender carefully for a smoother consistency.
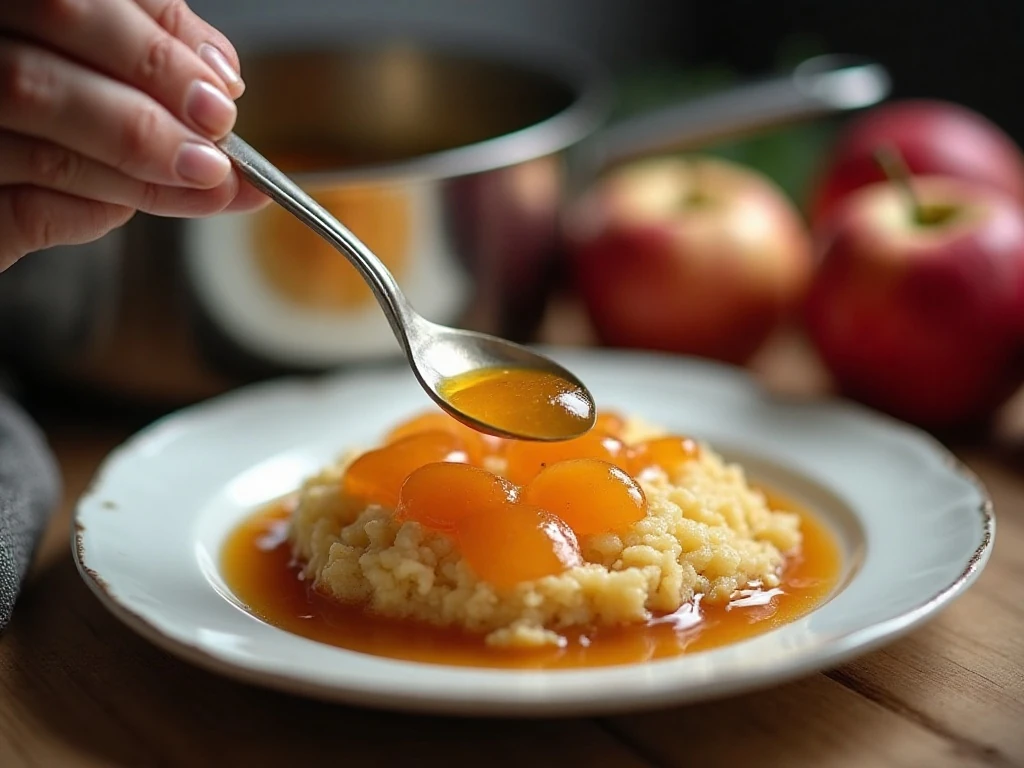
Step 8: Test the set using a chilled plate. Put a small spoonful of jam on the cold plate, let it cool briefly, and push it with your fingertip; a properly thickened sample should wrinkle slightly and should not run freely.
Step 9: Remove the pan from the heat and stir in the vanilla extract if using. Adding vanilla at the end preserves its delicate aroma and keeps it from becoming muted during the long simmer.
Step 10: Spoon the hot jam into clean, sterilized jars, leaving a little headspace. Allow the jars to cool before covering and refrigerating them.
Chef’s Tips for the Best Apple Jam
A wide pan is one of the most useful tools for this recipe. Its greater surface area allows moisture to evaporate faster, helping the jam thicken without excessively long cooking that could dull the apple flavor.
Do not judge the texture while the jam is bubbling hot. It will become thicker as it cools, which is why the chilled-plate test gives a more reliable indication of the finished consistency.
Keep the heat moderate rather than rushing the process with a very high flame. Fast boiling can cause splattering and may make the sugar catch before the apples have softened fully.
The best apple combination depends on your taste. Tart apples give the jam a bright, fresh character, while sweeter apples provide a rounder flavor. Combining both types creates a balanced result.
If the jam seems too chunky after cooking, blend it in short bursts with an immersion blender. Keep the blade below the surface to reduce splashing, and remember that hot jam can cause serious burns.
For a breakfast spread with a bakery-style feel, serve this jam with warm toast and salted butter. It is also delicious spooned into thumbprint cookies, layered into a sponge cake, or brushed over an apple tart before serving.
For more fruit-forward baking inspiration, compare this preserve with the flavors in a traditional German apple cake. The same apple-and-spice combination feels right at any autumn table.
Serving Ideas and Flavor Variations
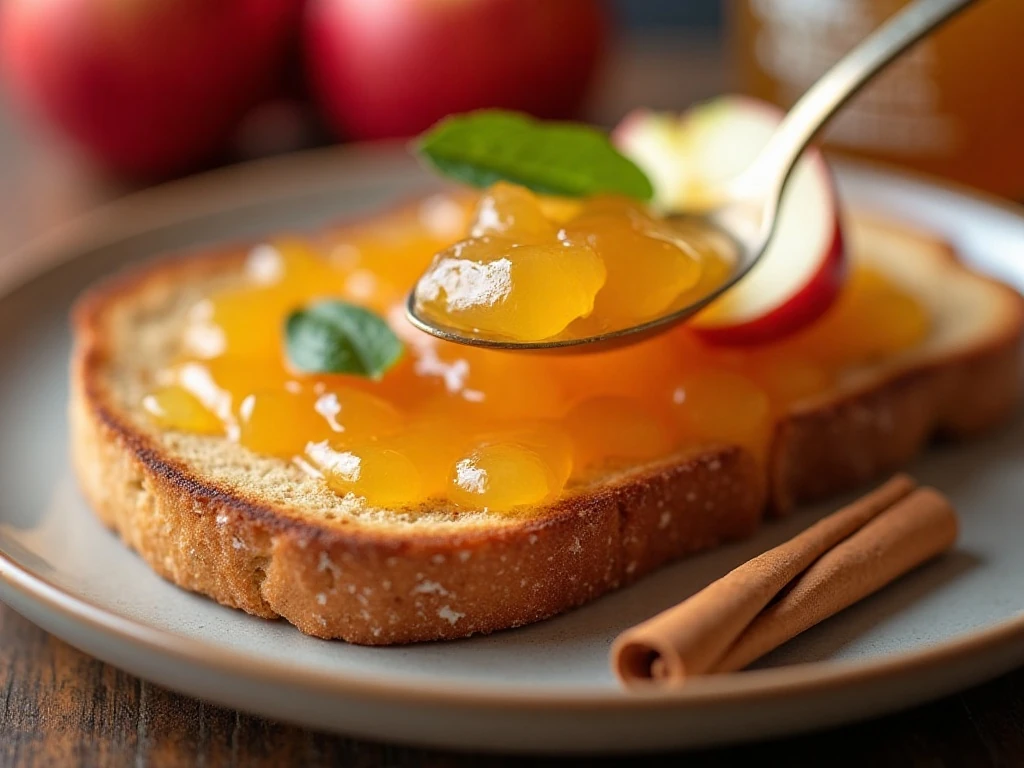
Apple jam is at its best when the flavor is allowed to shine. Spread it over sourdough, English muffins, crumpets, or freshly baked scones for an easy breakfast or afternoon treat.
For dessert, spoon warm jam over vanilla ice cream or fold a little into plain Greek yogurt. A thin layer between cake layers adds moisture and a concentrated apple note without requiring a separate frosting.
Cinnamon is the simplest variation, but you can also leave it out for a clean apple flavor. Vanilla gives a soft pastry-shop aroma, and using a tart apple blend keeps the sweetness from becoming heavy.
Try serving a small dish of this jam alongside a cheese board. Its sweetness works particularly well with sharp cheddar, creamy brie, and firm aged cheeses.
If you are planning a seasonal menu, apple jam can sit beside warm drinks and baked treats. It makes a natural companion to a classic pumpkin pie, especially when cinnamon is included in both recipes.
Storage, Safety, and Troubleshooting
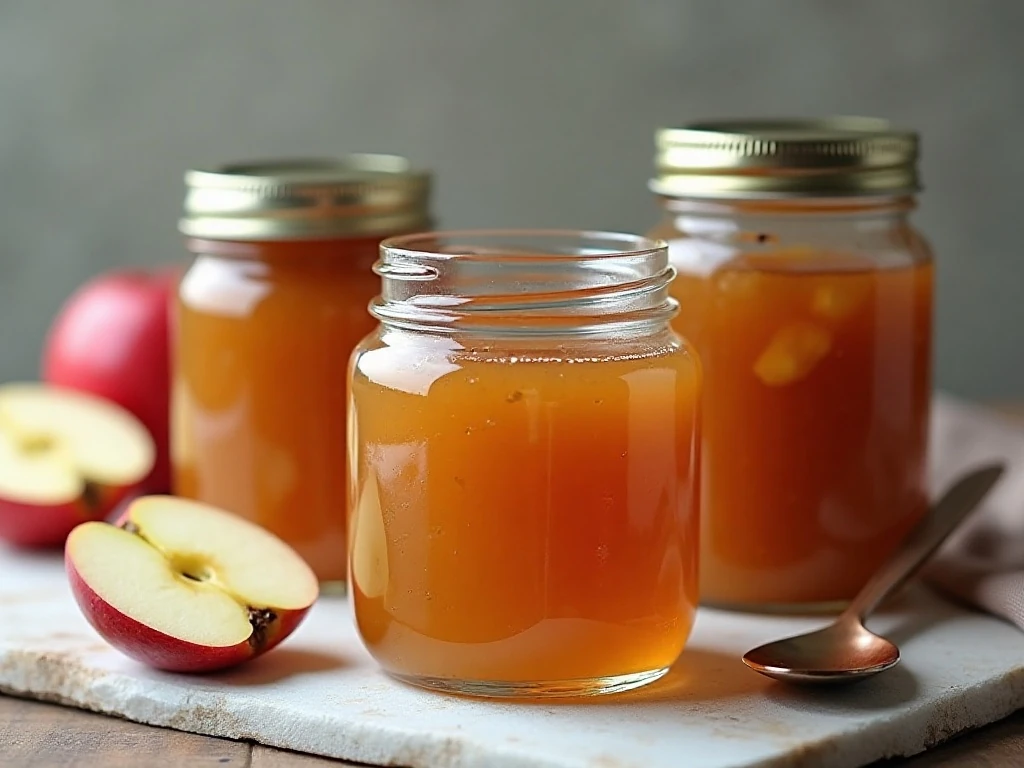
Refrigerated homemade apple jam is best used within about 2 to 3 weeks. Keep it in clean, covered jars and use a clean spoon each time to help preserve its quality.
Simply pouring hot jam into jars and leaving them at room temperature is not a safe canning method. For shelf-stable storage, use a tested water-bath canning recipe and follow current jar-processing and acidity guidelines.
If the jam is looser than you want after cooling, return it to the saucepan and simmer it uncovered for a little longer, stirring frequently. Test it again on a chilled plate rather than relying only on how it looks in the pan.
If the jam becomes too thick, stir in a small amount of water while reheating gently. Add only a little at a time so you do not accidentally make the consistency runny.
A darker color usually means the mixture cooked for longer or at a stronger heat. It may still taste delicious, but moderate heat and regular stirring will help preserve a lighter golden color and fresher apple aroma.
For another apple dessert to make with your fruit haul, see this Irish apple cake. Both recipes are excellent choices when you want a comforting homemade bake or preserve.
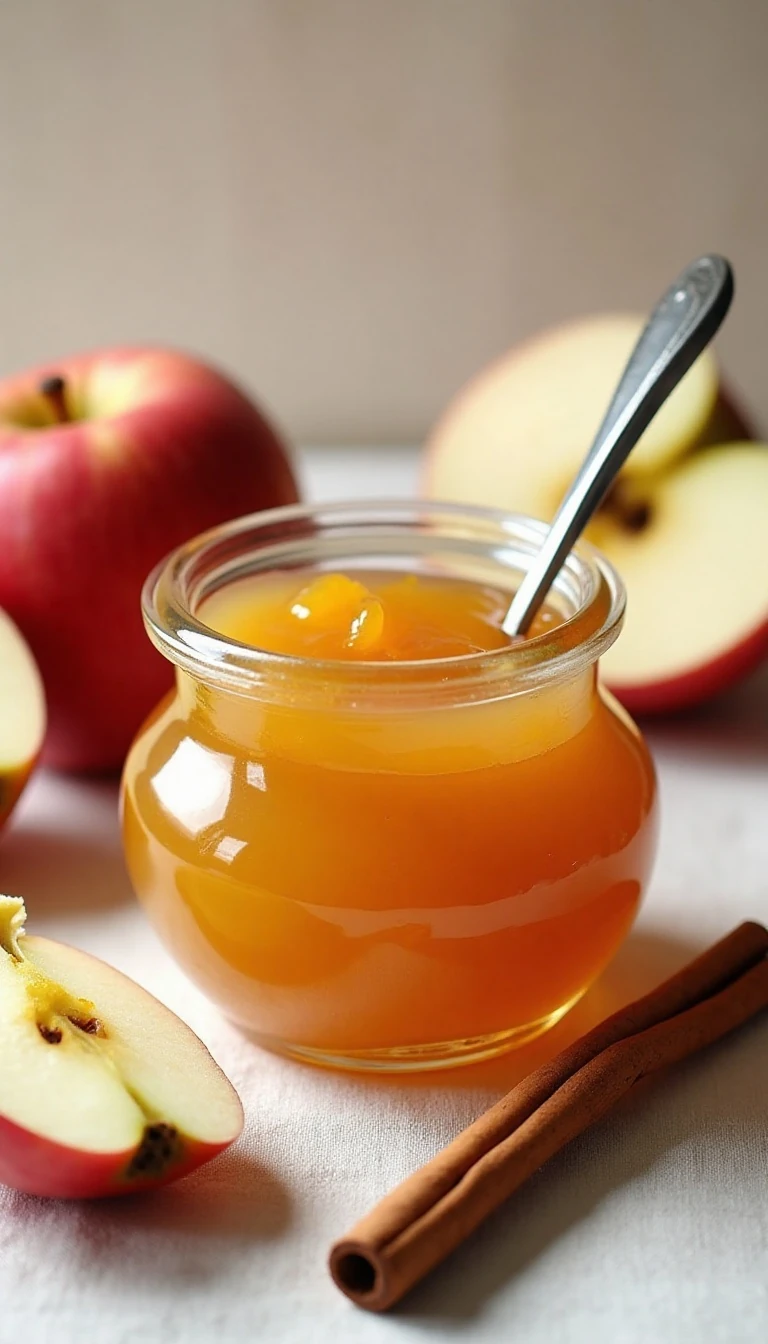
Easy Apple Jam Without Pectin
Ingredients
Method
- Peel, core, and finely chop or grate the apples. Weigh them after preparation so you have 1 kg of prepared fruit and the sugar ratio remains accurate.
- Place the apples, sugar, lemon juice, and water in a wide, heavy-bottomed saucepan. Add the cinnamon if using, then let the mixture stand for 15 to 30 minutes if time allows.
- Bring the mixture to a boil over medium heat, stirring until the sugar dissolves. Reduce the heat and simmer uncovered for 35 to 50 minutes.
- Stir frequently, especially during the final part of cooking, to prevent the jam from catching on the bottom. Mash with a potato masher for a rustic texture or blend carefully with an immersion blender for a smoother jam.
- Test the jam by placing a small spoonful on a chilled plate. Let it cool briefly, then push it with a fingertip; it should wrinkle slightly and should not run freely.
- Remove the saucepan from the heat and stir in the vanilla if using. Spoon the hot jam into clean, sterilized jars, leaving a little headspace.
- Cool the jars, cover them, and refrigerate the jam. Use a tested water-bath canning recipe and current processing guidance if you want room-temperature storage.
Notes
Final Thoughts
This easy apple jam without pectin is a dependable way to preserve the flavor of fresh apples with a small list of everyday ingredients. Once the apples are prepared, the process is mostly gentle simmering, occasional stirring, and one simple set test.
Choose firm apples, use a wide pan, and allow enough cooking time for the moisture to evaporate. The result should be softly set, glossy, and fragrant, with enough body to stay on toast while remaining easy to spoon.
Make it rustic with a potato masher or smooth with an immersion blender, then add cinnamon, vanilla, or neither according to your preference. Store the finished jam in the refrigerator and enjoy it within about 2 to 3 weeks.
Whether spread on breakfast toast, paired with cheese, or spooned over a warm dessert, this homemade apple jam brings simple comfort to the table. Make a batch when apples are plentiful, and keep one jar ready for your next cozy baking day.