This perfect pita bread recipe makes eight soft, fluffy pitas with beautifully puffed pockets. Made with flour, lukewarm water, yeast, a touch of sugar, salt, and olive oil, the dough rises until light and elastic before being baked on a thoroughly heated stone, steel, or heavy baking sheet at 475–500°F.
The result is tender, lightly chewy bread with golden-brown spots and a pocket ready for hummus, falafel, roasted vegetables, grilled meat, or salad. The full process takes approximately 2 to 2 1/2 hours, including the first rise and the short rest after shaping, while the actual baking takes only about 2–4 minutes per batch.
Jump to RecipeWhy You’ll Love This Recipe
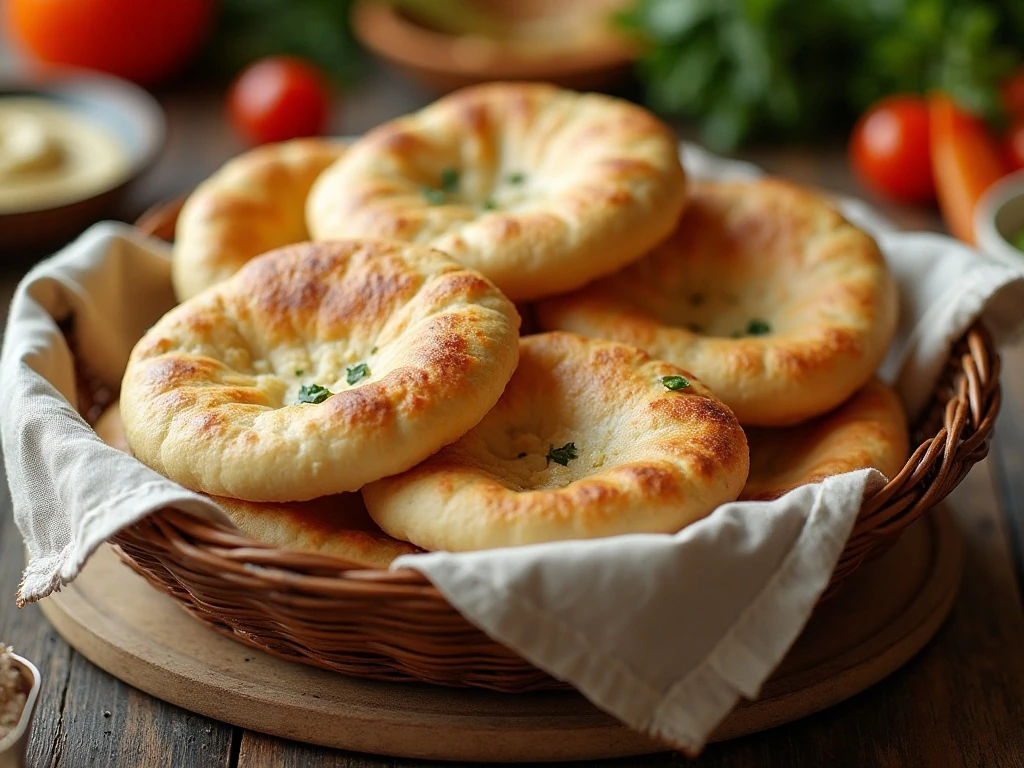
There is something especially satisfying about watching a disk of dough balloon into a perfect pita pocket. This recipe keeps the ingredient list simple, but careful attention to dough texture, resting time, and baking temperature creates bread that is tender inside with just enough chew around the edges.
Homemade pita also tastes fresher than packaged bread. The warm aroma of yeast and olive oil fills the kitchen, while the finished pitas remain flexible enough to fold around fillings without cracking.
- Reliable pocket: A properly preheated baking surface produces the quick burst of steam needed for inflation.
- Soft texture: Olive oil and careful baking help prevent dry, brittle bread.
- Versatile serving: Use the pitas for sandwiches, dipping, wraps, pizzas, or toasted wedges.
- Freezer-friendly: Extra pitas can be cooled, stacked, and stored for another meal.
If you enjoy baking projects with a savory side, our pull-apart garlic bread is another delicious recipe to keep in your bread collection.
Ingredients You’ll Need
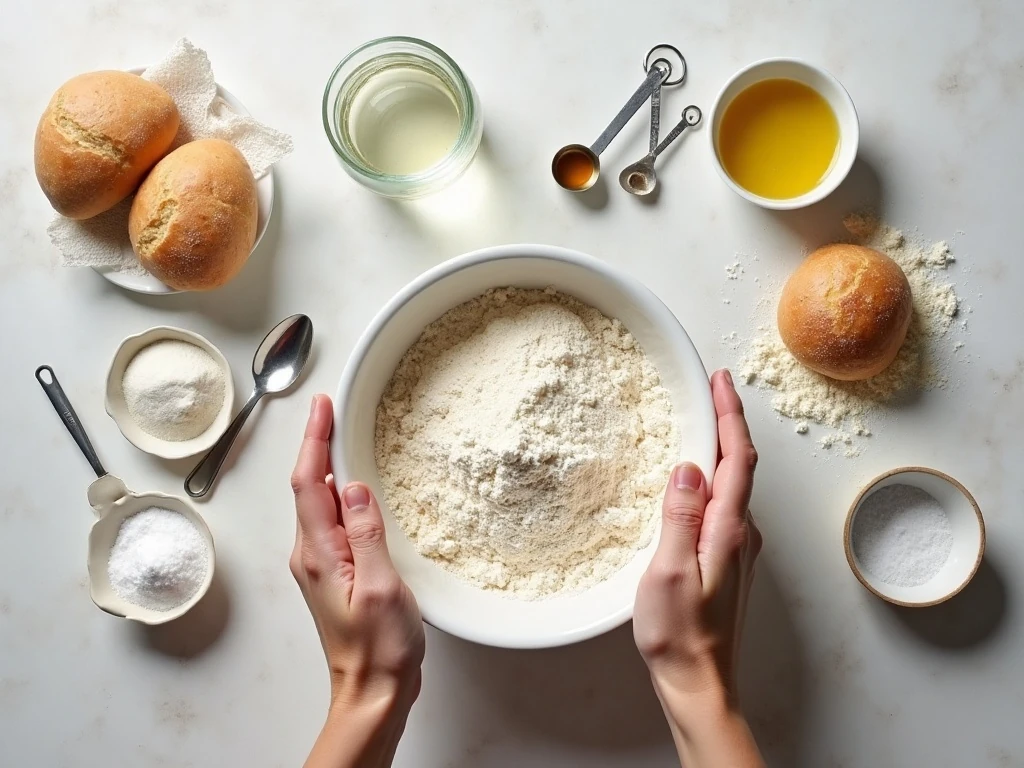
All-purpose flour gives the pitas a soft, familiar crumb, while bread flour can provide a little more chew. Either option works well, so use what you have in the pantry.
The water should be lukewarm, about 105–110°F. Water that is too hot can damage the yeast, while cool water simply slows fermentation. Active dry yeast needs a brief foaming step, but instant yeast can be combined directly with the flour.
- Flour: Use 3 cups, or 360 g, all-purpose or bread flour.
- Water: Measure 1 cup, or 240 ml, lukewarm water.
- Yeast: Use 2 1/4 teaspoons, or 7 g, active dry or instant yeast.
- Sugar or honey: One teaspoon supports fermentation and adds gentle balance.
- Salt: One teaspoon of fine salt seasons the dough.
- Olive oil: One tablespoon creates a softer, more pliable pita, plus a little extra for the bowl.
You can replace up to 1 cup of the all-purpose flour with whole-wheat flour. Since whole-wheat flour absorbs more liquid, add 1–2 tablespoons of water if the dough feels dry rather than soft and slightly tacky.
For another baking idea when you have a sweet craving, try this light pistachio cake after dinner.
How to Make It Step-by-Step
Step 1: Combine the lukewarm water, yeast, and sugar in a large mixing bowl. If you are using active dry yeast, wait 5–10 minutes for a foamy layer to appear; this confirms that the yeast is active and ready to work.
Step 2: Add the flour, salt, and olive oil to the yeast mixture. Stir with a wooden spoon or sturdy spatula until no large dry patches remain and the mixture looks shaggy.
Step 3: Knead the dough until it becomes smooth, elastic, and slightly tacky. Work by hand for approximately 8–10 minutes, or use a dough hook for 5–6 minutes, adding flour sparingly because a dry dough may not puff well.
Step 4: Lightly oil a clean bowl and place the dough inside. Turn it once so the surface is coated, cover the bowl, and let the dough rise in a warm place for 1–1 1/2 hours, until it has doubled in size.
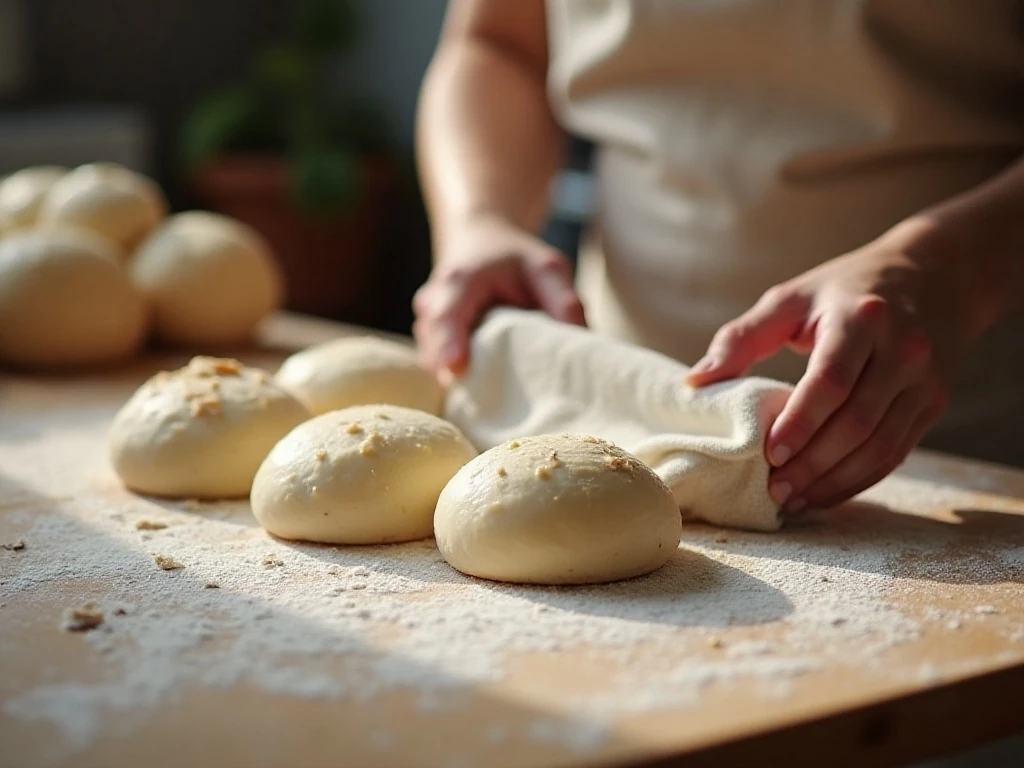
Step 5: Gently turn the dough onto a lightly floured work surface and divide it into 8 equal pieces. Aim for approximately 80–85 g per piece, then shape each portion into a smooth ball by tucking the edges underneath.
Step 6: Cover the dough balls with a clean towel or lightly oiled plastic wrap and let them rest for 15–20 minutes. This pause relaxes the gluten, making the rounds easier to roll without springing back.
Step 7: Heat the oven to 475–500°F and place a baking stone, steel, or inverted heavy baking sheet inside for at least 30 minutes. Roll each dough ball into a 6–7-inch round, approximately 1/8–1/4 inch thick, using only enough flour to prevent sticking.
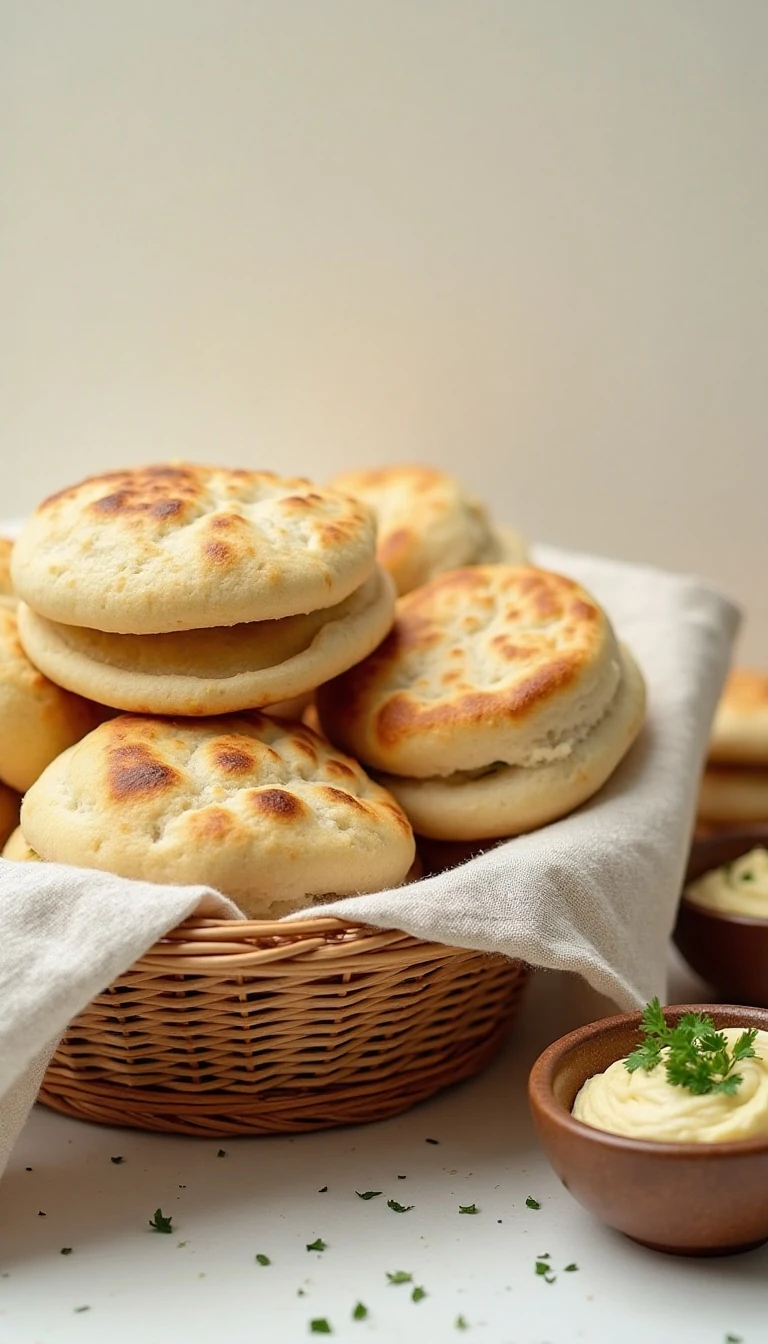
Step 8: Transfer one or two rounds to the hot surface and bake for about 2–4 minutes. The pitas should inflate dramatically and show light brown spots; remove them as soon as they are cooked so they do not dry out.
Step 9: Wrap each finished pita in a clean towel while you bake the remaining dough. Allowing the pitas to cool together keeps their surfaces soft and pliable.
Secrets to Soft, Puffy Pitas
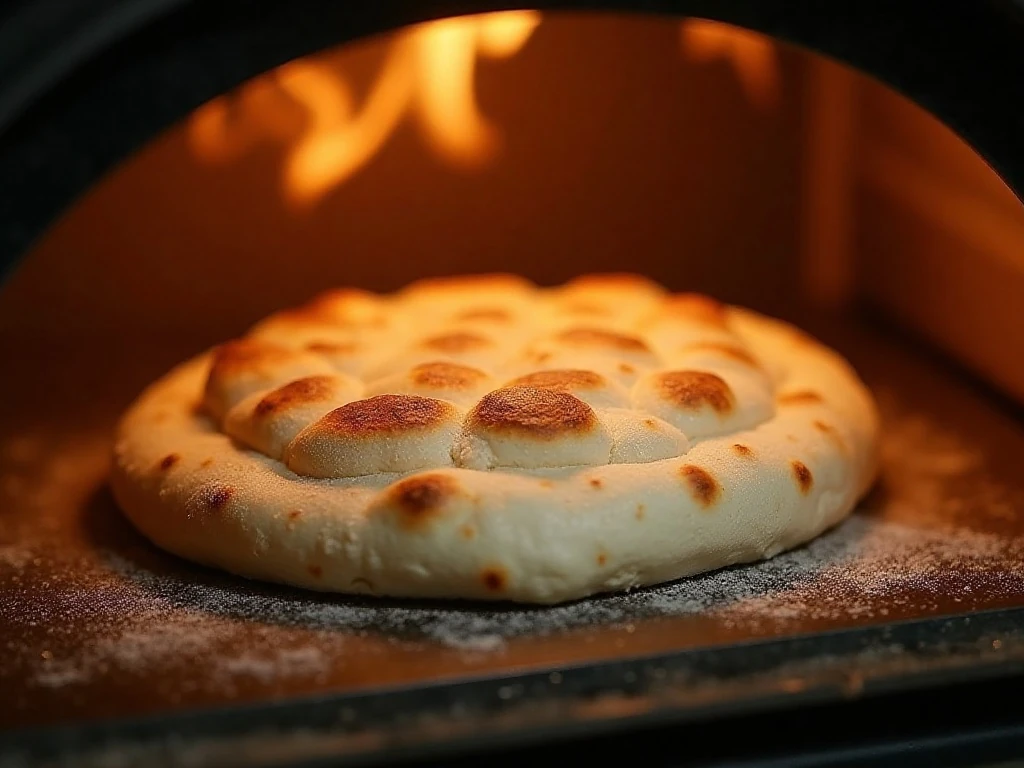
The hottest part of this recipe is the baking surface, not just the oven air. A thoroughly preheated stone, steel, or inverted heavy baking sheet transfers intense heat to the dough immediately, helping the water inside turn to steam and separate the layers into a pocket.
Do not rush the first rise. The dough should visibly double, though the exact time depends on the warmth of your kitchen. If the room is cool, place the covered bowl in a comfortably warm, draft-free spot rather than increasing the yeast or changing the ingredient quantities.
Rolling technique matters as well. Keep the thickness as even as possible, avoid pressing the edges flat, and do not pierce the rounds. Excess flour can make the surface dry, and a dry surface may prevent the pita from sealing and inflating.
- Rest the shaped balls before rolling.
- Use minimal flour on the work surface.
- Keep unbaked rounds covered so they do not form a skin.
- Bake only one or two pitas at a time to avoid crowding.
- Wrap the hot pitas immediately after baking.
For a stovetop option, heat a dry cast-iron skillet until very hot. Cook each pita for roughly 30–60 seconds per side, turning when bubbles appear, and watch closely so the bread remains soft.
When planning a full homemade spread, pair these pitas with dips and a sweet finish such as our Louisiana bread pudding.
Serving Ideas, Storage, and Reheating
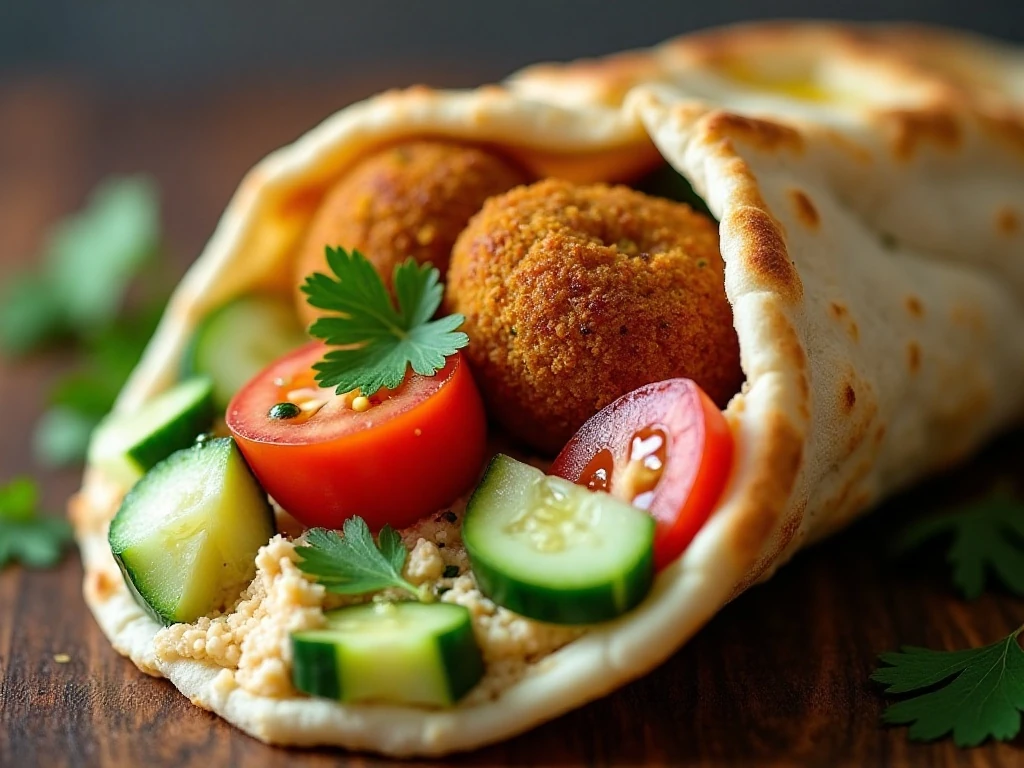
Fresh pita is wonderful while still warm, but it becomes even more useful once you start filling it. Slice the top edge and spoon in hummus, falafel, cucumber-tomato salad, grilled chicken, roasted vegetables, or seasoned beans.
For a quick appetizer, cut the pitas into wedges and toast them until lightly crisp for dipping. You can also brush them with olive oil, sprinkle with herbs, and warm them alongside soup or a hearty salad.
Keep cooled pitas in an airtight bag at room temperature for a short-term serving plan. For longer storage, stack them with parchment between the layers, place them in a freezer-safe bag, and freeze them flat.
To reheat, warm a pita briefly in a dry skillet or in the oven until pliable. Avoid prolonged heating, since excess time can turn the bread tough and crisp.
These pitas are especially handy for casual gatherings because they can be baked ahead and warmed just before serving. If you are building a dessert table afterward, our banana Bundt cake and gingersnap pumpkin cheesecake bars make inviting follow-up treats.
Perfect Pita Bread Recipe for Soft, Fluffy Pitas
Ingredients
Method
- Stir the lukewarm water, yeast, and sugar together. If using active dry yeast, let the mixture stand for 5–10 minutes until foamy; instant yeast may be mixed directly with the flour.
- Add the flour, salt, and olive oil, then mix until a shaggy dough forms. Knead by hand for 8–10 minutes or with a dough hook for 5–6 minutes, until smooth, elastic, and slightly tacky.
- Place the dough in a lightly oiled bowl, turn it once to coat, and cover. Let it rise in a warm place for about 1–1 1/2 hours, or until doubled in size.
- Divide the risen dough into 8 equal pieces of approximately 80–85 g each. Shape each piece into a smooth ball, cover, and rest for 15–20 minutes.
- Roll each ball into a 6–7-inch round that is approximately 1/8–1/4 inch thick. Avoid pressing the outer edges excessively, since an even thickness helps the pita inflate.
- Heat a baking stone, steel, or inverted heavy baking sheet in a 475–500°F oven for at least 30 minutes. The cooking surface must be thoroughly hot before the first pita goes in.
- Bake one or two pitas at a time for about 2–4 minutes, watching for full inflation and light brown spots. Remove them promptly so they stay soft instead of becoming crisp.
- Wrap the baked pitas in a clean towel while they cool. The trapped warmth keeps the bread pliable and protects the delicate pocket.
Notes
Final Thoughts
Soft, fluffy pita bread comes down to a few dependable habits: use properly measured ingredients, knead until the dough is elastic, give it enough time to rise, and bake the rounds on a fiercely hot surface. The short rest after dividing is just as important because relaxed dough rolls more easily and keeps its shape.
Once you have made this recipe a few times, you will recognize the ideal dough by touch. It should feel supple and slightly tacky rather than stiff, and each rolled round should be thin, even, and free from cracks.
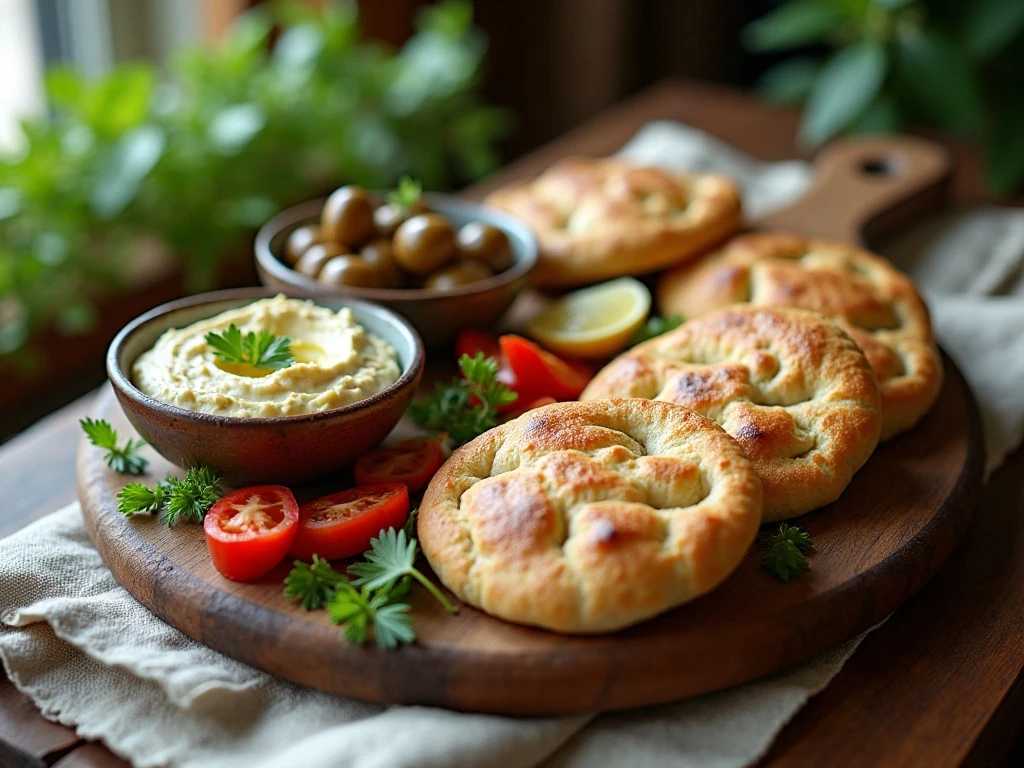
Serve the pitas warm with hummus, use them as sandwich pockets, or freeze a batch for busy days. With only a handful of pantry ingredients and a little patience, you can enjoy bakery-style bread straight from your own oven.