This San Francisco–style sourdough bread recipe makes one medium-large, naturally leavened hearth loaf with a chewy crumb, crisp blistered crust, and pronounced sour flavor. Made with 100 g active sourdough starter, 500 g bread flour, 350 g water, and 10 g fine sea salt, it relies on fermentation rather than commercial yeast or added vinegar.
The dough needs only about 30–45 minutes of active preparation, but the full process takes approximately 12–24 hours because the bulk fermentation and final proof do most of the work. Bake it in a thoroughly preheated Dutch oven at 245°C / 475°F, then finish uncovered at 230°C / 450°F for a deeply browned crust and airy, flavorful center.
Jump to RecipeWhy You’ll Love This Recipe
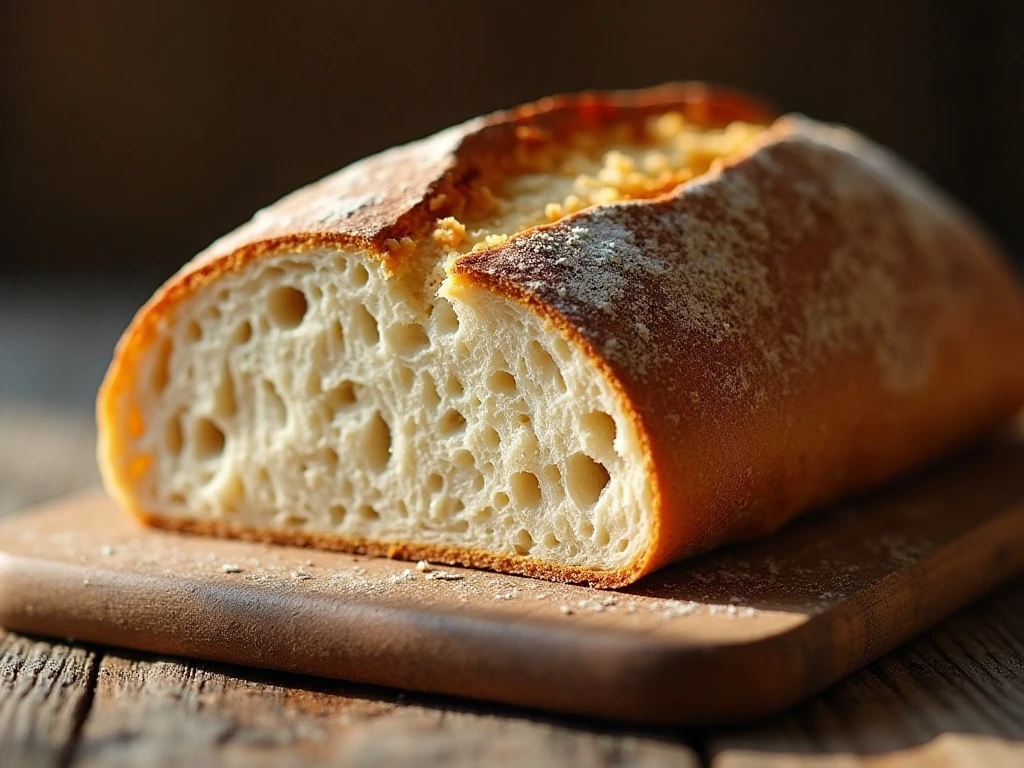
This loaf captures the defining qualities of San Francisco–style sourdough: a crisp, thin crust, a moist and chewy interior, and a pleasantly tangy flavor that grows more complex as the dough ferments. It is a one-loaf formula, so it is manageable for a home baker while still producing a substantial loaf of approximately 850–900 g.
The formula uses 70% hydration, 20% starter relative to flour weight, and 2% salt. Those baker’s percentages create dough that is moist enough for an open crumb but structured enough to shape and bake successfully in a home kitchen.
There is no special ingredient that makes bread “San Francisco” sour. The character comes from the resident sourdough culture, a mature starter, fermentation temperature, and enough time for natural acids to develop.
If you enjoy baking savory loaves for brunch or sandwiches, you may also like this savory olive, bacon, and cheese bread for a completely different style of homemade bread.
Ingredients You’ll Need
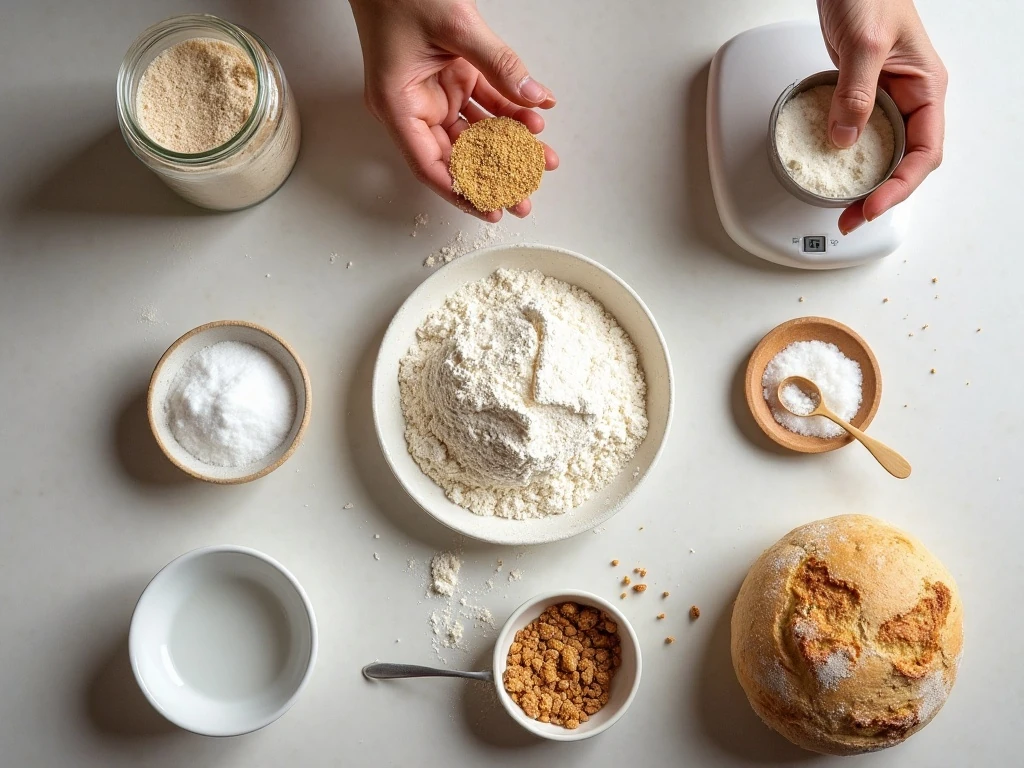
Measure the ingredients by weight for the most dependable result. A digital kitchen scale is especially helpful with sourdough because small changes in water or flour can noticeably affect dough strength and handling.
- 100 g active sourdough starter: Use a 100%-hydration starter that is vigorous, bubbly, and nearly doubled after feeding.
- 350 g water: Lukewarm or room-temperature water works well. Avoid very warm water, which can speed fermentation more than expected.
- 500 g bread flour: Bread flour supplies the gluten strength needed to hold the loaf’s gases and shape.
- 10 g fine sea salt: Salt seasons the bread and helps regulate fermentation and dough strength.
For a slightly nuttier loaf, use the optional blend of 450 g bread flour and 50 g whole-wheat flour. Keep the total flour at 500 g so the hydration and timing remain close to the base formula.
Before mixing, refresh your starter and watch its activity rather than following a rigid feeding clock. It is ready when the surface is domed or just beginning to flatten, the container is filled with bubbles, and the volume is nearly doubled.
For dessert after your bread-baking day, these mini Oreo cheesecake cupcakes make a fun small-batch treat.
How to Make It Step-by-Step
Step 1: Feed the sourdough starter and leave it at room temperature until it becomes vigorous, bubbly, and nearly doubled in volume. A starter that has peaked and collapsed may still be acidic, but it usually gives a denser loaf and a less reliable rise.
Step 2: Add the bread flour and water to a large bowl and mix until all the flour is moistened. Cover the bowl and let it rest for 30–60 minutes; this initial autolyse allows the flour to absorb water and begins gluten development before the starter and salt are added.
Step 3: Add the 100 g active starter and 10 g salt to the rested dough. Pinch, fold, and squeeze the mixture gently by hand until no dry flour remains and the dough feels cohesive, even if it is still somewhat shaggy.
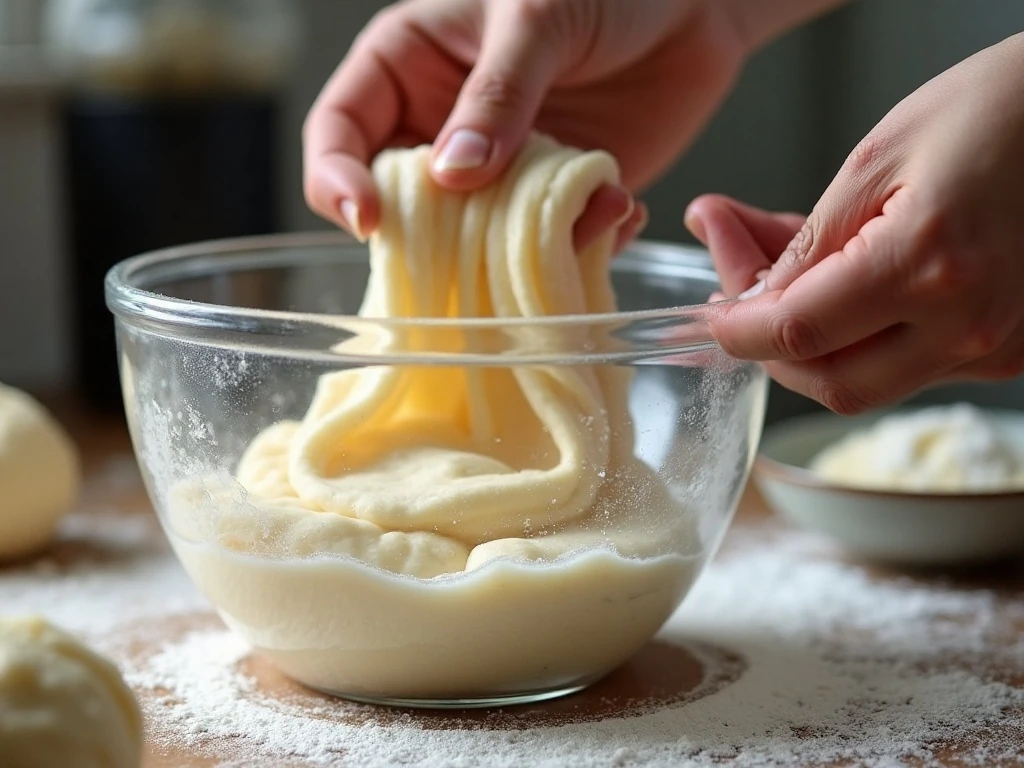
Step 4: Cover the bowl and begin bulk fermentation at approximately 24–26°C / 75–79°F. During the first 2 hours, complete 3–4 sets of stretch-and-folds at 30-minute intervals by lifting one side of the dough, stretching it upward, and folding it over the center.
Step 5: After the folding period, leave the dough covered and undisturbed until it has risen by roughly 50–75%. It should look aerated around the sides, feel lighter, and jiggle when the bowl is gently moved; this visual and tactile evidence is more useful than the clock alone.
Step 6: Turn the dough onto a lightly floured surface and pre-shape it into a round, using a bench scraper if needed. Let it rest uncovered or lightly covered for 15–30 minutes, allowing the gluten to relax before the final shape.
Step 7: Shape the dough tightly into a boule or bâtard by folding the edges toward the center and creating surface tension as you gently drag the dough across the work surface. Place it seam-side up in a well-floured banneton or a cloth-lined bowl, making sure the container supports the dough without compressing it.
Step 8: Proof the shaped loaf for 1–2 hours at room temperature until it looks slightly puffy. For a more pronounced sour flavor and easier scoring, cover it and refrigerate for 8–16 hours instead.
Step 9: Place a Dutch oven with its lid in the oven and preheat it to 245°C / 475°F for at least 30–45 minutes. Thorough preheating is important because the hot pot immediately supports oven spring and helps create the characteristic crust.
Step 10: Turn the cold or room-temperature dough onto parchment and score the top with one decisive slash or another simple design. Lower it carefully into the hot Dutch oven, cover, and bake at 245°C / 475°F for 20 minutes.
Step 11: Remove the lid, reduce the oven temperature to 230°C / 450°F, and bake for another 20–25 minutes. The loaf should be deeply browned, and its internal temperature should be approximately 96–99°C / 205–210°F.
Step 12: Transfer the bread to a wire rack and cool completely, preferably for 1–2 hours, before slicing. Cutting too early can compress the crumb and release steam before the interior has finished setting.
Fermentation and Shaping Tips
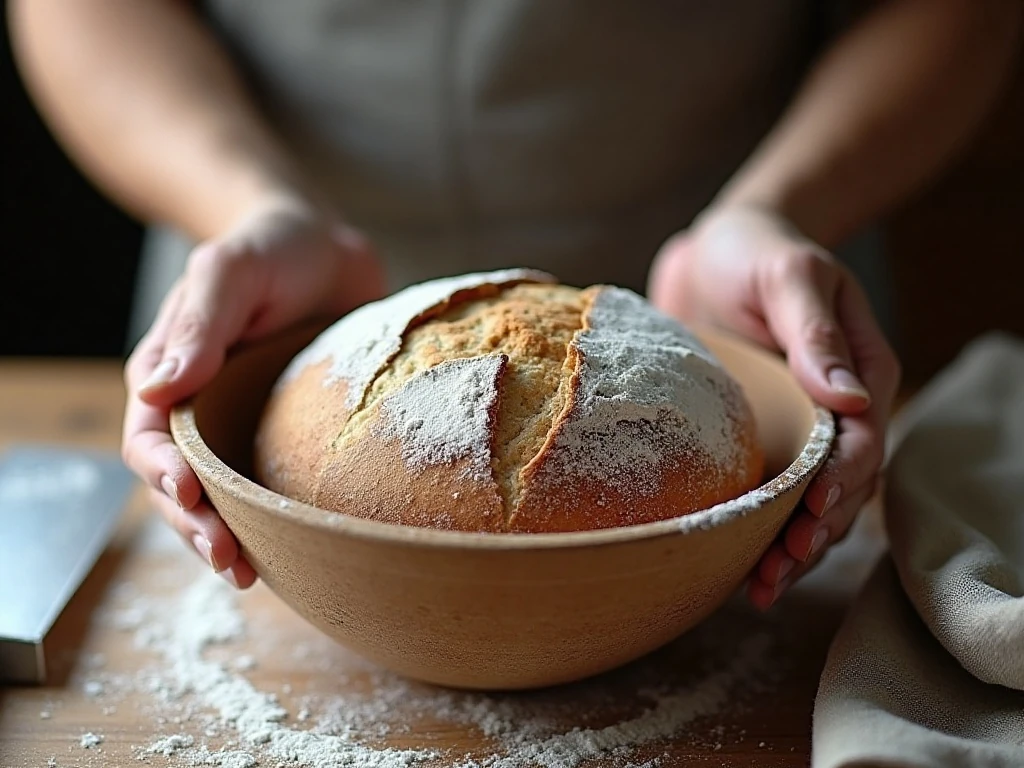
Bulk fermentation typically takes 4–6 hours at 24–26°C / 75–79°F, but your dough may move faster or slower. A cool kitchen, weak starter, or flour with less gluten can extend the process, while a warm kitchen or highly active starter can shorten it.
Look for a dough that has expanded by 50–75%, not necessarily doubled. The surface should show bubbles, the edges should appear rounded, and the dough should wobble as one inflated mass when the bowl is nudged.
Use only a light dusting of flour during shaping. Too much flour prevents the outer surface from gripping the counter, which makes it harder to build the tension that keeps the loaf tall.
If the dough spreads immediately after turning it out, it may be underdeveloped or over-fermented. If it feels tight and tears during shaping, give it a few more minutes to relax rather than forcing it.
When a baking project calls for a sweet finish, our peanut butter cake with frosting is a satisfying companion to a strong cup of coffee.
Baking for a Crisp, Blistered Crust
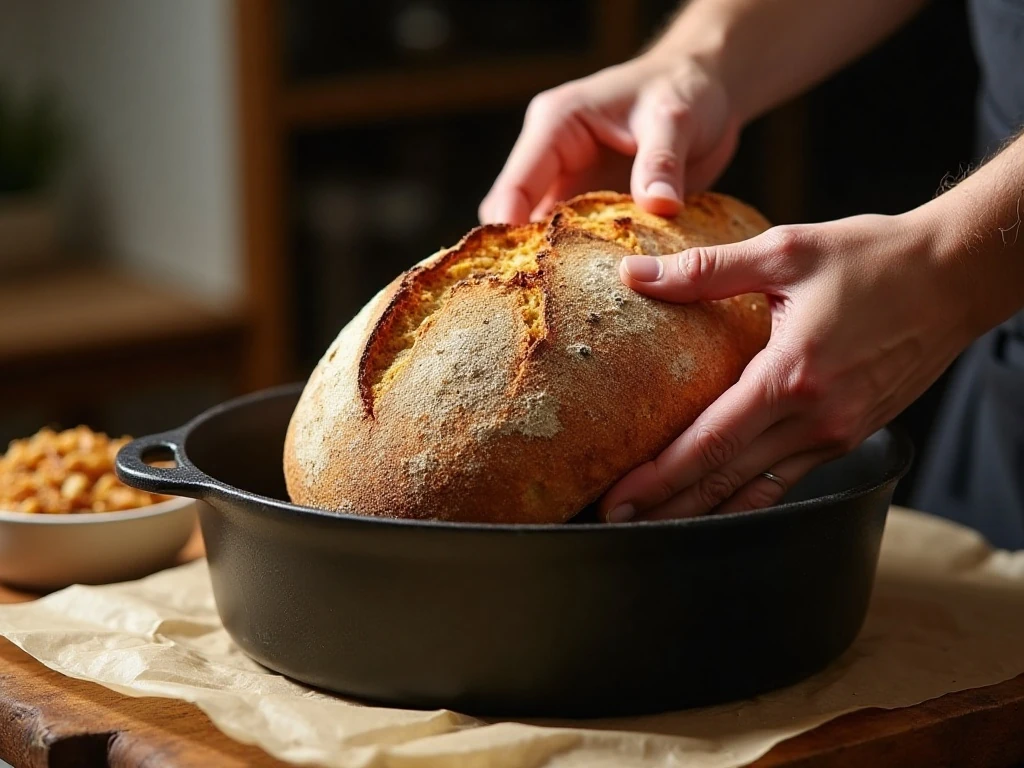
A Dutch oven traps steam released by the dough, keeping the surface flexible during the first part of baking. This allows the loaf to expand fully before the crust sets and also encourages a thinner, blistered exterior.
Keep the lid on for the first 20 minutes at 245°C / 475°F. Then remove it and lower the oven to 230°C / 450°F for 20–25 minutes so the crust can brown deeply without burning.
Score just before baking, especially when using a refrigerated final proof. A sharp lame or thin knife makes a clean cut, while a slow or shallow slash can drag across the dough and limit the opening of the loaf.
If the crust darkens too quickly after uncovering, check the loaf’s internal temperature and tent it loosely with foil if necessary. Do not slice until the bread has cooled completely, since the crumb continues to set as it releases heat.
Storage, Slicing, and Serving
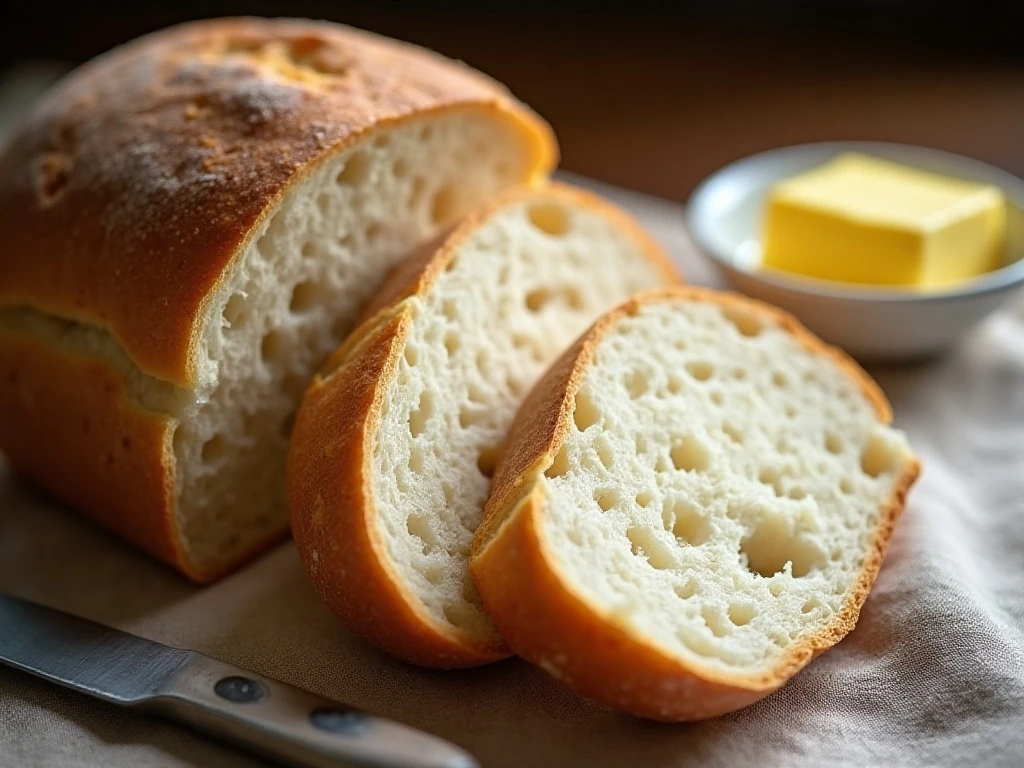
Store the cooled loaf cut-side down on a board for the first day, or place it in a paper bag for a crisp crust. Once fully cooled, it can also be kept in a breathable bread bag at room temperature for several days.
Avoid refrigerating finished bread because the cold environment can make the crumb stale more quickly. For longer storage, slice the loaf once cool, freeze the slices in an airtight container, and toast them straight from frozen.
Serve thick slices with butter, olive oil, soup, eggs, or a sharp cheese. The chewy crumb also makes an excellent foundation for open-faced sandwiches, while the crust is sturdy enough for dipping into a bowl of stew.
For another seasonal baking idea, try these pumpkin chocolate chip cookies while your sourdough starter is resting between feedings.
Troubleshooting Common Problems
- Dense crumb: The starter may have been past its peak, or the dough may have needed more bulk fermentation.
- Flat loaf: The dough may have over-fermented, lacked shaping tension, or been placed in an insufficiently hot Dutch oven.
- Pale crust: Bake uncovered for the full 20–25 minutes, and confirm that the oven reached temperature before loading the dough.
- Very mild flavor: Choose the 8–16-hour refrigerated proof and make sure the starter is mature and active.
- Gummy slices: The bread may have been cut before cooling completely or may need a few additional minutes of baking.
Most sourdough problems become easier to solve when you record room temperature, starter activity, dough volume, and proofing time. These observations will help you adjust the next loaf more accurately than simply adding extra time.
After a long fermentation, a chilled dessert such as this almost no-bake mud pie is an easy way to finish the meal.
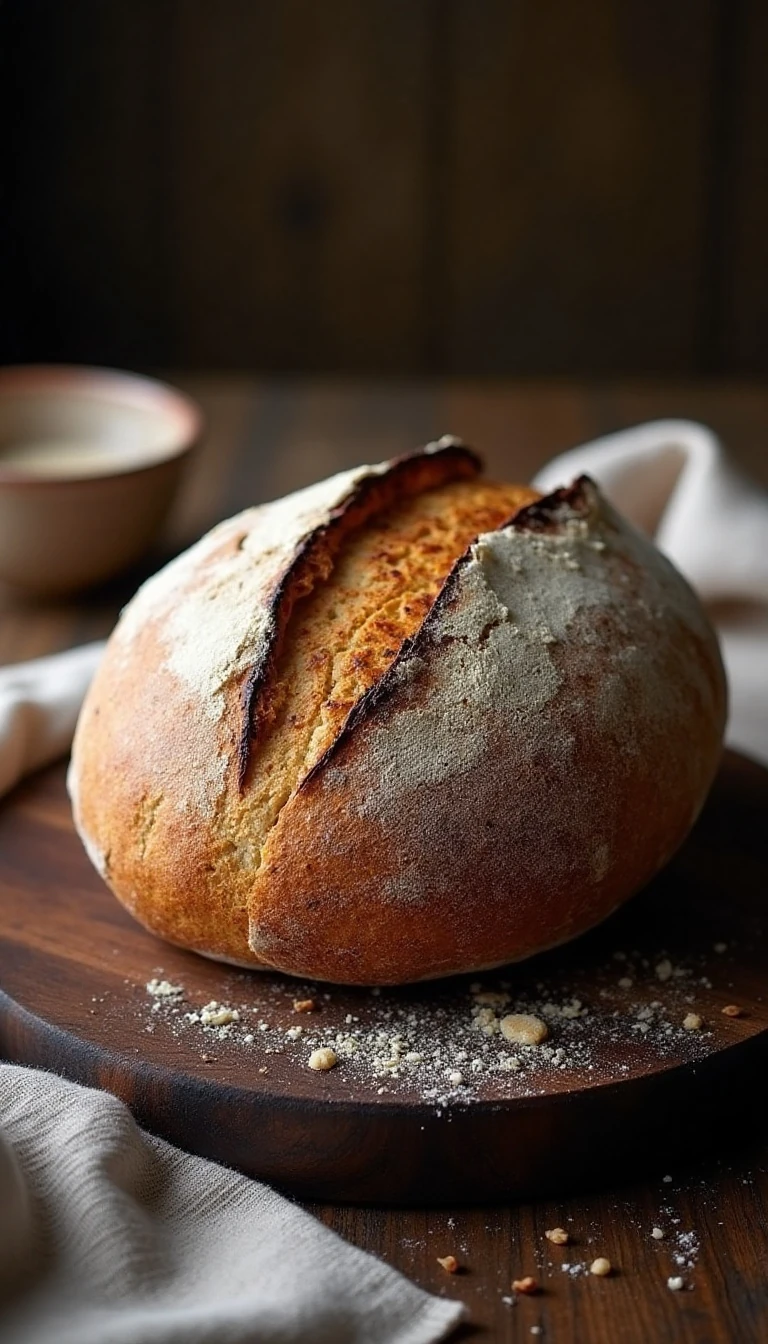
San Francisco–Style Sourdough Bread
Ingredients
Method
- Feed the sourdough starter and use it when vigorous, bubbly, and nearly doubled in volume.
- Combine the flour and water, cover, and rest for 30–60 minutes for the autolyse.
- Add the active starter and salt, then mix by hand until no dry flour remains and the dough is cohesive.
- Bulk-ferment at approximately 24–26°C / 75–79°F for 4–6 hours, completing 3–4 sets of stretch-and-folds at 30-minute intervals during the first 2 hours.
- Continue fermenting until the dough has risen by roughly 50–75%, looks aerated, and jiggles when the bowl is moved.
- Pre-shape the dough into a round, rest for 15–30 minutes, then shape tightly into a boule or bâtard and place seam-side up in a floured banneton.
- Proof for 1–2 hours at room temperature or refrigerate for 8–16 hours for deeper flavor and easier scoring.
- Preheat a Dutch oven to 245°C / 475°F for at least 30–45 minutes. Bake covered for 20 minutes, then uncover, reduce the oven to 230°C / 450°F, and bake another 20–25 minutes.
- Cool the loaf completely, preferably for 1–2 hours, before slicing.
Notes
Final Thoughts
Homemade San Francisco–style sourdough bread is all about patience, observation, and a strong starter. With a simple four-ingredient dough, a few early stretch-and-folds, and a hot Dutch oven, you can produce a bakery-style loaf with a crackling crust and wonderfully chewy crumb.
For the boldest sour flavor, choose the overnight refrigerated proof. Most importantly, follow the dough’s appearance and feel: when it is aerated, expanded by 50–75%, and gently jiggly, it is ready for shaping and the oven.
Let the finished loaf cool for 1–2 hours before slicing, then enjoy it fresh with butter or save it for sandwiches, toast, and dipping. Once you understand how your starter and kitchen temperature affect the timing, this dependable formula can become your everyday hearth bread.