The best way to freeze fried chicken without losing its crispiness is to cool it completely on a wire rack, flash-freeze the pieces uncovered for 1–2 hours, wrap them tightly, and reheat them uncovered in a hot oven or air fryer. For the crispiest finish, bake frozen chicken on a wire rack at 400°F for about 20–25 minutes, or air-fry it at 375°F for approximately 10–15 minutes, until the thickest part reaches 165°F.
This method protects the crunchy flour-and-cornstarch crust while keeping the buttermilk-marinated chicken juicy and flavorful. The result is golden fried chicken that tastes freshly made, even after a few months in the freezer, making it a practical dinner for busy nights, meal planning, and leftovers.
Jump to RecipeWhy You’ll Love This Recipe
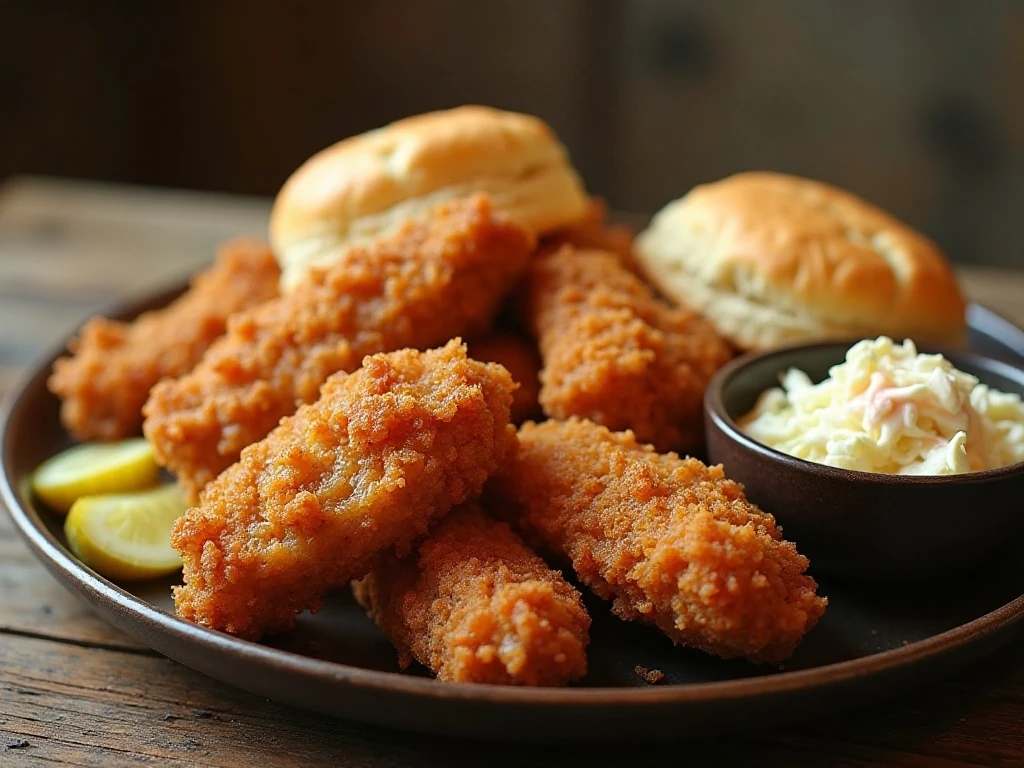
Freezing fried chicken is a smart way to turn a larger cooking project into several easy dinners. Instead of accepting soggy coating or dry meat, this method preserves the most important qualities: a crisp, seasoned crust and juicy chicken beneath it.
The coating gets its satisfying crunch from a combination of all-purpose flour and cornstarch. Buttermilk adds tang and tenderness, while paprika, garlic, onion, and optional cayenne create a savory flavor that works with nearly any dinner side.
It also gives you flexibility. Make all eight pieces at once, serve some immediately, and freeze the rest for a quick meal later in the week or several months ahead.
For another easy chicken dinner idea, try these colorful sheet pan chicken fajitas when you want a completely different flavor profile with minimal cleanup.
Ingredients You’ll Need
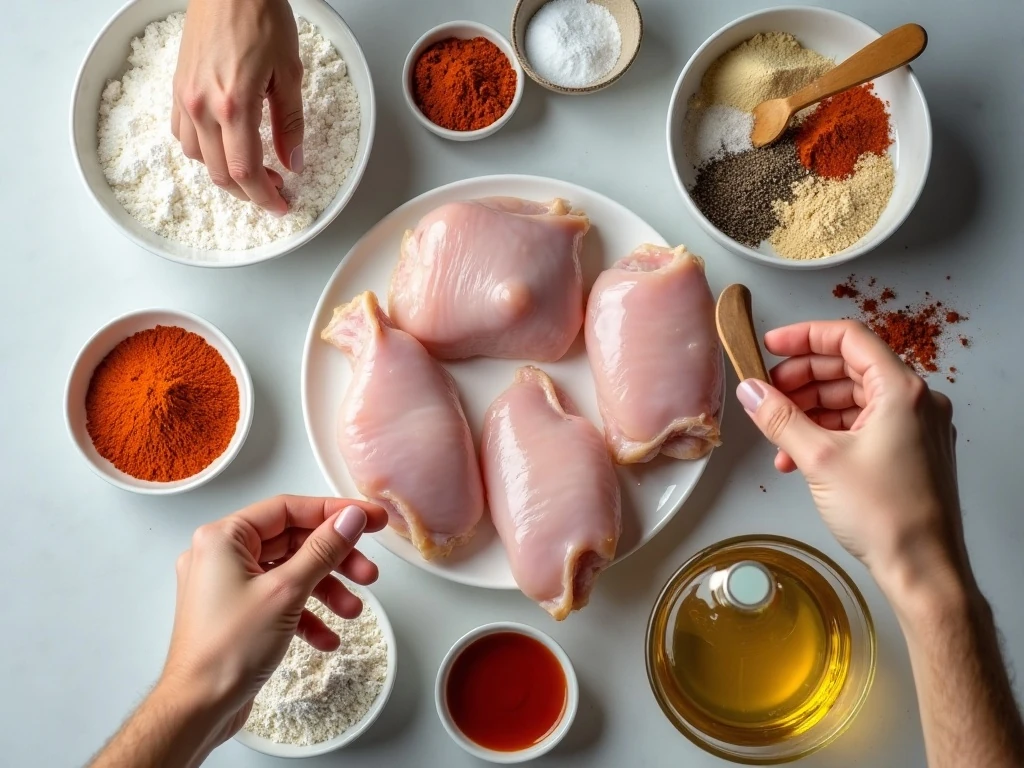
This recipe makes 8 pieces, or about 4 servings, using 3 1/2–4 pounds of bone-in chicken. A mixed assortment of breasts, thighs, drumsticks, and wings gives everyone a choice of white or dark meat.
- Chicken: Use bone-in pieces for flavorful, moist meat that holds up well during freezing and reheating.
- Buttermilk: Two cups tenderize the chicken and help the flour coating cling.
- Hot sauce and pepper: These add gentle heat and seasoning to the marinade; the hot sauce is optional.
- Flour and cornstarch: Three cups of flour build the crust, while 1/2 cup cornstarch encourages a lighter, crunchier texture.
- Spices: Paprika, garlic powder, onion powder, kosher salt, and optional cayenne supply balanced savory flavor.
- Baking powder: One teaspoon is optional, but it helps produce a lighter crust with extra crispness.
- Oil: Use 2 quarts of peanut, canola, or vegetable oil for frying.
Use a neutral oil with a high enough smoke point for frying, and keep a clip-on thermometer nearby. Temperature control matters because oil that is too cool produces greasy coating, while oil that is too hot can darken the crust before the chicken cooks through.
How to Make It Step-by-Step
Step 1: Make the buttermilk marinade by whisking together 2 cups buttermilk, 2 tablespoons hot sauce if using, 1 teaspoon kosher salt, and 1 teaspoon freshly ground black pepper. Add the chicken, turn the pieces to coat, cover the bowl, and refrigerate for at least 4 hours, preferably overnight, so the flavor reaches the meat.
Step 2: Prepare the coating while the chicken marinates or shortly before frying. In a wide bowl, whisk together 3 cups all-purpose flour, 1/2 cup cornstarch, paprika, garlic powder, onion powder, optional cayenne, optional baking powder, and the remaining 1 teaspoon kosher salt.
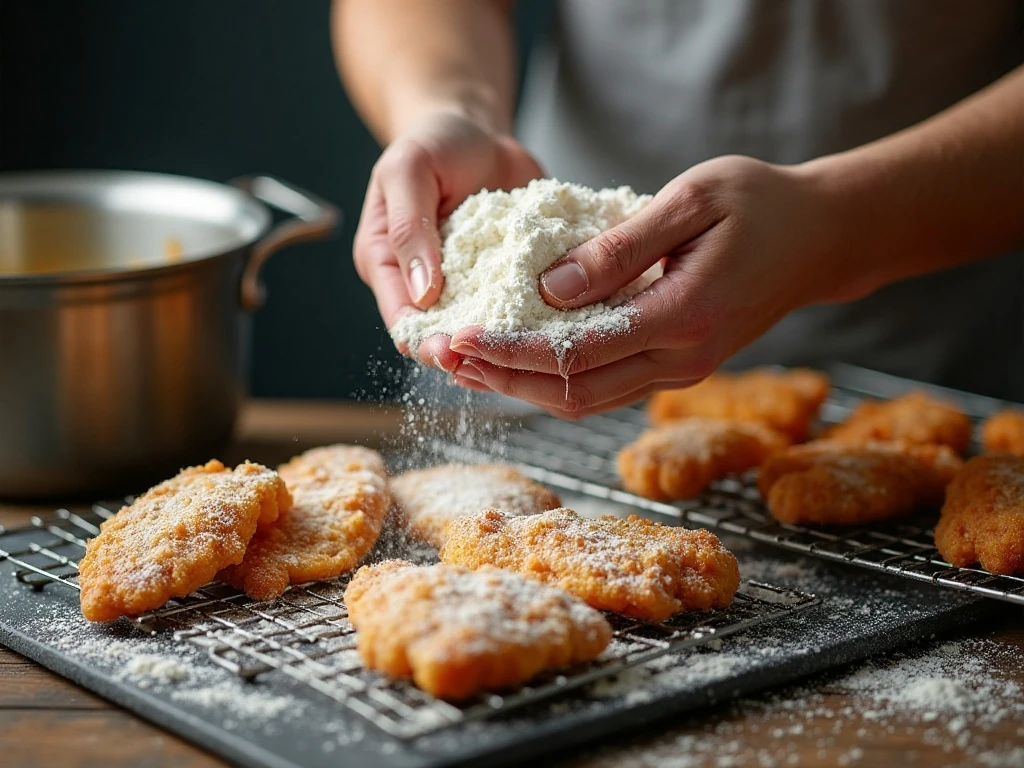
Step 3: Remove one chicken piece at a time from the marinade and allow excess buttermilk to drip back into the bowl. Dredge the piece thoroughly in the seasoned flour, pressing the mixture firmly onto every surface, especially around creases and joints.
Step 4: For a thicker, more rugged crust, dip the floured chicken briefly back into the buttermilk and coat it a second time. Set the coated pieces on a clean rack for a few minutes while the oil heats; this helps the coating hydrate and cling.
Step 5: Pour 2 quarts of oil into a heavy Dutch oven or deep skillet and heat it to 350°F. Fry in batches without crowding the pan, adjusting the burner to keep the oil between 325°F and 350°F throughout cooking.
Step 6: Cook bone-in breasts for about 12–15 minutes and thighs, drumsticks, or wings for about 10–14 minutes, turning occasionally for even browning. Chicken is done at 165°F internally, although dark meat is often more tender around 175–185°F.
Step 7: Transfer each finished piece to a wire rack set over a baking sheet. Let the chicken cool for 20–30 minutes, and do not place it directly on paper towels because trapped steam can soften the crust.
Step 8: Arrange the completely cooled chicken in a single layer on a parchment-lined baking sheet or wire rack. Freeze uncovered for 1–2 hours, until the coating feels firm; this flash-freezing step prevents pieces from sticking together.
Step 9: Wrap each frozen piece tightly in foil or freezer paper, then place the wrapped chicken in a heavy-duty freezer bag or airtight container. Press out excess air, label the package with the date, and freeze for best quality within about 3–4 months.
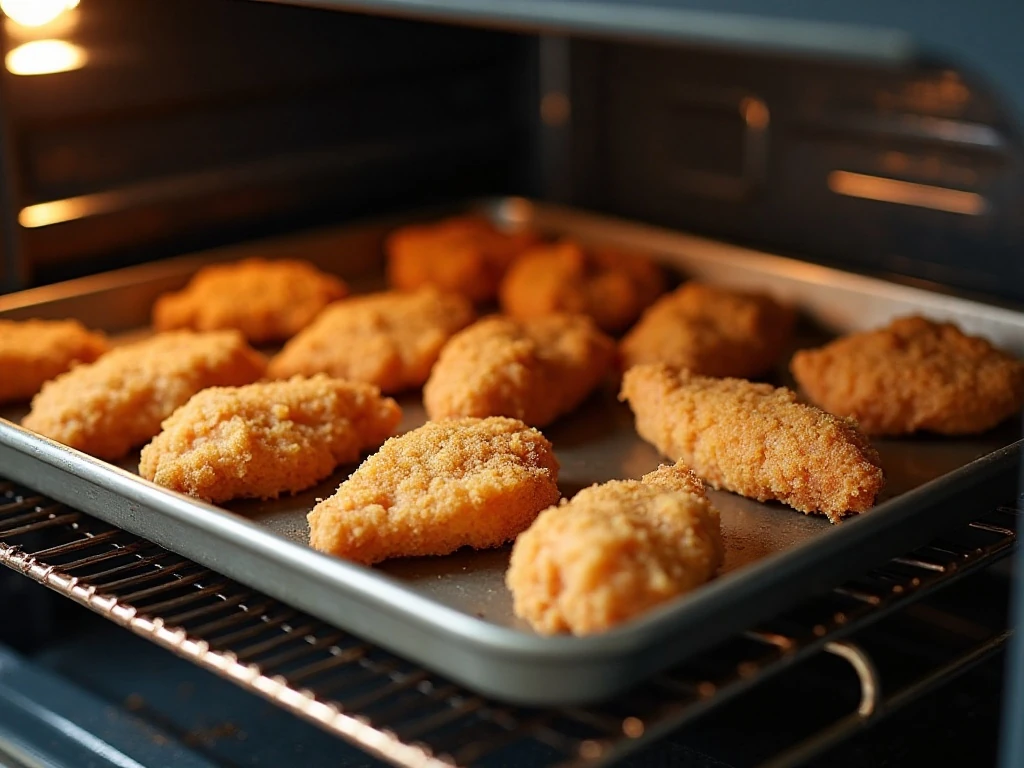
Step 10: Reheat the chicken directly from frozen rather than thawing it first. Place it on a wire rack over a baking sheet and bake uncovered at 400°F for about 20–25 minutes, turning once if needed, or air-fry at 375°F for approximately 10–15 minutes.
Step 11: Check the thickest part of each piece with an instant-read thermometer before serving. The internal temperature must reach 165°F, and larger pieces may need additional reheating time.
How to Keep the Crust Crisp
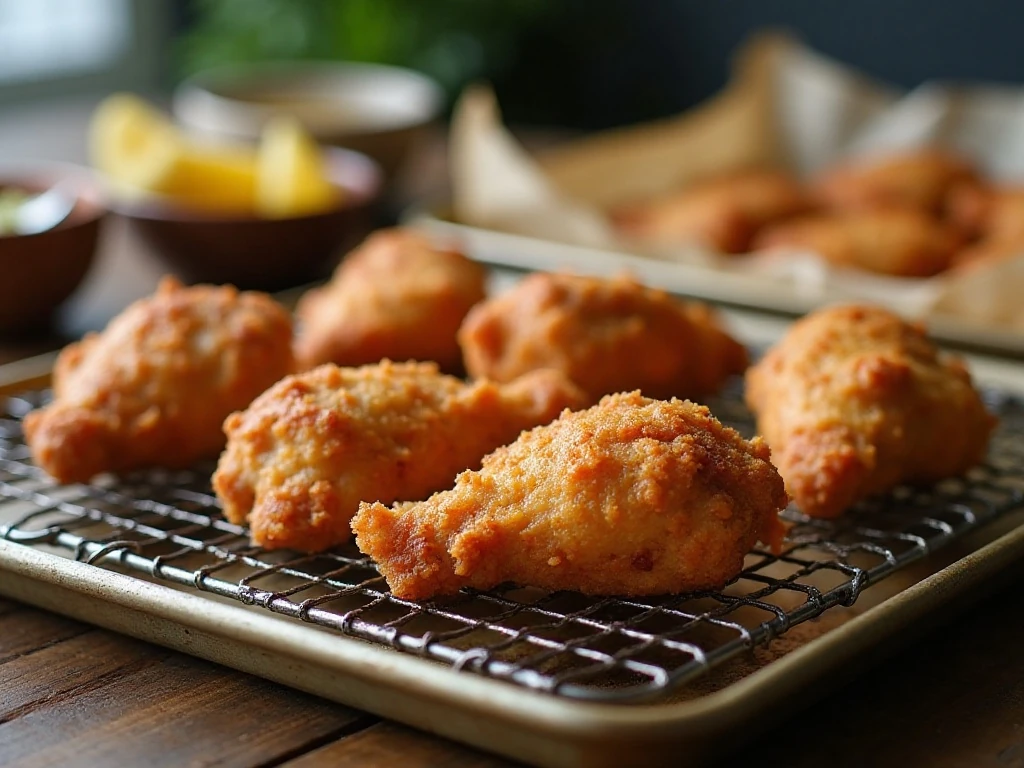
Steam is the main enemy of crisp fried chicken. That is why the cooling, freezing, and reheating surfaces matter just as much as the recipe itself.
- Cool on a rack: Air can circulate underneath the chicken, allowing excess oil and moisture to escape.
- Freeze in one layer: Pieces that touch while soft may stick together and lose coating during packaging.
- Package only when cold: Warm chicken creates condensation inside foil or bags, which leads to soggy crust and raises food-safety concerns.
- Reheat uncovered: Avoid covered dishes, sealed foil packets, and the microwave, all of which trap steam.
- Use a rack in the oven: Hot air can reach the underside, so the bottom crust does not sit in moisture.
If you are serving the chicken immediately before freezing leftovers, let the first batch rest on the rack rather than piling pieces into a bowl. This small step keeps the crust firm from the start.
For another party-friendly chicken option with a crisp bite, these bacon-wrapped chicken bites make a delicious appetizer or casual dinner addition.
Storage and Reheating Guide
After frying, refrigerate cooked chicken within 2 hours if you plan to eat it soon. USDA food-safety guidance recommends using refrigerated leftovers within 3–4 days.
For longer storage, cool the chicken completely, flash-freeze it uncovered for 1–2 hours, and then wrap and seal it. Labeling the package helps you use older portions first, and the chicken is best enjoyed within about 3–4 months for quality.
- Oven method: Bake frozen pieces on a wire rack over a baking sheet at 400°F for about 20–25 minutes, turning once if needed.
- Air-fryer method: Cook at 375°F for approximately 10–15 minutes, depending on piece size, without overcrowding the basket.
- Temperature check: Confirm 165°F in the thickest part before eating.
The oven is ideal for several pieces, while the air fryer is convenient for one or two portions. In both cases, keep the chicken uncovered so the crust can dry and crisp instead of steaming.
When you want a cozy make-ahead meal instead, this slow-cooked chicken and dumplings recipe is a comforting dinner option.
Serving Ideas for Crispy Fried Chicken
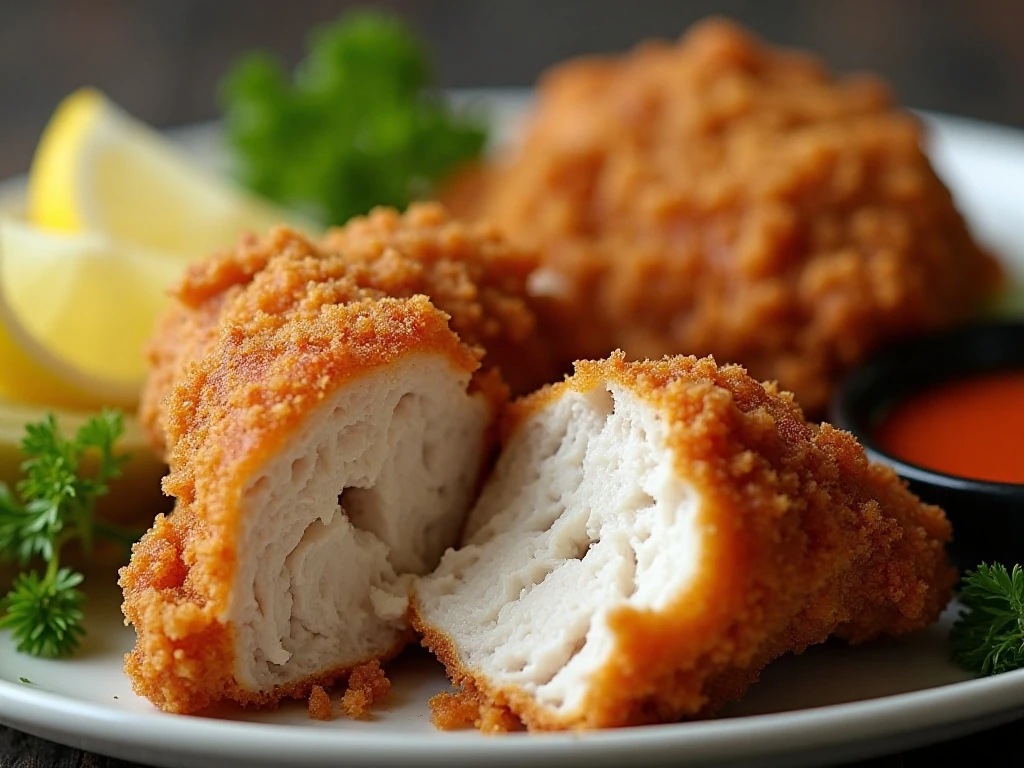
Serve the reheated chicken as the centerpiece of a classic dinner with mashed potatoes, coleslaw, biscuits, corn, or green beans. A bright vinegar slaw or pickles provide welcome contrast to the rich crust.
For dipping, offer hot sauce, honey, barbecue sauce, ranch dressing, or a simple mixture of honey and hot sauce. Add lemon wedges for a fresh finish, especially alongside spicy chicken.
Leftover pieces can also be sliced and tucked into sandwiches, chopped over salad, or served with waffles. For a soup-based chicken dinner, pair your meal with this Mexican chicken tortilla soup for a varied family menu.
If you enjoy turning chicken flavors into shareable snacks, these baked Buffalo chicken rangoons are another tasty choice for game day or casual entertaining.
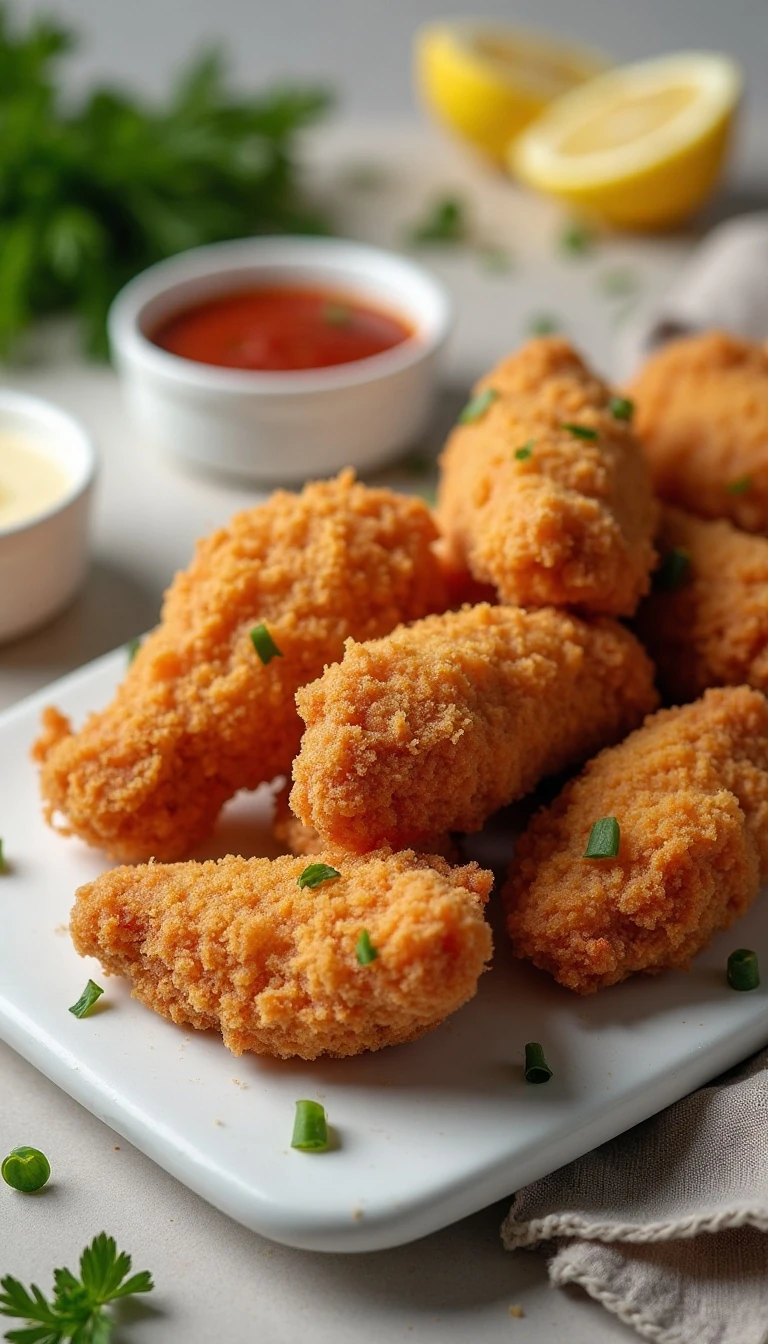
How to Freeze Fried Chicken Without Losing Crispiness
Ingredients
Method
- Mix buttermilk, hot sauce, 1 teaspoon kosher salt, and black pepper in a large bowl. Add the chicken, cover, and refrigerate for at least 4 hours or preferably overnight.
- Whisk flour, cornstarch, paprika, garlic powder, onion powder, cayenne, baking powder, and the remaining 1 teaspoon salt in a wide bowl.
- Remove chicken from the buttermilk, let excess drip away, and dredge thoroughly in the flour mixture. Press the coating onto each piece, then dip briefly back into the buttermilk and flour again for a thicker crust if desired.
- Heat 2 quarts of oil in a heavy Dutch oven or deep skillet to 350°F. Fry in batches while keeping the oil between 325°F and 350°F, cooking breasts about 12–15 minutes and thighs, drumsticks, or wings about 10–14 minutes.
- Transfer fried chicken to a wire rack over a baking sheet and cool completely for 20–30 minutes. Freeze the pieces uncovered in a single layer for 1–2 hours, wrap each piece tightly, and store in a freezer bag or airtight container.
- Reheat frozen chicken uncovered on a wire rack at 400°F for about 20–25 minutes, turning once if needed, or air-fry at 375°F for approximately 10–15 minutes. Confirm that the thickest part reaches 165°F before serving.
Notes
Final Thoughts
Freezing fried chicken successfully comes down to controlling moisture at every stage. Cool the pieces fully on a wire rack, flash-freeze them before wrapping, store them airtight, and reheat them uncovered until the crust is crisp and the chicken reaches 165°F.
With this approach, homemade fried chicken becomes a reliable make-ahead dinner rather than a meal that must be eaten all at once. Prepare the full batch, enjoy a few pieces fresh, and keep the rest ready for a fast, satisfying meal whenever you need it.