No-Bake Spooky Spider Cookies are an easy Halloween treat made with 12 chocolate sandwich cookies, thin pretzel sticks, candy eyes, and a little melted chocolate or black decorating icing. They require no oven, take about 15 to 20 minutes to assemble, and make exactly 12 adorable spider cookies with eight pretzel legs each.
Every bite combines a crisp, creamy chocolate sandwich cookie with salty pretzel crunch and a sweet chocolate finish. The funny candy eyes make these treats especially inviting for children, while the quick assembly makes them ideal for classroom parties, Halloween snack tables, family baking projects, and last-minute entertaining.
Jump to RecipeWhy You’ll Love This Recipe
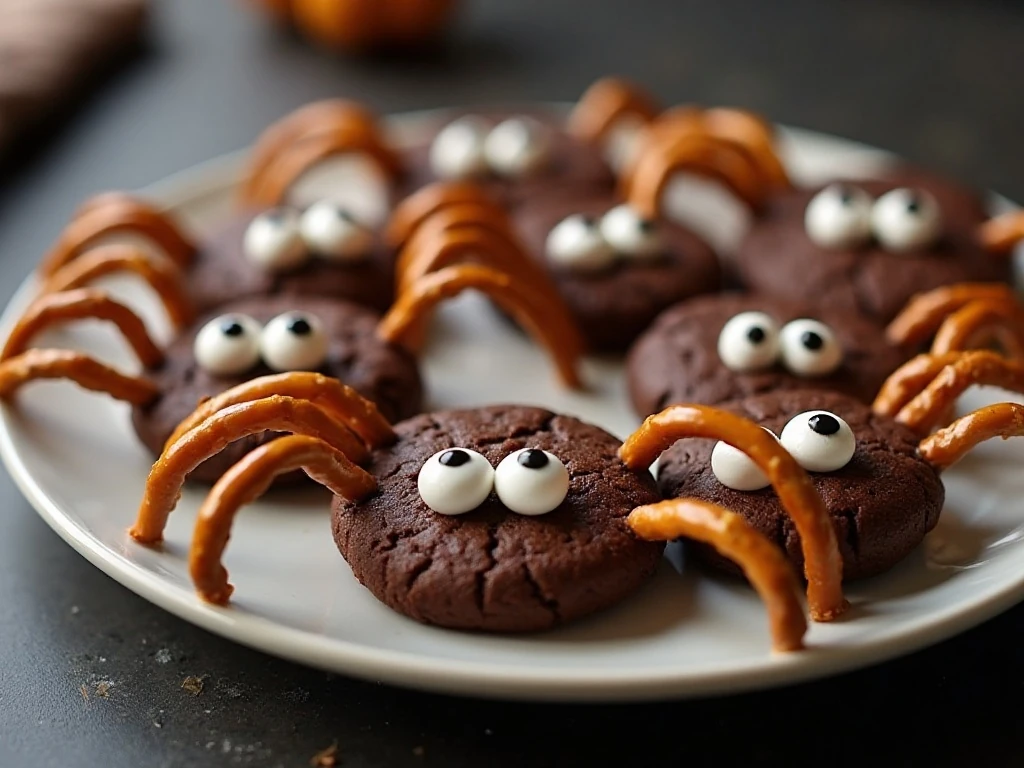
These spooky spider cookies deliver maximum Halloween charm with almost no kitchen equipment and no baking time. The method is simple enough for young helpers, yet the finished cookies look festive enough for a holiday dessert spread.
The texture is part of the fun. The chocolate cookie and creamy filling provide a familiar sweet base, while the pretzel legs add a delicate salty crunch that keeps each bite from tasting too sugary.
There is also plenty of room for personality. Make the spiders wide-eyed, cross-eyed, or extra silly, and let everyone decorate a few of their own. For another dessert that skips the oven, you can also browse this easy no-bake lemon dessert when planning a party menu.
Ingredients You’ll Need

The ingredient list is short, but each item has a specific job in the design. Chocolate sandwich cookies form the body, pretzels become the legs, candy eyes bring the spiders to life, and melted chocolate or black icing acts as edible glue.
- 12 chocolate sandwich cookies: Use standard chocolate sandwich cookies, such as Oreos, with the cream filling intact.
- 48 thin pretzel sticks: Break each stick in half to create 96 short pieces, giving every cookie eight legs.
- 24 candy eyes: You need two eyes per spider, although extra eyes can be useful if you want a goofy multi-eyed look.
- 1/4 cup chocolate or black icing: Semisweet chocolate, dark chocolate, melting wafers, or black decorating icing all work as adhesive.
- Optional chocolate bodies: Add 12 small chocolate candies or mini peanut-butter cups if you want the spiders to have a raised center.
Thin pretzel sticks are especially important because they slide into the sandwich-cookie filling more readily than thick or twisted pretzels. If you enjoy chewy, chocolate-forward cookies too, these chocolate crinkle cookies make a wonderful companion dessert.
How to Make It Step-by-Step

Step 1: Prepare a parchment-lined tray or plate before assembling the cookies. Having a landing spot ready prevents you from moving decorated spiders around while the chocolate is still soft.
Step 2: Place the chocolate chips or melting wafers in a microwave-safe bowl. Heat them for 15 to 20 seconds at a time, stirring thoroughly after every interval, and stop when the mixture is smooth and fluid; if you are using decorating icing, simply set it out with a small piping tip or snipped corner ready.
Step 3: Work with one sandwich cookie at a time and carefully separate it slightly. You can gently twist the cookie or use a knife to loosen the cream filling, but do not force the biscuits apart because firm filling can cause cracks.
Step 4: Break the 48 pretzel sticks in half so you have 96 short pieces. Insert four pieces into the cream filling on the left side and four on the right side, spacing them so the spider has eight visible legs.
Step 5: Press the two cookie halves back together gently. The cream filling should grip the pretzel pieces, but avoid squeezing hard enough to crush the cookie or push all the legs out of alignment.
Step 6: Use a toothpick, piping bag, or zip-top bag with a tiny corner snipped off to place two small dabs of chocolate or icing on the front of the cookie. Set one candy eye on each dab and press lightly so the eyes stay in place without sliding.
Step 7: If you want a three-dimensional design, add a small chocolate candy or mini peanut-butter cup to the top center of the cookie. Apply a little melted chocolate underneath the candy, then leave it undisturbed while the adhesive sets.
Step 8: Finish the remaining cookies and place the tray in the refrigerator for 10 to 15 minutes if you want to speed up setting. Once the chocolate is firm, arrange the spiders on a serving plate and enjoy.
Pro Tips for Perfect Spider Cookies

The best-looking cookies come from using a light touch. Sandwich cookies can crack if you push pretzels through the top biscuit, so make space in the cream layer instead and press the cookie together gently afterward.
- Choose the right pretzels: Thin, straight pretzel sticks create clean legs and are easier to insert than thick rods or twisted shapes.
- Keep the adhesive controlled: Small dabs are enough for candy eyes and optional bodies. Too much chocolate can run down the cookie and obscure the face.
- Use a piping tool: A tiny opening in a piping bag or zip-top bag gives you better control than pouring chocolate from the bowl.
- Work on parchment: Parchment prevents sticking and keeps the chocolate from bonding the cookies to the tray.
- Ten to 15 minutes in the refrigerator helps firm the chocolate glue and reduces the chance that legs or eyes will shift.
- Decorate in batches: Insert all the legs into a few cookies, then attach the eyes, rather than trying to finish every detail before moving to the next cookie.
If a pretzel breaks during assembly, simply replace that piece with another short section. For a larger Halloween cookie table, consider adding these colorful cake mix candy corn cookies beside the spiders.
Fun Ways to Customize Them
The classic black-and-brown color palette is wonderfully spooky, but children may enjoy choosing different looks. Use white candy eyes for a traditional cartoon spider, or add tiny colored icing dots around the face for a more whimsical creature.
Mini peanut-butter cups create a raised body with a rich peanut-butter-and-chocolate flavor. Small chocolate candies work well when you want a smooth, rounded body that matches the cookie.
You can also vary the pose by angling the pretzel legs upward, outward, or slightly downward. Just keep four legs on each side so the spider remains balanced and easy to pick up.
For a mixed dessert tray, salty-sweet options such as these loaded kitchen sink cookies pair nicely with the crisp pretzel detail in this recipe.
Storage and Serving Suggestions
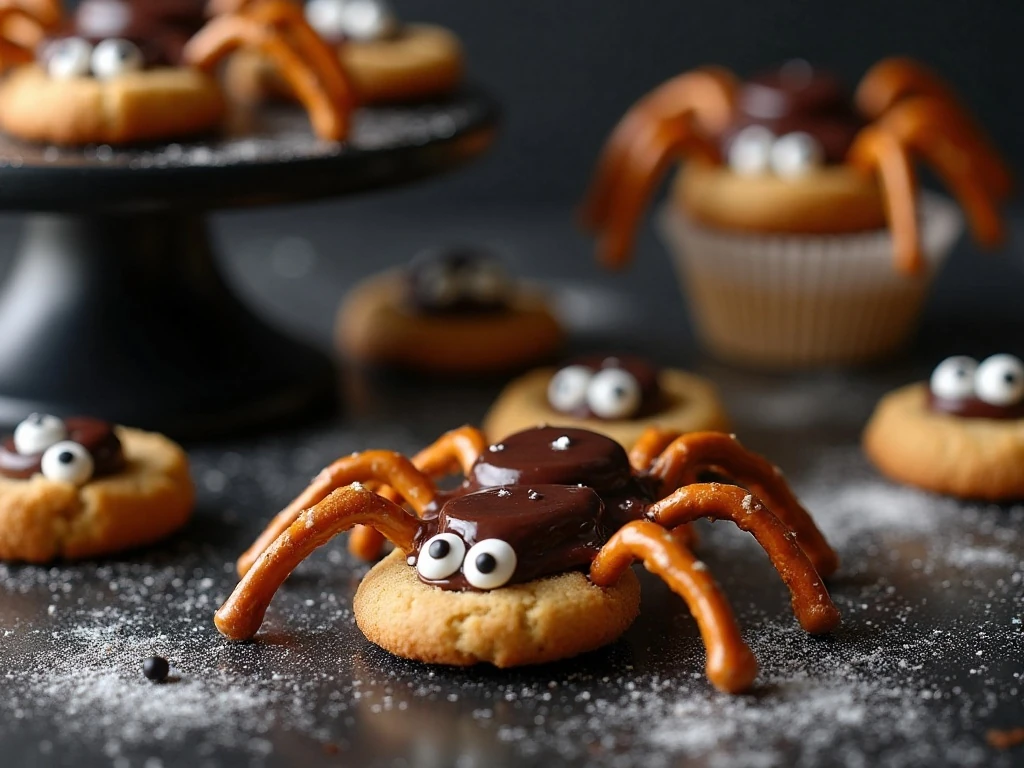
Let the chocolate set completely before stacking or transporting the cookies. A short 10- to 15-minute chill is enough to firm the adhesive, though you can keep them refrigerated until serving if your kitchen is warm.
Arrange the spiders in a single layer on a platter for the clearest presentation. If you need to layer them in a container, place parchment between layers and handle the pretzel legs carefully.
Because these cookies contain exposed pretzels, they are best enjoyed while the pretzel pieces are crisp. Make them earlier on the day of your gathering, or assemble them shortly before serving for the freshest texture.
For a dramatic Halloween display, scatter the cookies around a bowl of popcorn, place them on a cake stand, or set each spider on a small paper liner. You can find another festive idea in our collection of Halloween spider cookie inspiration.

No-Bake Spooky Spider Cookies
Ingredients
Method
- Line a tray or plate with parchment paper. This keeps the cookies from sticking while the chocolate or icing sets and makes transferring them easier.
- Melt the chocolate chips or wafers in a microwave-safe bowl in 15- to 20-second intervals, stirring after each interval. Stop as soon as the chocolate is smooth; if using black decorating icing, use it directly without melting.
- Carefully separate each sandwich cookie slightly, or gently loosen the cream filling with a knife. Avoid forcing the cookie apart, especially if the filling is firm, because the chocolate biscuits can crack.
- Insert eight short pretzel pieces into the cream filling, placing four on each side of the cookie. Press the cookie back together gently so the filling holds the legs in place.
- Dab a small amount of melted chocolate or icing onto the front of each cookie and attach two candy eyes. Use only enough adhesive to hold the eyes so the cookies stay neat.
- For a raised spider body, attach one small chocolate candy or mini peanut-butter cup to the top of each cookie with a little melted chocolate. This optional addition creates a more dimensional spider shape.
- Let the cookies stand until the chocolate sets, or refrigerate them for 10 to 15 minutes to speed up the process. Serve once the pretzel legs and candy eyes feel secure.
Notes
Final Thoughts
No-Bake Spooky Spider Cookies prove that a memorable Halloween dessert does not require an oven, complicated decorating skills, or a long ingredient list. With 12 chocolate sandwich cookies, 96 short pretzel pieces, 24 candy eyes, and a little chocolate or icing, you can create a whole colony of cheerful edible spiders in about 25 to 35 minutes.
They are crisp, creamy, salty, chocolatey, and delightfully silly all at once. Prepare the ingredients, invite the family to decorate, and chill the finished cookies briefly so every leg and eye stays in place.
Whether they are served at a Halloween party, packed into lunch boxes, or enjoyed as an afternoon craft-and-snack project, these cookies are sure to disappear quickly. Keep the recipe handy for the next spooky season, because everyone will want to make them again.