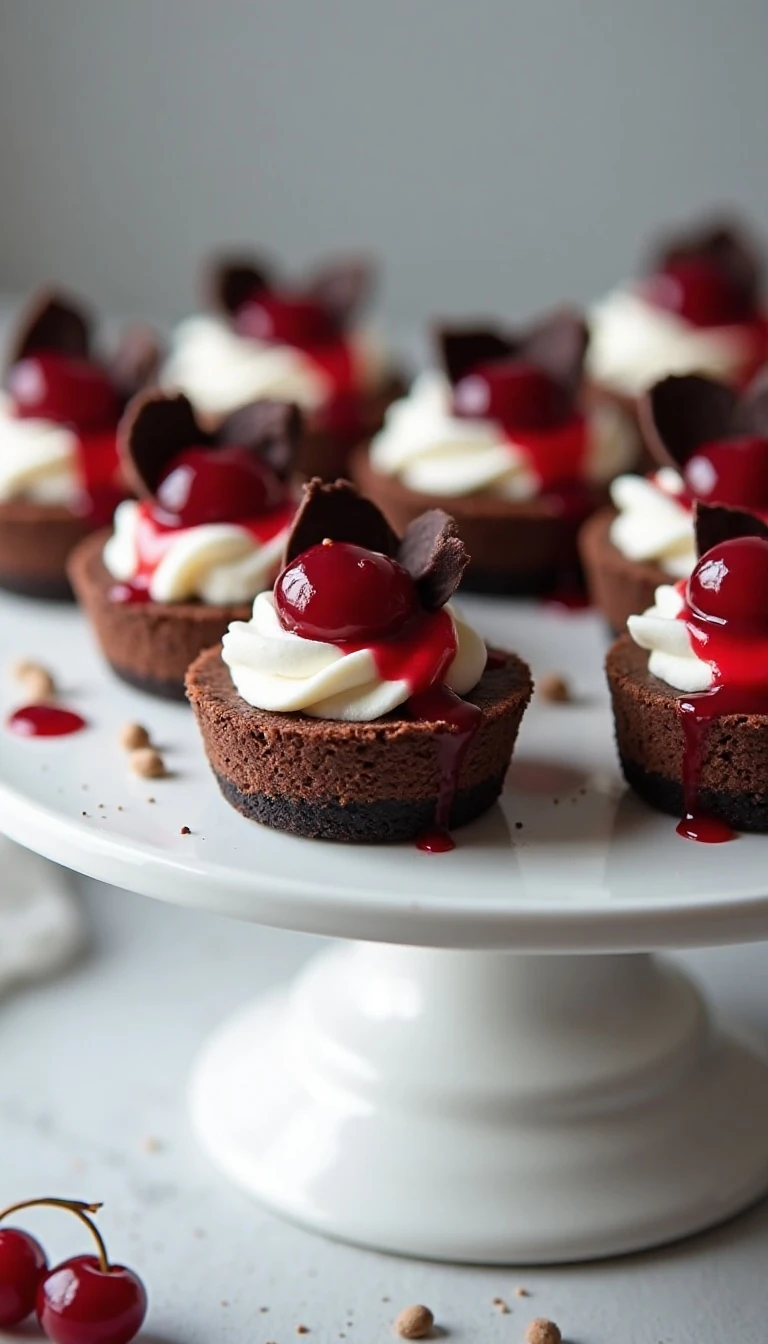
Mini Black Forest Cheesecakes are the perfect bite-size dessert for parties, holidays, bake sales, and family dinners. This easy baked recipe makes 18 individual cheesecakes with a buttery chocolate wafer crust, smooth vanilla-sour cream cheesecake filling, cherry pie topping, whipped cream, and chocolate curls.
Plan for about 25 minutes of preparation, 5 minutes for the crusts, 15–20 minutes for the cheesecake bake, and at least 1 hour of cooling and chilling. Every bite combines rich chocolate, tangy cream cheese, and juicy cherries in a polished dessert that looks special without requiring complicated decorating skills.
Jump to RecipeWhy You’ll Love This Recipe
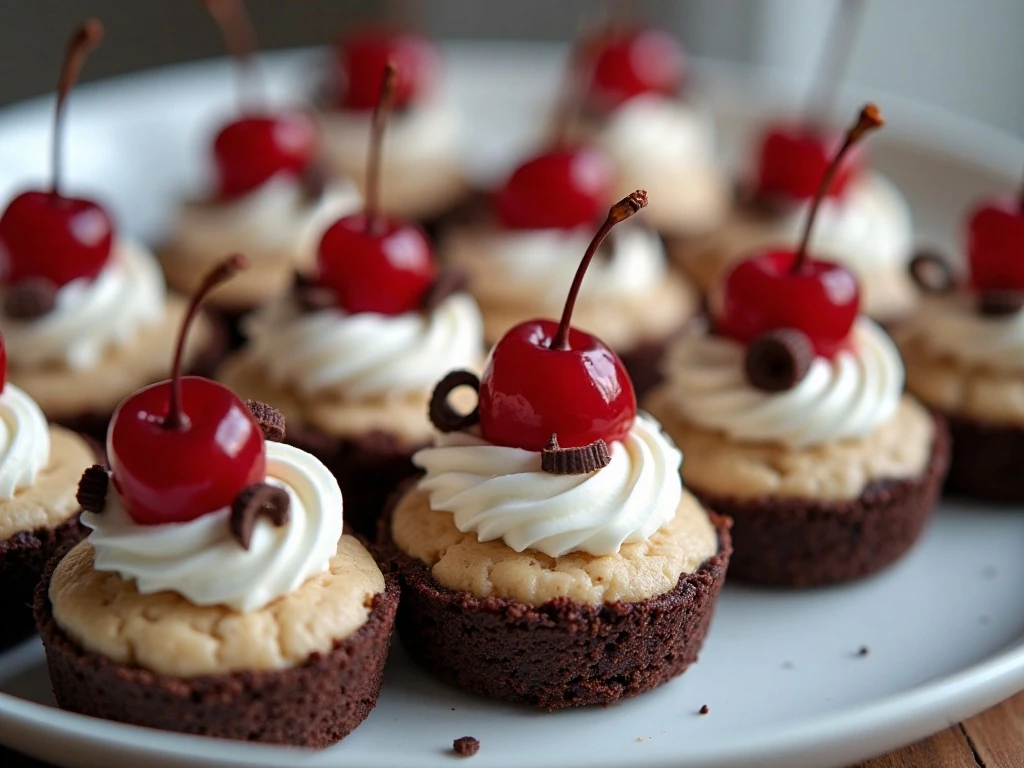
These mini Black Forest cheesecakes bring the familiar flavors of the classic German-inspired dessert into a convenient individual serving. The chocolate cookie base is crisp and buttery, the cheesecake center is creamy with a gentle tang from sour cream, and the cherry topping adds bright fruit flavor.
Because each dessert is baked in a standard muffin pan, there is no need to slice a large cheesecake or worry about uneven portions. The 18 small servings are especially useful when you are hosting a crowd and want a dessert guests can pick up and enjoy.
The recipe is also wonderfully make-ahead friendly. Bake and chill the cheesecakes the day before, then add the cherry pie filling, whipped cream, and chocolate garnish just before serving.
For another charming bite-size baking idea, you can also try these mini muffins when planning a brunch or dessert table.
Ingredients You’ll Need
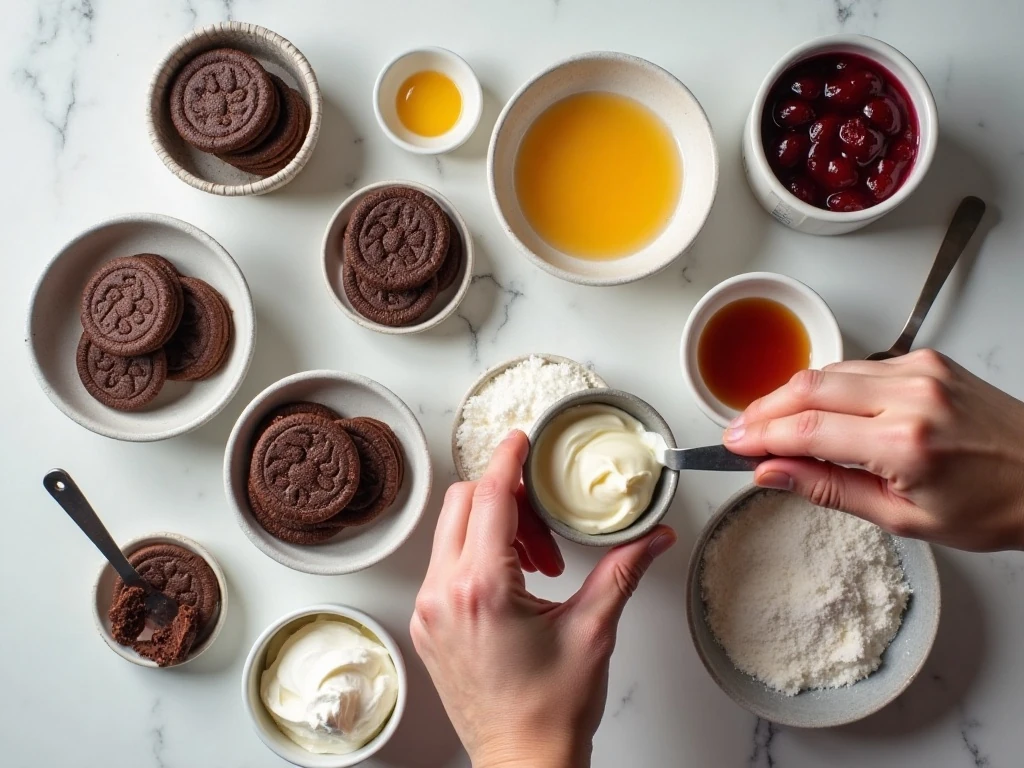
The crust starts with one 9-ounce package of chocolate wafer cookies, finely crushed into about 1 1/2 cups of crumbs. Melted unsalted butter binds the crumbs together and gives the base enough richness to hold its shape after chilling.
The filling uses two 8-ounce packages of softened cream cheese, granulated sugar, two lightly beaten eggs, sour cream, and vanilla extract. Room-temperature cream cheese is important because it blends more smoothly and helps you avoid stubborn lumps.
A 21-ounce can of cherry pie filling provides the glossy fruit topping and keeps the preparation simple. Whipped cream and chocolate curls or finely grated chocolate are optional, but they make the finished cheesecakes look unmistakably celebratory.
- Set the cream cheese out early so it softens fully.
- Crush the cookies finely for a compact, even crust.
- Use paper liners so the chilled cheesecakes release cleanly.
- Keep the cherry filling chilled until you are ready to decorate.
If you enjoy recipes featuring chocolate in a different format, these chocolate crinkle cookies make another attractive addition to a dessert platter.
How to Make It Step-by-Step
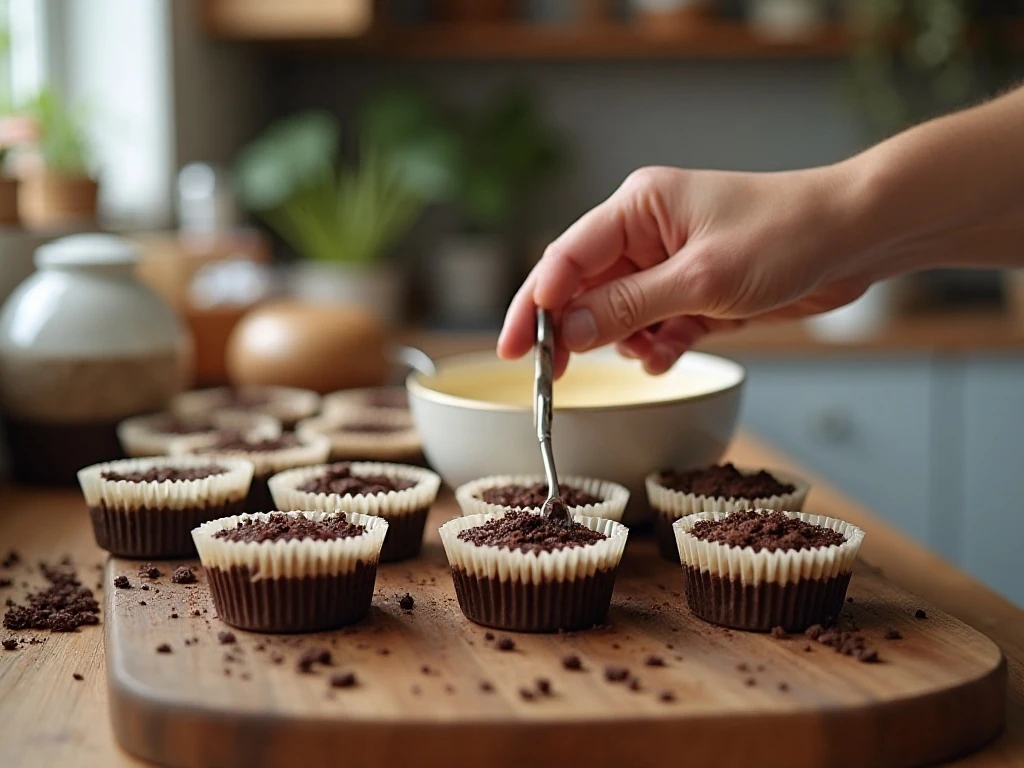
Step 1: Heat the oven to 350°F (175°C) and line all 18 cups of a standard muffin pan with paper liners. Having the pan prepared before mixing keeps the process organized and makes portioning the crusts faster.
Step 2: Combine the finely crushed chocolate wafer cookies and melted unsalted butter in a bowl until the crumbs are evenly moistened. Place roughly 1 tablespoon of the mixture into each liner, then press it down firmly with the back of a small spoon or a flat measuring spoon.
Step 3: Bake the crusts for about 5 minutes. Remove the muffin pan and allow the crusts to cool slightly while you prepare the cheesecake filling.
Step 4: Beat the softened cream cheese and granulated sugar until smooth. Add the lightly beaten eggs, sour cream, and vanilla extract, then mix just until everything is combined; avoid whipping in excessive air.
Step 5: Divide the cheesecake mixture among the 18 crusts, filling each cup nearly to the top. A small cookie scoop helps distribute the filling evenly, which gives the finished cheesecakes a consistent size and appearance.
Step 6: Bake the cheesecakes for 15–20 minutes. The edges should look set while the centers retain a slight wobble, since they will continue to firm as they cool and chill.
Step 7: Let the cheesecakes cool in the muffin pan, then transfer them to the refrigerator until thoroughly chilled for at least 1 hour. Overnight chilling is preferable when your schedule allows because it gives the filling time to set completely.
Step 8: Spoon cherry pie filling over each chilled cheesecake immediately before serving. Finish each one with whipped cream and chocolate curls or finely grated chocolate if desired.
Pro Tips for Smooth Mini Cheesecakes
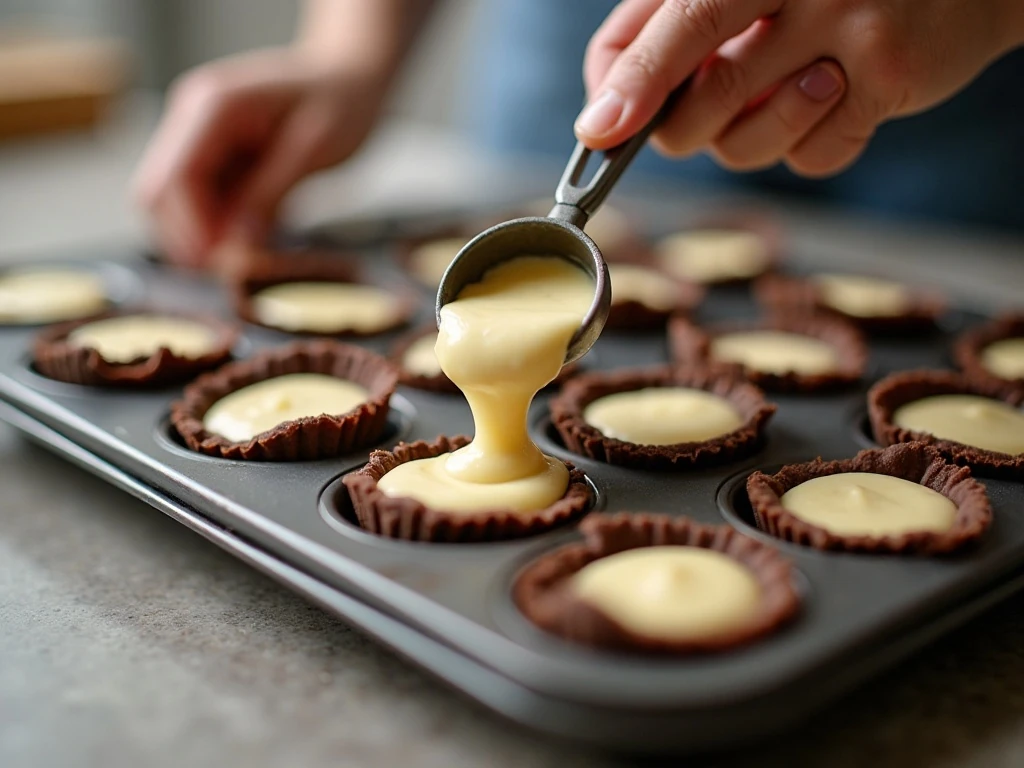
Softened cream cheese is one of the most important details in this recipe. Cold cream cheese can leave small lumps, while properly softened cream cheese blends into a smooth filling with less mixing.
Mixing only until combined also matters. Excessive beating incorporates more air, which can cause the cheesecakes to puff during baking and crack as they cool.
Do not judge doneness by waiting for the centers to become completely firm in the oven. A slight wobble in the middle is exactly what you want, because a fully firm center may indicate that the cheesecakes have been baked too long.
For the cleanest presentation, chill the cheesecakes before adding the cherry topping. The cold surface supports the filling better and keeps the fruit from spreading into the creamy layer.
Use a small cookie scoop for both the crust mixture and cheesecake filling. Even portions bake at a similar rate and make the tray look professional.
While the ingredients here are all about chocolate and cherries, savory party recipes can round out a buffet. Consider adding this corn and bean dip to the appetizer spread before dessert.
Serving Ideas and Garnishes
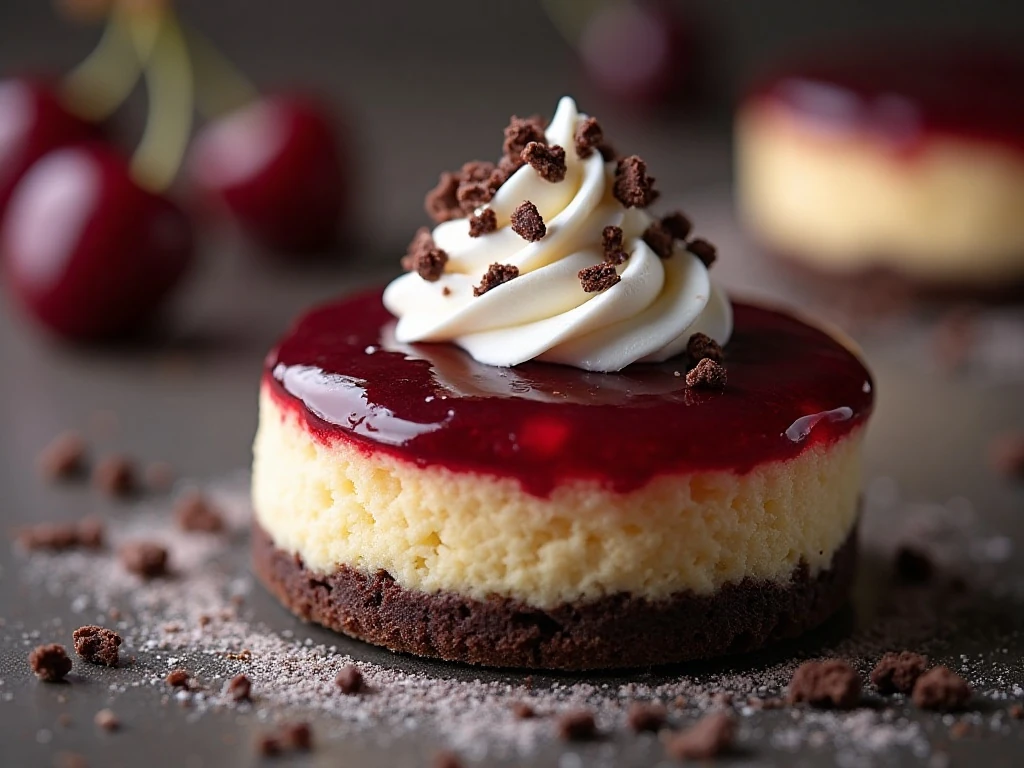
Serve these cheesecakes cold, either in their paper liners or carefully unwrapped and arranged on a platter. The contrast between the dark chocolate crust, pale filling, ruby cherries, and white whipped cream makes even a simple serving tray look inviting.
Add the cherry pie filling shortly before serving so the topping remains glossy and the cheesecake surface stays firm. A small spoonful is enough to cover the center without hiding the cream cheese layer.
For a polished finish, pipe a small swirl of whipped cream on each cheesecake and place a few chocolate curls on top. Finely grated chocolate works just as well and gives a delicate, snowy look against the red cherries.
If you are preparing a broader themed menu, a bowl of black bean and corn salsa offers a colorful savory contrast before these rich desserts are served.
Storage and Make-Ahead Advice
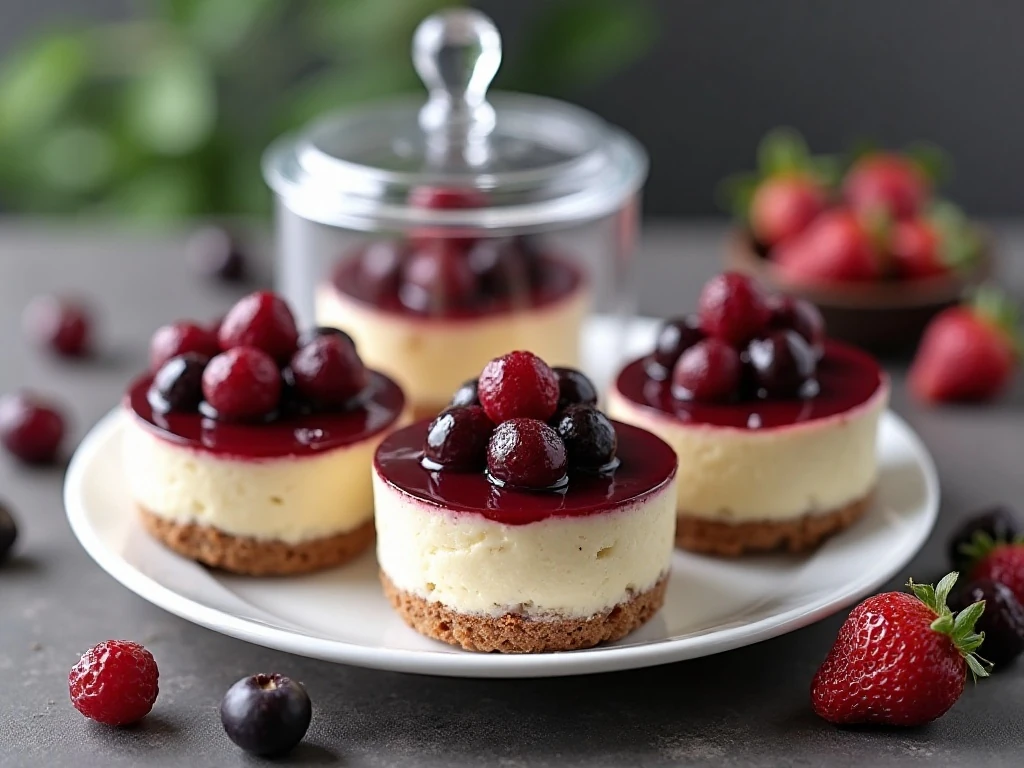
Keep the baked, chilled cheesecakes refrigerated until you are ready to serve them. For the neatest results, store the cheesecakes without the cherry topping and add the fruit, whipped cream, and chocolate garnish just before presentation.
The recipe requires at least 1 hour of chilling, but preparing the cheesecakes overnight is preferable when possible. This longer rest gives the centers time to firm and makes the individual cakes easier to handle.
Arrange the finished cheesecakes on a covered platter or in a sealed container so they do not absorb refrigerator odors. Keep them cold until dessert time, especially after adding whipped cream.
For a complete gathering menu, pair the dessert course with a comforting bowl of black-eyed pea soup earlier in the meal. The warm, savory soup and chilled chocolate-cherry dessert create a satisfying contrast.
Troubleshooting Common Issues
If the crusts crumble when you remove the liners, they may not have been pressed firmly enough. Next time, compact each portion with the back of a spoon, making sure the crumbs reach the edges of the liner.
If the filling has lumps, the cream cheese was likely not softened enough before mixing. Let it come fully to room temperature, and blend it with the sugar until smooth before adding the remaining ingredients.
If the tops crack, the mixture may have been overbeaten or the cheesecakes may have baked too long. The centers should still have a slight wobble when the pan comes out of the oven, and gentle mixing helps keep the texture tender.
Mini Black Forest Cheesecakes
Ingredients
Method
- Heat the oven to 350°F (175°C) and line 18 standard muffin-pan cups with paper liners.
- Combine the finely crushed chocolate wafer cookies with the melted butter. Place roughly 1 tablespoon of the mixture into each liner and press it down firmly.
- Bake the crusts for about 5 minutes. Remove the pan from the oven and let the crusts cool slightly.
- Beat the softened cream cheese and sugar until smooth. Add the lightly beaten eggs, sour cream, and vanilla, mixing only until combined.
- Divide the filling among the crusts, filling each liner nearly to the top.
- Bake for 15–20 minutes, until the edges are set and the centers still have a slight wobble.
- Cool the cheesecakes in the pan, then refrigerate them until thoroughly chilled, for at least 1 hour or preferably overnight.
- Spoon cherry pie filling over each cheesecake immediately before serving. Add whipped cream and chocolate curls or finely grated chocolate if desired.
Notes
Final Thoughts
Mini Black Forest Cheesecakes are a reliable dessert for anyone who loves the combination of chocolate, cherries, and creamy cheesecake. They offer the indulgent flavor of a classic Black Forest cake in a small, tidy serving that is easy to share.
Make them a day ahead for relaxed entertaining, then add the cherry filling, whipped cream, and chocolate garnish right before guests arrive. With a crisp cookie crust, silky center, and bright cherry finish, these 18 little cheesecakes are certain to disappear quickly.