To make a fairy light pouring watering can, place a battery-operated warm-white LED strand inside a clean metal watering can, feed several lights through the spout, and suspend the visible section with clear fishing line. The project takes approximately 35–65 minutes: allow 15–25 minutes for preparation and 20–40 minutes for assembly.
This charming DIY display creates the look of glowing water frozen in midair. A long, narrow spout, approximately 3–8 visible lights, and fine transparent support line give the most convincing cascade, while artificial flowers, moss, or decorative stones add a lovely garden-party finish.
Jump to RecipeWhy You’ll Love This Recipe
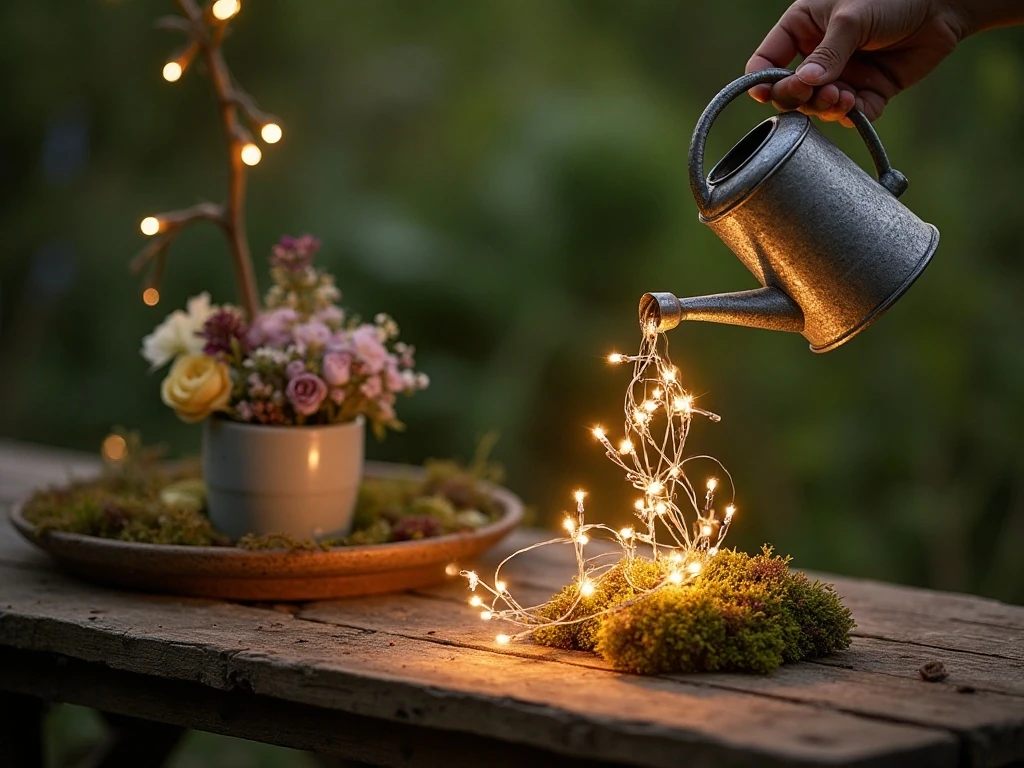
Although this project is not a food recipe, it has the same satisfying rhythm as preparing a beautiful centerpiece: gather a few dependable ingredients, arrange them with care, and make small finishing adjustments until everything feels balanced. The result is a glowing watering can that looks as though it is pouring a stream of illuminated droplets.
The design is especially effective beside a patio door, on a covered porch, near a garden bench, or as part of a party table backdrop. Since the lights are battery-operated, you do not need to position the can near an electrical outlet.
The finished piece also pairs beautifully with an outdoor gathering. For a colorful menu to match the garden mood, serve a bright watermelon salsa nearby, then let the warm lights provide the evening glow.
Ingredients You’ll Need

Start with one metal watering can. A long, narrow spout is preferable because it creates a more graceful direction for the suspended lights than a short, wide spout.
- One metal watering can, preferably with a long, narrow spout
- One battery-operated LED fairy-light strand with approximately 20–50 lights
- Two to four small clear adhesive hooks or removable cable clips
- One to two meters of clear fishing line or thin transparent craft wire
- Two to four small pieces of clear tape or a little hot glue, optional
- Batteries specified by the light manufacturer
- Artificial flowers, moss, or decorative stones, optional
Warm-white lights are the most commonly used choice and usually create the gentlest fairy-light effect. The strand should contain approximately 20–50 lights, with only about 3–8 bulbs positioned in the visible pour and most of the strand tucked inside the can.
Prepare a clean work surface before you begin. A folded towel can prevent the can from sliding while you guide the wire, and a small pair of scissors may be useful for trimming fishing line.
How to Make It Step-by-Step
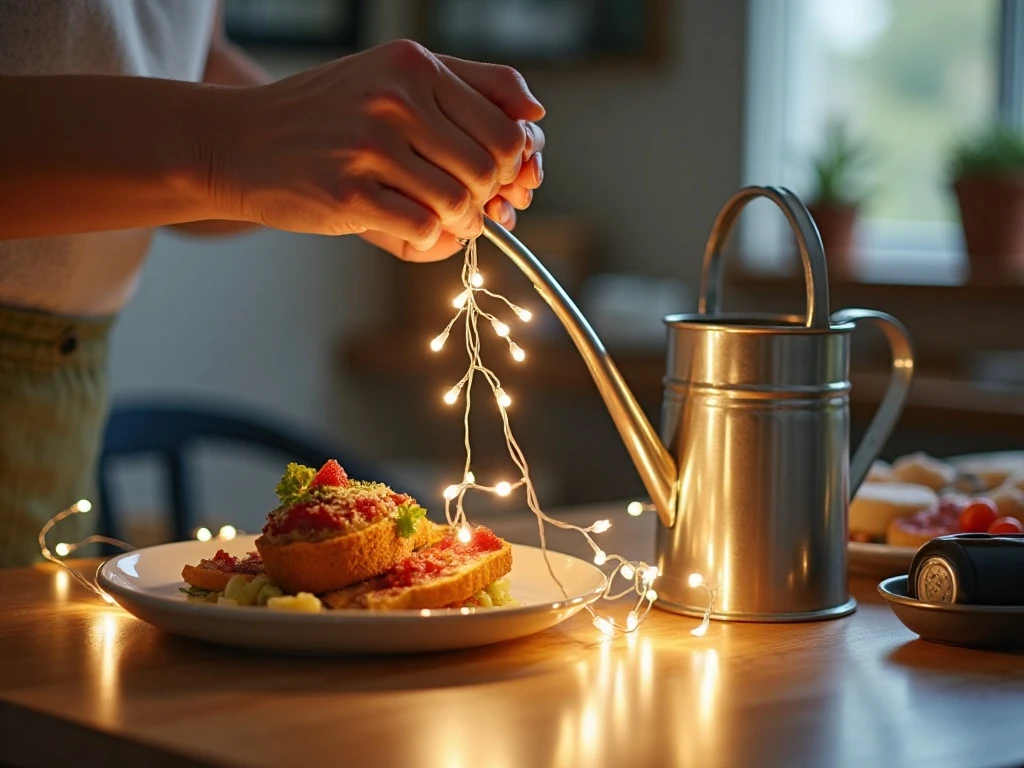
Step 1: Clean and dry the watering can thoroughly, paying special attention to the inside of the spout. Any moisture or loose dirt can make adhesive clips less reliable, so allow the surface to dry completely before placing supports.
Step 2: Remove the rose or sprinkler head if it is detachable. This creates a clearer path for the fairy-light strand and helps prevent the wire from catching as it passes through the opening.
Step 3: Test the LED strand before arranging it. Turn the lights on, confirm that the battery pack works, and check that the switch is easy to operate; it is far more convenient to solve a battery problem before the strand is installed.
Step 4: Place the battery pack inside the watering can, leaving the switch accessible. If the display will be outdoors, choose an outdoor-rated waterproof light set and protect the battery pack inside a small waterproof pouch or covered container while retaining enough access to change the batteries.
Step 5: Feed the light strand through the spout. Leave most of the 20–50 lights inside the can, then gently guide several lights toward the opening, taking care not to pull the cable tight or sharply bend it where it exits.
Step 6: Shape the visible section into a pouring stream. Approximately 3–8 lights usually provide enough sparkle without making the cascade look crowded, and uneven spacing can make the bulbs appear more like individual drops.
Step 7: Cut a length of clear fishing line or transparent craft wire and use it to support the hanging portion. Attach one support point near the spout, then secure the lower end to an invisible anchor such as a nearby branch, wall hook, or the ground.
Step 8: Add a second or additional support point if the light stream twists or sags. Two or more support points help keep the cascade in position while allowing it to retain a gently curved shape.
Step 9: Use clear adhesive hooks, removable clips, tape, or a small amount of hot glue to keep the line positioned. Keep every adhesive material away from the LED bulbs and electrical connections, and use only enough to hold the support in place.
Step 10: Decorate the base of the can with artificial flowers, moss, or decorative stones. Turn on the strand, step back, and adjust the spacing so the visible lights look balanced from the front and from the sides.
Step 11: Place the can on a stable surface or hang it securely. Keep it sheltered unless every electrical component is rated for outdoor use, and make sure the display cannot be easily knocked over by pets, children, wind, or passing guests.
Pro Tips for a Convincing Cascade

Fine-gauge clear fishing line is one of the best choices for this project because it is less visible than thick wire. When the line catches little or no direct light, the bulbs appear to float in the air.
Use a long-spout watering can whenever possible. The extra length gives the lights more room to emerge gradually, producing a stronger illusion of pouring than a compact can with a broad opening.
Do not force the strand into a perfectly straight line. A slight curve, varied bulb spacing, and a little distance between the spout and the lowest light make the arrangement look more like a suspended stream.
Warm-white micro-LEDs generally provide the most convincing gentle effect. Cool white, multicolor, or flashing strands can work for themed celebrations, but they create a brighter and more theatrical appearance.
If you are serving a buffet beneath the display, keep the lighting project away from food, serving dishes, and open flames. A pretty centerpiece should never obstruct guests or create a tangle near hot trays.
For another colorful entertaining idea, pair the display with a cranberry and Brie bread centerpiece. Its rich colors look particularly inviting beside warm-white lights.
Safety, Placement, and Outdoor Care
The battery pack is the most important component to protect. Outdoor displays should use an outdoor-rated, waterproof light set, and the battery pack should be placed inside a waterproof pouch or covered container that keeps moisture out while preserving access to the switch and batteries.
Keep the can sheltered unless every electrical component is rated for outdoor exposure. Avoid placing it where sprinklers, rain runoff, condensation, or standing water can reach the wiring.
Check that the watering can sits on a stable surface before switching on the strand. If you hang it, use a secure support suited to the can’s weight and inspect the clear line, clips, and anchor points before each display.
Never place hot glue directly over LED bulbs, battery contacts, or electrical connections. Removable clips are often preferable because they allow you to reposition the pour without damaging the strand.
For a meal with a festive red-and-green color palette, consider this simple cranberry chicken idea while the watering can glows as a table accent. Keep the craft display at a safe distance from cooking heat and serving traffic.
Styling Ideas for Parties and Gatherings

A rustic metal can looks wonderful with moss and small artificial blossoms tucked around its base. For a more polished arrangement, use decorative stones in a restrained color and place the can against a dark wall so the warm lights stand out.
You can also coordinate the display with the season. White flowers and pale stones suit spring, autumn leaves complement a harvest table, and deep green foliage makes the warm bulbs especially cozy during winter celebrations.
Place the watering can where guests can see the full drop from the spout. A low side table, covered porch shelf, or sturdy garden stand usually works better than a crowded dining table, where plates and serving utensils may hide the lower lights.
For a fresh, colorful party spread, serve quick classic bruschetta or arrange fruit spring rolls on a nearby platter. The bright ingredients echo the cheerful garden character without requiring the craft itself to touch the food.
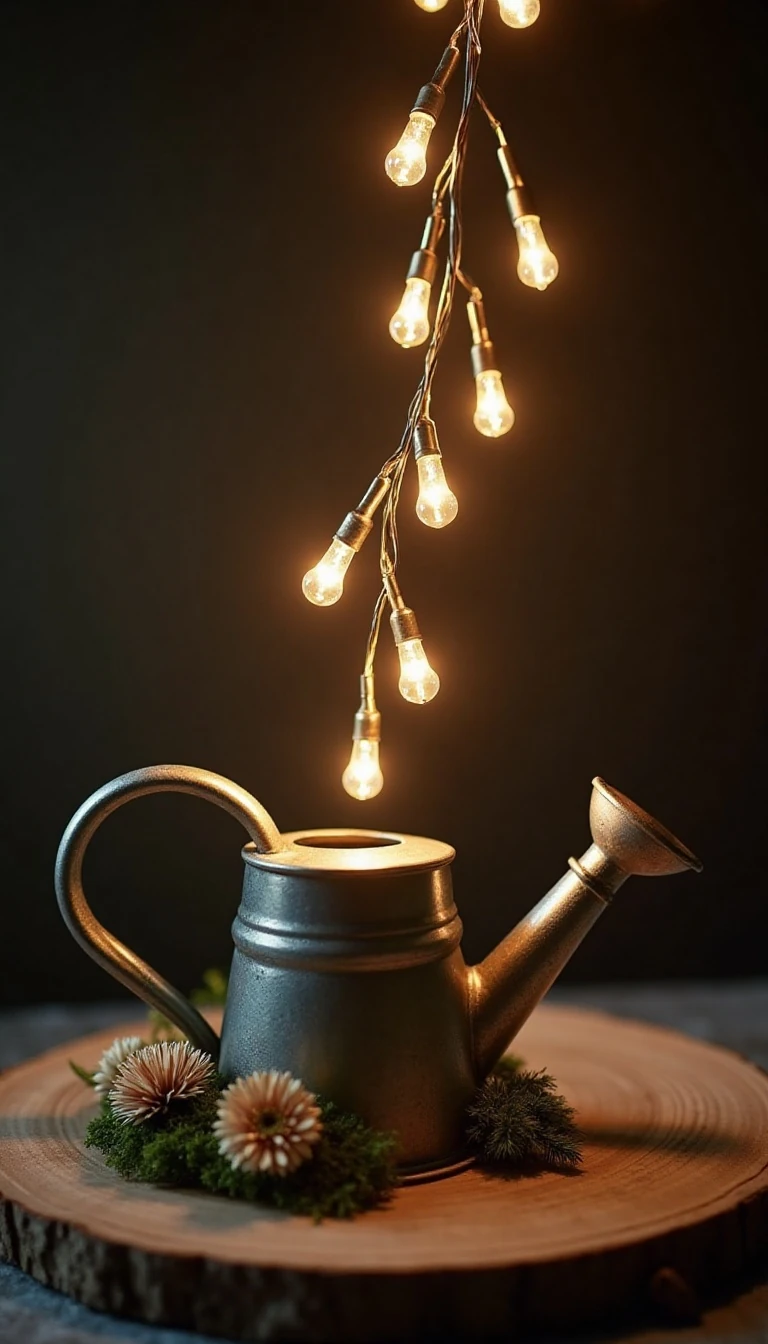
Fairy Light Pouring Watering Can
Ingredients
Method
- Clean and dry the metal watering can completely. If the rose or sprinkler head is detachable, remove it from the spout so the light strand can pass through more easily.
- Test the fairy-light strand before installing it, checking that the batteries, battery pack, and switch all work properly. Choose warm-white micro-LEDs when possible for a soft, garden-inspired glow.
- Place the battery pack inside the can while keeping the switch accessible. For an outdoor display, use an outdoor-rated waterproof light set and place the battery pack in a small waterproof pouch or covered container that still allows battery access.
- Feed the light strand through the spout, leaving most of the lights inside the can. Guide several bulbs toward the opening without pulling the wire tightly or bending it sharply.
- Arrange approximately 3–8 lights in the visible pouring section. Space them so they form a balanced stream rather than a straight, crowded line.
- Support the hanging light section with clear fishing line or thin transparent craft wire. Attach the upper support near the spout and secure the lower end to an invisible anchor point such as a nearby branch, wall hook, or the ground.
- Use removable clips, clear tape, or a small amount of hot glue to keep the support line positioned. Keep adhesive away from the LED bulbs and all electrical connections.
- Add artificial flowers, moss, or decorative stones around the can if desired. Turn on the lights and adjust the spacing until the cascade looks natural from the intended viewing angle.
- Set the watering can on a stable surface or hang it securely. Keep the finished display sheltered unless every electrical component is specifically rated for outdoor use.
Notes
Final Thoughts
Making a fairy light pouring watering can is a simple, affordable way to create a memorable decorative feature. With one metal can, one battery-operated LED strand, clear support line, and a little patient arranging, you can produce the illusion of glowing water suspended in midair.
Allow 15–25 minutes for preparation and 20–40 minutes for assembly, then take time to view the can from the angle where it will be displayed. A few small adjustments to the 3–8 visible bulbs can transform a basic arrangement into a graceful, magical cascade.
Keep the battery pack accessible, protect all electrical components from moisture, and secure the can and support line carefully. Once it is safely positioned, switch on the warm-white lights and enjoy a centerpiece that brings a soft garden glow to dinners, celebrations, and quiet evenings outdoors.