Ingredients
Method
Step-by-Step
- Clean and dry the metal watering can completely. If the rose or sprinkler head is detachable, remove it from the spout so the light strand can pass through more easily.
- Test the fairy-light strand before installing it, checking that the batteries, battery pack, and switch all work properly. Choose warm-white micro-LEDs when possible for a soft, garden-inspired glow.
- Place the battery pack inside the can while keeping the switch accessible. For an outdoor display, use an outdoor-rated waterproof light set and place the battery pack in a small waterproof pouch or covered container that still allows battery access.
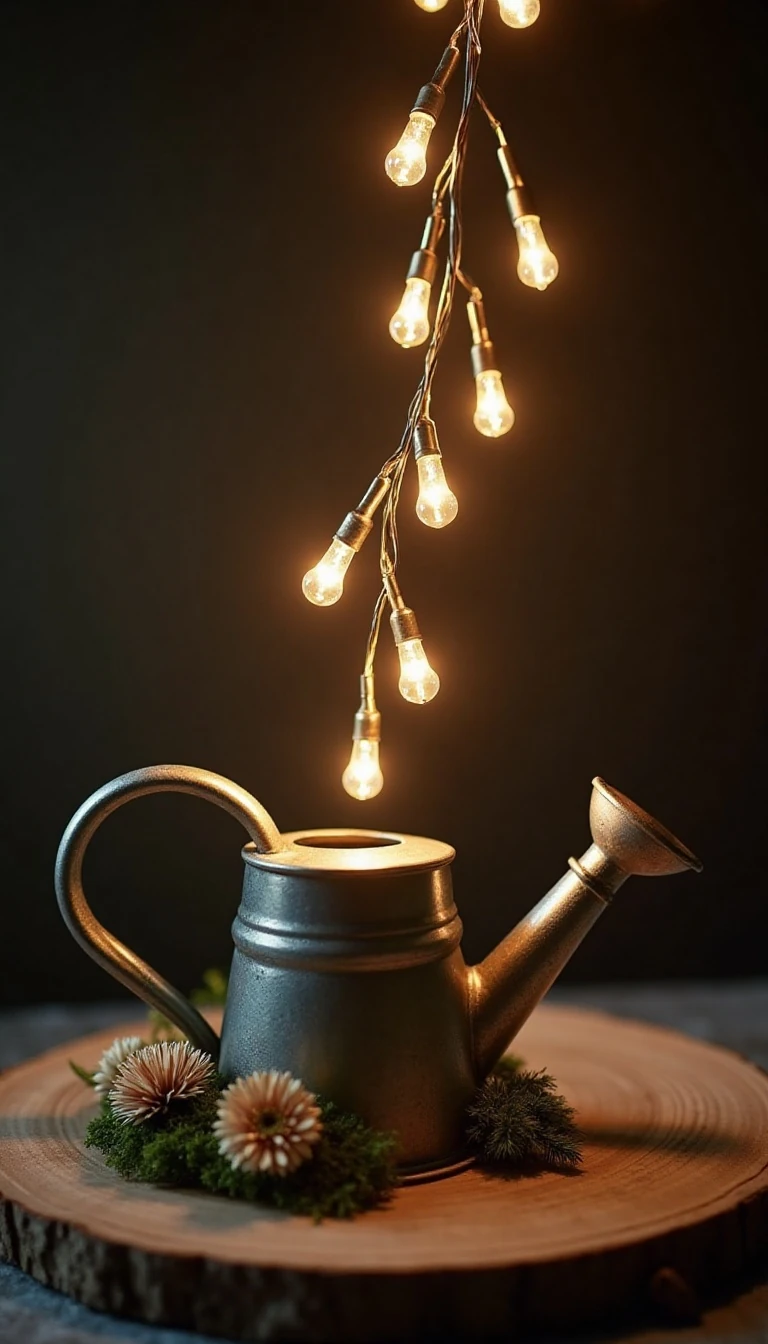
- Feed the light strand through the spout, leaving most of the lights inside the can. Guide several bulbs toward the opening without pulling the wire tightly or bending it sharply.
- Arrange approximately 3–8 lights in the visible pouring section. Space them so they form a balanced stream rather than a straight, crowded line.
- Support the hanging light section with clear fishing line or thin transparent craft wire. Attach the upper support near the spout and secure the lower end to an invisible anchor point such as a nearby branch, wall hook, or the ground.
- Use removable clips, clear tape, or a small amount of hot glue to keep the support line positioned. Keep adhesive away from the LED bulbs and all electrical connections.
- Add artificial flowers, moss, or decorative stones around the can if desired. Turn on the lights and adjust the spacing until the cascade looks natural from the intended viewing angle.
- Set the watering can on a stable surface or hang it securely. Keep the finished display sheltered unless every electrical component is specifically rated for outdoor use.
Notes
Fine-gauge clear fishing line is usually less noticeable than thick wire. Keep the battery pack accessible, protect it from moisture outdoors, and inspect the support points regularly.