This easy red velvet cake recipe from scratch makes one gorgeous three-layer 8-inch cake or two 9-inch layers in about 1 hour and 45 minutes, including cooling. The batter combines sifted flour, a small amount of cocoa powder, buttermilk, vinegar, oil, eggs, and red liquid food coloring, then the cooled layers are covered with classic cream cheese frosting.
Every bite is moist, tender, lightly tangy, and gently cocoa-flavored rather than intensely chocolatey. The silky frosting balances the cake perfectly, making this a beautiful choice for birthdays, holidays, dinner parties, or any time you want a homemade dessert that looks as wonderful as it tastes.
Jump to RecipeWhy You’ll Love This Recipe
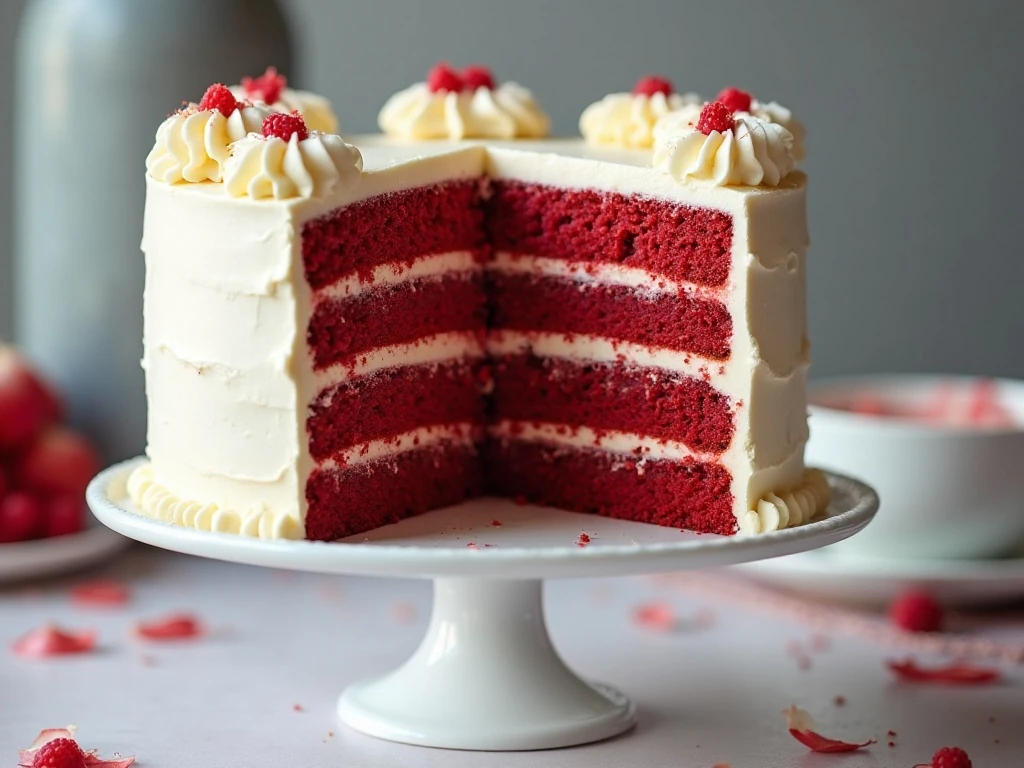
This red velvet cake has the texture home bakers want most: soft, plush, and moist without being heavy. Vegetable oil keeps the crumb tender even after refrigeration, while buttermilk and vinegar provide the gentle acidity that helps activate the baking soda.
The flavor is balanced and classic. One teaspoon of cocoa powder gives the cake its subtle chocolate character and distinctive red velvet taste, but it does not turn the dessert into a standard chocolate cake.
The cream cheese frosting is rich, tangy, and sweet enough to complement the cake without hiding it. Three 8-inch layers create a tall celebration cake, while the same batter can be baked as two 9-inch layers when you want a slightly simpler presentation.
If you are planning a full meal before dessert, keep the menu easy with these baked chicken tacos, then serve red velvet cake as the colorful finale.
Ingredients You’ll Need
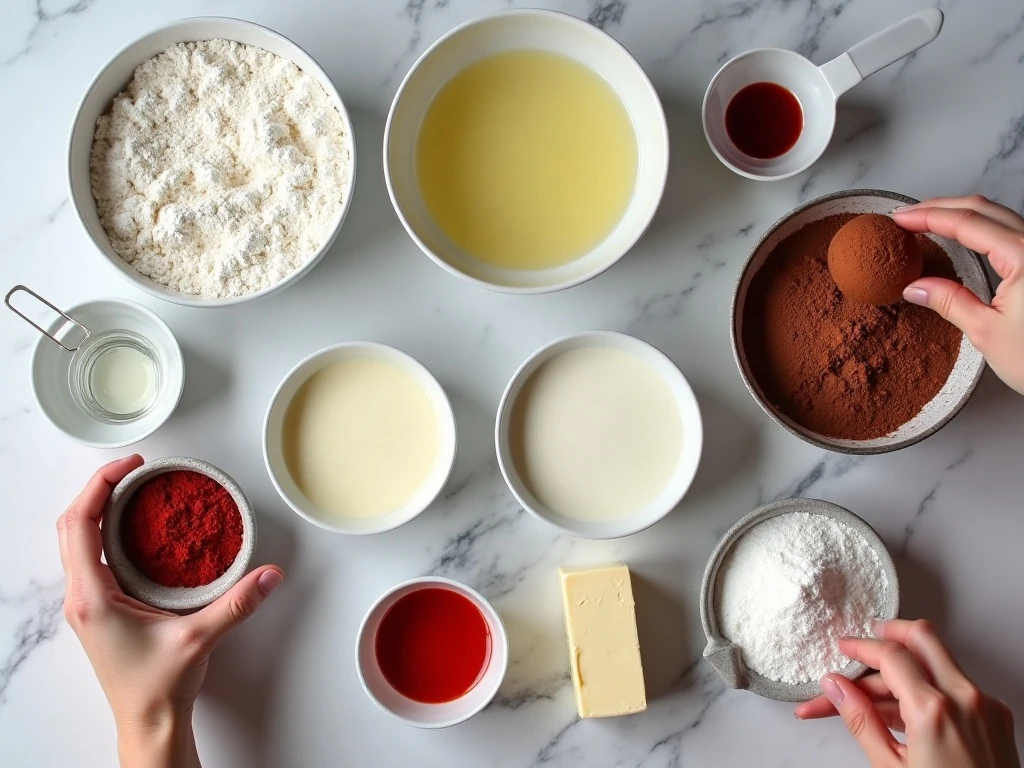
The ingredient list is straightforward, but each item has a job. Use the following quantities for reliable results:
- Flour: Use 2 1/2 cups of all-purpose flour. Sift it when possible, or spoon it lightly into measuring cups and level the tops to avoid adding too much.
- Sugar: Granulated sugar sweetens the cake and contributes to its tender texture.
- Cocoa powder: Just 1 teaspoon of unsweetened cocoa powder supplies the mild cocoa note traditionally associated with red velvet.
- Leavening and salt: Baking soda works with the acidic buttermilk and vinegar, while fine salt sharpens the overall flavor.
- Oil: Choose a neutral vegetable oil such as canola or sunflower oil. Its liquid texture helps the cake remain moist when chilled.
- Buttermilk: Bring 1 cup to room temperature for a smooth batter and tender crumb.
- Eggs and flavorings: Two room-temperature eggs, vanilla, and distilled white vinegar round out the cake base.
- Food coloring: Use 2 tablespoons of traditional red liquid food coloring. Concentrated gel coloring can require much less, depending on the brand.
- Frosting ingredients: Full-fat cream cheese, unsalted butter, vanilla, and powdered sugar make a thick, creamy topping.
Room-temperature dairy and eggs blend more evenly than cold ingredients. Set them out before beginning, but keep the cream cheese and butter covered while they soften.
How to Make It Step-by-Step
Step 1: Heat the oven to 350°F (175°C). Grease and flour three 8-inch round cake pans, or line the bottoms with parchment paper before greasing the sides. Proper preparation helps the delicate layers release without tearing.
Step 2: Add the flour, sugar, baking soda, salt, and cocoa powder to a large bowl. Whisk thoroughly so the cocoa and leavening are distributed evenly throughout the flour.
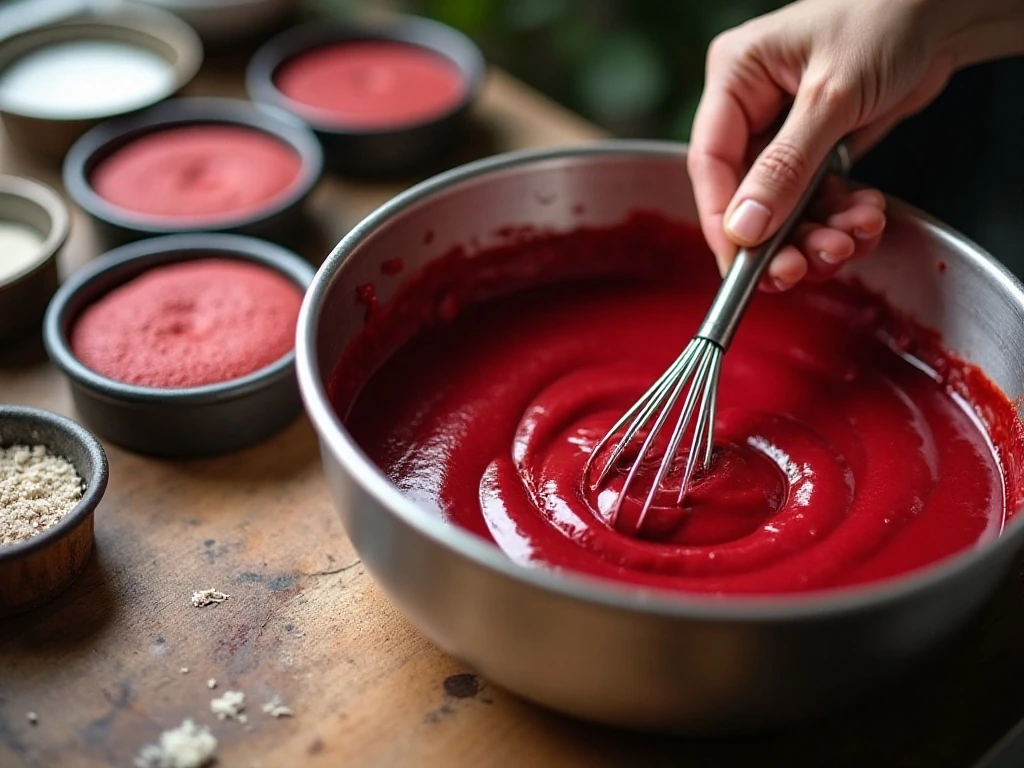
Step 3: In a second bowl, whisk together the vegetable oil, room-temperature buttermilk, eggs, red liquid food coloring, vanilla extract, and distilled white vinegar. Continue until the mixture looks uniform and the color is evenly dispersed.
Step 4: Pour the wet mixture into the bowl of dry ingredients. Mix just until no obvious streaks of flour remain and the batter is smooth; stopping promptly prevents overmixing and helps preserve a tender crumb.
Step 5: Divide the batter evenly among the prepared pans. If you have a kitchen scale, weighing the pans as you fill them makes the layers the same thickness and helps them finish baking at the same time.
Step 6: Bake for about 28–35 minutes. The cakes are ready when their centers spring back lightly when touched and a toothpick inserted in the middle comes out with only a few moist crumbs.
Step 7: Let the cakes cool in the pans for about 10 minutes. Turn them onto wire racks and allow them to cool completely; frosting warm cake will cause the cream cheese mixture to melt and slide.
Step 8: Make the frosting by beating the softened cream cheese and butter until smooth. Beat in the vanilla, then add the powdered sugar gradually, mixing until creamy and spreadable.
Step 9: Level the tops with a serrated knife if the layers have domed. Place one layer on a serving plate, spread with frosting, add the next layer, repeat, and cover the top and sides with the remaining frosting.
Step 10: If the frosting becomes too soft while you work, refrigerate the cake briefly before continuing. Chill the finished cake until set, then allow it to stand briefly before slicing for the smoothest texture.
Pro Tips for a Tender, Vibrant Cake
Measure flour with care. Fluff the flour first, lightly spoon it into a dry measuring cup, and level it with a straight edge rather than scooping directly from the bag.
Do not replace the oil with butter if your priority is a moist cake that stays tender when cold. Butter brings a lovely flavor, but oil is the classic practical choice for this style of red velvet.
Mixing matters just as much as measuring. Once the flour meets the wet ingredients, stir only until combined; a few quick turns are better than vigorous beating.
For the brightest traditional color, use red liquid food coloring in the stated amount. Gel colors are more concentrated, so follow the brand’s guidance and add a small amount at a time.
Chilling the cooled cake layers for 30–60 minutes makes them easier to trim and stack. Cold layers create cleaner edges and reduce crumbs while you spread the frosting.
For a dessert table with another no-bake option, pair this cake with our easy berry ice box cake. Its cool fruitiness provides a pleasant contrast to the rich cream cheese frosting.
Frosting, Decorating, and Serving Ideas
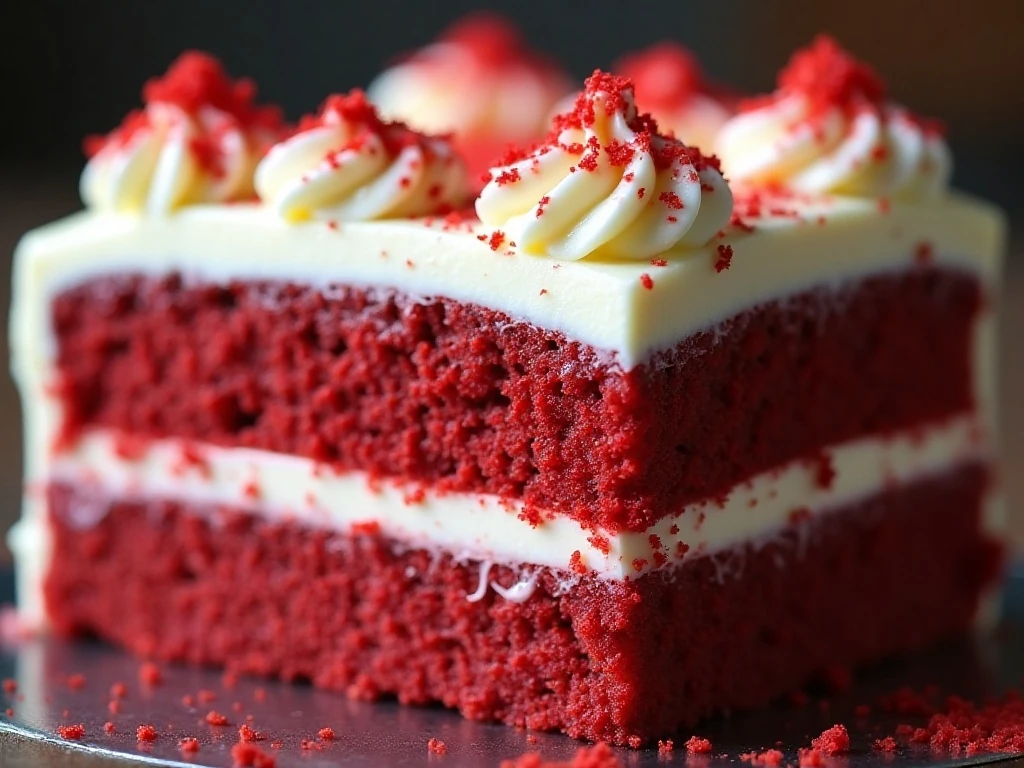
A simple finish of snowy cream cheese frosting is all this cake needs. Spread the sides smoothly for a classic bakery look, or leave soft swirls and peaks for a relaxed homemade finish.
Reserve a few trimmed cake crumbs and scatter them around the base or over the top. The red crumbs make the white frosting look especially striking without requiring complicated decorating tools.
You can also pipe small rosettes around the border, add a few fresh berries, or finish each slice with a thin curl of white chocolate. Keep decorations modest so the mild cocoa flavor and tangy frosting remain the focus.
Serve thin wedges because the cake is rich and tall. A cup of coffee, black tea, or cold milk pairs especially well with the creamy frosting and gently chocolatey crumb.
Storage and Make-Ahead Advice
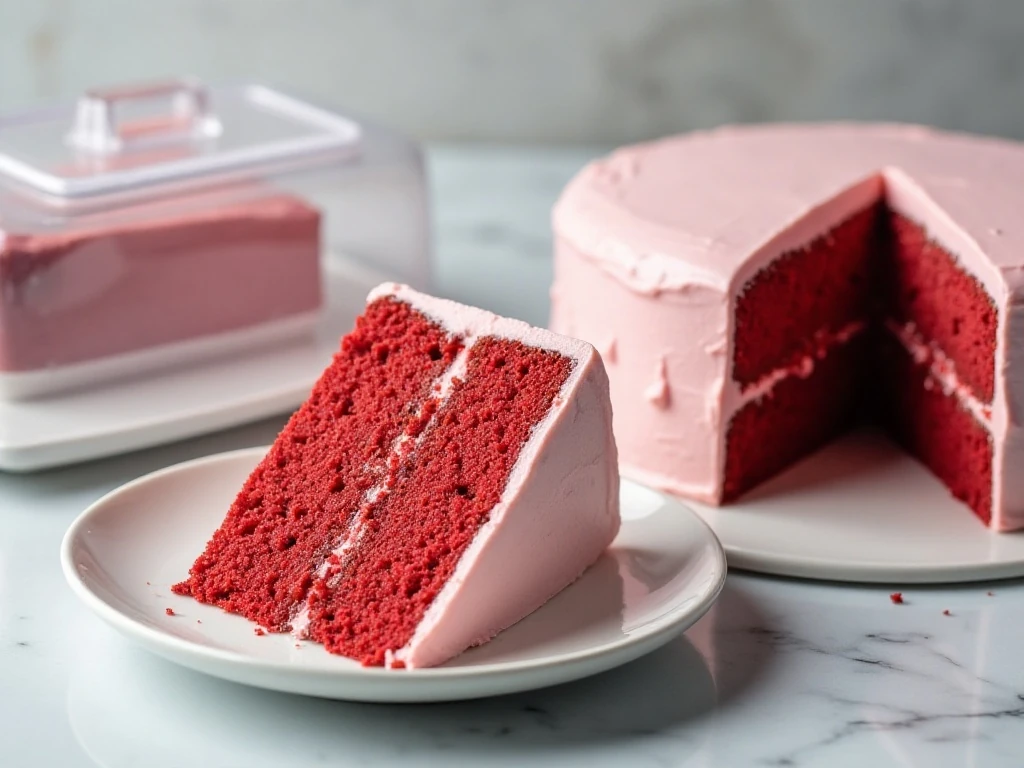
Because the frosting contains cream cheese, keep the finished cake covered in the refrigerator. It is best enjoyed within several days, and placing it in a cake carrier prevents it from absorbing other refrigerator odors.
The cake layers can be baked ahead, cooled completely, wrapped well, and chilled before assembly. Chilling for 30–60 minutes is also helpful when you plan to frost the cake neatly later.
Let refrigerated slices sit briefly at room temperature before serving. This softens the frosting and allows the oil-based cake to regain its tender, melt-in-your-mouth texture.
For another easy savory recipe to serve before dessert, browse this quick shrimp recipe for a meal that keeps the cooking manageable while your cake chills.
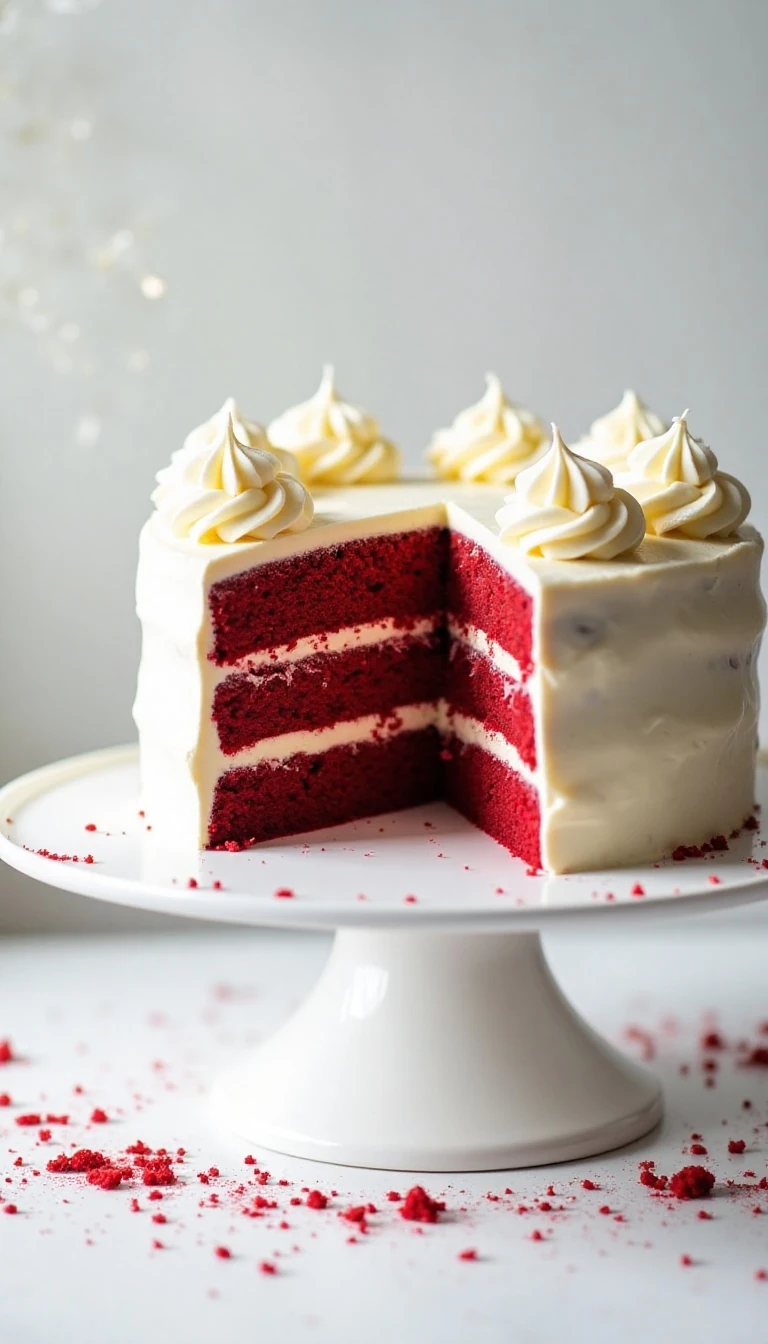
The Best Easy Red Velvet Cake From Scratch
Ingredients
Method
- Heat the oven to 350°F (175°C). Grease and flour three 8-inch round cake pans, or line the bottoms with parchment paper.
- Whisk the flour, granulated sugar, baking soda, salt, and cocoa powder together in a large bowl.
- In a separate bowl, whisk the oil, buttermilk, eggs, red food coloring, vanilla, and vinegar until evenly combined.
- Pour the wet ingredients into the dry ingredients and mix just until the batter is smooth. Do not overmix.
- Divide the batter evenly among the prepared pans. Bake for 28–35 minutes, until the centers spring back lightly and a toothpick comes out with only a few moist crumbs.
- Cool the cakes in their pans for about 10 minutes, then turn them onto wire racks. Cool completely before frosting.
- Beat the softened cream cheese and butter until smooth. Add the vanilla, then gradually beat in the powdered sugar until the frosting is creamy and spreadable.
- Level the cake layers if needed, then fill and frost the cooled layers. If the frosting becomes too soft, refrigerate the cake briefly before finishing.
Notes
Final Thoughts
This is the red velvet cake to make when you want a dependable scratch recipe with an impressive finish. The formula is uncomplicated, the ingredient quantities are easy to remember, and the result is a moist three-layer cake with a delicate cocoa flavor and classic cream cheese frosting.
Take your time with room-temperature ingredients, accurate flour measurements, gentle mixing, and complete cooling. Those small details make the difference between an ordinary cake and the soft, richly frosted red velvet dessert everyone reaches for first.
Prepare it for a birthday, holiday gathering, or quiet weekend treat, and decorate it as simply or festively as you like. Once you taste the tender crumb with that tangy frosting, this easy homemade version is likely to become your favorite red velvet cake recipe.
2 thoughts on “The Best Easy Red Velvet Cake Recipe From Scratch”