This easy air fryer rotisserie chicken recipe makes a juicy, crispy whole chicken in about 50 to 65 minutes at 360°F. A simple coating of olive oil, paprika, garlic powder, onion powder, thyme, kosher salt, and black pepper creates deeply seasoned meat and beautifully browned skin.
The chicken serves 4 to 6 people and works in either a rotisserie-style air fryer or a basket-style model. Patting the chicken dry, securing the legs and wings, and checking the internal temperature with an instant-read thermometer are the keys to tender meat and crisp skin every time.
Jump to RecipeWhy You’ll Love This Recipe
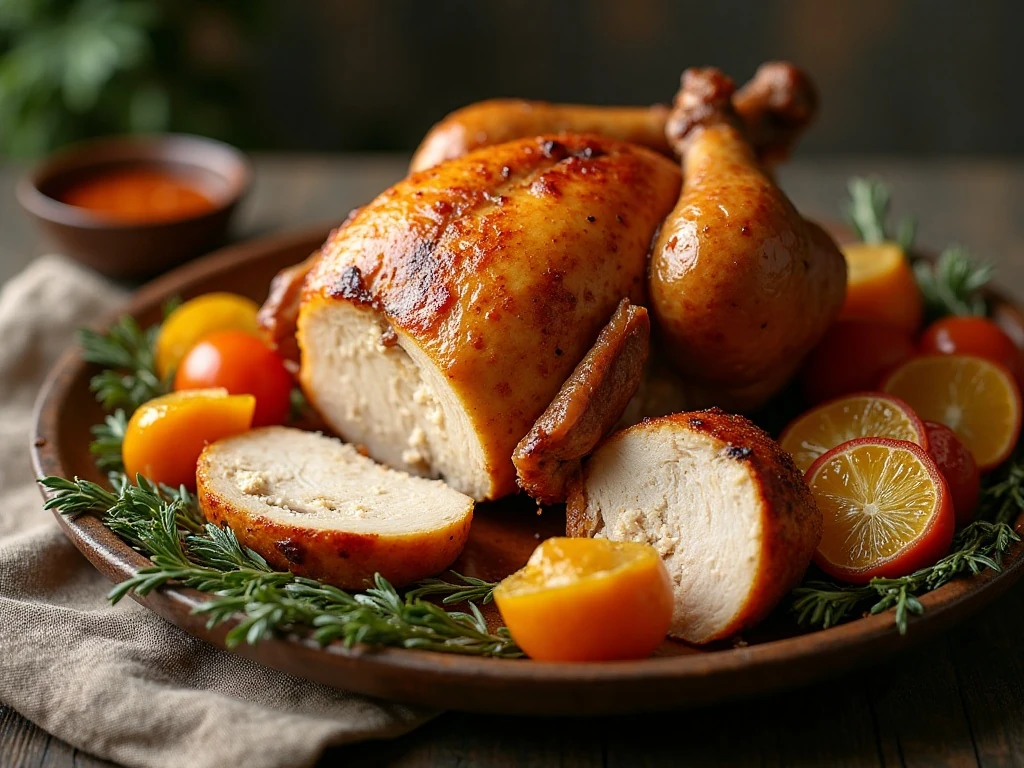
Cooking a whole chicken in the air fryer gives you the best contrast: crackly, well-browned skin on the outside and moist, flavorful meat inside. The circulating heat cooks the chicken efficiently while allowing the skin to brown without the long roasting time required by a conventional oven.
This recipe also uses everyday pantry seasonings. Paprika brings warm color, garlic and onion powder add savory depth, thyme contributes a gentle herbal note, and kosher salt and pepper make every bite taste balanced.
The finished chicken is versatile enough for a Sunday dinner, meal prep, sandwiches, soups, and salads. Serve the carved meat with crispy Brussels sprouts for an easy air fryer meal with a vegetable side.
Ingredients You’ll Need
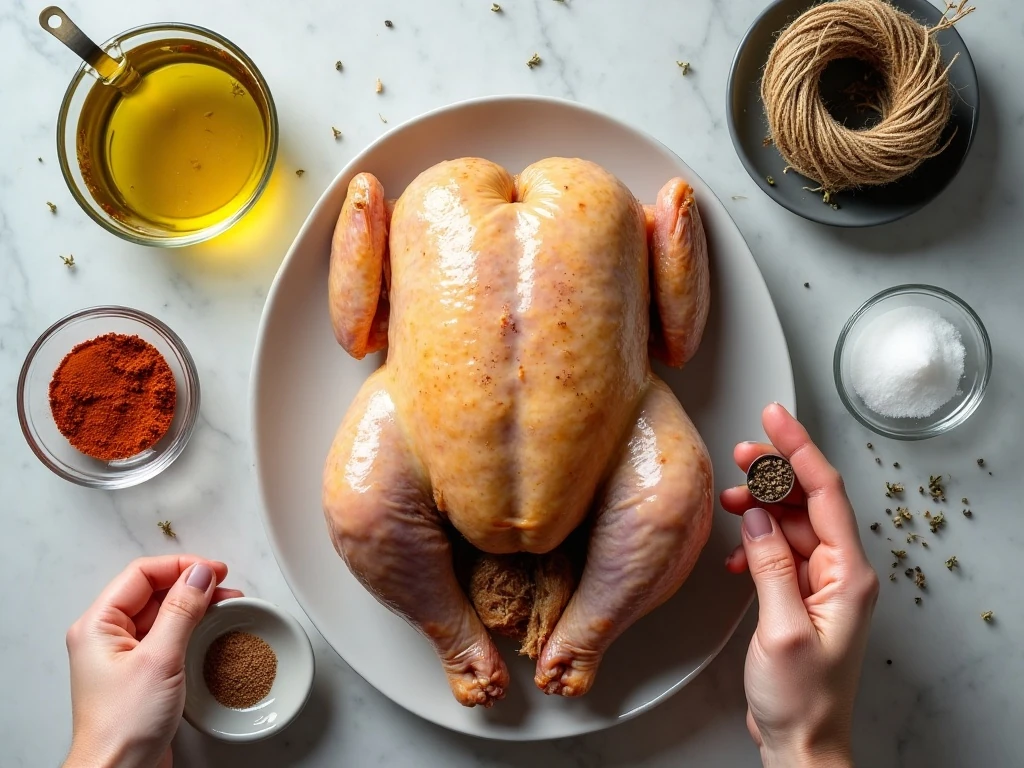
The ingredient list is short, but each item has an important job. Choose a whole chicken weighing 3 to 4 pounds and make sure the giblets have been removed from the cavity before seasoning.
- Whole chicken: A 3- to 4-pound bird fits many air fryer ovens and cooks within the recommended time range.
- Olive oil: One tablespoon is enough to lightly coat the skin and help the spices adhere. Use just enough to cover the surface rather than soaking it.
- Seasonings: Combine paprika, garlic powder, onion powder, dried thyme or Italian seasoning, kosher salt, and black pepper for a savory rotisserie-style flavor.
- Kitchen twine: Tying the legs and tucking the wings helps the chicken cook evenly and keeps smaller portions from becoming too dark.
If you prefer a slightly different profile, dried thyme can be replaced with Italian seasoning. Optional variations often include cayenne, dried rosemary, lemon pepper, or poultry seasoning, but the listed blend provides the classic balanced flavor for this recipe.
For another chicken dinner with a crisp coating, you can also try these bacon-wrapped chicken tenders on a separate occasion.
How to Make It Step-by-Step
Step 1: Prepare the chicken by removing the giblets and trimming away any large pieces of excess fat. Pat the bird very dry with paper towels, including the cavity and the area beneath the wings, because dry skin browns and crisps better than damp skin.
Step 2: Rub the chicken all over with the olive oil. Work the oil over the breast, thighs, drumsticks, wings, and back so the spice mixture has a lightly tacky surface to cling to.
Step 3: Stir together the paprika, garlic powder, onion powder, dried thyme or Italian seasoning, kosher salt, and black pepper in a small bowl. Massage the seasoning over every exposed part of the chicken, and gently loosen the breast skin to rub some of the mixture underneath if possible.
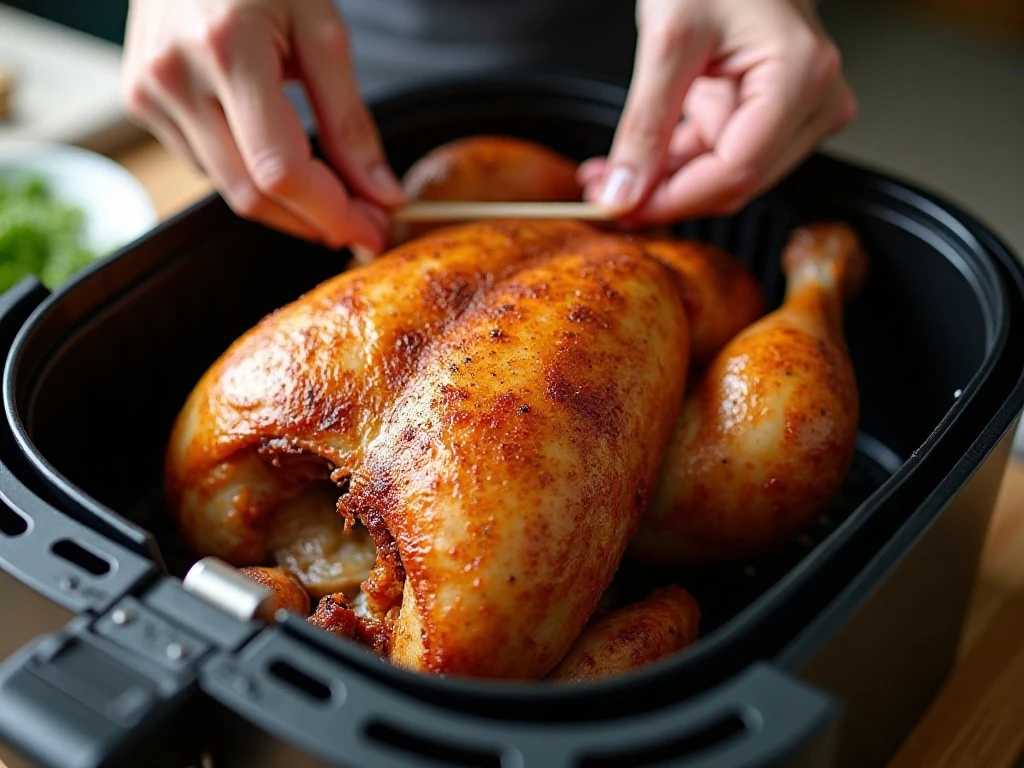
Step 4: Tie the legs together with kitchen twine and tuck the wing tips underneath the body. If you are using a rotisserie-style air fryer, secure the chicken firmly on the spit and check that it is balanced before placing it in the appliance; if you are using a basket-style air fryer, set the chicken breast-side down to begin.
Step 5: Preheat the air fryer if your model recommends preheating, then cook the chicken at 360°F for about 25 to 30 minutes. In a basket-style model, turn the chicken carefully; in a rotisserie model, simply allow the spit to rotate continuously.
Step 6: Continue cooking for another 25 to 35 minutes at 360°F. Begin checking the chicken before the maximum time, since a smaller 3-pound chicken may cook in about 45 to 55 minutes while a 4-pound chicken can take 60 minutes or slightly longer.
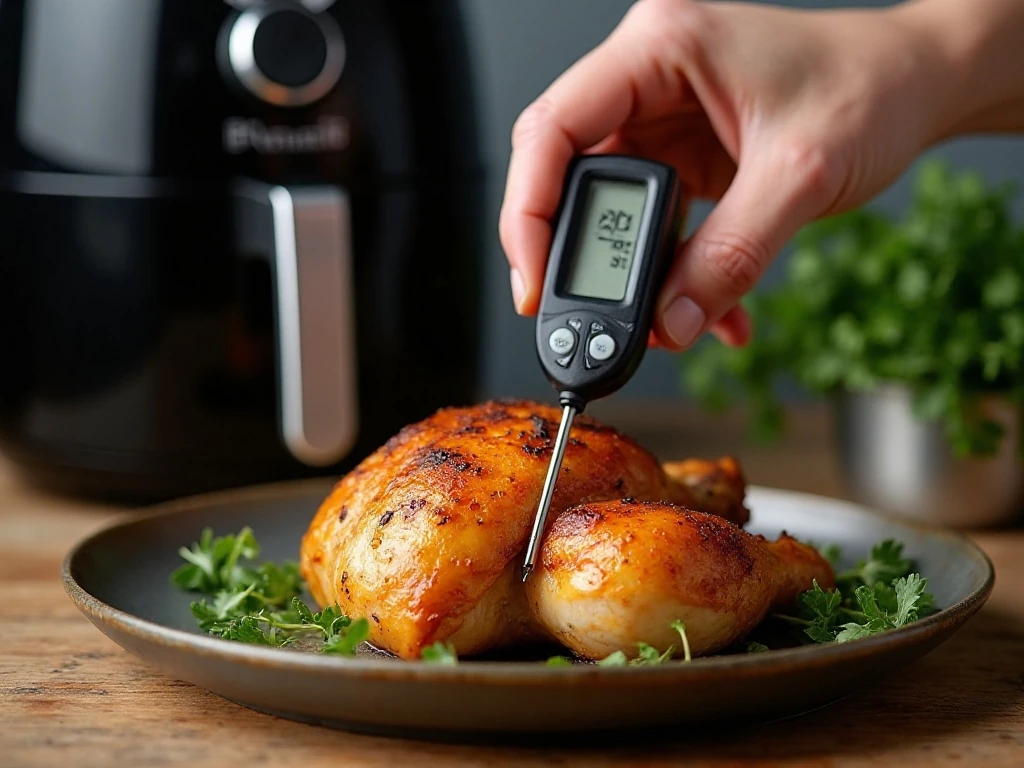
Step 7: Insert an instant-read thermometer into the thickest part of the thigh and breast without touching bone. The chicken is safe at a minimum internal temperature of 165°F, and the breast may be removed at 160°F to 165°F when you expect carryover cooking during the rest.
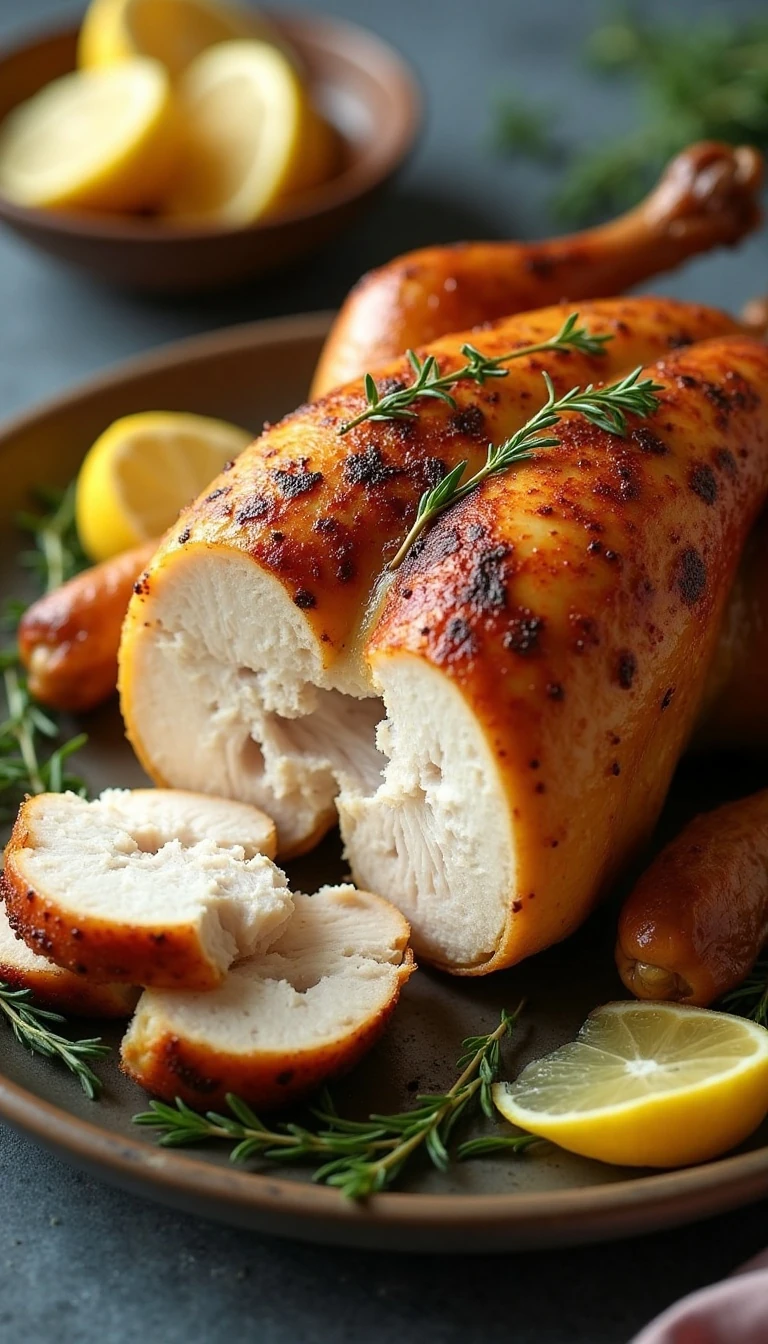
Step 8: Move the cooked chicken to a cutting board and rest it for 10 minutes before carving. Cut away the legs and thighs first, then slice the breast meat against the grain and spoon any collected juices over the top.
Rotisserie and Basket Air Fryer Instructions
A rotisserie-style air fryer is especially convenient because the spit turns the chicken continuously, helping the skin brown on all sides. Balance the bird carefully on the rod and tighten the forks firmly so it does not shift while rotating.
Basket-style air fryers require a little more attention because one side rests against the basket. Start the chicken breast-side down, cook for 25 to 30 minutes, and then turn it so the breast faces up for the remaining cooking time.
Do not crowd the air fryer with vegetables or other food while the chicken cooks. The bird needs room for hot air to circulate, and the basket or oven capacity can affect both cooking speed and browning.
For a seafood appetizer to serve before dinner, see this guide to air fryer oysters. Keep the cooking appliances separate so the chicken has enough space to crisp properly.
Chef Tips for Juicy Meat and Crispy Skin
Drying the chicken is one of the most important steps. After patting it dry, you can place it uncovered in the refrigerator for 2 to 12 hours if your schedule allows; this additional air-drying time removes surface moisture and produces noticeably crisper skin.
Use an instant-read thermometer rather than depending only on the clock. Air fryer models vary in capacity and heating strength, while the chicken’s shape, weight, and starting temperature can all change how quickly it cooks.
- Keep the seasoning concentrated on the skin and under the breast skin rather than adding excess liquid.
- Check the breast and thigh separately because they may reach the target temperature at different times.
- Secure loose skin, legs, and wings before cooking to prevent thin areas from darkening too quickly.
- Let the chicken rest for the full 10 minutes before carving for moister slices.
- Use a sharp carving knife to avoid shredding the crisp skin.
If the skin is browning faster than the meat is cooking, check the temperature and loosely shield the darkest areas with foil only if your appliance instructions allow it. Avoid opening the air fryer repeatedly, since each opening releases heat and may extend the cooking time.
What to Serve with Air Fryer Chicken
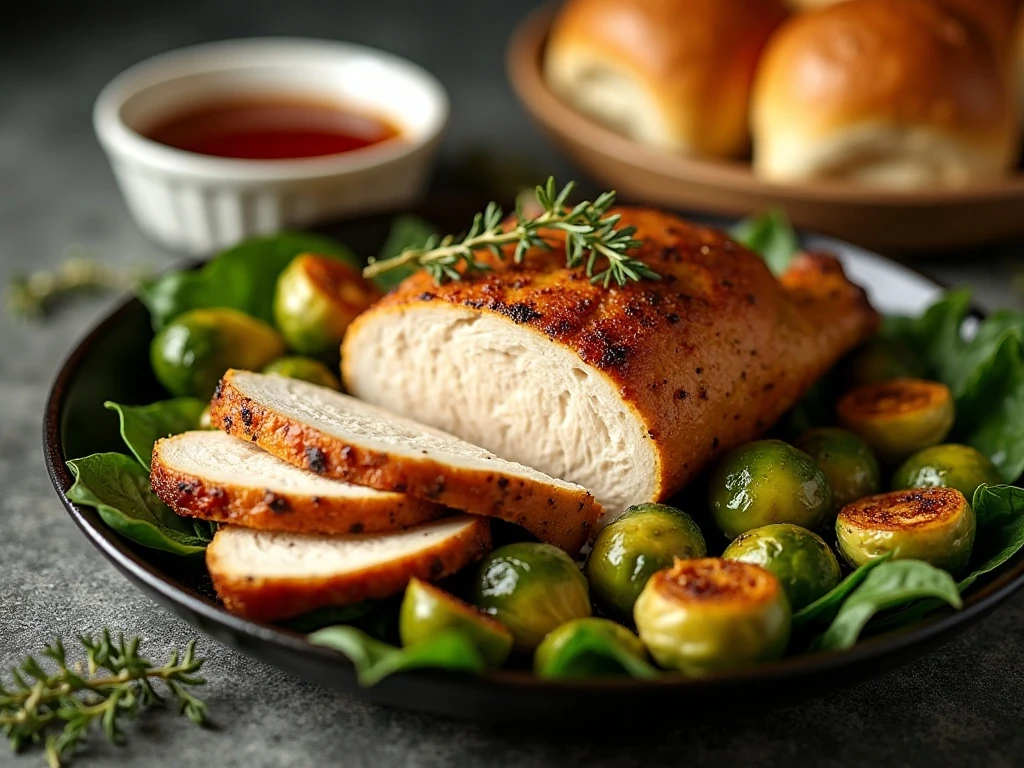
Slice the chicken and arrange it on a platter with its juices for a simple presentation. Crisp vegetables, a fresh salad, or warm bread make the meal feel complete without requiring complicated side dishes.
Air fryer Brussels sprouts are a natural pairing because their browned leaves match the chicken’s crisp skin. For a softer bread option, serve dinner rolls made from this easy Hawaiian rolls recipe.
The leftovers are excellent chilled or gently rewarmed. Shred the meat into wraps, use it in a creamy pasta salad, or add it to broth-based soup for another meal.
The Essential Air Fryer Cookbook
More ways to enjoy your air fryer.
Discover 25+ easy air-fryer recipes, from crispy chicken and savoury sides to baked treats. Get clear ingredients, serving information, timings and step-by-step instructions in one digital cookbook.
Digital PDF · Read on your phone, tablet or computer.
Get the Air Fryer Cookbook →One-time purchase. Private PDF access by email after successful payment.
Storage, Reheating, and Leftovers
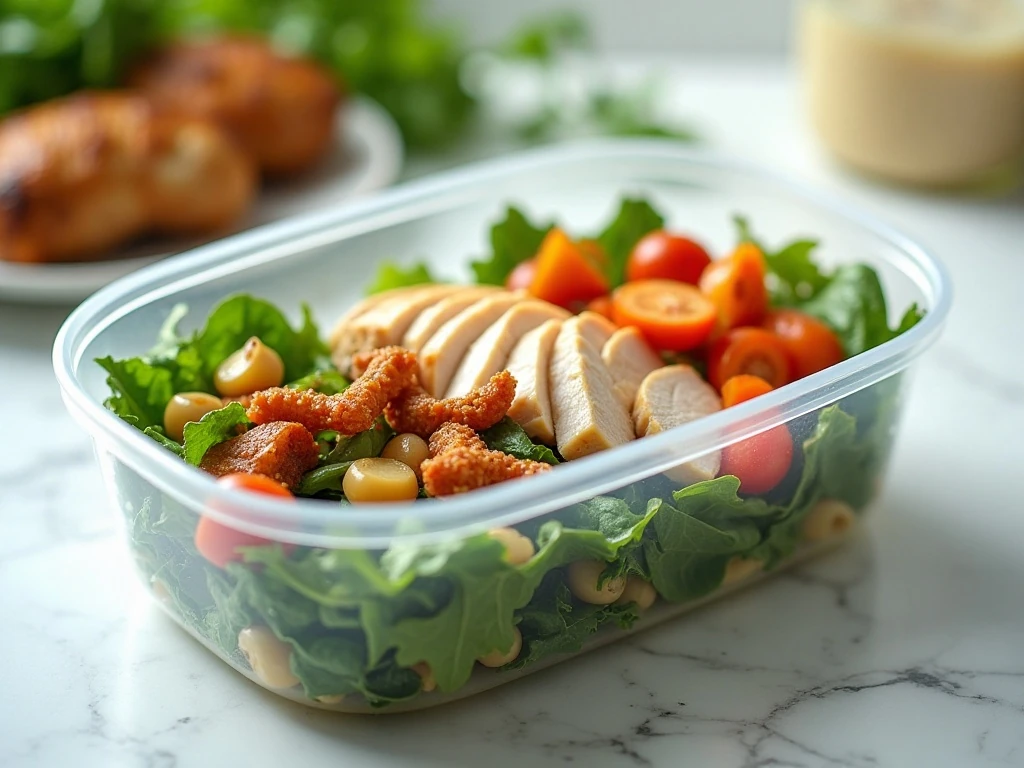
Once the chicken has cooled, remove the meat from the bones and store it in an airtight container in the refrigerator. Use the leftovers within 3 to 4 days for the best quality, and keep the meat separate from any crisp skin when possible.
Reheat portions in the air fryer at a moderate temperature until warmed through, taking care not to overcook the breast meat. A small splash of broth or a spoonful of pan juices can help keep sliced meat moist during reheating.
Cold leftovers are delicious in sandwiches and salads. Try folding the chicken into this chicken club pasta salad for a filling lunch that makes good use of every last piece.
Easy Air Fryer Rotisserie Chicken Recipe (Juicy & Crispy)
Ingredients
Method
- Remove the giblets and excess fat from the chicken. Pat the chicken exceptionally dry with paper towels, then rub the entire outside with olive oil.
- Combine the paprika, garlic powder, onion powder, dried thyme or Italian seasoning, kosher salt, and black pepper. Rub the mixture over the breast, thighs, and legs, working some seasoning under the breast skin if possible.
- Tie the legs together and tuck the wing tips underneath the chicken. For a rotisserie air fryer, secure the chicken firmly on the spit and balance it before inserting it into the appliance; for a basket model, begin breast-side down.
- Cook at 360°F for 25 to 30 minutes. Turn the chicken or rotate it on the spit, then cook for another 25 to 35 minutes.
- Check the thickest part of the breast and thigh with an instant-read thermometer. The chicken is safe when it reaches at least 165°F, and many cooks remove it when the breast reaches 160°F to 165°F because the temperature can continue rising during rest.
- Transfer the chicken to a cutting board and rest it for 10 minutes before carving. This gives the juices time to redistribute so the slices stay moist.
Notes
Final Thoughts
This easy air fryer rotisserie chicken delivers a restaurant-style result with a short ingredient list and straightforward preparation. The crisp, seasoned skin protects the tender meat while the 360°F cooking method keeps the process practical for a weeknight or relaxed weekend dinner.
Remember the three details that make the biggest difference: pat the chicken very dry, secure it properly for your type of air fryer, and verify the temperature with a thermometer. After a 10-minute rest, carve it into juicy portions and serve it with your favorite vegetables, rolls, or salad.
Once you try this method, a whole chicken becomes an economical and reliable starting point for several meals. Enjoy the first dinner hot, then save the remaining meat for sandwiches, pasta salad, wraps, or soup.