This crazy easy homemade 4-ingredient artisan bread recipe makes a crusty, bakery-style loaf with only all-purpose flour or bread flour, lukewarm water, salt, and yeast. Stir the ingredients together, let the sticky dough rise for 12 to 18 hours, shape it gently, and bake it in a preheated Dutch oven at 450°F (230°C).
The finished loaf has a crisp, deeply golden crust and a soft, chewy, open crumb. It takes only 10 to 15 minutes of active preparation, while the long overnight rise does nearly all the work for you.
Jump to RecipeWhy You’ll Love This Recipe
This bread is proof that homemade baking does not need to be complicated. There is no kneading, stand mixer, sugar, oil, milk, or eggs involved, so the ingredient list stays wonderfully short and the cleanup is minimal.
The long first rise gives the yeast time to develop flavor and creates the airy texture associated with artisan loaves. Once the dough is mixed, you can leave it alone overnight and bake fresh bread the next day.
- Only four ingredients: Flour, water, salt, and yeast are all you need.
- Very little hands-on work: Stir, rest, shape, and bake.
- Excellent texture: Expect a crisp crust and soft, chewy interior.
- Flexible serving options: Enjoy it with soup, butter, hummus, sandwiches, or breakfast spreads.
For a cozy meal, use slices alongside our easy ground beef chili and bread bowl idea. The sturdy crust is especially good for dipping into a rich, savory bowl of chili.
Ingredients You’ll Need

The flour provides the structure, while the water hydrates it into a soft and sticky dough. You can use all-purpose flour for a tender loaf or bread flour for a slightly chewier bite and stronger structure.
Salt adds flavor and helps regulate yeast activity. The small amount of yeast is intentional: the lengthy room-temperature rise gives it plenty of time to work.
- 3 cups flour: This is approximately 375 to 390 grams, depending on how the flour is measured.
- 1 1/2 cups lukewarm water: The amount is 355 grams. Water that feels comfortably warm is ideal.
- 1 3/4 teaspoons salt: Fine salt distributes most evenly through the dough.
- 1/2 teaspoon yeast: Use instant or active dry yeast.
Because this recipe has so few ingredients, measuring carefully makes a difference. If you have a kitchen scale, weighing the flour and water is the most consistent approach.
How to Make It Step-by-Step
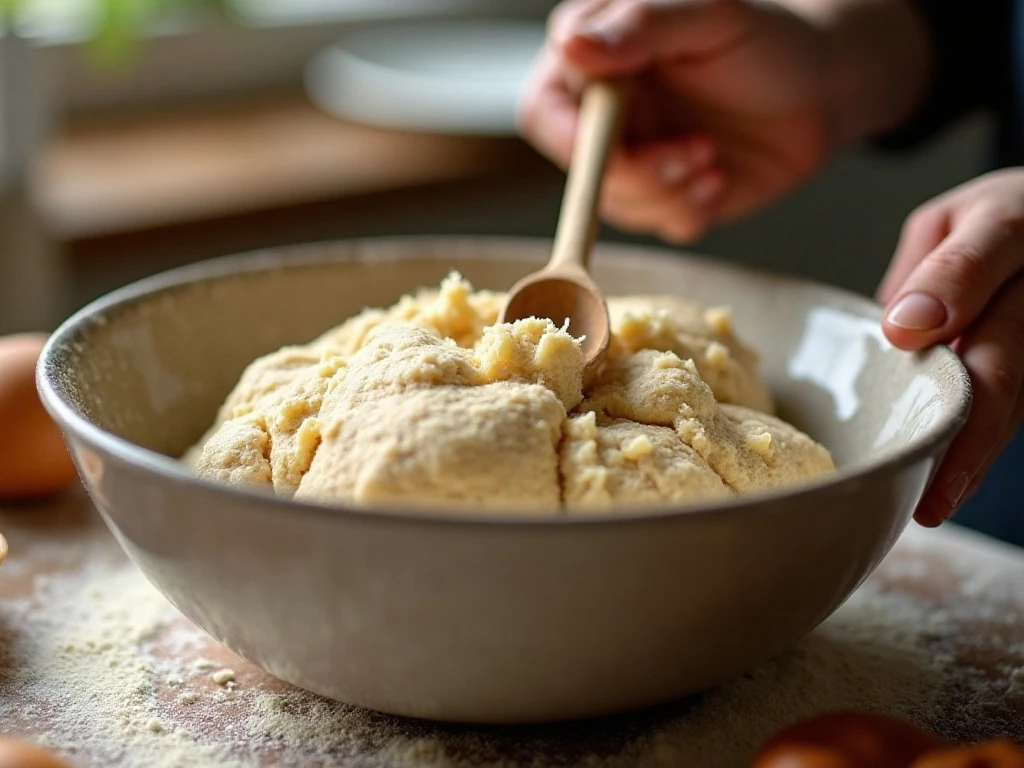
Step 1: Add the flour, salt, and yeast to a large mixing bowl. Stir the dry ingredients briefly so the salt and yeast are distributed before the water is added.
Step 2: Pour in the lukewarm water and stir with a sturdy spoon or spatula until no dry pockets remain. The dough should look shaggy, sticky, and rough rather than smooth; resist the urge to knead it.
Step 3: Cover the bowl tightly with plastic wrap or a lid. Leave it at room temperature for 12 to 18 hours, checking for a puffy surface and visible bubbles; a cool kitchen may require the longer end of the range.
Step 4: Sprinkle a work surface generously with flour, or place a sheet of parchment on the counter and flour it lightly. Turn out the dough carefully, keeping as much of its air as possible.
Step 5: Fold the edges of the dough toward the center a few times, then turn it into a loose round. It should remain somewhat soft and tacky, so use only enough flour to keep it manageable rather than coating it heavily.
Step 6: Set the shaped dough on the parchment and let it rest for 30 to 45 minutes. During this time, place the Dutch oven and its lid in a 450°F (230°C) oven and preheat it thoroughly for about 30 minutes.
Step 7: Use the parchment as a sling to lower the dough into the hot Dutch oven. Work carefully because the pot and lid will be extremely hot, then cover the pot immediately to trap steam.
Step 8: Bake the covered loaf for about 30 minutes. Remove the lid and continue baking for another 10 to 15 minutes, until the crust is deeply golden brown and looks crisp.
Step 9: Lift the loaf from the Dutch oven and place it on a wire rack. Let it cool for at least 30 minutes before slicing so the interior can finish setting and the crumb does not become gummy.
How to Get a Crisp Crust and Open Crumb
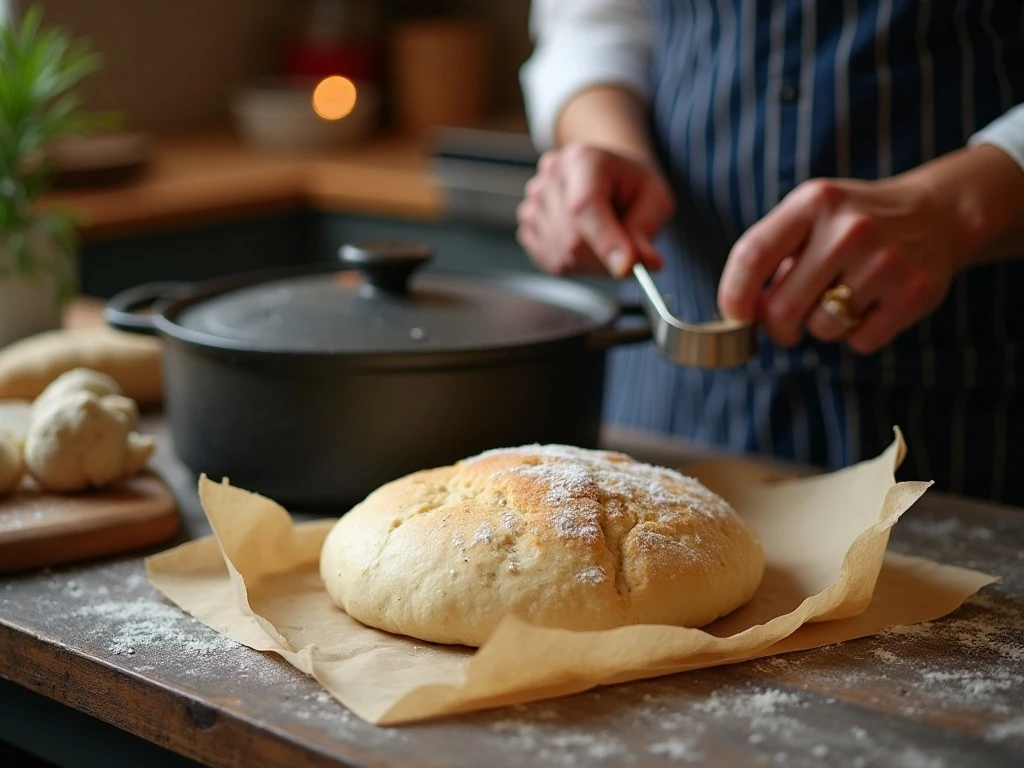
The Dutch oven is the secret to this loaf’s bakery-style finish. As the dough bakes, moisture turns into steam inside the covered pot, keeping the surface flexible long enough for the bread to expand before the crust sets.
Preheating the Dutch oven for about 30 minutes is important. A thoroughly hot pot gives the dough an immediate burst of heat, while the lid holds in steam during the first part of baking.
Handle the dough gently after its overnight rise. Too much pressing, kneading, or extra flour can remove the bubbles that create the open crumb.
For another creative homemade bread project, take a look at these chocolate spiderweb bread details. It is a fun option when you want a more decorative loaf for a seasonal table.
Timing, Temperature, and Dough Clues
This is an overnight bread, so plan backward from when you want to serve it. Mixing the dough in the evening usually puts it in a good place to shape and bake the following morning or late morning.
- Active preparation: 10 to 15 minutes.
- First rise: 12 to 18 hours at room temperature.
- Shaping and resting: 30 to 45 minutes.
- Dutch-oven preheating: About 30 minutes.
- Baking: 40 to 45 minutes.
- Cooling: At least 30 minutes.
The dough is ready for shaping when it is visibly puffy and dotted with bubbles. In a warm kitchen, begin checking before 12 hours; in a cool kitchen, it may need close to 18 hours.
Serving Ideas for Fresh Artisan Bread
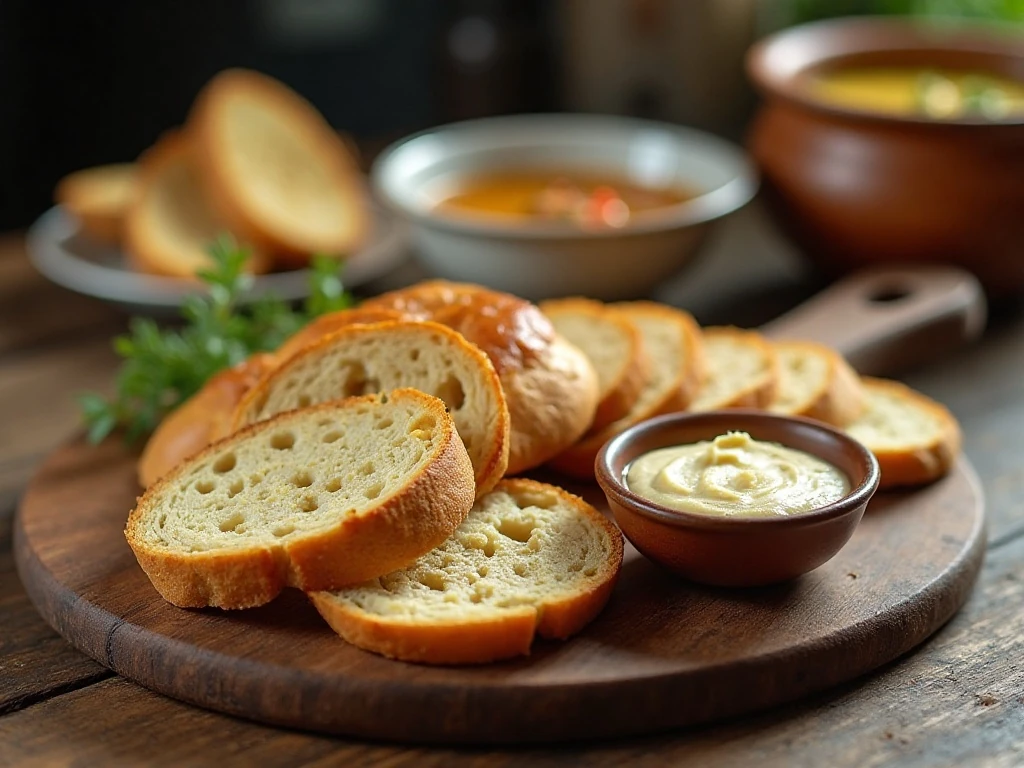
Let the loaf cool, then slice it with a serrated knife. Thick slices are perfect for soaking up soup, while thinner slices make excellent toast or open-faced lunches.
Serve it warm with butter, or pair it with our healthy homemade hummus for a simple snack or light lunch. The crisp crust and chewy center are ideal for scooping up creamy hummus.
This bread also works beautifully with sweet toppings. Try toasted slices with jam, honey, or soft cheese, or serve it as part of a brunch spread beside our cranberry croissant bread pudding inspiration.
For a seasonal dessert table, pair rustic slices with our chocolate chunk pumpkin spice bread. The contrast between a savory crusty loaf and a tender sweet bread makes a welcoming spread.
Storage and Reheating
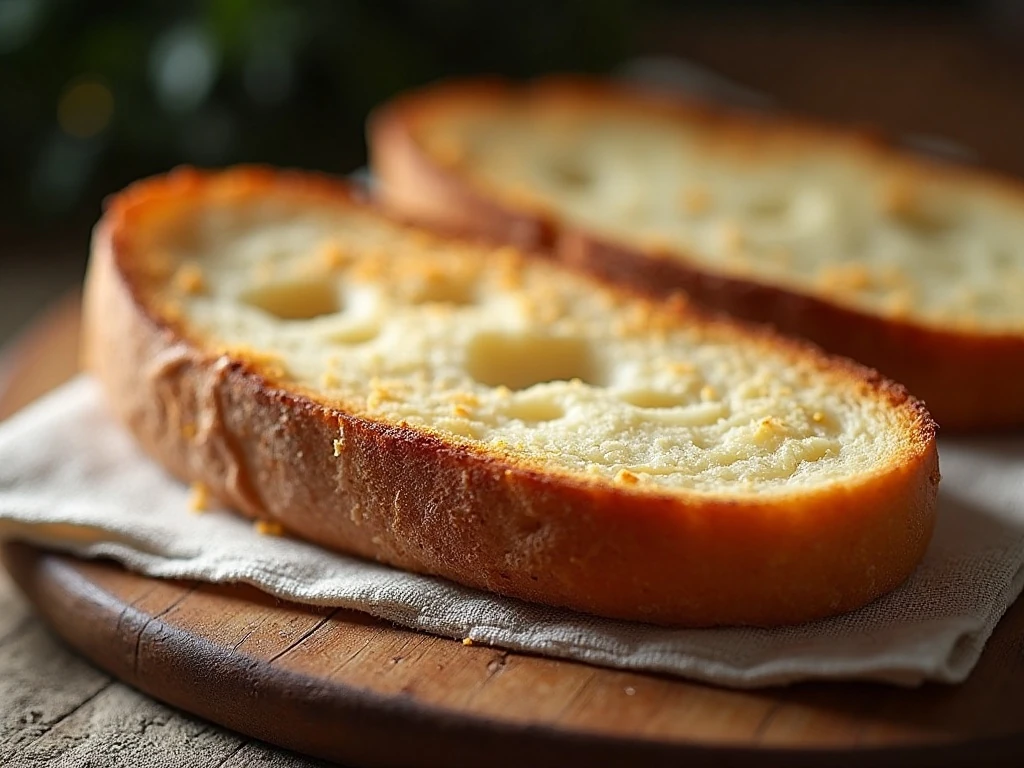
Store the completely cooled loaf at room temperature in a paper bag, bread bag, or loosely covered container for up to a few days. Avoid sealing warm bread in plastic because trapped moisture can soften the crust.
For longer storage, slice the loaf and freeze the slices in a well-sealed freezer bag. Toast slices directly from frozen, or thaw them at room temperature before warming.
To refresh a whole or partial loaf, warm it briefly in a 350°F oven until the crust feels crisp again. Avoid microwaving when possible, since it can make the crumb chewy and the crust soft.
Common Questions and Troubleshooting
Why is my dough so sticky? This dough is meant to be soft and tacky. Flour type, humidity, and measuring differences can affect the texture, so flour your hands and work surface lightly without adding large amounts of extra flour.
Can I shorten the rise? The full 12- to 18-hour rise gives the best flavor and texture. A warm room may move the dough along faster, but rely on its puffy, bubbly appearance rather than the clock alone.
Why did my loaf spread? The dough may have risen too long, received too much water from inaccurate measuring, or been shaped too loosely. Keep the round compact but gentle, and use parchment to support it during transfer.
Why is the crust pale? Make sure the Dutch oven was thoroughly preheated and bake uncovered for the full 10 to 15 minutes, or until the crust is deeply golden brown.
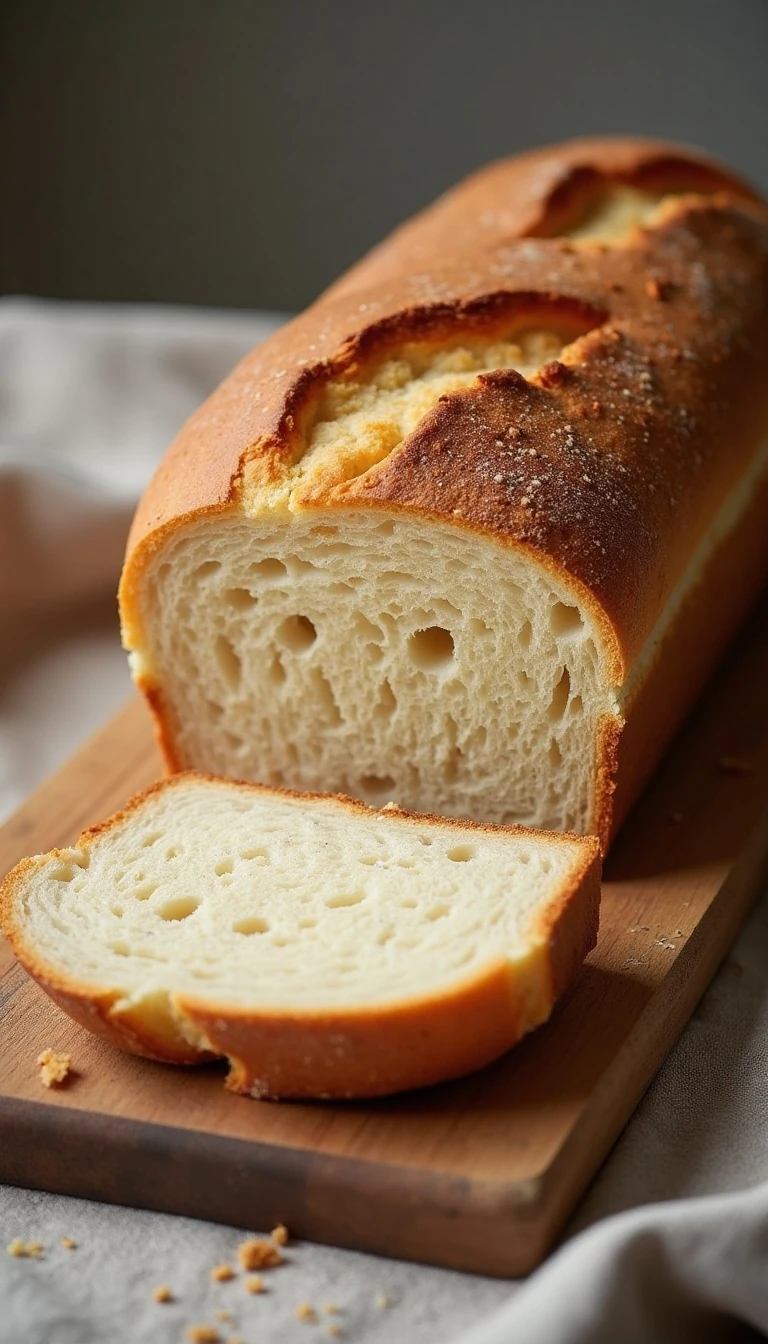
Crazy Easy Homemade 4-Ingredient Artisan Bread
Ingredients
Method
- Combine the flour, salt, and yeast in a large bowl. Add the lukewarm water and stir until a sticky, shaggy dough forms; kneading is not necessary.
- Cover the bowl tightly with plastic wrap or a lid and leave it at room temperature for 12 to 18 hours, until puffy and bubbly.
- Turn the dough onto a well-floured surface or sheet of parchment. Fold or shape it gently into a loose round without adding excessive flour or deflating the dough.
- Let the shaped dough rest for 30 to 45 minutes while a Dutch oven preheats at 450°F (230°C) for about 30 minutes.
- Carefully transfer the dough into the hot Dutch oven, cover, and bake for about 30 minutes. Remove the lid and bake another 10 to 15 minutes, until deeply golden brown.
- Transfer the loaf to a rack and cool for at least 30 minutes before slicing.
Notes
Final Thoughts
This crazy easy homemade 4-ingredient artisan bread recipe belongs in every baker’s routine. With a bowl, a spoon, a Dutch oven, and a little patience, you can create a loaf that looks impressive and tastes fresh from a neighborhood bakery.
Remember the key details: keep the dough soft, allow the overnight rise to develop flavor, preheat the Dutch oven thoroughly, and cool the bread for at least 30 minutes before cutting. Once you taste that crackly crust and airy center, you may never look at a simple flour-and-water dough the same way again.
Make it for soup night, weekend breakfast, a holiday table, or an ordinary weekday when you want something special. The recipe is simple enough for beginners, yet satisfying enough to become a regular homemade favorite.
1 thought on “Crazy Easy Homemade 4-Ingredient Artisan Bread Recipe”