This easy Grinch candy recipe is a no-bake Christmas treat made with green candy melts, miniature marshmallows, red heart candies, and festive sprinkles. Melt the candy wafers, spread them on parchment, add the decorations, and chill for 20 to 30 minutes before breaking the candy into 20 to 24 pieces.
Every bite is creamy, sweet, and delightfully crunchy from the candy decorations, while the red heart adds the unmistakable Grinch-inspired detail. It takes only 10 to 15 minutes of preparation and about 1 to 2 minutes of gentle melting, making it a cheerful choice for cookie trays, classroom parties, edible gifts, or a last-minute Christmas dessert.
Jump to RecipeWhy You’ll Love This Recipe
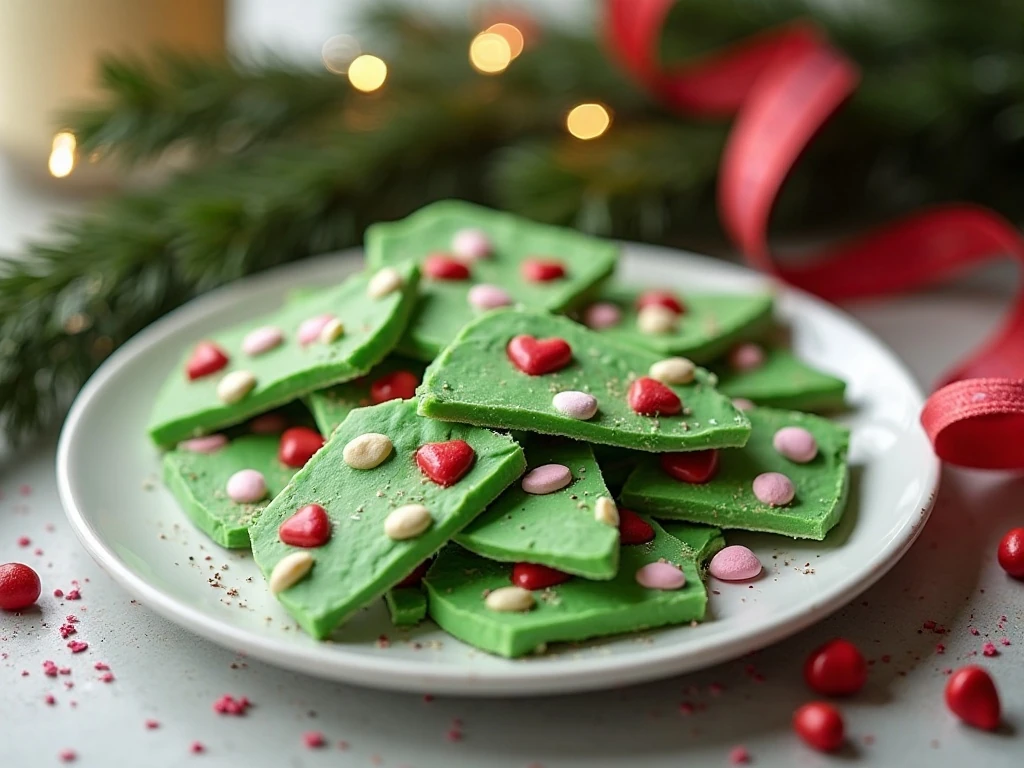
Christmas treats do not need to be complicated to look special. This Grinch candy comes together with one melted coating and a handful of easy decorations, yet the bright green color and tiny red hearts make every piece instantly recognizable.
There is no oven, candy thermometer, or complicated stovetop technique involved. The microwave does the melting, the refrigerator handles the setting, and the decorating can be as neat or playful as you like.
- Fast preparation: The candy takes only 10 to 15 minutes to assemble.
- No-bake convenience: It is especially useful when the oven is already busy with Christmas cookies.
- Party-friendly yield: One batch makes about 20 to 24 pieces.
- Festive appearance: Green candy, white marshmallows, colorful sprinkles, and red hearts create a memorable holiday look.
- Easy to customize: You can make bark, squares, or small clusters from the same mixture.
Serve it alongside other holiday snacks, such as a savory dip inspired by our easy fiesta dip, for a party table that offers both sweet and savory bites.
Ingredients You’ll Need

The base of this recipe is 12 ounces of green candy melts or green vanilla-flavored melting wafers. These products are designed to melt smoothly and set firmly, so they are a more reliable choice than ordinary white chocolate mixed with liquid food coloring.
- 12 ounces green candy melts: This provides the smooth, bright green base.
- 1 cup miniature marshmallows: Their soft texture adds a fun contrast to the firm candy.
- 1/4 cup red heart-shaped sprinkles or red candy hearts: The red heart is the key Grinch detail, representing the character’s growing heart.
- 1/4 cup Christmas sprinkles: These are optional, but they add extra color and sparkle.
- 1/2 teaspoon vegetable shortening or coconut oil: Keep this optional ingredient nearby only if the melted coating seems too thick.
You will also need a microwave-safe bowl, a spoon or spatula, and a baking sheet lined with parchment paper or wax paper. Avoid adding liquid food coloring to the melted candy, since it can make the coating seize and turn thick or grainy.
If you enjoy building a full Christmas snack spread, consider pairing the candy with a warm bowl of vegetarian ramen for a cozy meal before dessert.
How to Make It Step-by-Step
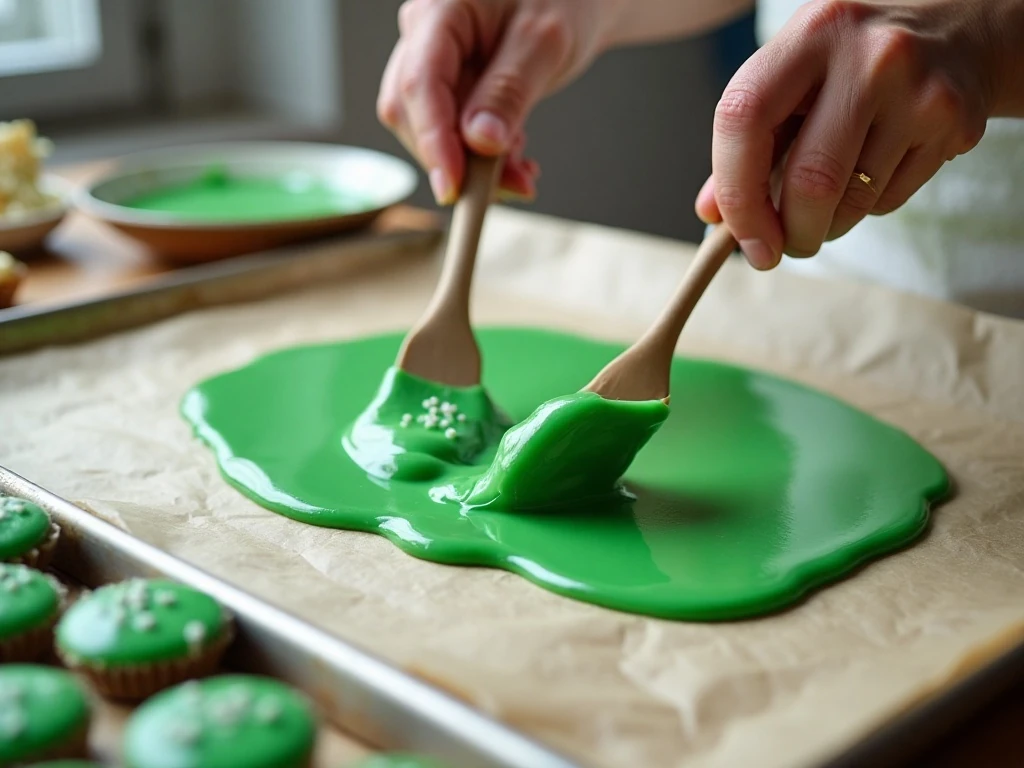
Step 1: Line a baking sheet with parchment paper or wax paper, making sure the paper lies flat. This prevents the candy from sticking and makes it easy to lift the set bark from the pan.
Step 2: Add the green candy wafers to a microwave-safe bowl. Heat them for 30 seconds, then remove the bowl and stir thoroughly, even if the wafers do not look fully melted.
Step 3: Continue heating in 30-second intervals, stirring well after each one, until the candy is smooth and fluid. The melting process generally takes about 1 to 2 minutes, but microwave strength and bowl size can affect the timing, so stop as soon as the coating is smooth.
Step 4: Check the consistency before spreading. If the coating is unusually thick, stir in a very small amount of vegetable shortening or coconut oil, using no more than the listed 1/2 teaspoon and adding it gradually.
Step 5: Pour the melted green candy onto the prepared baking sheet. Use a spatula or the back of a spoon to spread it into a layer about 1/4 inch thick, or spoon small rounds onto the paper if you prefer individual clusters.
Step 6: Immediately scatter the miniature marshmallows, red heart candies, and optional Christmas sprinkles over the wet coating. Work quickly because the surface can begin setting, and press each decoration lightly into the candy so it stays attached.
Step 7: Place the baking sheet in the refrigerator for 20 to 30 minutes. The candy is ready when it feels completely firm and no longer gives beneath a light touch.
Step 8: Remove the chilled bark from the pan and let it stand at room temperature for a few minutes if you want cleaner cuts. Break it into rustic pieces by hand or cut it into squares with a sharp knife, then transfer it to an airtight container.
Pro Tips for Perfect Grinch Candy

Gentle heating is the most important part of this recipe. Candy melts can become thick when overheated, so stirring between intervals matters just as much as the microwave time.
- Use a dry bowl: Even a small amount of water can affect the texture of melting wafers.
- Stir patiently: Residual heat often melts the last few pieces after the bowl leaves the microwave.
- Spread evenly: A roughly 1/4-inch layer gives the bark a pleasant bite without becoming too fragile.
- Decorate immediately: Add the hearts while the coating is wet, or they may not stick.
- Press gently: A light touch anchors marshmallows and candies without burying them completely.
- Do not overfill: Too many toppings can make the pieces difficult to break and can hide the green base.
The red heart deserves special attention because it carries the storybook-inspired theme. Even if you use green M&M candies, pretzels, or crushed cookies as optional additions, keep the red hearts visible on top.
For another peppermint-colored Christmas dessert, take a look at these festive peppermint brownies. The two treats look lovely together on a holiday dessert tray.
Bark, Squares, or Candy Clusters
The easiest presentation is classic bark: spread the coating across the baking sheet, add the toppings, chill it, and break it into irregular pieces. This style feels homemade and makes it easy to create large and small portions for guests.
For more uniform servings, spread the candy evenly and cut it into squares after chilling. Allowing the bark to sit at room temperature for a few minutes before cutting helps reduce cracking and gives you cleaner edges.
Clusters are another fun option. Spoon small rounds of green candy onto the lined paper, immediately top each round with marshmallows, red hearts, and sprinkles, and chill until firm.
You can also add optional texture with pretzels, green M&M candies, or crushed cookies. These are variations rather than essential ingredients, so make the basic version first if you want the simplest shopping list.
For a holiday gathering with hearty appetizers, you can also prepare a batch of Buffalo chicken marinade for a savory dish while this candy chills.
Storage and Gift-Giving Ideas

Once completely firm, keep the Grinch candy in an airtight container at a cool room temperature. Separate layers with parchment paper if you stack the pieces, especially when the marshmallows and decorations create uneven surfaces.
The candy is well suited to holiday favor bags, small gift boxes, cookie tins, and classroom treats. Wrap individual pieces in clear treat bags with green or red ribbon, or combine several pieces with cookies for a colorful homemade gift.
Keep the container away from heat, direct sunlight, and moisture. Warm conditions can soften the candy coating, while humidity may affect the sprinkles and marshmallows.
If you are planning a larger menu, the original all-purpose chicken marinade is another helpful make-ahead recipe to keep in your holiday cooking collection.
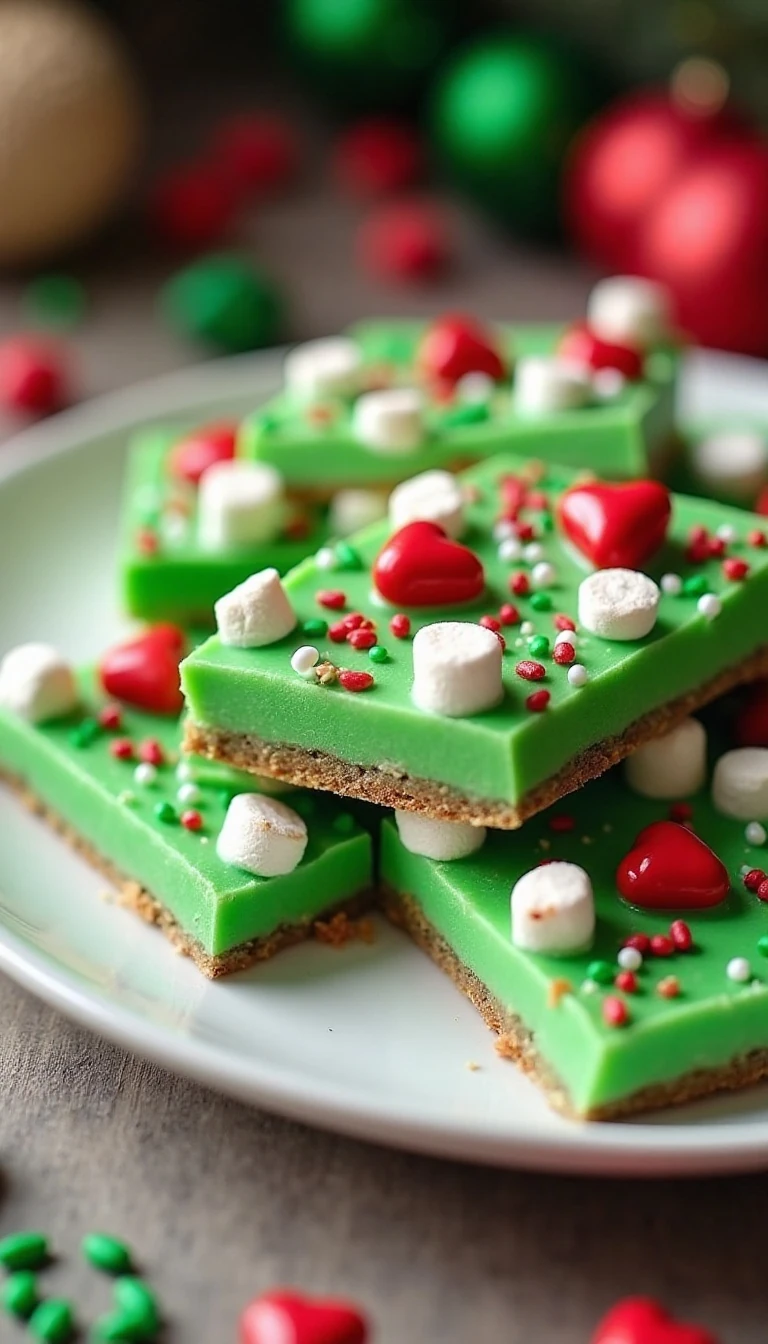
Easy Grinch Candy Recipe for Christmas
Ingredients
Method
- Line a baking sheet with parchment paper or wax paper and set it aside.
- Place the green candy melts in a microwave-safe bowl. Microwave in 30-second intervals, stirring thoroughly after each interval, until the coating is smooth.
- If the melted candy is too thick, stir in the vegetable shortening or coconut oil a small amount at a time. Do not overheat the coating.
- Spread the melted candy on the lined baking sheet into an even layer about 1/4 inch thick. For cluster-style candy, spoon small rounds of the coating onto the paper instead.
- Immediately scatter the miniature marshmallows, red heart candies, and optional Christmas sprinkles over the wet candy. Press the decorations lightly so they adhere.
- Refrigerate the candy for 20 to 30 minutes, or leave it at room temperature until completely firm.
- Break the bark into pieces or cut it into squares. Store the finished candy in an airtight container.
Notes
Final Thoughts
This easy Grinch candy recipe proves that a festive Christmas dessert can be both simple and striking. With green candy melts, miniature marshmallows, red heart candies, and a few sprinkles, you get a cheerful no-bake treat with a creamy snap, soft bites, and plenty of holiday personality.
Remember to melt the wafers gently, add every decoration while the coating is still wet, and chill the candy until fully firm. Whether you break it into rustic bark, cut it into tidy squares, or shape it into clusters, this colorful candy is ready for parties, gifts, dessert boards, and family movie nights.
Make a batch with the kids, let everyone choose a few sprinkles, and keep the red hearts front and center. It is a small detail that gives the candy its unmistakable Christmas charm.