This spooky and delicious Halloween brownies recipe makes about 12 rich, fudgy brownies in roughly 1 hour 30 minutes, including cooling and decorating time. The batter uses 140 g unsalted butter, 200 g dark chocolate, 200 g golden caster sugar, 3 large eggs, 85 g all-purpose flour, and 40 g unsweetened cocoa powder, then the cooled brownies are finished with white chocolate designs and optional candy eyes.
Every square has a glossy, slightly crackled top, chewy edges, and a soft chocolate center that stays wonderfully fudgy when it is not overbaked. White chocolate spiderwebs, ghosts, and zigzags turn this easy bake into a festive Halloween dessert that looks impressive on a party table but requires no complicated decorating skills.
Jump to RecipeWhy You’ll Love This Recipe
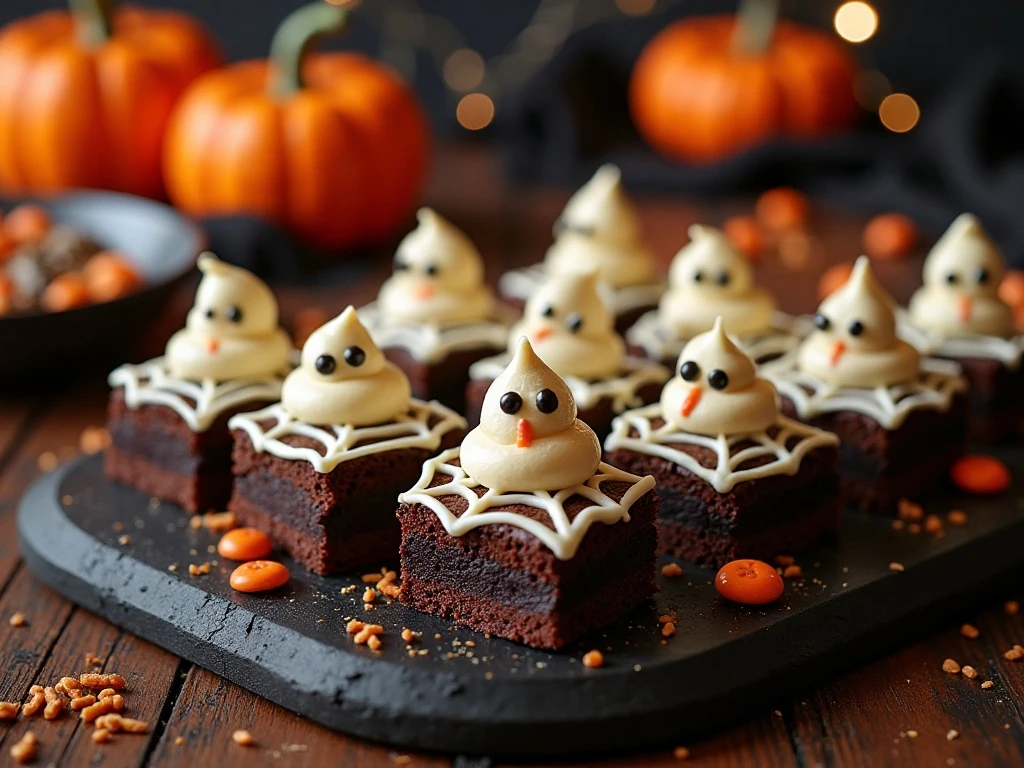
These Halloween brownies bring together everything a chocolate dessert should offer: deep cocoa flavor, a glossy top, chewy edges, and a center that is soft without being runny. The simple white chocolate decoration gives each piece a handmade character, so even imperfect webs and ghost shapes look charming.
The recipe is also wonderfully practical for a Halloween gathering. The batter comes together in one bowl after the chocolate is melted, the bake time is only about 25 minutes, and the decorating stage can be adapted to your available time and skill level.
Serve these brownies after a family dinner, pack them into treat bags, or arrange them on a platter for a costume party. If you are planning a larger Halloween spread, pair the dessert table with our creamy macaroni and cheese for a comforting savory dish before dessert.
Ingredients You’ll Need
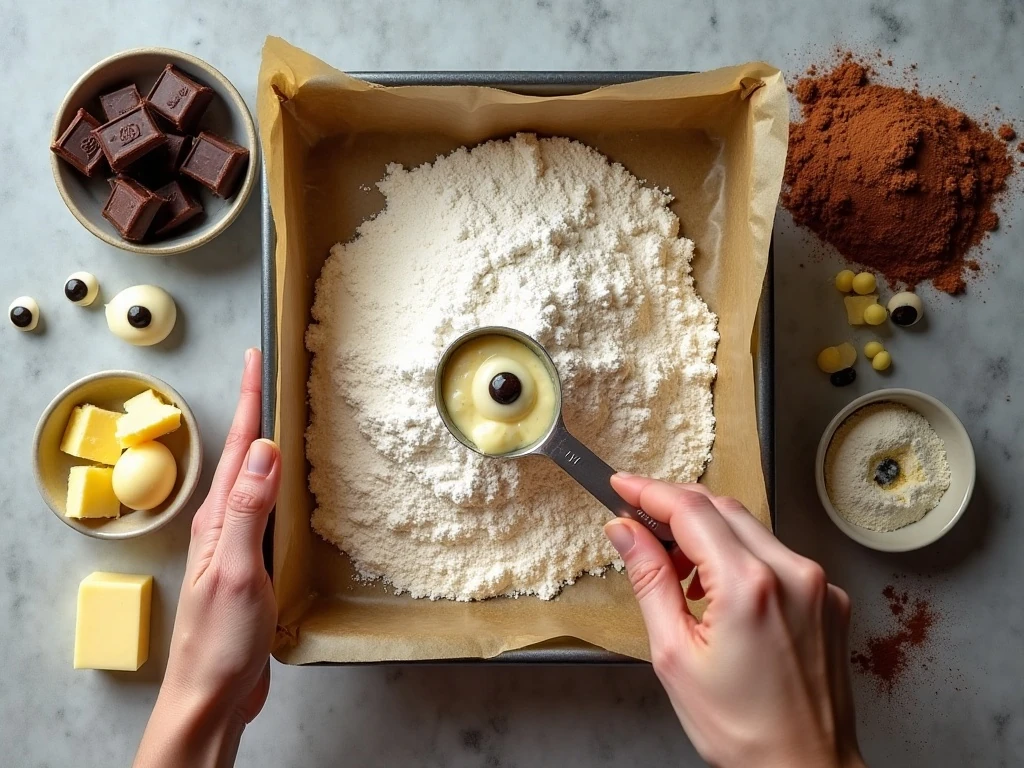
The foundation of this recipe is a balanced chocolate brownie formula. Unsalted butter supplies richness, dark chocolate adds a smooth, intense flavor, and cocoa powder reinforces the chocolate character without making the batter overly wet.
- Butter and dark chocolate: Melted together, these create a rich, silky base.
- Golden caster sugar: This sweetens the brownies and helps the eggs whip into a thick, foamy mixture.
- Eggs: Three large eggs provide structure and help form the shiny surface.
- Flour and cocoa powder: These dry ingredients give the brownies enough shape while preserving a fudgy texture.
- White chocolate and candy eyes: These turn plain squares into Halloween characters and patterns.
A 20 cm/8-inch square baking pan is important because it gives the batter the right depth. Line it with parchment paper so the brownies release easily after cooling, especially if you want neat edges for decorating.
How to Make It Step-by-Step
Step 1: Begin by heating the oven to 180°C/350°F conventional or 160°C/320°F fan. Line the square pan with parchment, pressing it into the corners and leaving enough paper above two sides to act as handles.
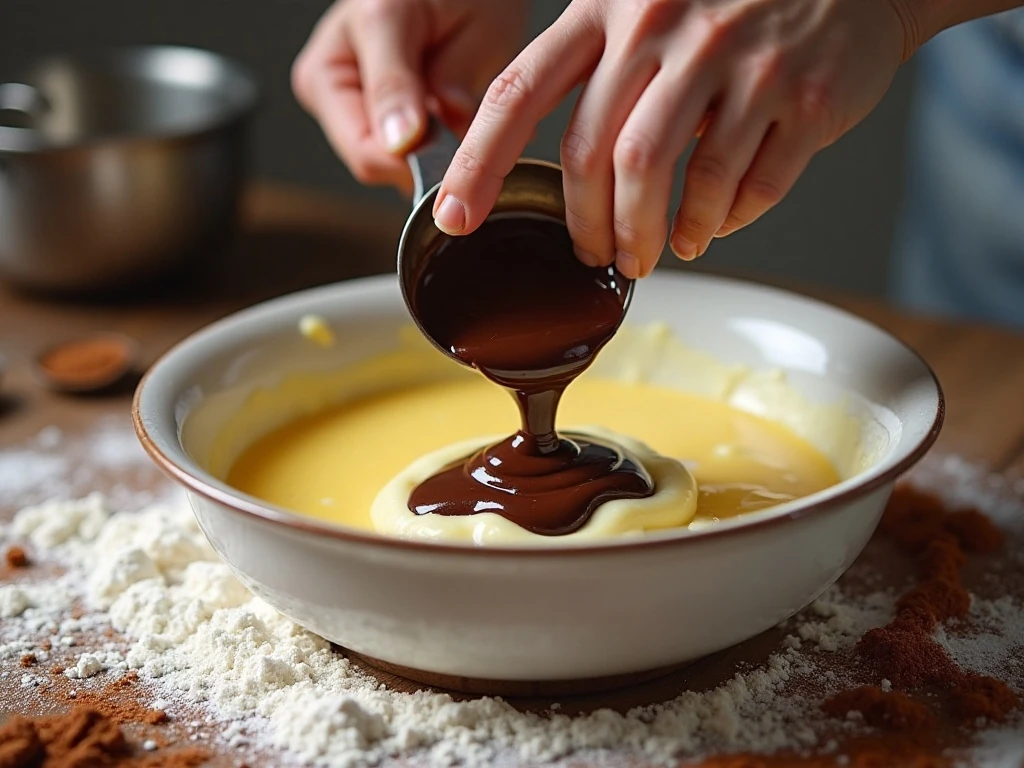
Step 2: Melt the butter and dark chocolate in a heatproof bowl over barely simmering water, or use short microwave intervals. Stir often and stop as soon as the mixture is smooth, then let it cool slightly so it will not overly heat the eggs.
Step 3: Whisk the eggs and sugar for several minutes until pale, thick, and lightly foamy. Do not rush this stage, because the aerated egg mixture contributes to the delicate crackled top that makes brownies look bakery-style.
Step 4: Fold the melted chocolate and butter into the whipped egg mixture. Scrape around the bottom of the bowl as you fold, but keep the motion gentle and stop once the color is even.
Step 5: Sift in the flour and cocoa powder to remove lumps and distribute them evenly. Fold only until the dry ingredients disappear; a few careful turns are better than vigorous stirring.
Step 6: Transfer the batter to the prepared pan and smooth the surface. A small offset spatula or the back of a spoon makes it easy to push the thick batter into each corner.
Step 7: Bake for approximately 25 minutes, checking for set edges and a slightly soft center. Avoid waiting for the middle to look completely firm, because that usually means the brownies have been baked too long.
Step 8: Let the brownies cool completely in the pan, allowing at least 45 to 60 minutes for cooling and decorating time. If you want especially precise cuts, chill the cooled brownies briefly before slicing them into about 12 squares.
Step 9: Melt the white chocolate and transfer it to a small piping bag or a food-safe decorating cone. Pipe spiderwebs, crooked zigzags, little ghosts, or simple lines, then add candy eyes before the chocolate hardens.
Pro Tips for Fudgy Brownies
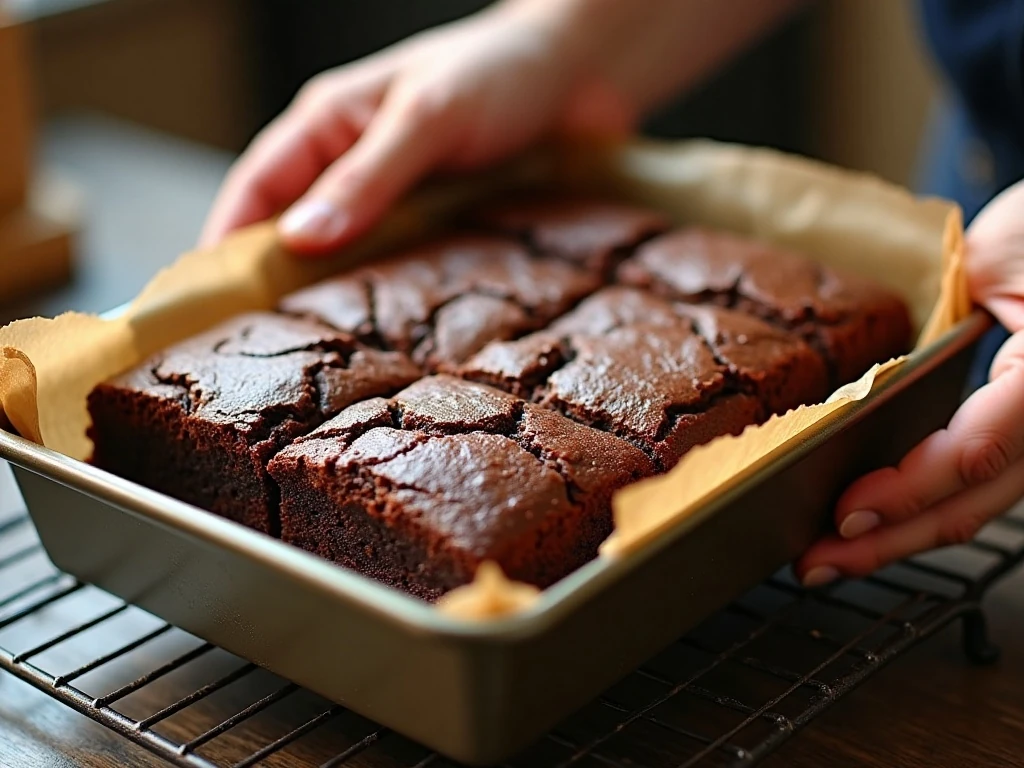
The most important tip is to trust the soft center. Brownies continue to set from the residual heat in the pan, so taking them out when the edges are firm and the center is a little soft gives you the best fudgy result.
Whisking the eggs and sugar thoroughly is equally useful. The mixture should look paler and thicker than when you started, with a slight foam on top; this helps support the thin, shiny crust that cracks attractively as the brownies cool.
When folding in the flour and cocoa, use a spatula and work slowly. Overmixing develops the flour and can produce a tougher crumb, while gentle folding keeps the texture dense, tender, and rich.
For decoration, do not worry about perfect lines. Halloween designs are supposed to feel playful, and a few uneven web strands can make the brownies look more handmade and inviting.
Decorating Ideas for Halloween
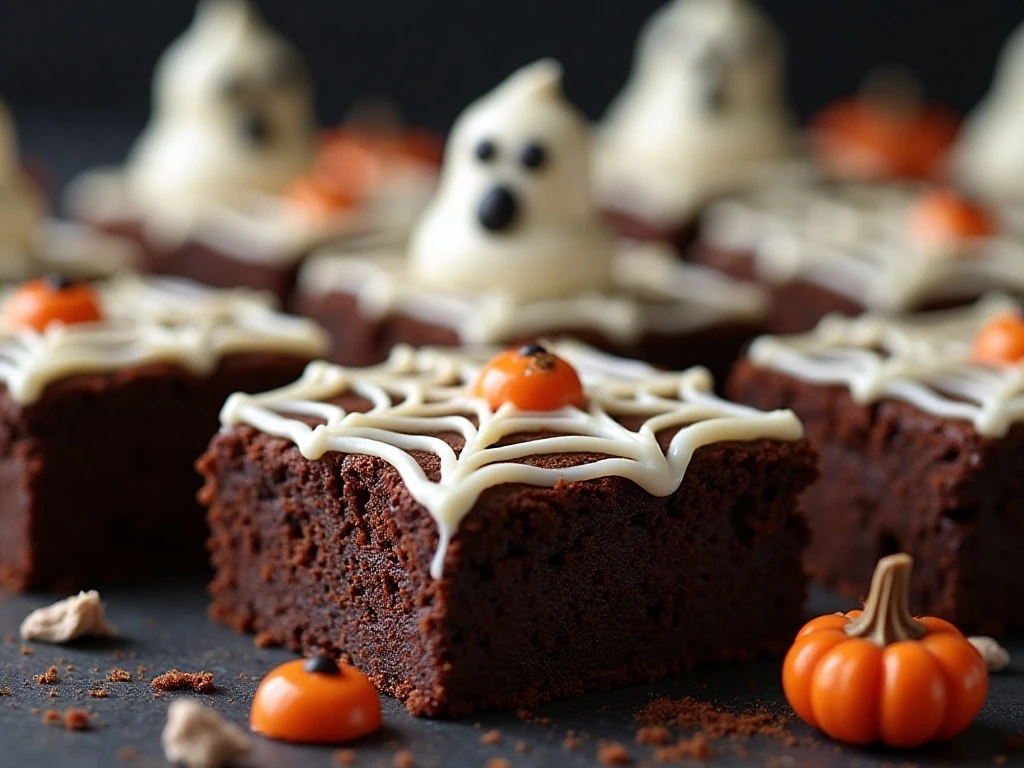
Spiderwebs are the easiest design for beginners. Pipe three or four circles over each brownie, then drag a toothpick or the tip of a skewer from the center outward at regular intervals to create web-like lines while the white chocolate is soft.
For ghost brownies, pipe a rounded white chocolate body with a wavy lower edge, then add two candy eyes. You can also create mummy brownies with thin diagonal or horizontal white chocolate stripes and two eyes peeking through the gaps.
Simple zigzags work beautifully when you need to decorate many squares quickly. For a dessert table with several comfort-food dishes, serve the brownies after a hearty plate of seasoned red beans and rice, then offer warm drinks to finish the meal.
Serving, Storage & Make-Ahead Advice
Allow the white chocolate designs to set before stacking or covering the brownies. Serve the squares at room temperature for the softest texture, or slightly chilled if you prefer a firmer, denser bite.
These brownies are ideal for making ahead because the flavor remains rich as they rest. Cool them fully before storing them in an airtight container, and place parchment between layers if the decoration has fully set.
If you are preparing a complete Halloween dinner, make the brownies earlier in the day and decorate them once cool. A mug of thick Italian hot chocolate makes a particularly indulgent pairing with the dark chocolate brownie and sweet white chocolate topping.
Common Questions
Can I use fan-assisted heat? Yes. Use 160°C/320°F fan instead of 180°C/350°F conventional, keeping the approximate bake time at 25 minutes while watching for set edges and a slightly soft center.
Why did my brownies turn cakey? The usual causes are overbaking or overmixing after the flour is added. Remove the pan while the center still has a little softness, and fold the dry ingredients only until no streaks remain.
Can I cut them immediately? It is best to cool them completely in the pan first. A brief chill after cooling makes the slab firmer and helps produce cleaner squares with sharper decorative edges.
Do I need candy eyes? No. Candy eyes are optional, and the brownies are still festive with white chocolate webs, ghosts, zigzags, or mummy stripes alone.
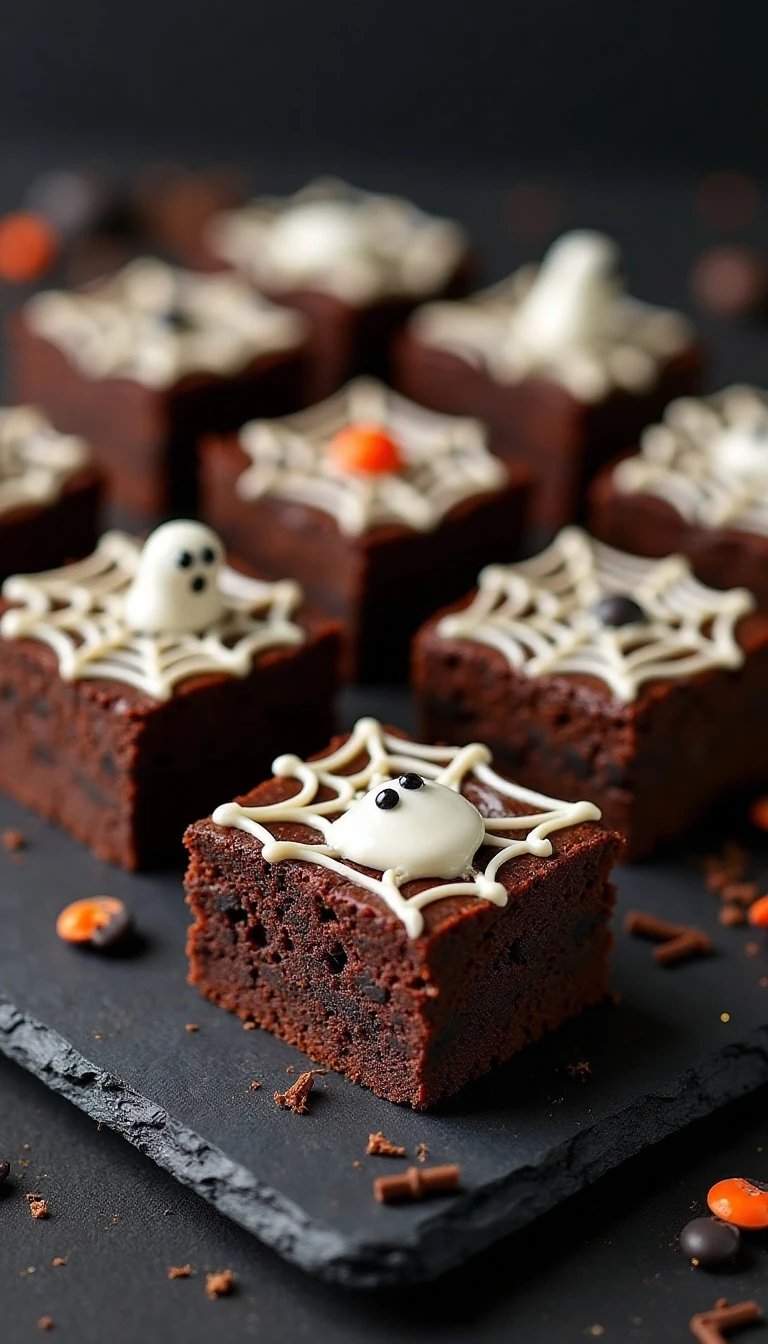
Spooky and Delicious Halloween Brownies
Ingredients
Method
- Heat the oven to 180°C/350°F conventional, or 160°C/320°F fan. Line a 20 cm/8-inch square baking pan with parchment paper, leaving a little overhang to help lift out the cooled brownies.
- Place the cubed butter and chopped dark chocolate in a heatproof bowl set over barely simmering water, making sure the base of the bowl does not touch the water. Alternatively, melt them in short microwave intervals, stirring between each interval, until smooth, then cool slightly.
- Whisk the eggs and golden caster sugar for several minutes until the mixture becomes pale, thick, and slightly foamy. This step helps create the characteristic shiny, lightly crackled brownie top.
- Fold the slightly cooled melted chocolate mixture into the egg and sugar mixture until evenly combined. Use a gentle folding motion so you keep as much air in the mixture as possible.
- Sift the all-purpose flour and unsweetened cocoa powder into the bowl. Fold just until no dry streaks remain, taking care not to overmix because that can make the finished brownies less tender.
- Pour the batter into the parchment-lined pan and smooth the top with a spatula. Spread the mixture into the corners so the brownies bake evenly.
- Bake for approximately 25 minutes. The edges should look set while the center remains slightly soft, since the brownies will continue setting as they cool.
- Cool the brownies completely in the pan before cutting. For especially clean slices, chill the cooled slab briefly before lifting it out and slicing it into about 12 squares.
- Melt the white chocolate gently, then pipe spiderwebs, zigzags, ghosts, or other Halloween designs over the brownies. Press edible candy eyes into the white chocolate while it is still soft, and allow the decoration to set before serving.
Notes
Final Thoughts
This spooky and delicious Halloween brownies recipe is proof that a memorable dessert does not need complicated ingredients or advanced pastry skills. The rich dark chocolate base is satisfying on its own, while the white chocolate decorations and optional candy eyes make every square feel ready for a Halloween celebration.
Keep the bake time close to 25 minutes, watch for the soft center, and give the brownies plenty of time to cool before slicing. Once decorated, these fudgy squares are ready to share with family, friends, trick-or-treaters, or anyone who believes the best Halloween treats should be both delightfully spooky and deeply chocolatey.