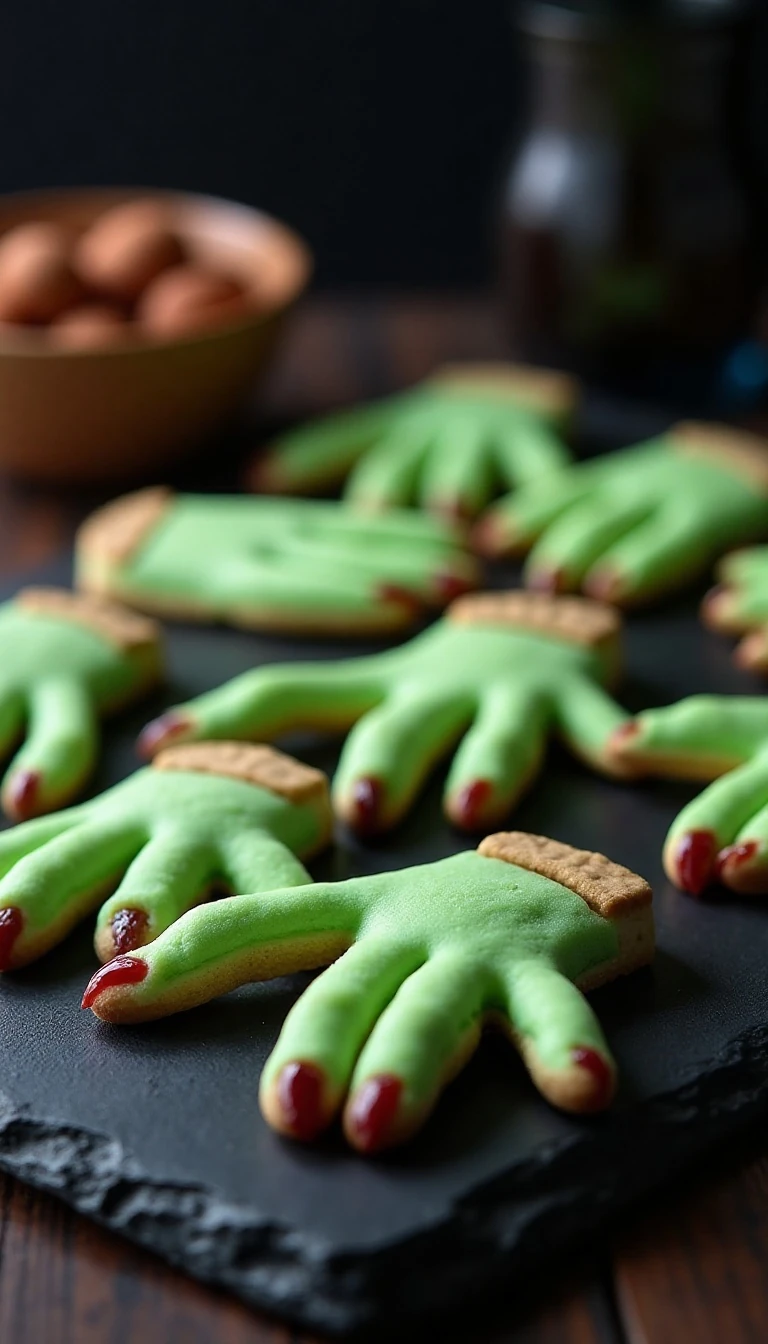
These Spooky Sugar Cookie Witch Fingers are the perfect Halloween cookies: tender green sugar cookies shaped like crooked fingers, finished with whole blanched almonds as creepy fingernails. The dough takes about 25–30 minutes to prepare, chills for 20–30 minutes, and bakes at 325°F for 18–22 minutes, making approximately 30–36 cookies in about an hour.
Despite their spooky appearance, these witch finger cookies taste wonderfully familiar. Confectioners’ sugar gives them a delicate sweetness, butter creates a soft crumb, and vanilla plus almond extracts add a classic bakery aroma. Add a touch of raspberry jam or red decorating gel beneath the almond nails after cooling for a playful bloody effect.
Jump to RecipeWhy You’ll Love This Recipe
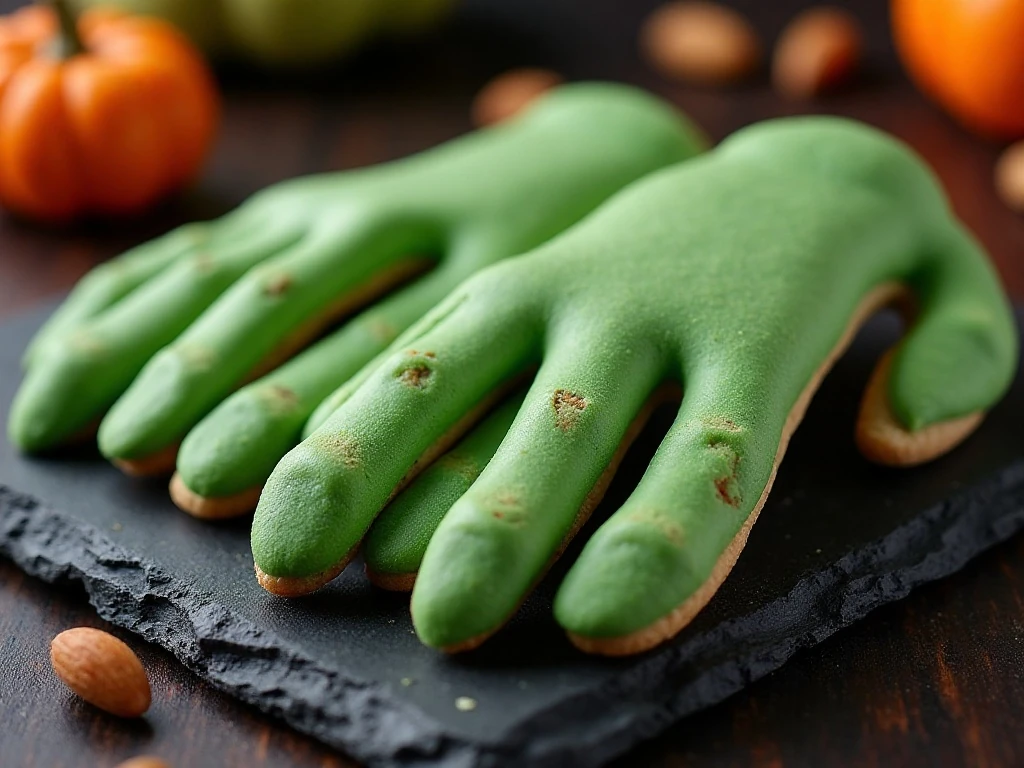
Halloween baking should be fun, and these witch finger cookies deliver plenty of visual drama without requiring complicated decorating skills. The almonds do most of the work, turning simple green sugar cookie dough into a platter of crooked, wonderfully creepy fingers.
The cookies have a tender, lightly crisp edge and a soft center when baked correctly. Their flavor is buttery and sweet, with almond extract adding a fragrant note that pairs especially well with the toasted flavor of the whole almonds.
They are also easy to make ahead. Shape the dough earlier in the day, keep it chilled, and bake when you are ready to prepare a Halloween dessert tray.
For another autumn cookie idea with warm spice and a soft sugar coating, try these pumpkin cookies alongside the witch fingers.
Ingredients You’ll Need

The ingredient list is short and pantry-friendly, but each item has an important job. Use softened butter so it blends smoothly with the confectioners’ sugar, and measure the flour carefully for a dough that is firm enough to shape without becoming dry.
- Butter: One cup of unsalted butter provides richness and a tender crumb. It should be softened, not melted.
- Confectioners’ sugar: This dissolves easily into the butter and helps create a smooth cookie texture.
- Egg: One large egg binds the dough and contributes structure.
- Extracts: Vanilla and almond extracts provide the classic sugar-cookie flavor and a fragrant Halloween bakery aroma.
- Dry ingredients: All-purpose flour, baking powder, and salt create the dough’s structure and balance its sweetness.
- Green food coloring: Add enough to reach a pale or medium green shade. The color may deepen slightly in the oven.
- Whole blanched almonds: These become the witch’s fingernails. Choose almonds that are fairly uniform in size so the cookies look consistent.
If you are building a cookie platter, add a batch of brown sugar butter cookies for a rich, caramel-like contrast to the almond-scented witch fingers.
How to Make It Step-by-Step
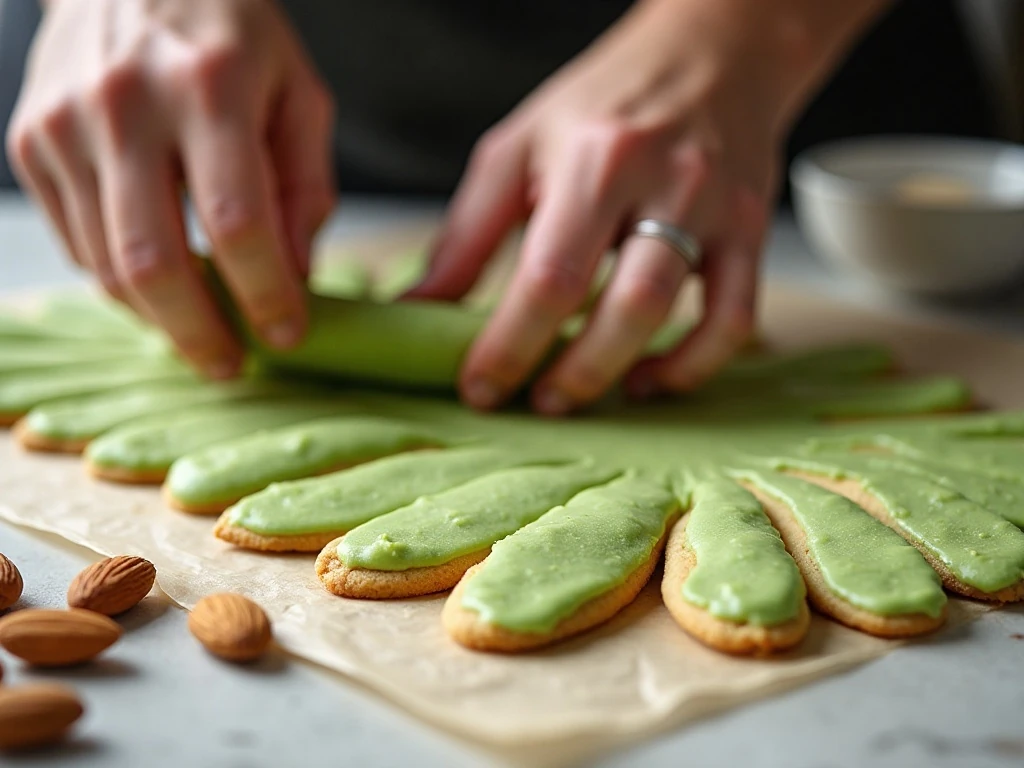
Step 1: Place the softened butter and confectioners’ sugar in a large mixing bowl. Beat them together until the mixture looks smooth, creamy, and evenly blended, scraping the sides of the bowl as needed.
Step 2: Beat in the egg, vanilla extract, and almond extract. Add green food coloring gradually, mixing after each addition, until the dough reaches a pale or medium green color that looks suitably eerie without becoming too dark.
Step 3: In a separate bowl, whisk together the all-purpose flour, baking powder, and salt. Add this dry mixture gradually to the butter mixture, mixing just until no obvious streaks of flour remain; overmixing can make the cookies less tender.
Step 4: Cover the dough and refrigerate it for about 20–30 minutes. This brief chill firms the butter, makes the dough easier to handle, and helps the narrow fingers keep their shape instead of spreading too much in the oven.
Step 5: Heat the oven to 325°F (165°C), then line baking sheets with parchment paper. Scoop the chilled dough into portions of about 1 tablespoon each, keeping the pieces as similar in size as possible for even baking.
Step 6: Roll each portion into a slender finger shape, tapering one end slightly. Avoid making the pieces thick because they puff as they bake, and narrow shapes look more realistic once finished.
Step 7: Press one whole blanched almond into the tapered end of each dough finger. Use a knife or toothpick to score shallow lines at the knuckles, then bend the cookies slightly so they look crooked and naturally irregular.
Step 8: Arrange the shaped cookies on the parchment-lined baking sheets, leaving about 1 inch between each piece. If the dough feels soft or the knuckle lines begin to disappear, refrigerate the shaped cookies briefly before baking.
Step 9: Bake for 18–22 minutes, watching for cookies that are set in the centers and only lightly browned around the edges. The green color should remain visible, and the cookies should not become deeply brown.
Step 10: Cool the cookies on the baking sheet for several minutes, since they are delicate while hot. Transfer them to a wire rack to finish cooling, then add a small dab of raspberry jam or red decorating gel beneath an almond for a bloody effect.
Shaping Tips for Realistic Witch Fingers
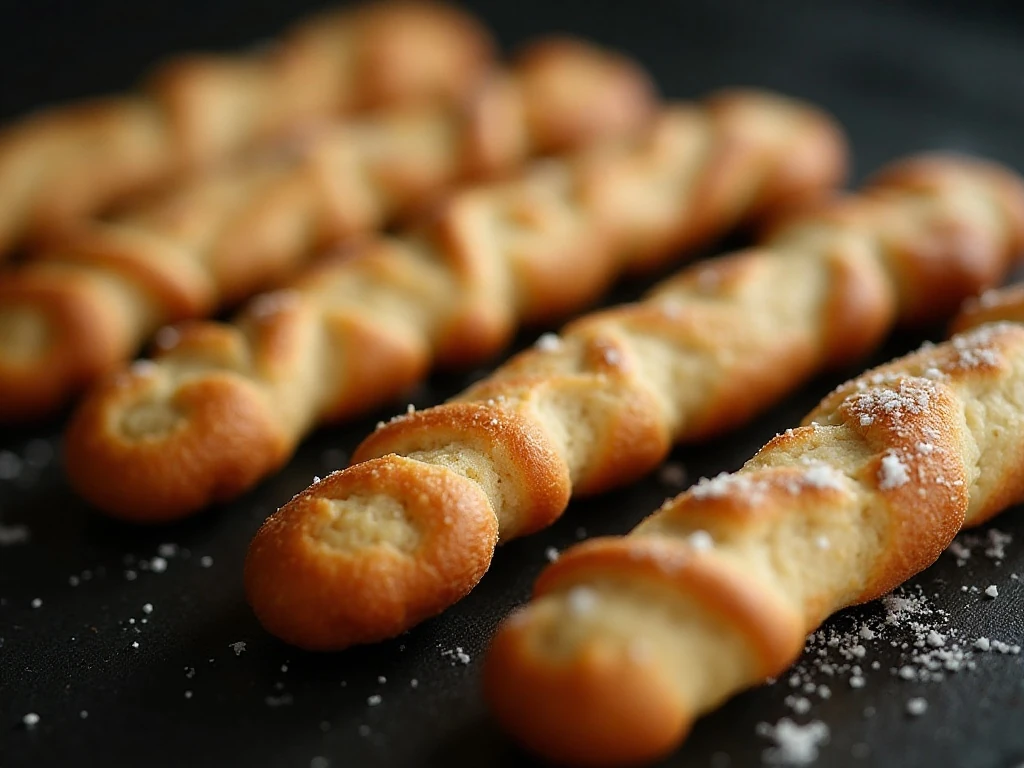
The most important shaping rule is to keep the dough pieces thin. A finger that looks slender before baking will usually become plump enough in the oven, while a thick piece can turn into a rounded green log.
Do not aim for perfect uniformity. Slight differences in length, bends, and knuckle placement make the finished cookies more convincing and give the platter a wonderfully wicked appearance.
- Taper only one end so the almond nail has a natural place to sit.
- Press the almond firmly enough to anchor it, but avoid flattening the entire cookie.
- Make two or three shallow knuckle lines rather than cutting deeply into the dough.
- Bend some fingers gently to the left and others to the right.
- Keep approximately 1 inch of space between cookies on the baking sheet.
For a varied dessert table, a batch of chewy chocolate cookies adds a deep cocoa color beside the bright green fingers.
Pro Tips for the Best Texture
Start with butter that is soft enough to press easily but still cool to the touch. Melted butter can make the dough greasy and difficult to shape, while very cold butter may leave small lumps in the creamed mixture.
Chilling is not a step to skip. The 20–30 minute rest helps the dough firm up, and shaped fingers can be chilled again if your kitchen is warm or if the dough becomes sticky while you work.
Use parchment paper to make lifting the cookies easier and to reduce excess browning on the bottoms. Begin checking at the lower end of the 18–22 minute baking range if your fingers are especially narrow.
For a softer, more delicate cookie, remove the tray when the cookies are set and only lightly browned around the edges. They will continue to firm as they cool on the baking sheet.
For a creamy cookie assortment, consider serving these beside soft cream cheese cookies. Their pale color and tender texture make a nice visual and flavor contrast.
Decorating and Serving Ideas
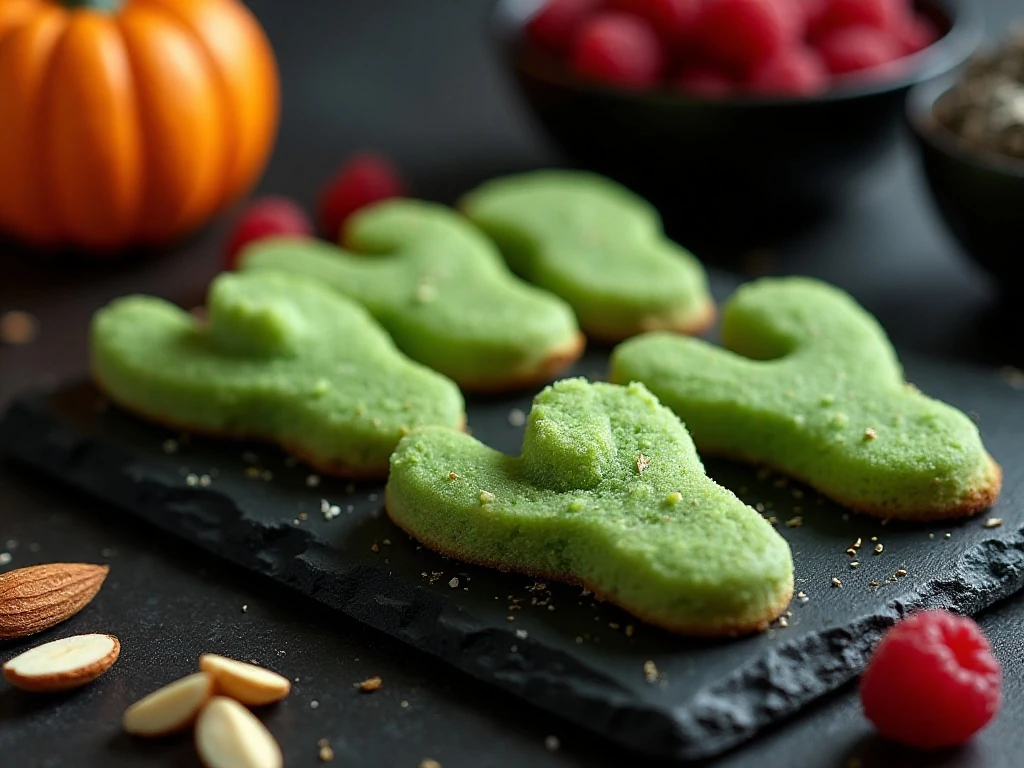
These cookies look striking on a black, silver, or deep red serving platter. Scatter a few extra almonds around the plate, or place the fingers in slightly overlapping rows so guests discover the details as they reach for one.
The optional red decoration should be added only after the cookies have cooled completely. Use a small amount beneath the almond rather than flooding the surface, which keeps the effect neat and lets the green cookie remain visible.
Serve the witch fingers with hot coffee, tea, apple cider, or mugs of cocoa. They are especially entertaining at Halloween parties, school celebrations, movie nights, and harvest gatherings where guests can appreciate their playful appearance.
If you are serving a larger autumn buffet, an unexpected savory option such as this fresh orzo salad can balance the sweetness of the dessert table.
Storage and Make-Ahead Advice
Allow the cookies to cool completely before storing them. Place them in an airtight container at room temperature, arranging parchment between layers if the almond nails or red decoration might rub against neighboring cookies.
The baked cookies are convenient to prepare ahead for a party because their shape and flavor hold well once cooled. Keep them away from heat and direct sunlight so the buttercream-like appearance of the dough and any red decoration remain attractive.
You can also prepare the dough, cover it, and refrigerate it for the short chilling period before shaping. For the clearest knuckle marks and least spreading, do not let the shaped cookies sit warm on the counter before they go into the oven.
Spooky Sugar Cookie Witch Fingers
Ingredients
Method
- Beat the softened butter and confectioners’ sugar until smooth and creamy. Add the egg, vanilla extract, almond extract, and enough green food coloring to create a pale or medium green dough.
- Whisk the flour, baking powder, and salt together in a separate bowl. Gradually mix the dry ingredients into the butter mixture until a cohesive dough forms.
- Cover the dough and refrigerate it for 20–30 minutes. Chilling makes the dough easier to shape and helps reduce spreading during baking.
- Heat the oven to 325°F (165°C) and line baking sheets with parchment paper. Portion the chilled dough into pieces of about 1 tablespoon each.
- Roll each portion into a narrow finger shape, tapering one end slightly. Press a whole almond into the tapered end to create the fingernail, then score shallow knuckle lines with a knife or toothpick.
- Bend each shaped cookie slightly and arrange the pieces on the prepared baking sheets, leaving about 1 inch between them. Bake for 18–22 minutes, until set and only lightly browned around the edges.
- Let the cookies cool on the baking sheet for several minutes before transferring them to a wire rack. Once completely cool, add a small amount of red decorating gel or raspberry jam beneath an almond if you want a bloody Halloween finish.
Notes
Final Thoughts
Spooky Sugar Cookie Witch Fingers are an easy Halloween baking project with a big visual payoff. A buttery green dough, a few shallow knuckle marks, and whole almond fingernails are all you need to create cookies that look creepy, charming, and completely irresistible.
Remember to keep the fingers narrow, chill the dough, and bake until the cookies are set with only light browning around the edges. Once they cool, a little raspberry jam or red decorating gel beneath the almonds gives them an optional dramatic finish.
Make a batch for your next Halloween gathering and let everyone choose the finger with the most crooked bend or most unusual almond nail. These cookies are proof that the best spooky treats can be simple to shape, easy to bake, and delicious enough to disappear quickly.